You are using an out of date browser. It may not display this or other websites correctly.
You should upgrade or use an alternative browser.
You should upgrade or use an alternative browser.
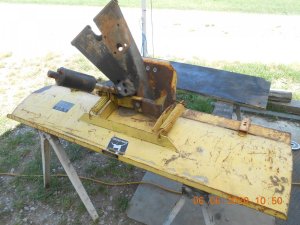
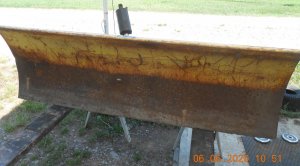
Made a score today! JD 54/56 Blade
- Thread starter KennyP
- Start date
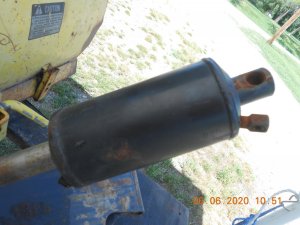
My thoughts too!Nice find! You might want to clean the rams up on those cylinders and just use them. A little oil seepage is a cheaper than new cylinders. Especially if the blade is not used a lot.
I got it torn down for repairs.
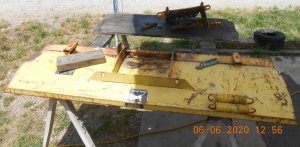
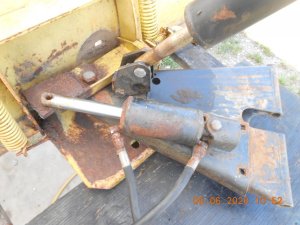
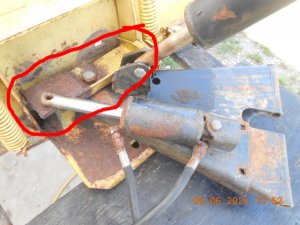
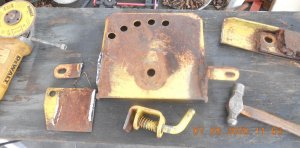
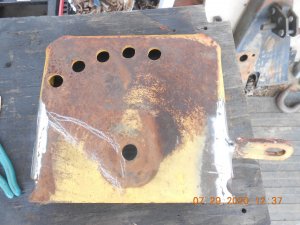
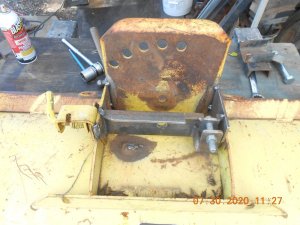
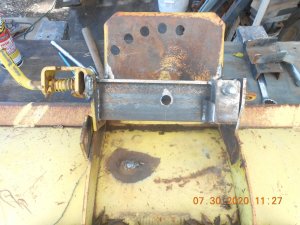
This part will need the most attention. It's the pivoting part the springs hook to. I have no idea what the one side for the angle cylinder mount looks like.
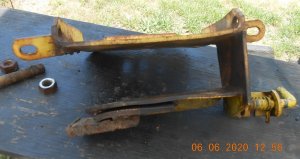
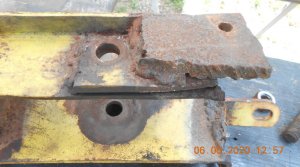
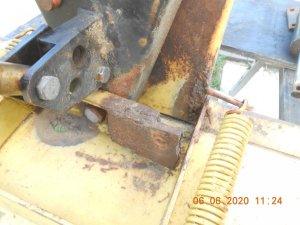
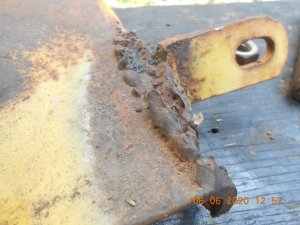
Some ugly weld that didn't hold:
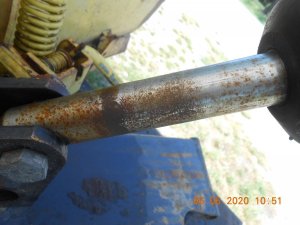
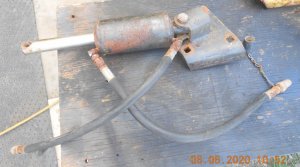
Got the fittings out of the lift cylinder and cleaned the shaft some:
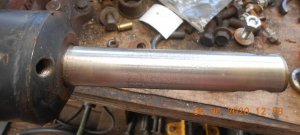
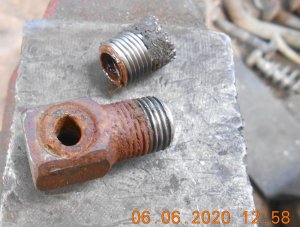
They look like 1/8" pipe threads.
You'll love the 4 way plow. When we had the bolens it had a hydraulic lift and angle setup. It was amazing. Too bad in 5 years of owning that tractor we had enough snow twice to actually use it.
A 400 blade mount will work on a 420 and 430, I have one on my 420.That’s probably the reason the mount was removed, someone tried to fit to a different JD. The 400 GT had a mounting system not compatible with any other JD.
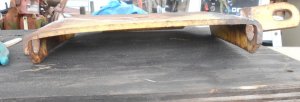
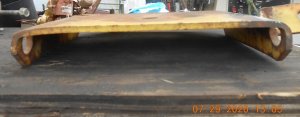
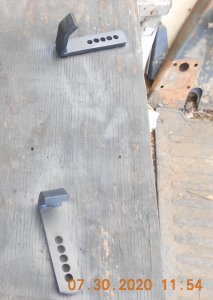
While waiting for mower parts to arrive, I decided to repair the skid shoes for this. They were in bad shape.
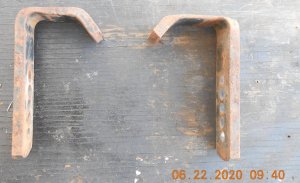
Found some stock and bent the ends to match.
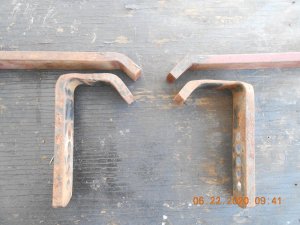
Trimmed the originals for a band saw cut.
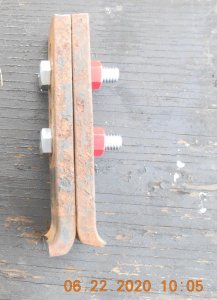
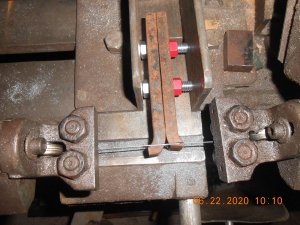
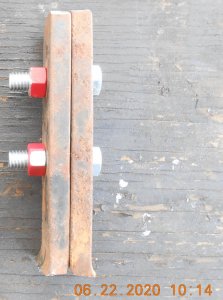
Trimmed the excess off the 'new' parts.
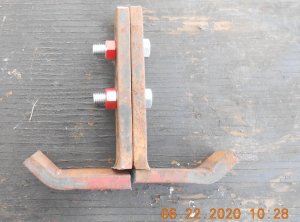
Ground some bevels and welded them together.
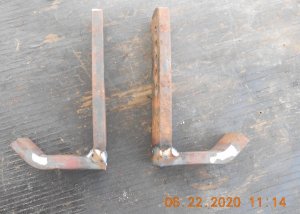
After a massage with the flap disc.
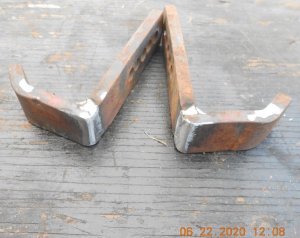

Found some stock and bent the ends to match.

Trimmed the originals for a band saw cut.


Trimmed the excess off the 'new' parts.

Ground some bevels and welded them together.

After a massage with the flap disc.

Last edited:
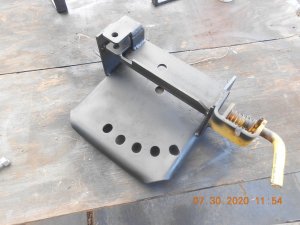
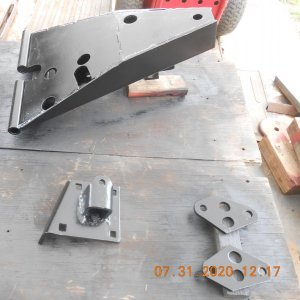
I went to work on the 'arm' as JD calls it. This is what the lift cylinder hooks to. I noticed an issue with the 'pivot' not being correct. I could get a pin through one set of holes, but not the other.
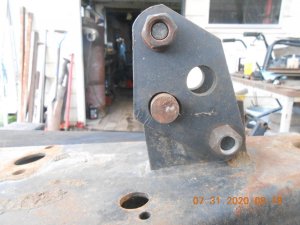
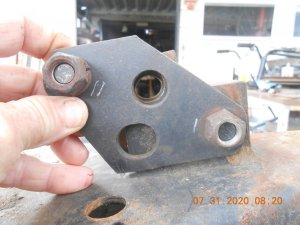
I tried swapping the plates around, but matters got worse.
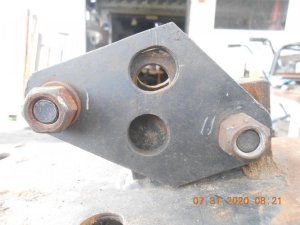
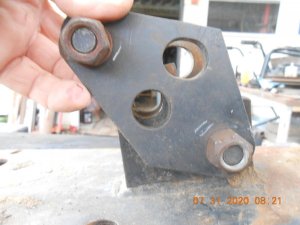
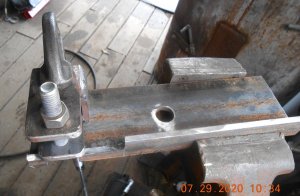
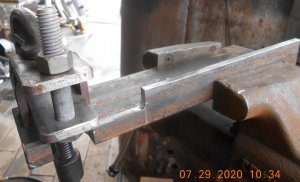
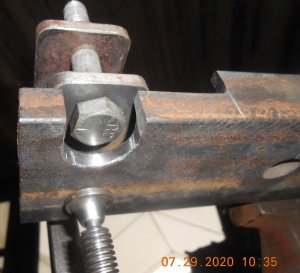
So I got out the redneck 'slot maker/hole enlongater'!
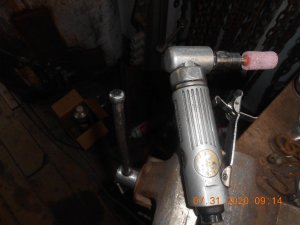
Elongated the offending holes and we have a winner.
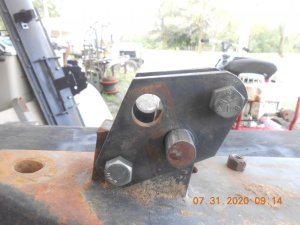
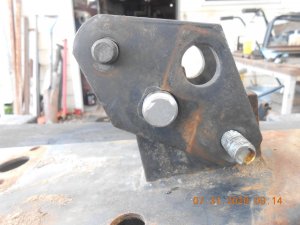
Made up a pin for that situation. Works good.
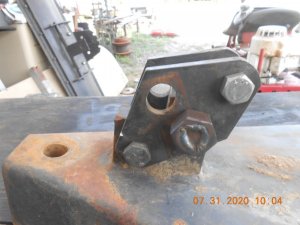
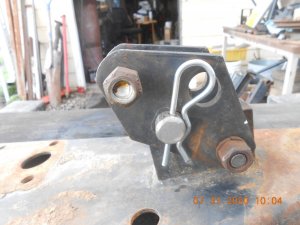
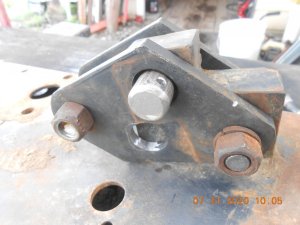


I tried swapping the plates around, but matters got worse.


So I got out the redneck 'slot maker/hole enlongater'!

Elongated the offending holes and we have a winner.


Made up a pin for that situation. Works good.


Kenny, not sure if you know it or not, the way JD has the blade set is the pin goes through all the holes to lock it for down force. The other set of holes is where you put the pin through over the step in the mounting bracket. That allows the side plates to pivot and gives you a float feature. Some of the tractors this blade can fit on didn't have a float feature in the hydraulic controls.

