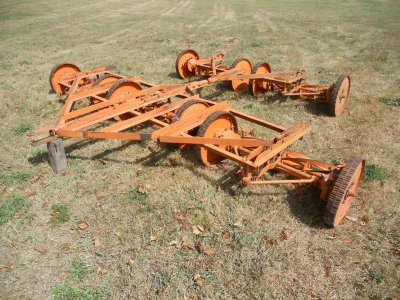
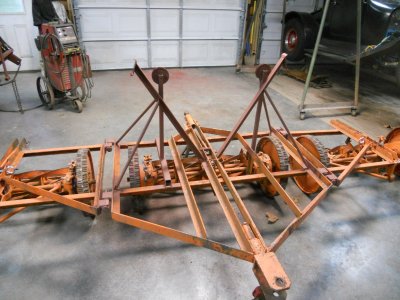
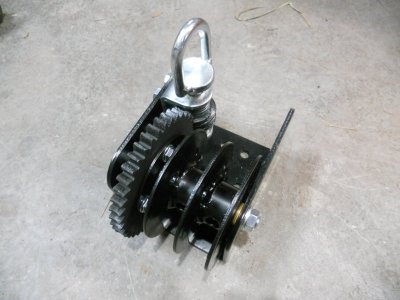
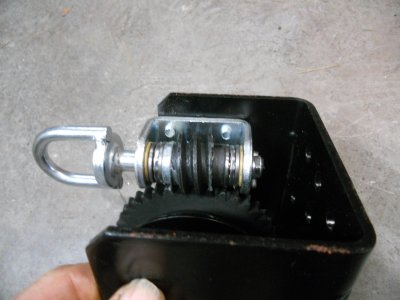
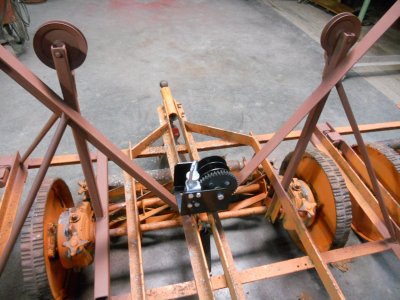
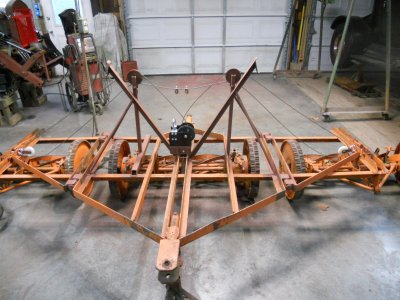
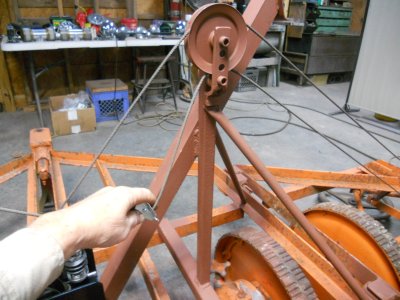
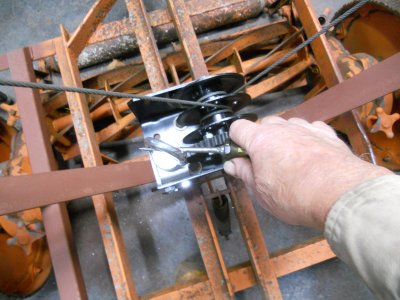
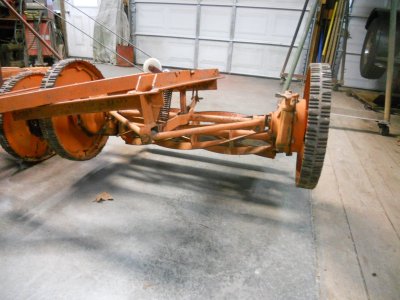
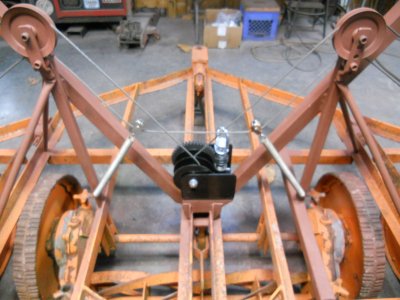
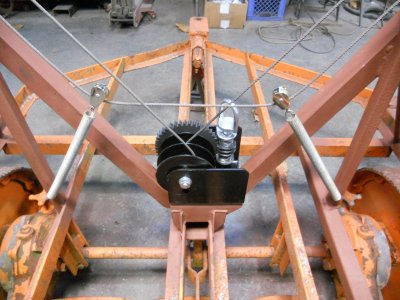
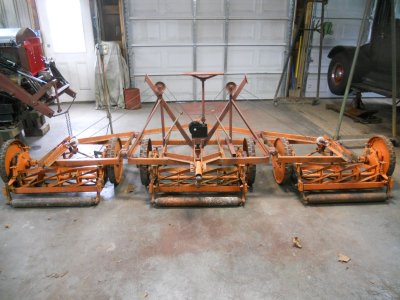
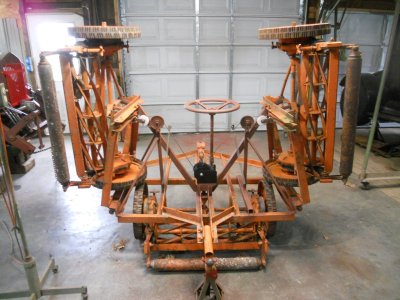
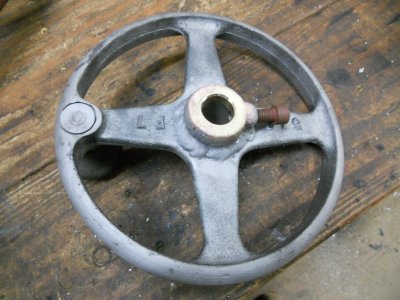
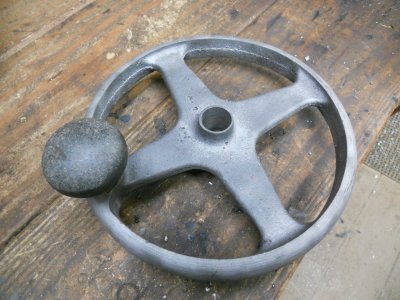
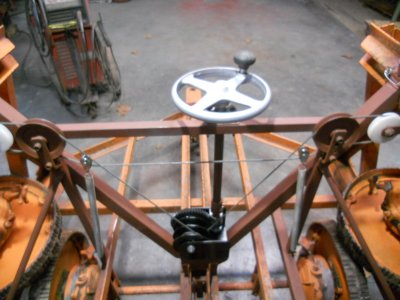
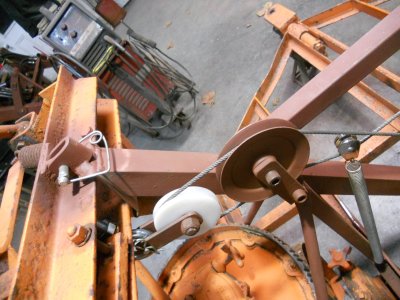
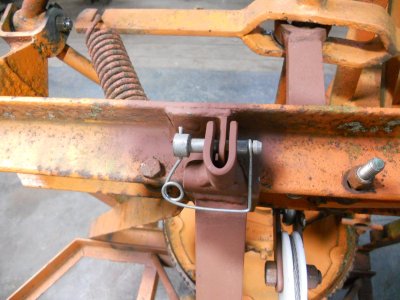
The lift mechanism on the reel mowers is finished.
The weather is still going to be good for awhile yet and I'm still waiting on parts for my other two projects so I decided to pull the Toro model-A tractor in and get it stripped down to start on working on it.
The first thing I want to do is to get the frame shortened up.
I have both sides of the frame resting on jack stands so it won't drop down when I cut the rear frame rails.
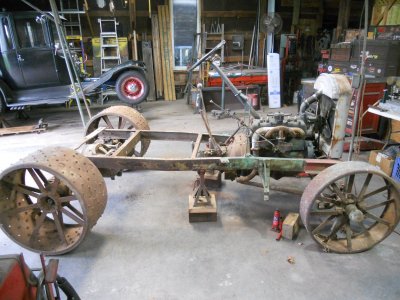
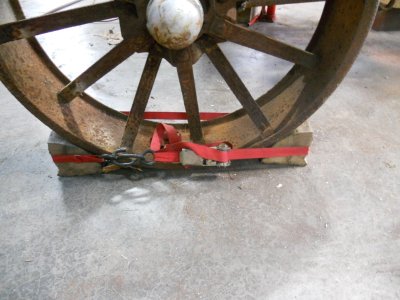
I've wedged two blocks of wood against one of the front wheels and they are held in place with a tie strap so the front of the tractor can't move.
I want to shorten up this frame so it is about the same length as this Toro model-A tractor.
This tractor is the same year range as my tractor and when I first saw it, I didn't know if it came from the factory that short or if someone shortened a long tractor like mine.
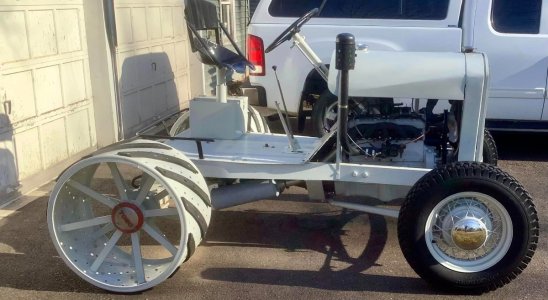
Since then, I've come across a couple of other short Toro model-A tractors so I'm thinking they built some that way at the factory.
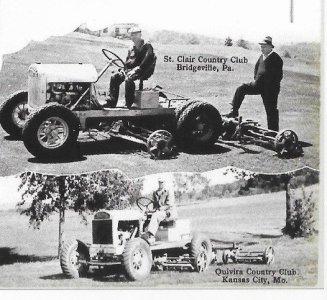
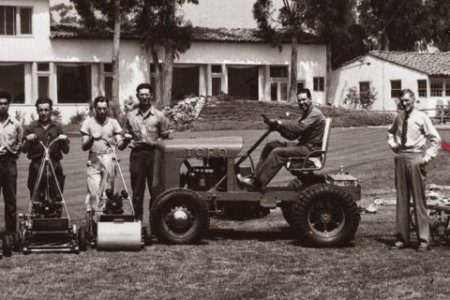
I also found this old photo of a short Toro tractor.
This one is a little newer, possibly in the 1930's, but it shows the the factory did make two lengths of tractors back then.
The driveshaft is taken out.
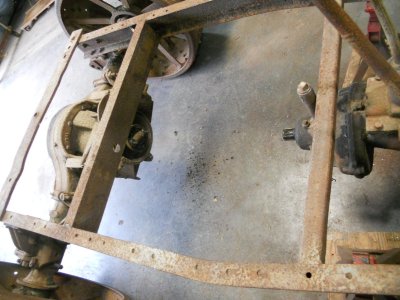
The driveshaft has a unique inclosed universal joint on each end.
This is the front end of the driveshaft.
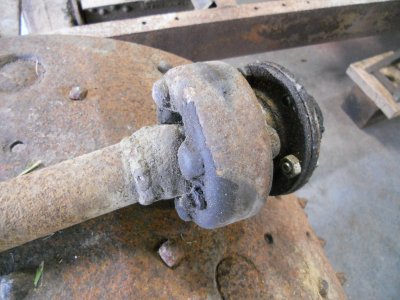
These universal joint housings can be unbolted and split into two halves.
This is the half that is still mounted on the rear axle.
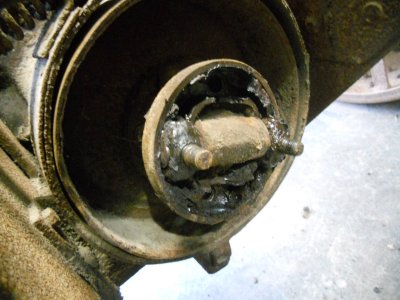
Incadently .. the drum with the brake band around it on the rear axle is the only brake on this tractor.
There are no brakes on the wheels at all, just this one drum brake.
The front universal joint is still nice and tight but the rear one has a lot of slop in it.
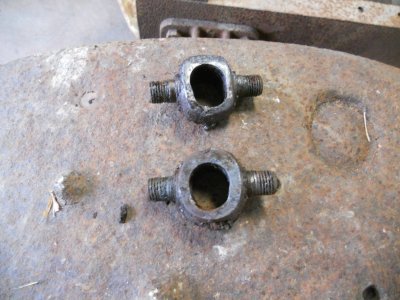
Here are two of the four caps for the rear joint.
You can see how much they are worn out of round.
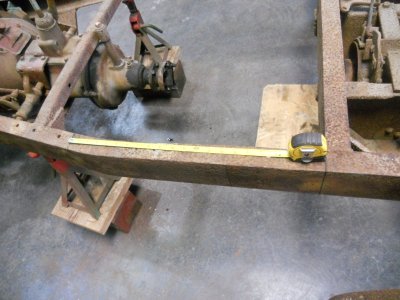
To shorten this frame up so it matches the photos of the short tractors, I'll have to take about 21 inches out of the frame.
This would bring the rear axle up so that it would attach to the transmission with just one of the universal joints ( luckily, I have one good universal joint ).
The half of the universal joint on the transmission and on the rear axle have a big hump in the center with the pins machined on each end of it.
The rear axle part of the joint is sitting on the workbench.
You can see how the two pins are worn down on it.
The front of the driveshaft is clamped in the vice and you can see that the center is notched out to fit around the hump on the other half of the joint.
You can also see how good the pins are on the front driveshaft joint.
In order to make it so I can fasten the rear axle to the transmission with one joint, I'll have to cut the big hump off the part for the rear axle.
Then I'll have to cut the end off the driveshaft and weld it onto the round plate that bolts onto the rear axle.
