1990 Craftsman 917.254450 (RED) 2020 update

larrybl

Tractorologist
Member
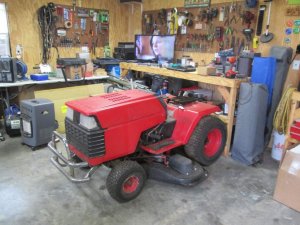
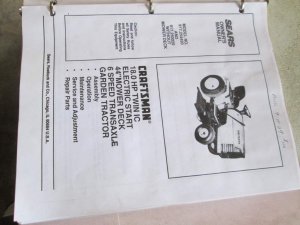
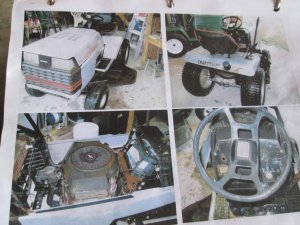
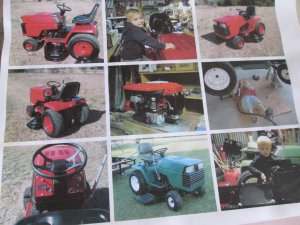
So RED hits 30 this year. I purchased him 9/11/2009 for $100.00. He has done well for me, and I usually do a Winter re-fresh every couple years. I have a new main mower (Craftsman Pro) and a backup (BOH) so I am thinking of a more detailed update on RED.
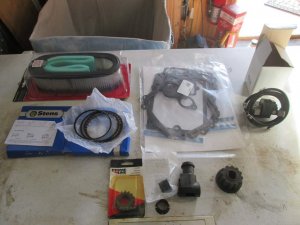
I know what RED's main issues are and have the parts on-hand as I ordered them many Month ago.
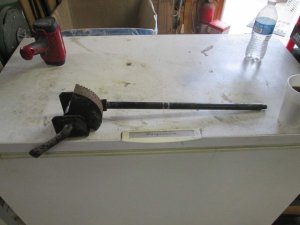
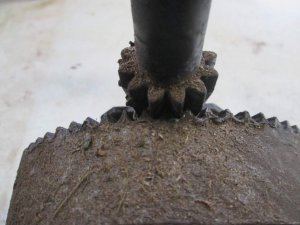
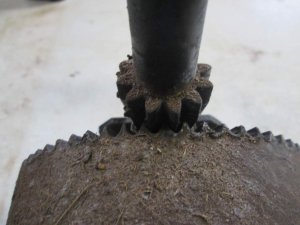
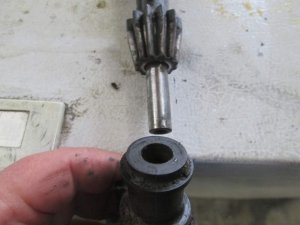
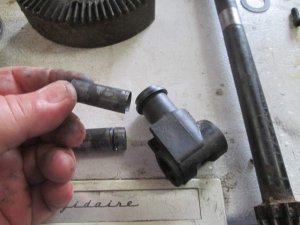
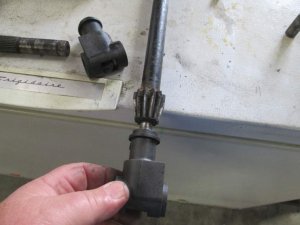
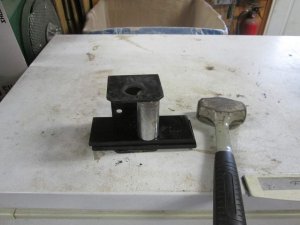
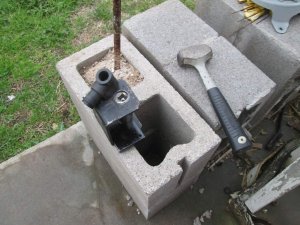
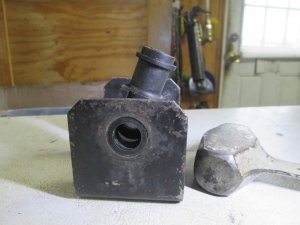
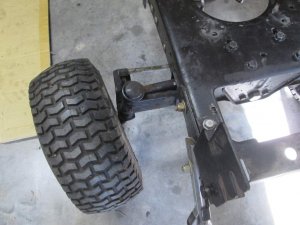
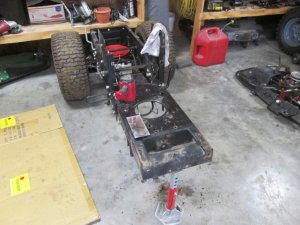
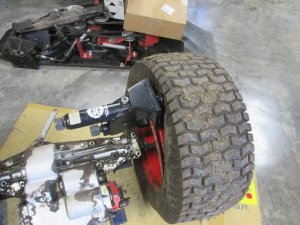
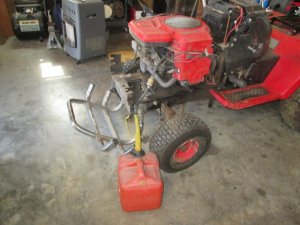
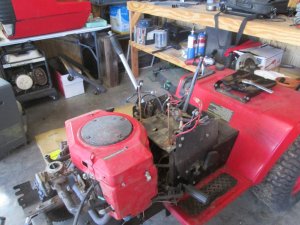
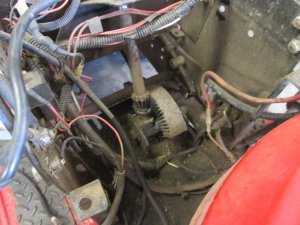
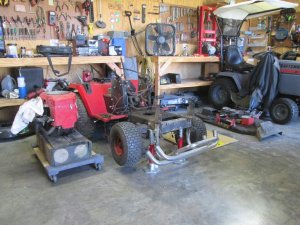
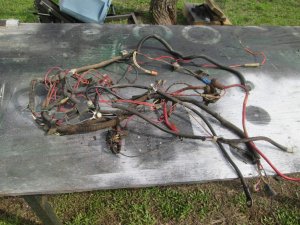
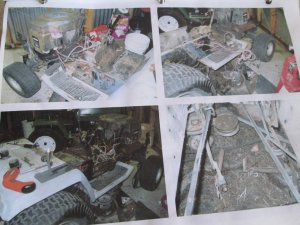
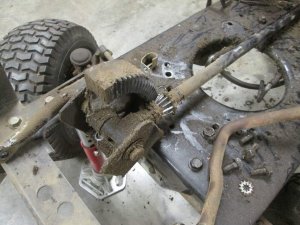
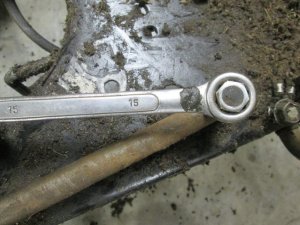
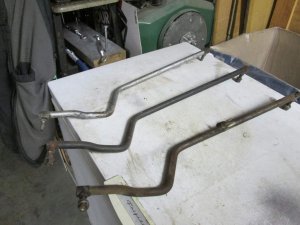
Tear down has begun, and two of the issues are almost obvious. Oil leak and sloppy steering. Parts are on-hand to address these issues. Also a new ring set for the 42A707 18 HP Briggs
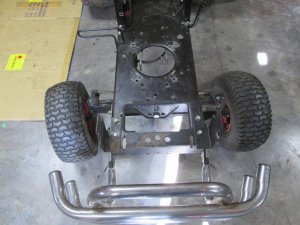
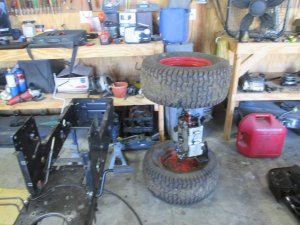
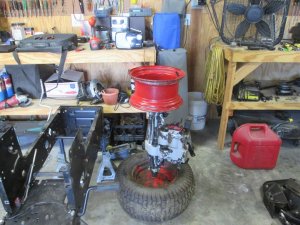
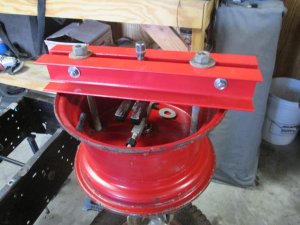
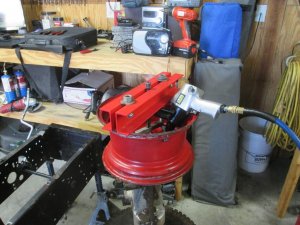
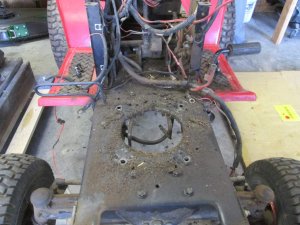
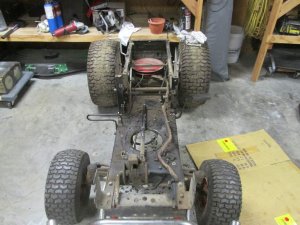
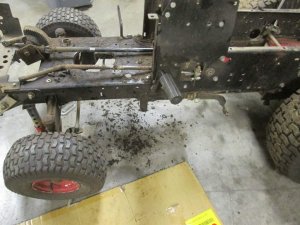
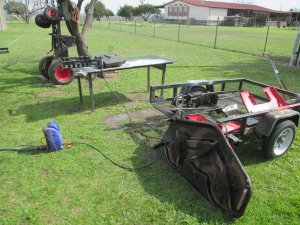
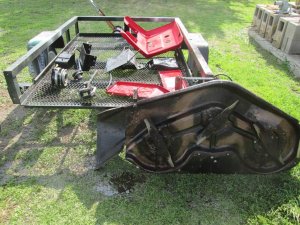
Stopping point for the evening. I need to pressure wash this before I go further, hard to see the bolt heads underneath.
 

Attachments

  • 4.jpg
    4.jpg
    91.5 KB · Views: 34
  • 5.jpg
    5.jpg
    66.8 KB · Views: 34
  • 6.jpg
    6.jpg
    70.4 KB · Views: 33
  • 7.jpg
    7.jpg
    88.8 KB · Views: 32
  • 8.jpg
    8.jpg
    81.3 KB · Views: 32
  • 9.jpg
    9.jpg
    92.3 KB · Views: 33
  • 10.jpg
    10.jpg
    49.7 KB · Views: 33
  • 11.jpg
    11.jpg
    108 KB · Views: 33
I Did some disassembly yesterday and forgot to post, pulled the wire harness. Trying to revive the battery but when it gets to 12V it falls off quickly and will only charge at 100 ma (I started with the 10A charger but wasn't getting any charge indication) so it will need replaced. I got the old manual out. Has some 2009 original restore pictures in it.
 

Attachments

  • 1.jpg
    1.jpg
    89.9 KB · Views: 13
  • 2.jpg
    2.jpg
    69 KB · Views: 14
  • 3.jpg
    3.jpg
    128.3 KB · Views: 14
  • 4.jpg
    4.jpg
    60.4 KB · Views: 15
  • 5.jpg
    5.jpg
    91 KB · Views: 16
  • 6.jpg
    6.jpg
    92.4 KB · Views: 15
  • 7.jpg
    7.jpg
    96.4 KB · Views: 15
  • 8.jpg
    8.jpg
    67 KB · Views: 15
Well I decided to get dirty but gave up after having to get up and down under this to remove the drag link. Some idiot decided to use a 15mm nut on the steering gear link connection and I ended up cussing myself. Drag link seems ok but I may replace it just to have the standard fasteners (It pi$$ed me off that bad. Steering gear box is removed.
 

Attachments

  • 10.jpg
    10.jpg
    93 KB · Views: 14
  • 11.jpg
    11.jpg
    87 KB · Views: 14
  • 12.jpg
    12.jpg
    83.1 KB · Views: 15
  • 13.jpg
    13.jpg
    87.1 KB · Views: 15
Got back home and decided to pressure wash some of the thicker crud off, Will still do a better cleaning, this is mainly to make tear down easier. I can see the bolts now.
 

Attachments

  • 1000.jpg
    1000.jpg
    140.5 KB · Views: 16
  • 1001.jpg
    1001.jpg
    142.9 KB · Views: 15
  • 1002.jpg
    1002.jpg
    135 KB · Views: 16
So as many others have found the steering sector on these is a bad design. I am trying to develop a better solution for the steering setup.


Attachments

  • 1.jpg
    1.jpg
    47.5 KB · Views: 9
  • 2.jpg
    2.jpg
    60.8 KB · Views: 10
  • 3.jpg
    3.jpg
    54.3 KB · Views: 8
  • 4.jpg
    4.jpg
    64.7 KB · Views: 8
  • 5.jpg
    5.jpg
    45.9 KB · Views: 10
  • 6.jpg
    6.jpg
    58.7 KB · Views: 11
  • 7.jpg
    7.jpg
    52.1 KB · Views: 11
  • 8.jpg
    8.jpg
    26.3 KB · Views: 8
  • 9.jpg
    9.jpg
    21.7 KB · Views: 6
It would help if they used 'real' bushings and make it easy to lube!
 
I watched several YT's on this. None used a right angle gear box (These are expensive). I did find some tips that I'll try and see if that helps. The old nylon bushing is in the same shape as the new one. I attribute this to the liberal use of chain lube before each mowing. I did replace one nylon bushing with brass, can't do that on the other side. Will still use the flashing bushing that I did a couple years ago.
 
I think it needs to be a 6:1 ratio. Calling this done for now, on to the next issue.


Attachments

  • 1.jpg
    1.jpg
    92.3 KB · Views: 7
  • 2.jpg
    2.jpg
    47.5 KB · Views: 7
  • 3.jpg
    3.jpg
    56.6 KB · Views: 7
  • 4.jpg
    4.jpg
    109.4 KB · Views: 7
  • 5.jpg
    5.jpg
    53.5 KB · Views: 7
Looks like I need spendal bushings. I'll see if I have better ones in the other parts axles I have. Tip to remove the rubber grease caps. Heat with hot air gun to soften them then use a paint can opener to pry them off.
 

Attachments

  • 1.jpg
    1.jpg
    68.4 KB · Views: 11
  • 2.jpg
    2.jpg
    73.3 KB · Views: 13
  • 3.jpg
    3.jpg
    144.9 KB · Views: 13
  • 4.jpg
    4.jpg
    78.9 KB · Views: 13
  • 5.jpg
    5.jpg
    78.3 KB · Views: 11
Pulled RED’s rear end in hope to get the stuck rim removed. Broke the tire down and removed. Long shot using the shop press, 2” too narrow. I am using the press cross member and my puller set. I had to enlarge two of the wheel weight holes to get the large bolts through. Plenty of PB and I have hit it with the impact gun till the bolt quit moving. I guess I need to try heat next, but I need to clean up a lot of grease and crud before I get the torches out.
 

Attachments

  • 100.jpg
    100.jpg
    86.4 KB · Views: 14
  • 101.jpg
    101.jpg
    66.5 KB · Views: 14
  • 102.jpg
    102.jpg
    78 KB · Views: 15
  • 103.jpg
    103.jpg
    92.4 KB · Views: 15
  • 104.jpg
    104.jpg
    104.2 KB · Views: 14
  • 105.jpg
    105.jpg
    95.7 KB · Views: 13
  • 106.jpg
    106.jpg
    73 KB · Views: 16
  • 107.jpg
    107.jpg
    68.3 KB · Views: 16
  • 108.jpg
    108.jpg
    89.8 KB · Views: 16
I hope you can get it off because however you do it that's what I'm going to try. I have one I just cannot get off.
Give 'er.
 
Back
Top