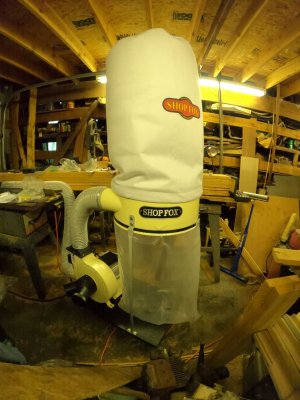
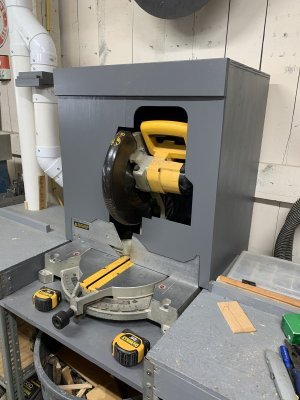
I bought this about three years ago from a guy on Marketplace that had bought it new two years prior to me buying it for his future shop. He never had 220 so he downgraded to their 1 1/2 hp model. It’s a 2hp 220 volt Shop Fox dust collector. I’m going to convert it to a two stage collector using the Oneida Super Dust Deputy cyclone. This way I can eliminate the factory dust bag, collector collar, and cart it’s mounted to.

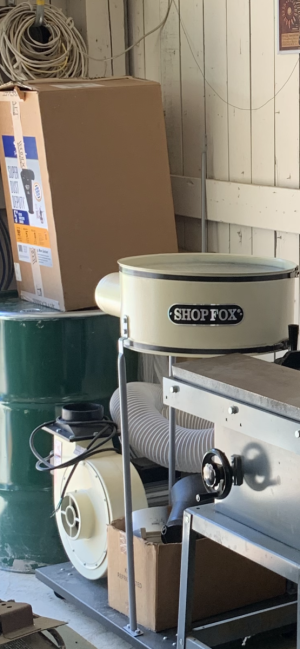
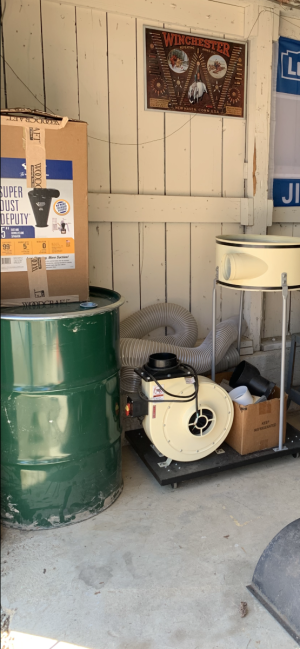
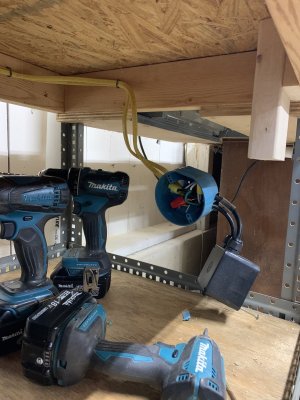
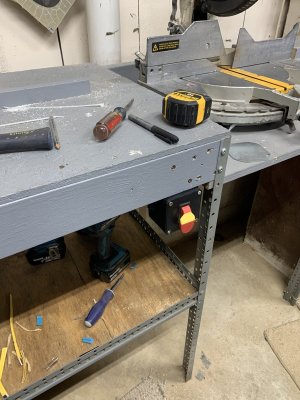
I mounted the DC in the far corner of my shop. I ran a 220 line using a 12/2 romex to the motor. It had a factory switch mounted to the frame. I thought about using a remote switch but they are costly. I have a neutral area about 20’ from the DC so I decided to re locate the switch.
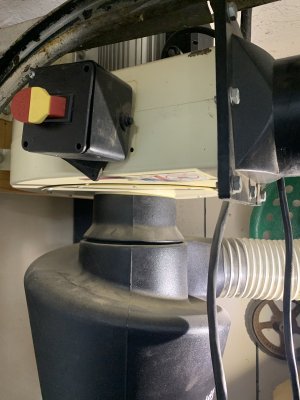
I bought a couple of barrels awhile back so I’m using one to collect the sawdust. Right now I’m debating on wether to put the barrel on a dolly or just lift the ring and lid then roll it out. Once it’s rolled out I’ll have to put it on a two wheeler to dump it because my driveway is gravel so no point really of putting it on a dolly since it’s so close the garage door.
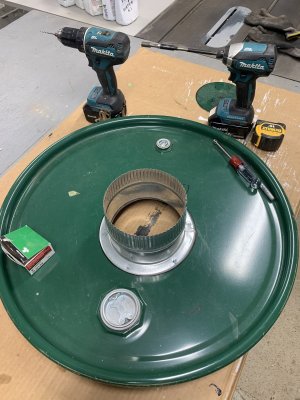
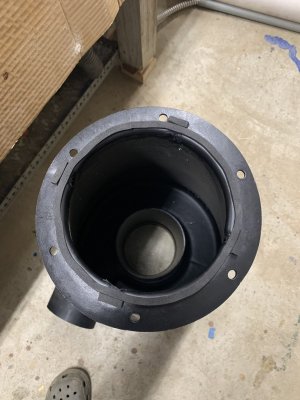
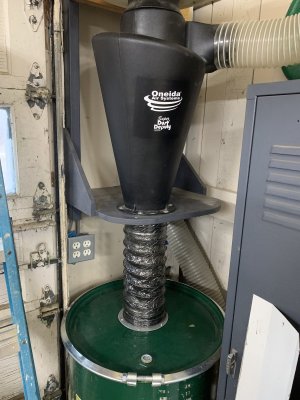
I cut a hole in the lid to connect the 6” hose to. I’m using a piece of 6” air duct hose temporarily until I find my 6” hose I bought for this it’s a lot more durable. The cyclone will be fixed above the barrel. Most all of the dust collected will travel down the cyclone and fall into the barrel. Very little particles reach the exhaust port. Most exhaust in a filter that is expensive for a good one. My thoughts are since I basically have no neighbors that I can see I’ll just run the 6” exhaust hose through the ceiling and out the soffit panel.
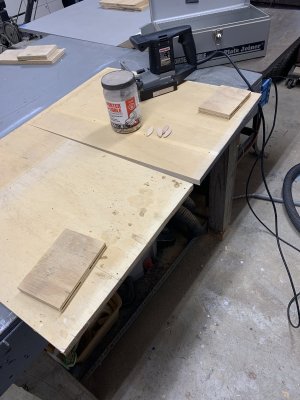
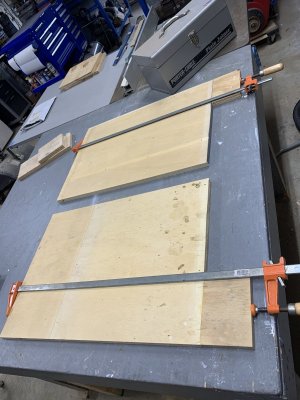
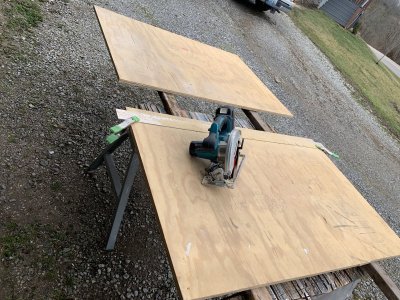
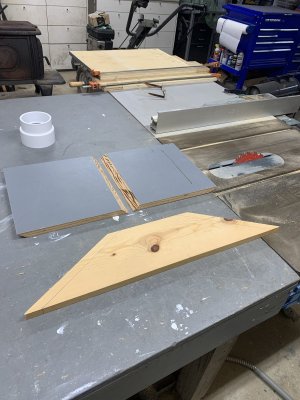
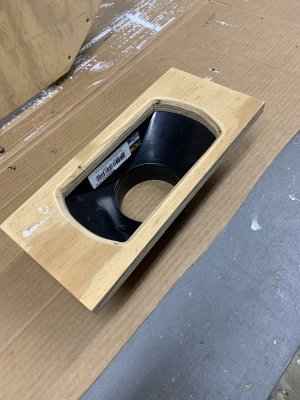
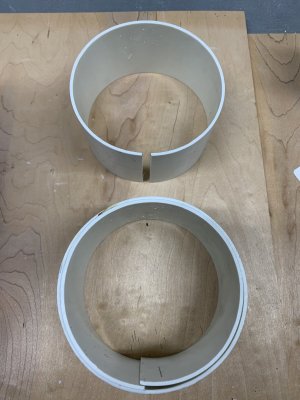
I made up my blast gates using a few ideas from others on YouTube. I made six which saved me around $200. One idea that I seen used that I liked was making a longer gate door to where they are a solid space for closing and a hole for opening all on one sliding gate. Most are made by using a solid gate then it’s slid out of the way to open. This allows the gate track to be open to collect dust clogging up the travel. By making a longer gate door keeps a part of the door in the track at all times.
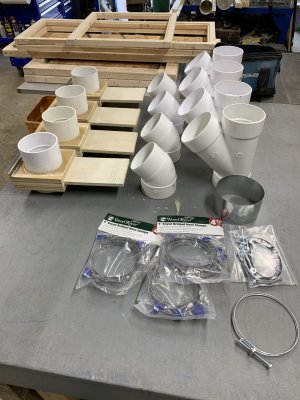
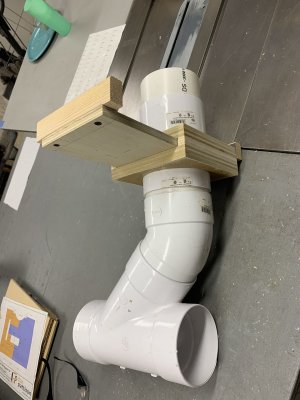
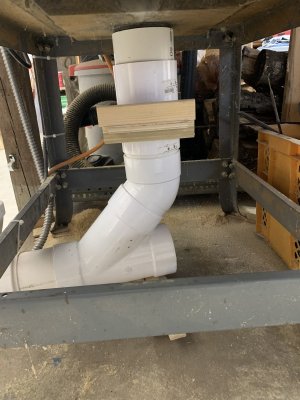
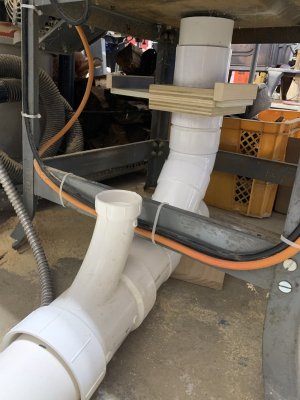
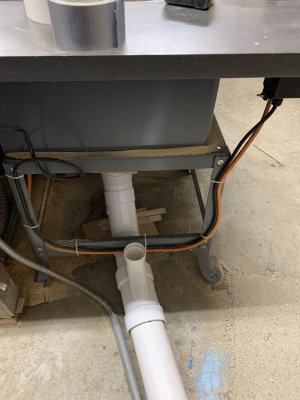
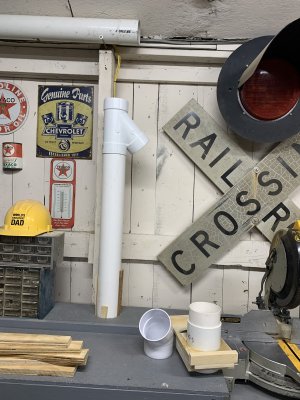
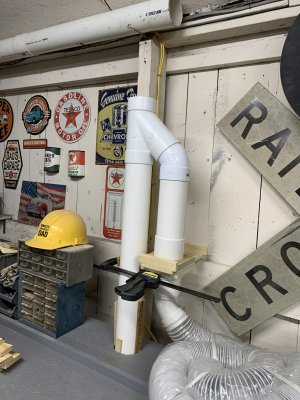
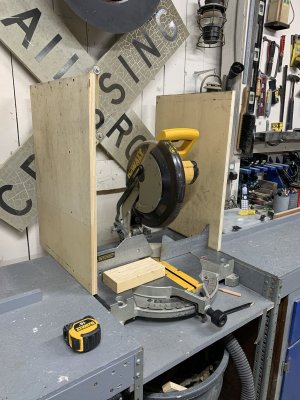
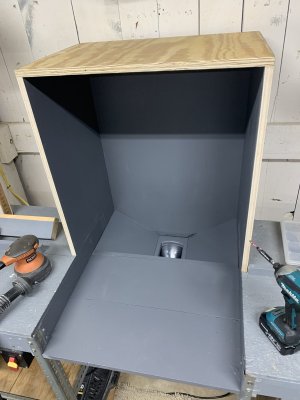
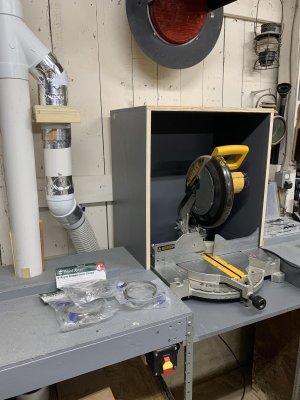
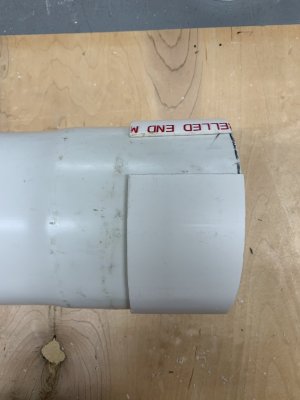
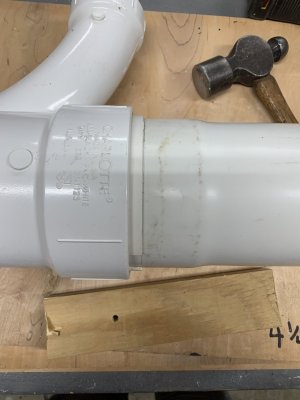
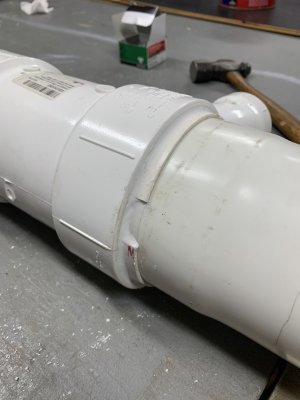
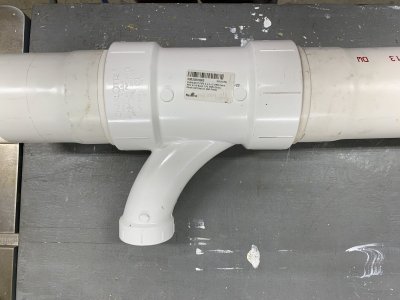
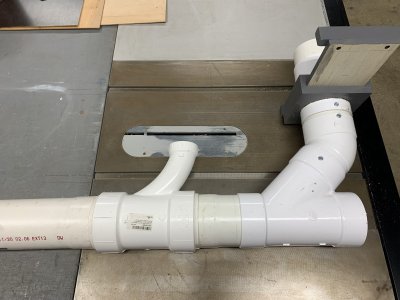
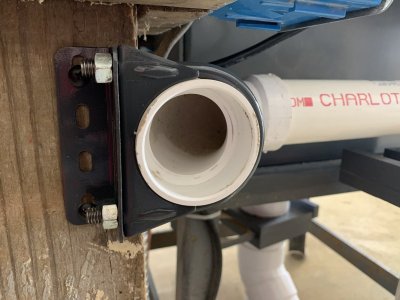
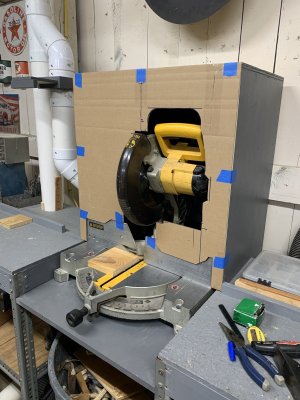
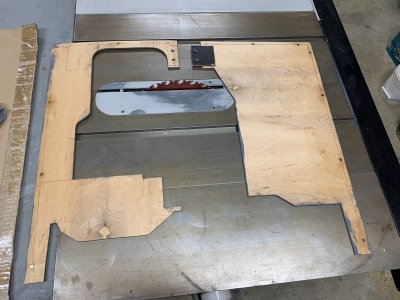
I bought 7 pieces of my 4” PVC DWV tubing two years ago at about $8. Now this stuff is almost $20. My first tool to hookup will be my table saw then the miter saw. I’ve got a lot of pvc materials so I’m going to see what a can come up with then make a list of what I need. I bought a 4”x4”x2” eye from Amazon the other day that I needed. Who would ever thought of such a thing. It was almost $5. cheaper than the box stores and delivered to my door in two days.


I mounted the DC in the far corner of my shop. I ran a 220 line using a 12/2 romex to the motor. It had a factory switch mounted to the frame. I thought about using a remote switch but they are costly. I have a neutral area about 20’ from the DC so I decided to re locate the switch.


I bought a couple of barrels awhile back so I’m using one to collect the sawdust. Right now I’m debating on wether to put the barrel on a dolly or just lift the ring and lid then roll it out. Once it’s rolled out I’ll have to put it on a two wheeler to dump it because my driveway is gravel so no point really of putting it on a dolly since it’s so close the garage door.
I cut a hole in the lid to connect the 6” hose to. I’m using a piece of 6” air duct hose temporarily until I find my 6” hose I bought for this it’s a lot more durable. The cyclone will be fixed above the barrel. Most all of the dust collected will travel down the cyclone and fall into the barrel. Very little particles reach the exhaust port. Most exhaust in a filter that is expensive for a good one. My thoughts are since I basically have no neighbors that I can see I’ll just run the 6” exhaust hose through the ceiling and out the soffit panel.


I made up my blast gates using a few ideas from others on YouTube. I made six which saved me around $200. One idea that I seen used that I liked was making a longer gate door to where they are a solid space for closing and a hole for opening all on one sliding gate. Most are made by using a solid gate then it’s slid out of the way to open. This allows the gate track to be open to collect dust clogging up the travel. By making a longer gate door keeps a part of the door in the track at all times.

I bought 7 pieces of my 4” PVC DWV tubing two years ago at about $8. Now this stuff is almost $20. My first tool to hookup will be my table saw then the miter saw. I’ve got a lot of pvc materials so I’m going to see what a can come up with then make a list of what I need. I bought a 4”x4”x2” eye from Amazon the other day that I needed. Who would ever thought of such a thing. It was almost $5. cheaper than the box stores and delivered to my door in two days.

