John Deere 100 Project

Traill95

Rossville, Illinois
Senior Member
Member
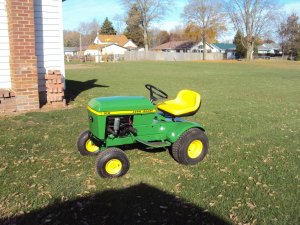
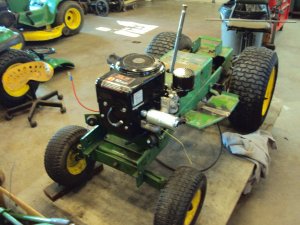
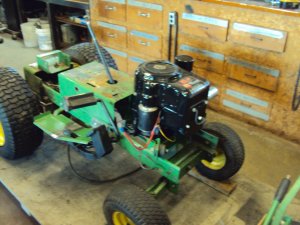
Couple of weeks back I got ahold of a JD100 round fender. No engine and a few parts missing.so decided I would like to have a 100 round fender with a hydrostatic Transmission. Got a rear end out of a Simplicity and off we go. took the 100 apart and the rear end out of the simplicity and am going to fit the two together. I didn't take pics before I tore the 100 down, (sorry but I am bad about doing a project without thinking to take pics., will try to do better this time.) Here area couple of pics of what a 100 looks like.
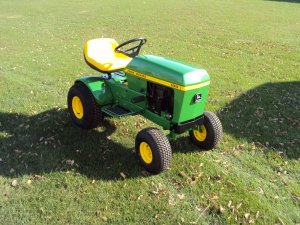
DSC02640.JPGDSC02641.JPG
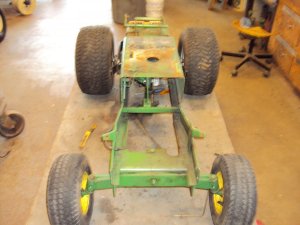
These two pics of are a 100 I restored a couple of years ago. The next pics are of what I am working with this time.
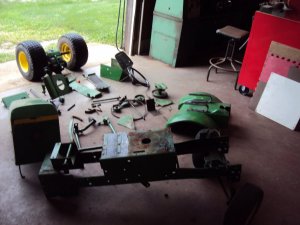
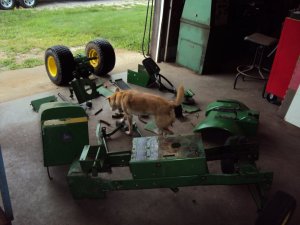
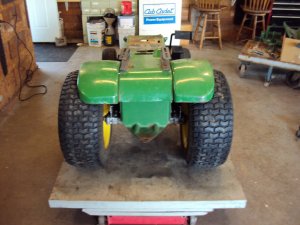
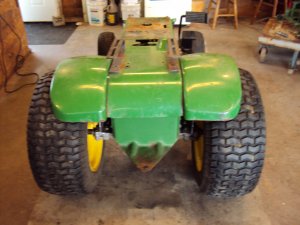
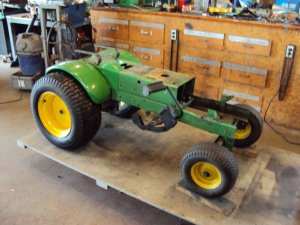
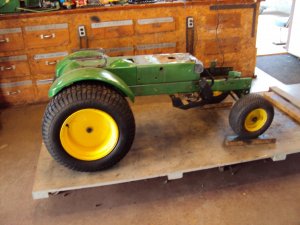
DSC03102.JPGDSC03104.JPG
For some reason Gaby thinks she should be in the pic.
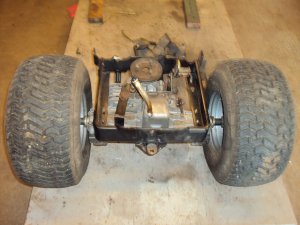
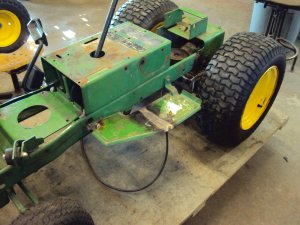
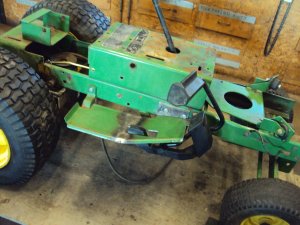
Next pic is of the simplicity rear end that will be going underneath the 100.
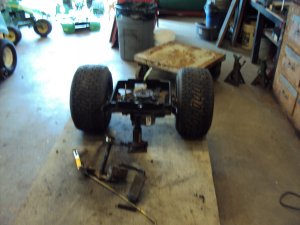
DSC03099.JPGDSC03109.JPG
I will try to take more pics as the project proceeds.
 
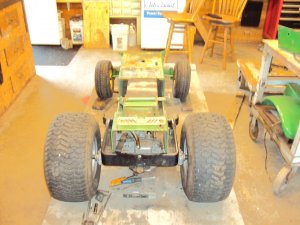
I got the hydro rear measured and the brackets made and welded to the frame to mount the rear end.
It looks pretty good to me.


DSC03230.JPGDSC03231.JPG

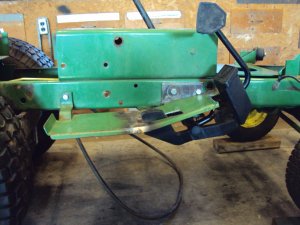
Next up was to mockup the forward/reverse and Brake/clutch mounting.

DSC03233.JPGDSC03236.JPG

I am in the process of milling out the hole for the reverse pad and notching out the end of the floorboard for the forward pad so it will fit in place.

Here are a few pics of the side profile of the 100 with the larger tires in the back. I need to get out in the barn and find a set that will fit on the front and raise the stance there also. The stock tire for the 100 in the rear are 16 inch tires on an 8 inch rim. What is on there now are 22 inch tires on a 12inch rim.

DSC03227.JPGDSC03228.JPG

I will try to remember to take pics and post them when I get the floorboards located and attached.
 
Update on the Progress

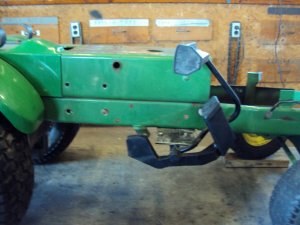
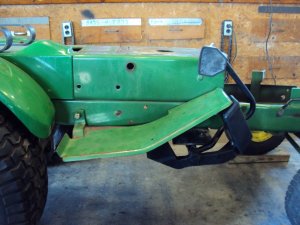
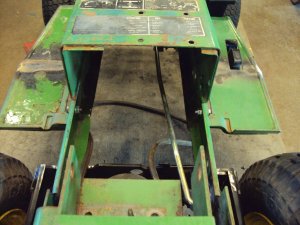
Had to lower the front angle on the floorboards to fit the foot pedals correctly.

DSC03238.JPGDSC03239.JPG

You can see why in this picture. I also notched out the opening for the reverse pedal. I was surprised as to how far I had to open it to let the pedal travel it's full distance.

DSC03241.JPG

Somewhere in this open space I have to mount the bracket for the Clutch/Brake assembly.

DSC03242.JPG

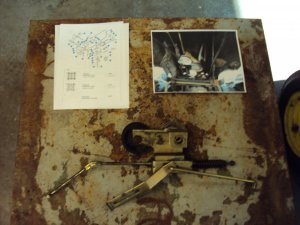
Here is the assembly I have to locate inside that open area.

DSC03245.JPG

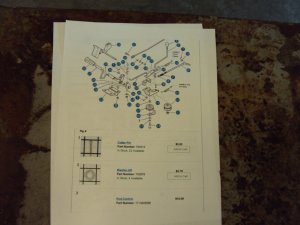
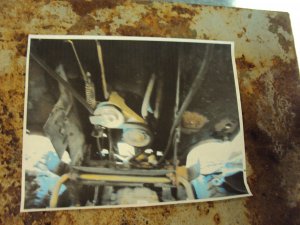
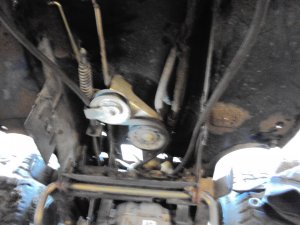
At my age I also need to take pictures and print out breakdowns so as to remember what it looked like before I took it apart.

DSC03246.JPGDSC03248.JPG

Put the motor on long enough to align the front and back pulleys to each other and help with the location of the Clutch/Brake assembly.

DSC03250.JPGDSC03251.JPG
 
Update on the Progress

Had to lower the front angle on the floorboards to fit the foot pedals correctly.

View attachment 4814View attachment 4815

You can see why in this picture. I also notched out the opening for the reverse pedal. I was surprised as to how far I had to open it to let the pedal travel it's full distance.

View attachment 4816

Somewhere in this open space I have to mount the bracket for the Clutch/Brake assembly.

View attachment 4817

Here is the assembly I have to locate inside that open area.

View attachment 4818

At my age I also need to take pictures and print out breakdowns so as to remember what it looked like before I took it apart.

View attachment 4819View attachment 4820

Put the motor on long enough to align the front and back pulleys to each other and help with the location of the Clutch/Brake assembly.

View attachment 4821View attachment 4822
I know what you mean on the print outs! Better than running back to the puter to see what it said! Looking good!
 
Project looks like it’s progressing nicely. Keep the pics coming. Enjoy watching your progress.
Piics are a necessity. I do a whole book of pics when doing a restoration.
They are invaluable when putting things together and there is always one thing that you need and cannot find.
 
I tried to fit the belt drive in the 100 today and found a problem with the steering box sitting right in the way. With the original transmission and rear end it was a two belt system with the front belt twisting from horizontal to vertical thus missing the steering box. Trying to run a single belt system the steering box is sitting there in my way.( Laughing at me) I will have to run a low belt in the front to a high belt in the back and put the clutch/brake system on the back belt. This is going to be interesting to figure out and will probably have to make the center pulley. I am going to try and keep this Clutch/ brake bracket if I can.

DSC03066.JPG
 
Was coming along nicely. I’m sure you’ll get it figured out. Good luck.
 
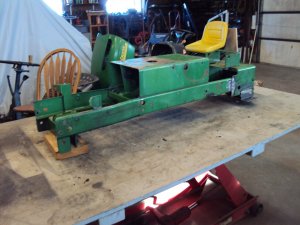
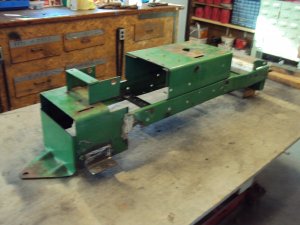
After going thru some medical problems and still in line for surgery I finally got back out to the shop to work on the 100 conversion. Generally all I did was make a decision on the belt system, weld in a bracket and now have dismantled it to start the paint process. Here is what it looks like now.

DSC03363.JPG DSC03366.JPG
 
After going thru some medical problems and still in line for surgery I finally got back out to the shop to work on the 100 conversion. Generally all I did was make a decision on the belt system, weld in a bracket and now have dismantled it to start the paint process. Here is what it looks like now.

View attachment 10013 View attachment 10014


It sure doesn't look like much at he moment.
But I know it will turn out really nice.
 
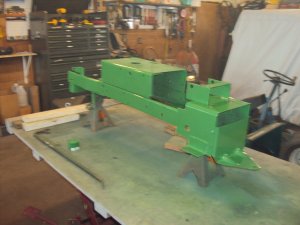
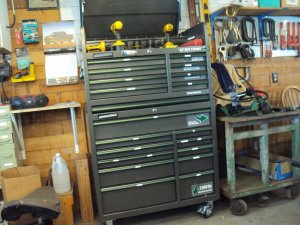
Done with surgery and putting up with tubes and stitches. I did make it out to the shop for a little while the last couple of days. I have the first few coats of paint on the frame. In a few more days I will go out and put the finish coats on the frame and then it will be time to clean, paint and install parts one section at a time. Here is a pic of the Frame and also My newly purchased Tool Cabinets.


DSC03374.JPG DSC03380.JPG
 
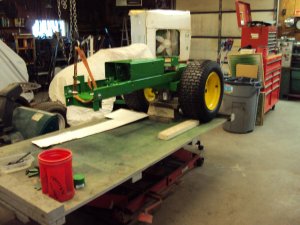
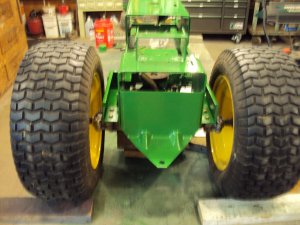
Back out in the Shop yesterday and today. Too uncomfortable to sit so standing in the shop is easier on me and I am getting things done slowly but surely. Got the bracket that goes between the Hydro rear end and the frame painted and was able to mount the rear end into the frame. The rear end is out of a simplicity and the bracket is the back half of its frame thus allowing me to adapt the rear end to the 100. You might notice in the background a cheaply built paint booth lol. I put a furnace filter on the back side of the fan to collect the overspray.


DSC03387.JPG DSC03393.JPG
 
Back
Top