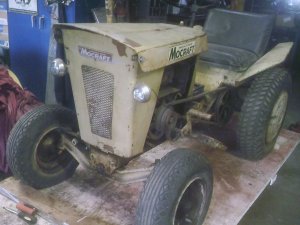
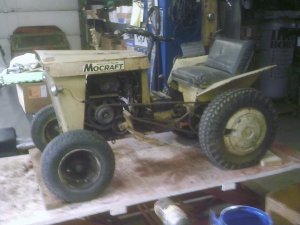
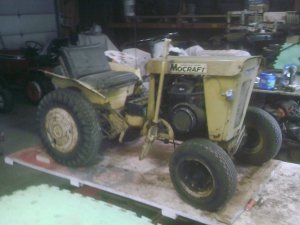
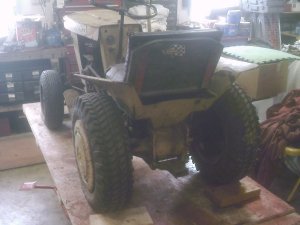
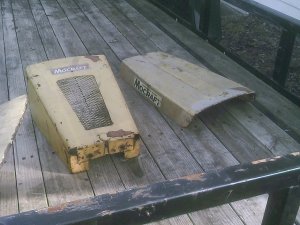
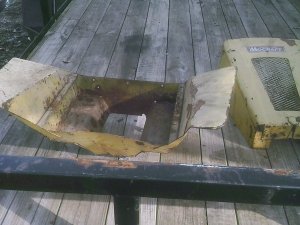
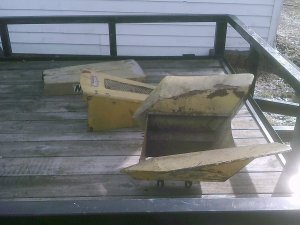
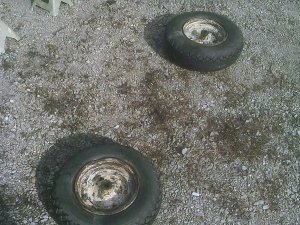
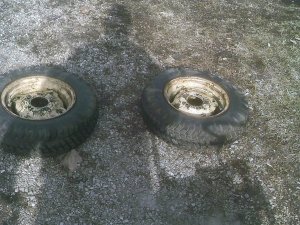
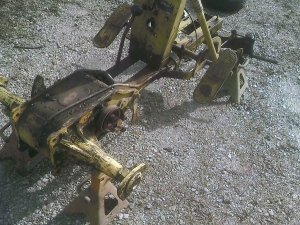
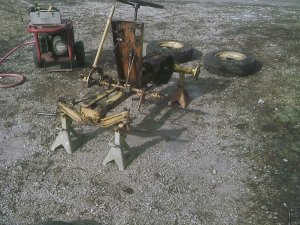
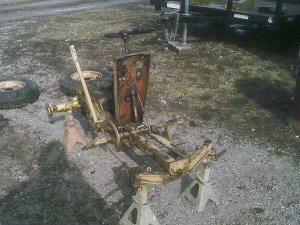
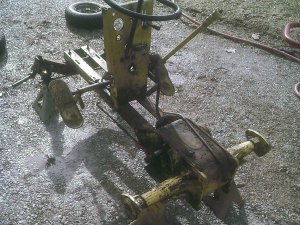
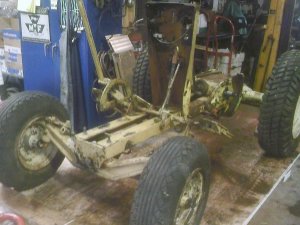
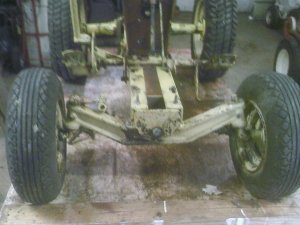
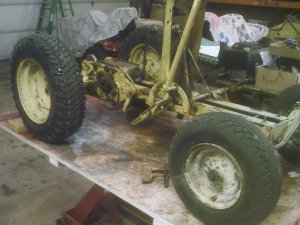
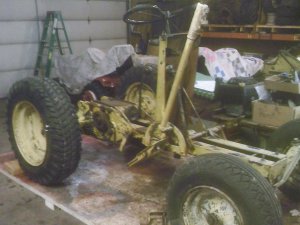
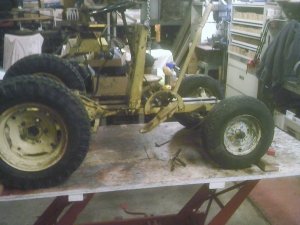
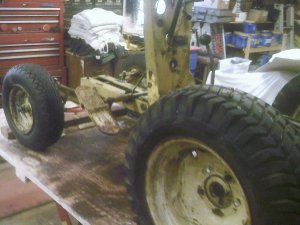
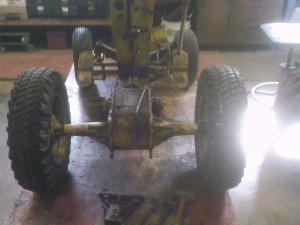
I have had this unit for a while. Just didn't want to start on it until now. It has a Kohler K161s 7 H.P. engine. The tractor was made by Jacobsen. It's the same as a Jacobsen 100A. It turns over but doesn't have any spark. The carb will require some attention also. I may try a replacement carb from I Save Tractors. Surprisingly the tires still hold air. At some point the P.O. painted the tractor Minneapolis-Moline yellow . It should be brown. If and when it is running and functioning properly I may repaint it. Rick
You are using an out of date browser. It may not display this or other websites correctly.
You should upgrade or use an alternative browser.
You should upgrade or use an alternative browser.
MOCRAFT
- Thread starter CRF6179
- Start date
Rick, that's good lookin Mocraft, even has original Jacobsen rear wheel weights. Do you have the drive belt guard for it?
Good luck getting it up and running.
Good luck getting it up and running.
Rick, that's good lookin Mocraft, even has original Jacobsen rear wheel weights. Do you have the drive belt guard for it?
Good luck getting it up and running.
Thanks. The wheel weights plus some implements are why I bought it. I do not have all the belt guards. I have the horse shoe shaped one. But i'm missing all the tin guards and the battery cover. Rick
Thanks. The wheel weights plus some implements are why I bought it. I do not have all the belt guards. I have the horse shoe shaped one. But i'm missing all the tin guards and the battery cover. Rick
You know, about every one that I've seen for sale the past several years has been missing the battery cover. Back in the day I'd say the guys got tired of taking them on and off to replace the battery and tossed them aside. Same with the belt guards.
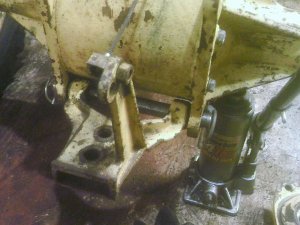
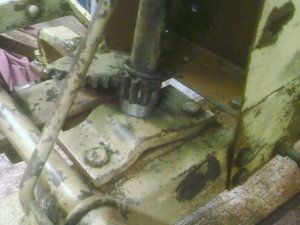
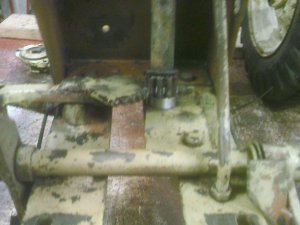
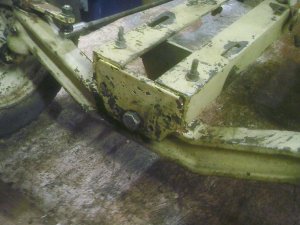
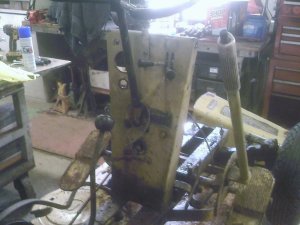
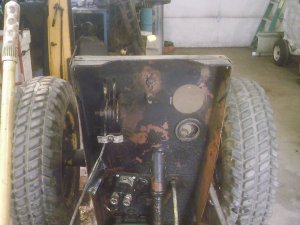
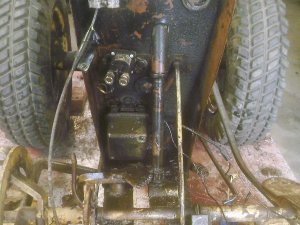
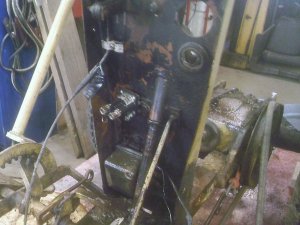
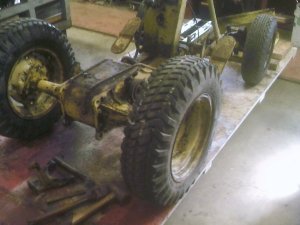
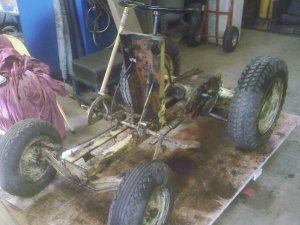
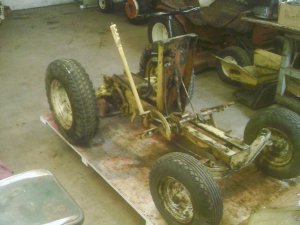
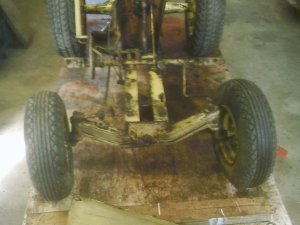
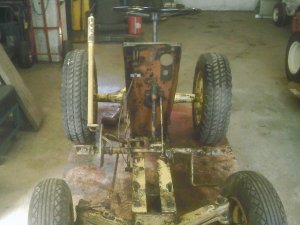
I finally got back to messing with this tractor. I stripped off most the parts and got them ready for cleaning. I just about wore out a putty knife scraping off all the old gunk. I let it soak with degreaser and carb cleaner overnight. This afternoon the temperature was in the high 40's so I waited until then to pressure wash it. Before washing:
Attachments
-
 SUNP0020.JPG146.8 KB · Views: 10
 -
 SUNP0021.JPG169 KB · Views: 10
 -
 SUNP0022.JPG203.8 KB · Views: 10
 -
 SUNP0023.JPG176.7 KB · Views: 10
 -
 SUNP0027.JPG137.2 KB · Views: 10
 -
 SUNP0028.JPG169.7 KB · Views: 10
 -
 SUNP0029.JPG157.8 KB · Views: 10
 -
 SUNP0030.JPG143 KB · Views: 10
 -
 SUNP0031.JPG158.6 KB · Views: 10
Power washing:
Attachments
After washing it didn't look much different, just cleaner.
Attachments
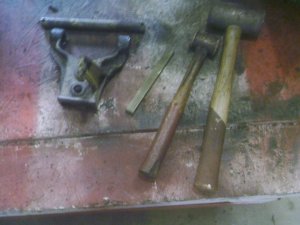
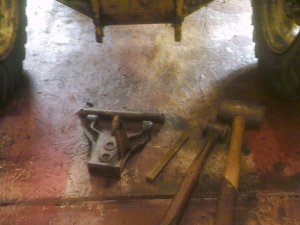
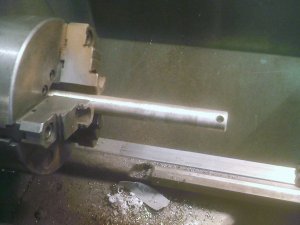
I had an issue with removing the rear hitch and pin. It didn't want to move. One end was mushroomed, but I did manage to drive it out from the other end. A 4lb. brass hammer and a brass bar convinced it to move. I will put the pin in the lathe and chamfer the ends and polish the length of it. It should reinstall easy enough.
Attachments
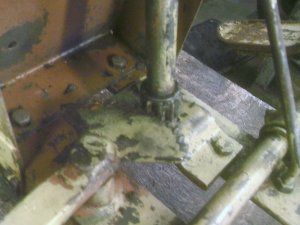
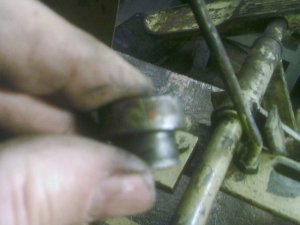
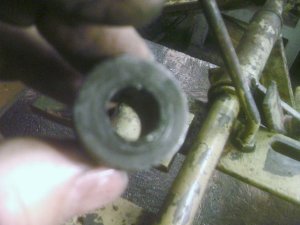
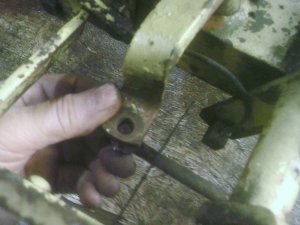
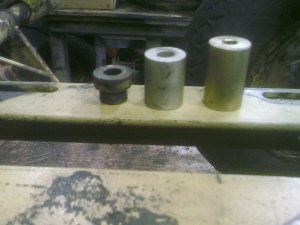
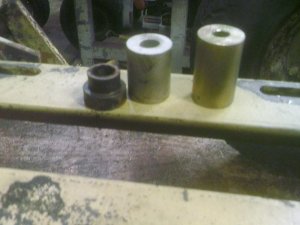
The next thing I want to address is the looseness of the steering. The bushing at the bottom of the column is sloppy. I found a couple donor pieces
to put in the lathe and make a tighter fitting bushing. Also I'll bore out and fit a bushing into the linkage of the fan gear and drag link to the spindle.
Those two fixes and two new rod ends will cure most of the free play in the steering system.
to put in the lathe and make a tighter fitting bushing. Also I'll bore out and fit a bushing into the linkage of the fan gear and drag link to the spindle.
Those two fixes and two new rod ends will cure most of the free play in the steering system.
Attachments
Last edited:
Take a good look at the axle for heat stress cracks right against the welds. Being cast iron it should have been brazed and not stick welded. Some folks don't realize that you can get the cast too hot way too fast with a welder and draw carbon to the edge of the weld by rapid cooling making the cast brittle at the edge of the weld. I hope he didn't do that to the axle.
The clean up looks great, at least you can now see what your working with.
Good luck!

The clean up looks great, at least you can now see what your working with.
Good luck!

I cleaned up the rear hitch pin and chamfered the ends. I reinstalled it on the tractor. That way I know where I left it! 
I also machined out a replacement bushing for the steering column. Reinstalled it and took out a lot of the sloppiness in the steering.
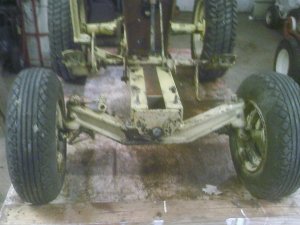
The front axle had a lot of twisting when you moved the steering. I thought I might need to shim it. Turns out all it needed was tightening the pivot bolt. Don't know how long it has been loose. but that could explain the bends in the drag link and tie rod. With that, the new bushing and redoing the tie rod and drag link the steering has tightened up nicely.
Attachments
Last edited:
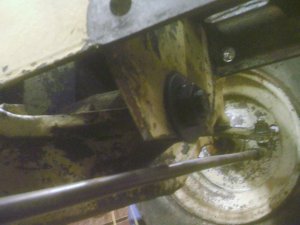
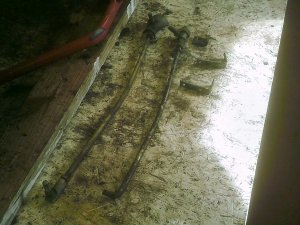
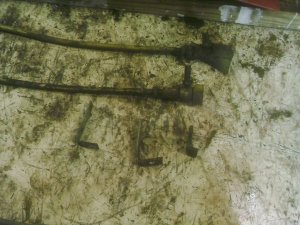
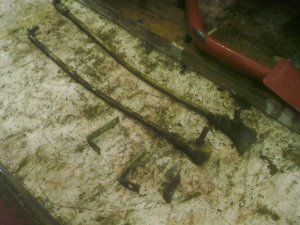
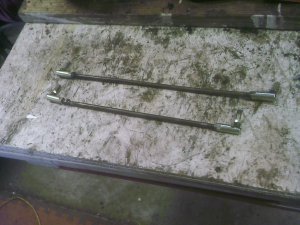
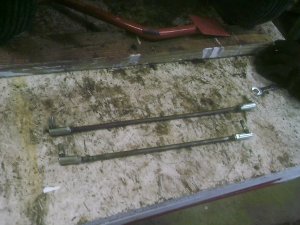
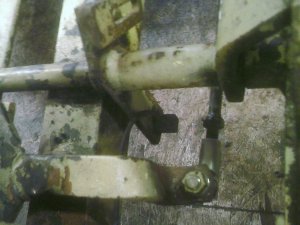
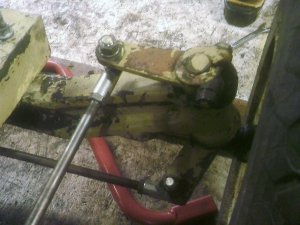
The drag link and tie rod were kinda bent up and needed new rod ends. The P.O. had attached l-brackets at each end and was using springs to hold up the rod ends.
I just chuckled and went to work redoing them. They were s-shaped and needed straightening. After cleaning the tie rod I put on new rod ends. After cleaning the drag link I cut off the end bent 90* and welded on a 3/8 fine thread bolt and put a rod end on that end also. Once installed they helped to tighten up the steering. A few before and after pictures.
I just chuckled and went to work redoing them. They were s-shaped and needed straightening. After cleaning the tie rod I put on new rod ends. After cleaning the drag link I cut off the end bent 90* and welded on a 3/8 fine thread bolt and put a rod end on that end also. Once installed they helped to tighten up the steering. A few before and after pictures.
Attachments
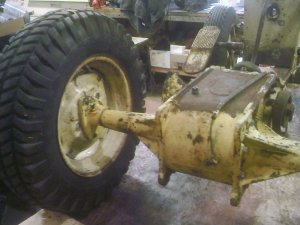
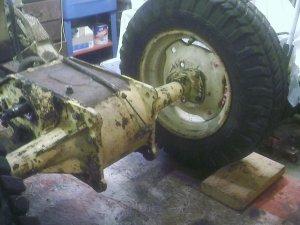
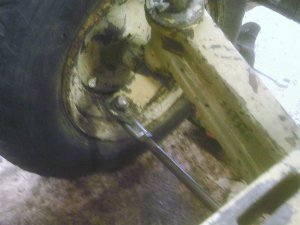
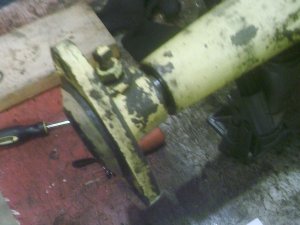
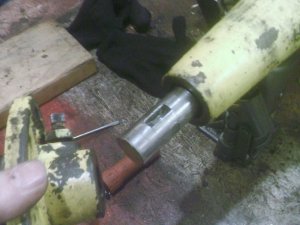
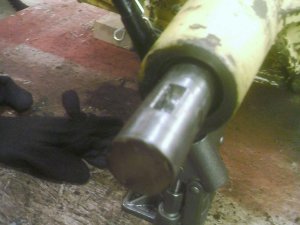
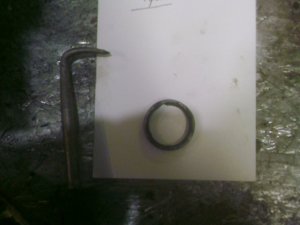
I next decided to replace the rear oil seals. After getting the hub off I was surprised to see how small they were. I removed one and measured it. once I googled an oil seal chart, I managed to find the replacements. they are 1" shaft-1.25 o.d.-.125 thick. there is enough depth in the housing that I may reinstall two on each side. Rick

