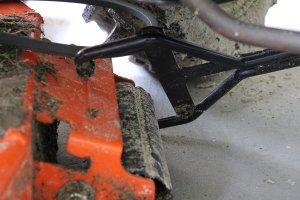
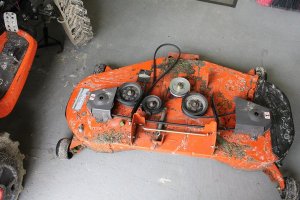
STAGE-1
Preparation for Transaxle Oil Change
1) If you think you will or may need to mow your yard within the following week of this decision, I recommend doing it now. This will relieve the pressure on yourself to cut corners or speed up beyond your comfort speed.
2) Have a clean, dry, safe, place to work. Safe can also be from dog, kid, visitor, or spouse traffic, just think ahead.
Have a place picked out to store your center console, wheels, and main body (think of scratch protection too, if important to you). Have a storage tub, like is common at the box stores for $10 or so, 27 gal ish. Works well, for storing your smalls in one place.
Have a sharpie and zip lock bags with masking tape a plus, for organizing your component hardware for reassembly, you won’t have to wonder what that one bolt is for or nut, zip lock and sharpie make for easy re-installation on a big project. If this is your first big project of this nature, relax, I’ve even covered when to do this, no experience is needed.
3) Remove accessories, such as wheel weights, suitcase weights, scoops, blades, snow blowers, etc. You don’t have to remove supporting brackets for the implements, just the implements to get the job down to an average base place to start, plus it will be lighter and safer on jacks and such.
4) Your GT should be approximately like it was the day you brought it home right now with only the mowing deck still attached.
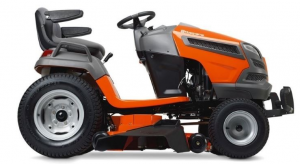
5) Mowing deck removal. If you have done this already, your a wiz at this part, you are a pro etc, by all means now is the time, and you can skip the deck removal steps.
For those wanting a step by step way and have never removed your deck, then this next part is for you.
I want to caution anyone attempting this service, after the deck has been removed, please follow the steps, even if they may not make sense at the time. I’ve spent the time developing steps that can be followed for complete success. Short cuts may lead to unnecessary frustration.
Mower Deck Removal by the Numbers
Having a set of needle nose pliers handy, or a straight blade screw driver, we will be able to remove even the most stubborn clips, while keeping your knuckles in tact. Most clips should come out easy. The anti-sway bar can give trouble, we will minimize this in advance through reducing it’s tension by the specific order we remove drag arm clips.
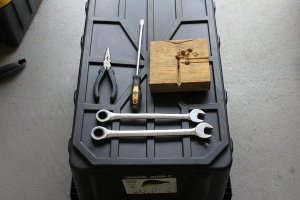
You will need an 11/16” end wrench (or combination set, or adjustable) for the front drag arm Jam nut (outside thin nut) and a 3/4” end wrench (or a combination, adjustable wrench) for the front drag arm adjusting nut. This is only if you need to adjust it later or want to remove it. For the purpose of this guide, complete removal of this front center drag arm is not needed, the current adjustment will stay in tact, zip ties will be handy.
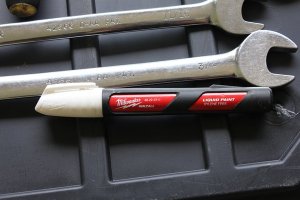
This is for the majority that has the stock set up on their mowing decks. If you applied the modification I wrote in the thread “You don’t need a welder for this modification” or something alike, you won’t need to be concerned with re-adjusting the front at assembly if you have removed the front center drag arm.
For direction purposes the “right” side is the grass chute side, or when sitting in the operators seat, your right. The left is on the left. This is to communicate for clarity.
1) Lower mowing deck all the way down as far as it will go.
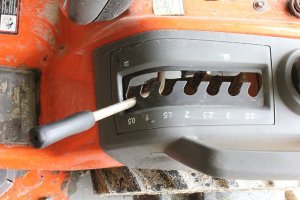
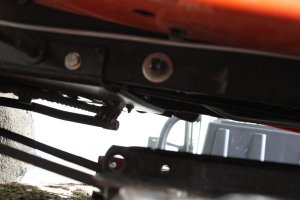
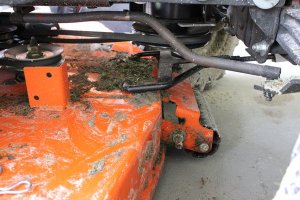
2) Go to the right side, with your needle nose pliers, remove the middle drag arm clip and washer. Not the arm.
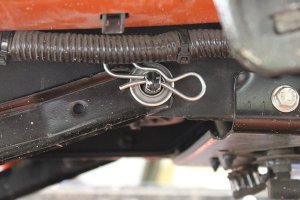
it should look like this,
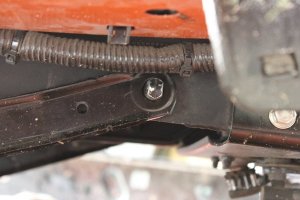
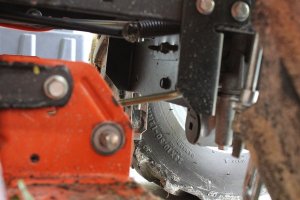
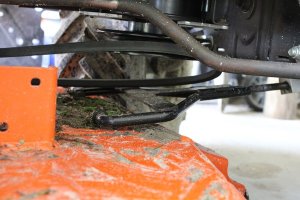
3) Remove the right side rear lift drag arm clip and washer. In this picture its the big bow clip on the left, the small clip on the right is the anti sway bar and step 4
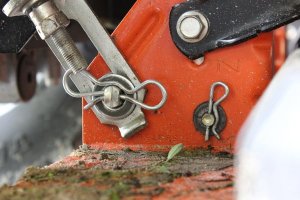
4) With your needle nose pliers remove the small anti-sway bar clip and washer. Only clips and washers.
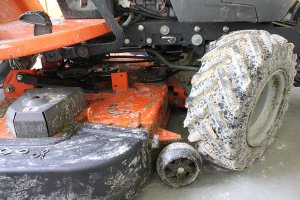
5) With the 3 right side clips and washers removed,
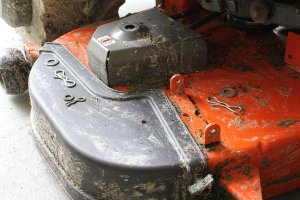
Disconnect the middle drag arm from the chassis, lay it flat on deck in place, re-install the washer and clip on its post. This drag arm,

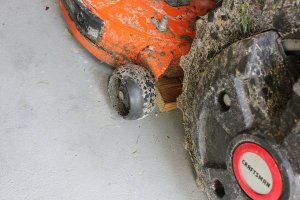
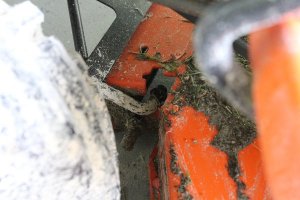
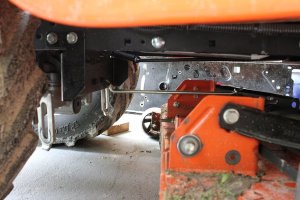
6) Lift deck to the 1.5 setting and place a small block of wood under the right rear deck corner here, then lower deck on the wood so the wood is supporting the weight of the deck corner.
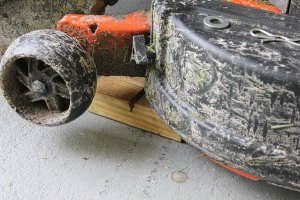
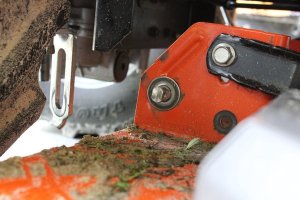
The right rear lift drag arm will have free movement, tension is released, the rear drag lift arm should slip right off, the process if followed should have allowed the anti-sway bar to remove itself, if not, just nudge it, no fight. Replace the washers and clips to their posts.
I have maxed my 10 images in this post, I'll continue Stage-1 in the next post.
Preparation for Transaxle Oil Change
1) If you think you will or may need to mow your yard within the following week of this decision, I recommend doing it now. This will relieve the pressure on yourself to cut corners or speed up beyond your comfort speed.
2) Have a clean, dry, safe, place to work. Safe can also be from dog, kid, visitor, or spouse traffic, just think ahead.
Have a place picked out to store your center console, wheels, and main body (think of scratch protection too, if important to you). Have a storage tub, like is common at the box stores for $10 or so, 27 gal ish. Works well, for storing your smalls in one place.
Have a sharpie and zip lock bags with masking tape a plus, for organizing your component hardware for reassembly, you won’t have to wonder what that one bolt is for or nut, zip lock and sharpie make for easy re-installation on a big project. If this is your first big project of this nature, relax, I’ve even covered when to do this, no experience is needed.
3) Remove accessories, such as wheel weights, suitcase weights, scoops, blades, snow blowers, etc. You don’t have to remove supporting brackets for the implements, just the implements to get the job down to an average base place to start, plus it will be lighter and safer on jacks and such.
4) Your GT should be approximately like it was the day you brought it home right now with only the mowing deck still attached.

5) Mowing deck removal. If you have done this already, your a wiz at this part, you are a pro etc, by all means now is the time, and you can skip the deck removal steps.
For those wanting a step by step way and have never removed your deck, then this next part is for you.
I want to caution anyone attempting this service, after the deck has been removed, please follow the steps, even if they may not make sense at the time. I’ve spent the time developing steps that can be followed for complete success. Short cuts may lead to unnecessary frustration.
Mower Deck Removal by the Numbers
Having a set of needle nose pliers handy, or a straight blade screw driver, we will be able to remove even the most stubborn clips, while keeping your knuckles in tact. Most clips should come out easy. The anti-sway bar can give trouble, we will minimize this in advance through reducing it’s tension by the specific order we remove drag arm clips.

You will need an 11/16” end wrench (or combination set, or adjustable) for the front drag arm Jam nut (outside thin nut) and a 3/4” end wrench (or a combination, adjustable wrench) for the front drag arm adjusting nut. This is only if you need to adjust it later or want to remove it. For the purpose of this guide, complete removal of this front center drag arm is not needed, the current adjustment will stay in tact, zip ties will be handy.

This is for the majority that has the stock set up on their mowing decks. If you applied the modification I wrote in the thread “You don’t need a welder for this modification” or something alike, you won’t need to be concerned with re-adjusting the front at assembly if you have removed the front center drag arm.
For direction purposes the “right” side is the grass chute side, or when sitting in the operators seat, your right. The left is on the left. This is to communicate for clarity.
1) Lower mowing deck all the way down as far as it will go.

2) Go to the right side, with your needle nose pliers, remove the middle drag arm clip and washer. Not the arm.

it should look like this,

3) Remove the right side rear lift drag arm clip and washer. In this picture its the big bow clip on the left, the small clip on the right is the anti sway bar and step 4

4) With your needle nose pliers remove the small anti-sway bar clip and washer. Only clips and washers.
5) With the 3 right side clips and washers removed,

Disconnect the middle drag arm from the chassis, lay it flat on deck in place, re-install the washer and clip on its post. This drag arm,

6) Lift deck to the 1.5 setting and place a small block of wood under the right rear deck corner here, then lower deck on the wood so the wood is supporting the weight of the deck corner.

The right rear lift drag arm will have free movement, tension is released, the rear drag lift arm should slip right off, the process if followed should have allowed the anti-sway bar to remove itself, if not, just nudge it, no fight. Replace the washers and clips to their posts.

I have maxed my 10 images in this post, I'll continue Stage-1 in the next post.

