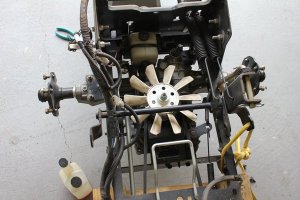
Stage-3, Complete K66 Oil-Change Guide GT/TS, Body and Fuel Tank Removal

GT48DXLS

Tractorologist
Senior Member
Member
Stage-3

Body Removal

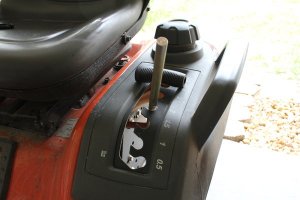
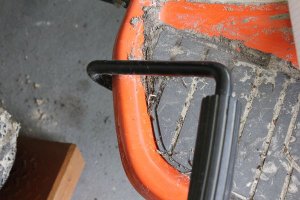
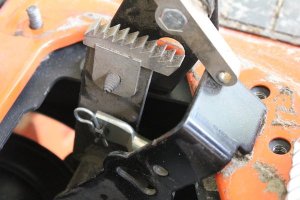
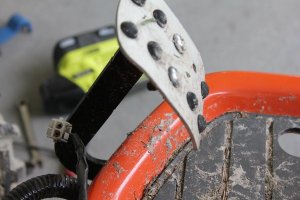
1) Remove the reverse pedal by releasing the barb that locks the plastic pedal on to the steel lever,

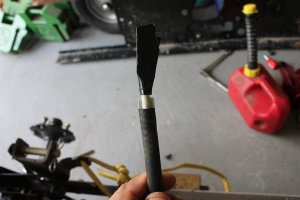
Pry up here with a straight blade screw driver on one of these, Or one of the nylon tools like I'm using,
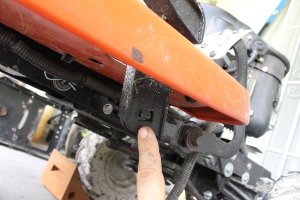
1.JPG

Wiggle the plastic pedal off by prying just enough, not too much, it is plastic and can break with too much force.
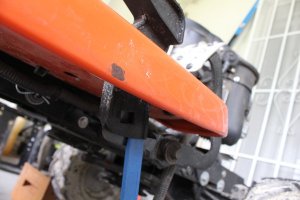
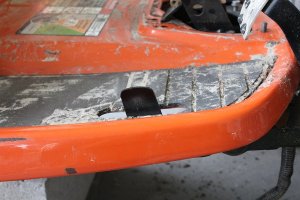
2.JPG

3.JPG

2) Remove rubber hand grip from the mower deck height adjuster arm. It should twist off like a bicycle hand grip. (It shouldn’t be glued, if it is, the handle can be removed once the spring tension is released by a cargo strap or the like, then by removing a quick clip on the actuall lever)
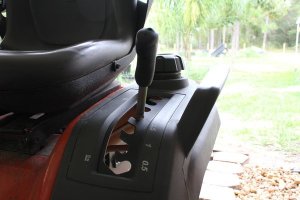
4.JPG

And here,

5.JPG

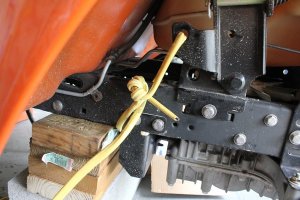
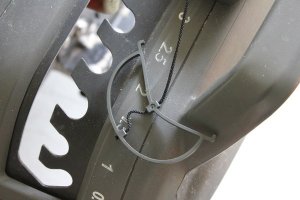
3) With the handle in place, we need to hold the spring tension on the lever in place, this will help in the re-assembly section.

This can be done with a cargo strap, or anything that can safly lock the lever in place. The deck is in the neighborhood of 100lbs and these two springs are the counter weight to that so be aware, what you use will need to hold approximately a 100lbs. (I would not recommend bungee cords)

I have used a cargo strap very successfully (In the thread Beware Husqvarna the build part 2), so this time I will use something also common to home owners just to prove the point, what is common can work. I used common house wire scrap like this,
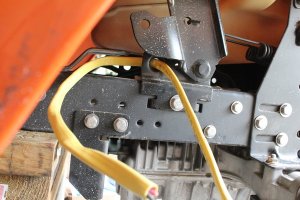
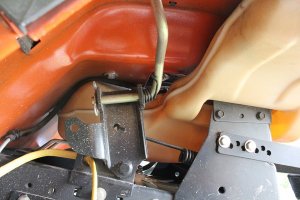
6.JPG

8.JPG

11.JPG

Test it’s hold before moving on, very important.
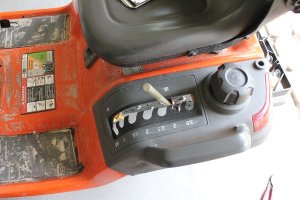
12.JPG

In the end, if it doesn't hold, but slowly slips like wire can do, don’t panic, when we get ready to put the body back on, a cargo strap can be used to put it back in place.

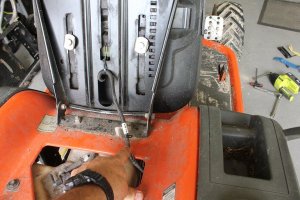
4) Lift/push operator seat forward, this wire needs to be out of the way,
14.JPG

Stage-3, Continued on the next reply...
 
Stage-3, Continued...

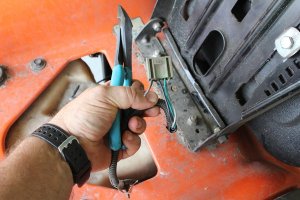
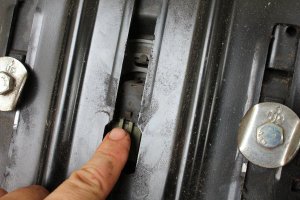
This wire is for the operator presence safety switch. You can see here it has the fragile plastic style clasp. I broke mine at the 63hr mark when I first tore this tractor down. I have kept it in place with a zip tie here,

15.JPG

and here,

16.JPG

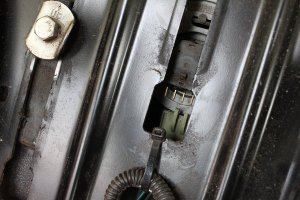
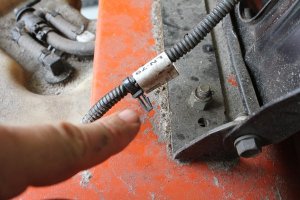
The wire loom has a barbed one way anchor here,

17.JPG

go here to release it,

18.JPG

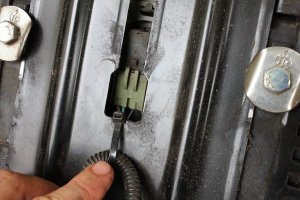
Slide the connector back while lifting up on the connector clasp,

21.JPG

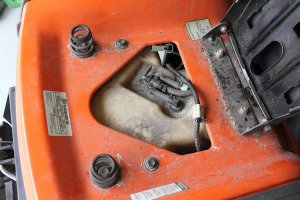
lay this on top of the fuel tank, out of the way of the body,

22.JPG

23.JPG

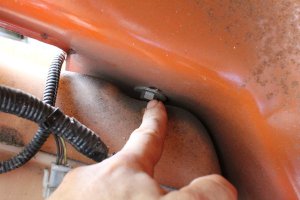
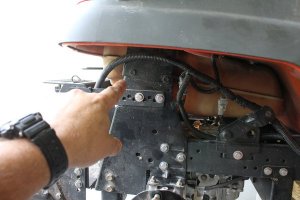
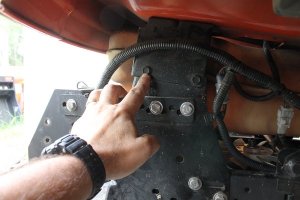
5) Remove the last 4 body bolts in the rear.

Access the two 1/2” (13mm) bolts from each side through the rear wheel wells like this,

24.JPG

Right side,

25.JPG

Left side,

26.JPG

Stage-3, Continued on the next reply...
 
Stage-3, Continued...

Socket or end wrench (adjustable will work too).

It should look like this on the right,

27.JPG

and this on the left,

28.JPG

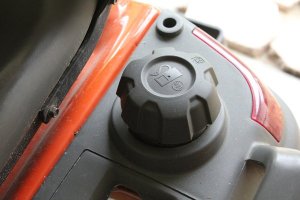
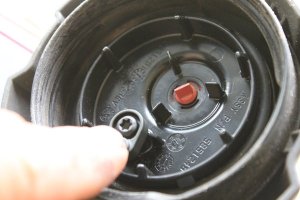
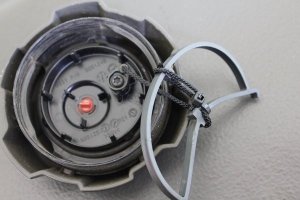
6) Remove the fuel cap completely.

29.JPG

(tip, fuel can go stale so don’t leave the cap off long, and of course this would be the wrong time to smoke or bar-b-cue, just saying)

To remove the cap completely, you could use a Torx 20 here, but make sure you secure that line so as to not go inside the fuel tank,

31.JPG

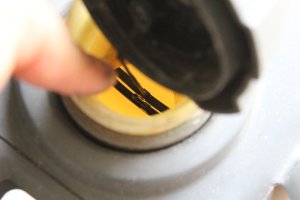
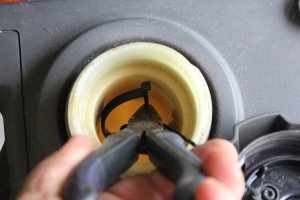
But I would recommend, using needle nose pliers on this,

30.JPG

Fish out the bottom of the fuel cap plastic tether. Grab a side with your needle nose pliers and grab an end that can be carefully lift up and out. This keeps it all attached. Now the body is ready to be lifted off with a few obstacles to be aware of.

32.JPG

33.JPG

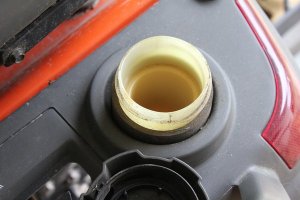
Keep the fuel tank from rising with the body and don’t let the body crush the fuel filler neck breather nipple on the fuel tank filler neck here, (like I did at the 63hr mark) If you do break it, don’t panic, I have a modification for it too, that actually works, plus reinforces the area. (in the build part 2 also)

57.JPG

If you zip tie this short, you can easily put it on and take it off while working on it,

41.JPG

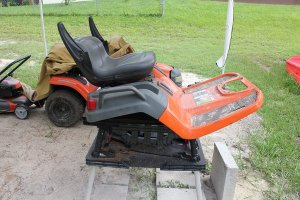
The lifting of the body is best done with 2 people, it can be done by yourself, but will be a pain. Lift from the rear left corner first (fuel filler neck side) maintaining control on the fuel filler neck and the fragile breather nipple on a $200 fuel tank. While you lift on the body carefully push down on the fuel filler neck, this will separate the fuel tank from rising with the body, and don’t let the body come down on accident (broke breather nipple).

39.JPG

Stage-3, Continued on the next reply...
 
Stage-3, Continued...

The fuel tank rests in place without any securing brackets, using the body to hold it down.

55.JPG

As you are lifting from the corner, apply pressure on the brake pedal pushing it out of the way (the idea is a process of release in a clock-wise motion),

36.JPG

34.JPG

lift transition toward the right side, being carefull not to harm those console studs by rubbing the body metal on them and lift off completely.

35.JPG

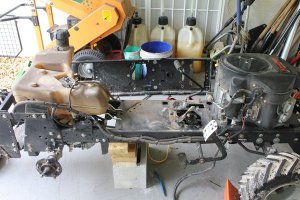
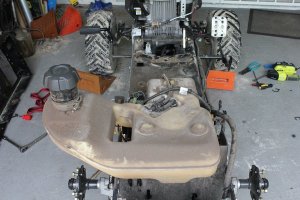
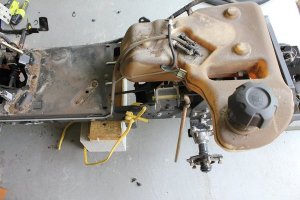
It will look like this,

42.JPG

43.JPG

44.JPG

45.JPG

Fuel Tank Removal,

Note, I did install hard fuel lines but the connection points are the same on top of the fuel tank and where the fuel filter is (at least for now). If interested in the modifications I’ve done please PM me and I will be happy to help)

Now the breather line can be safely disconnected, its just fuel vapor return for EPA, The gravity is accomplished through your gas cap, there won’t be any fuel and it should look like this, (ish)

57.JPG

Set that line asside.

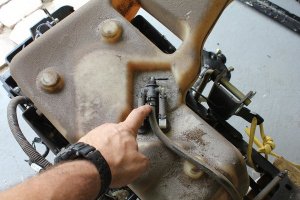
With needle nose pliers, remove the main fuel line in the middle on top here,

49.JPG

Stage-3, Continued on the next reply...


Stage-3, Continued....Last of Stage-3...

Slide the spring band back an inch, carefully twist the hose side to side to break it’s connection loose first before pulling off the fuel line nipple. (the nipple is also fragile, if you break it, don’t panic, a new piece can be purchased) have a fuel container handy to drain into, it may be a very small amount of fuel. These lines are 1/4”.

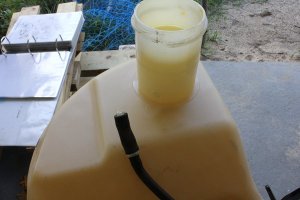
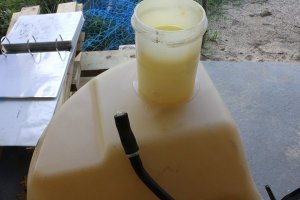
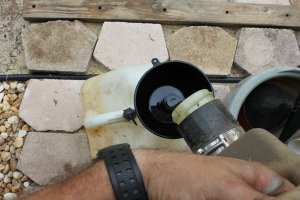
The tank can be lifted up and drained into your fuel container through the fill neck.

Note- my main fuel line has double zip ties, yours most likely has a metal spring band, if you have zip ties too, be careful not to cut the rubber fuel line when removing. If you do don’t panic, a good clean 1/2” or so cut on the fuel line end will get you back to a clean connection, of course check the slack to see if you have enough, or have a new line ready, it’s cheap.

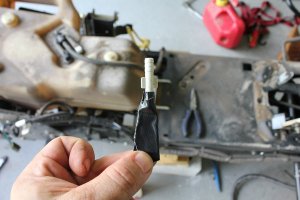
After the line drains I block it to keep clean,

51.JPG

52.JPG

Golf tees work well, Gorilla tape, vacumm caps on vacum tees, etc.

Also, If you don’t have a fuel funnel with a filter (another good recommend) then wipe the fuel tank clean before you pour the fuel back in your container, this will help keep your fuel free of contaminates.

56.JPG

When done the fuel tank can be cleaned with soap and water on the outside if you want, but make sure you plug the breether nipple on the fill neck, plug the main fuel feed going in the tank, and put the fuel cap on.

You now have plenty of room to work!

70.JPG

This is the place you need to be in order to service your K66.

Stage-3, complete,

Stage-4, Complete K66 Oil-Change Guide GT/TS is next. Stage-4 is servicing your K66 transaxle.
 
Back
Top