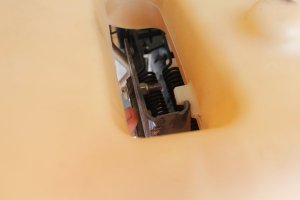
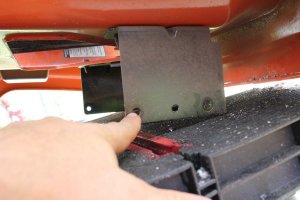
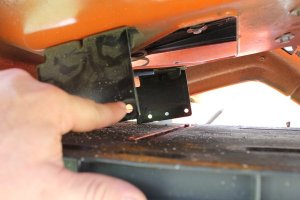
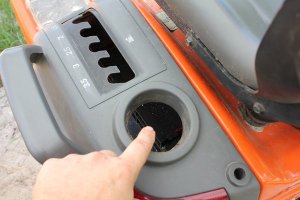
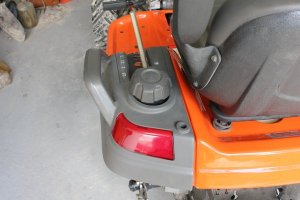
Stage-5, Complete K66 Oil-Change Guide GT/TS, Install Fuel Tank, Main Body.

GT48DXLS

Tractorologist
Senior Member
Member
Stage-5

Reassembly of the Fuel Tank and Main Body,

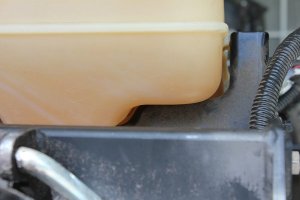
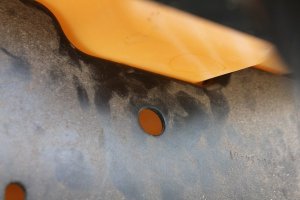
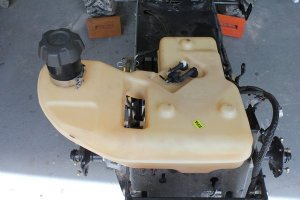
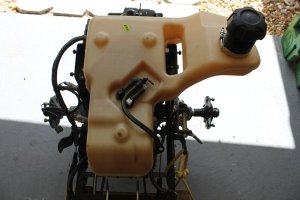
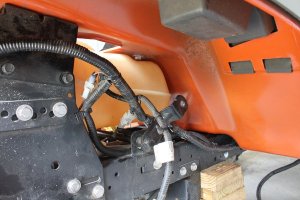
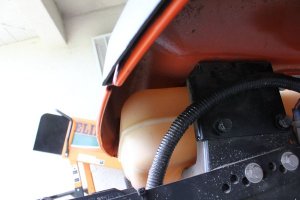
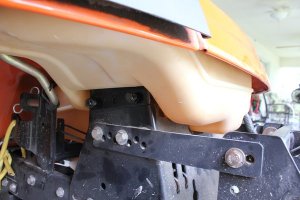
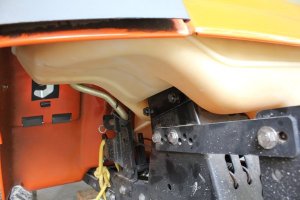
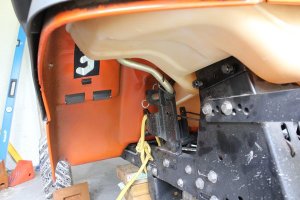
This is the time to clean your parts. You can be as meticulous as you want here or just wipe the dusty bits off, or somewhere in between.

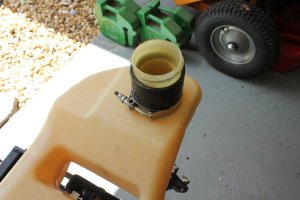
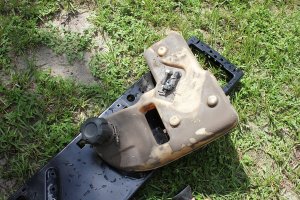
I washed mine by hand like I was washing a car, I let them dry in the air, reasonably clean. Make sure you keep your fuel tank dry on the inside,

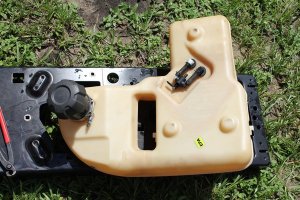
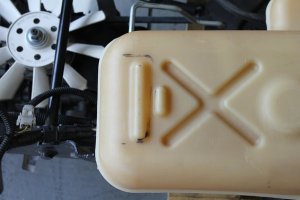
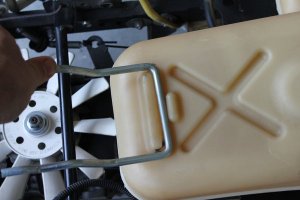
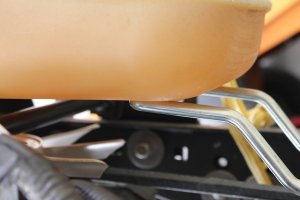
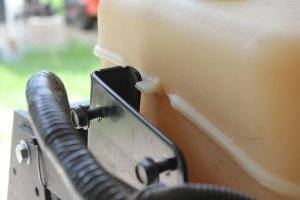
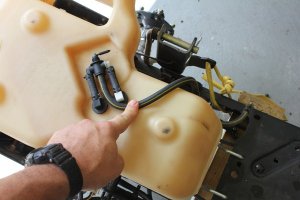
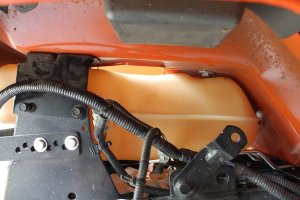
Some water and soap, no scrubbing, wipe clean, and it looks like this,
1.JPG

2.JPG

3.JPG

Keeping the fuel tank clear is convenient for fuel level checking at a glance. Scrubbing these tanks can roughen the surface and UV treatment, causing the tank to hold more dirt and cloud faster.

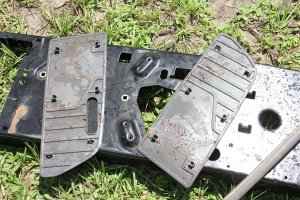
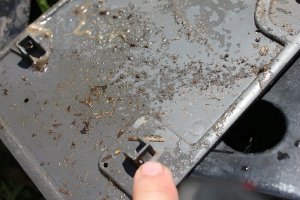
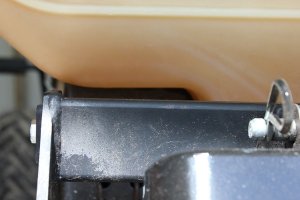
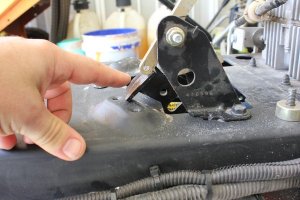
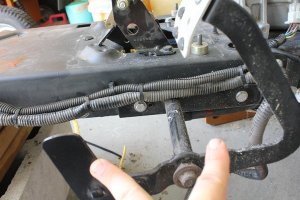
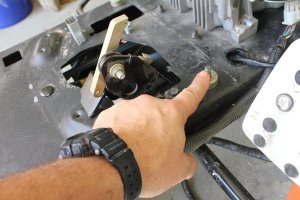
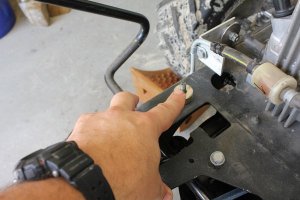
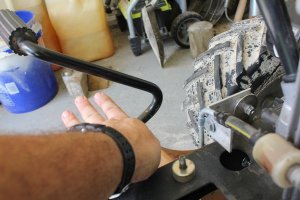
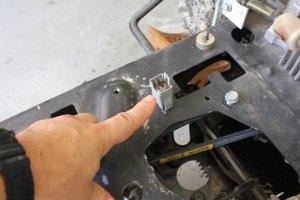
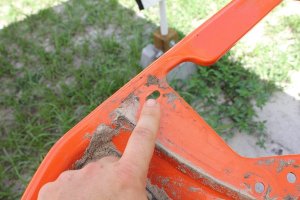
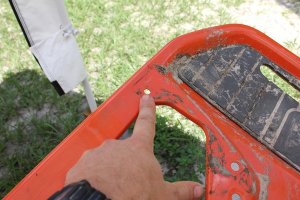
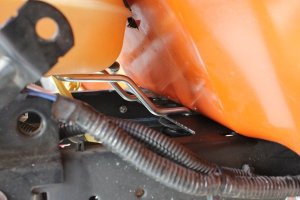
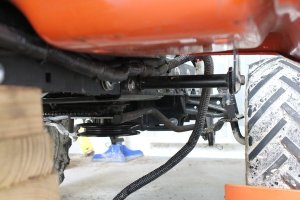
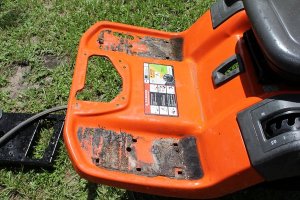
My foot trays were dirty too,
41.JPG

42.JPG

43.JPG

44.JPG

Always protect your electrics, if you do get your electrics wet, Air drying tends to accelerate corrosion.

You can spray them with a WD-40, PB Blaster, or a Fluid film product. I learned this practice from a marine mechanic for protecting my boat electrics in salt water. It works under the principle that oil displaces water.

However, if you live in dusty conditions this could be counter productive in that these oils are a magnet for dirt, Know your area and use your best judgment, keeping the electrics dry to begin with is best practice.

Please review this stage in its entirety first before starting, to freshen your mind of what to expect.

Stage-5, Continued on the next reply.
 
Stage-5, Continued..
Lets get started,

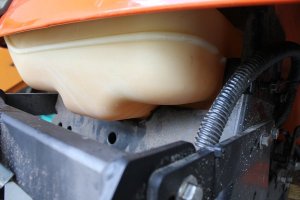
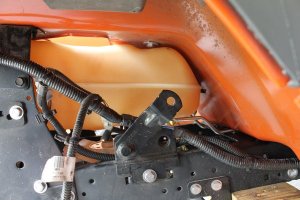
1) Install your fuel tank,

Front support bracket,

7.JPG

8.JPG

4.JPG

5.JPG

6.JPG

9.JPG

Right side fuel tank,

10.JPG

Right side rear fuel tank,

11.JPG

Rear fuel tank,

13.JPG

Left side rear fuel tank,

12.JPG

Stage-5, Continued on the next reply..
 
Stage-5, Continued...

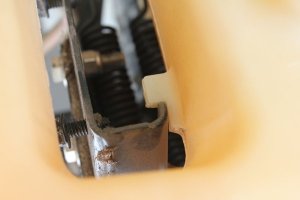
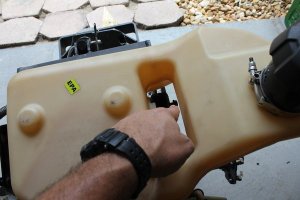
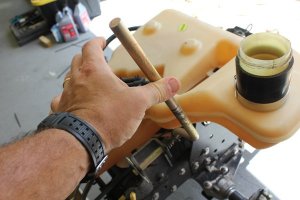
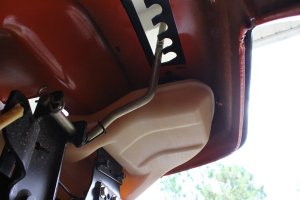
Left side fuel tank, the fuel filler neck has an opening at the base that fits over the left main body support.

14.JPG

It should look like this when ready to move on,

15.JPG

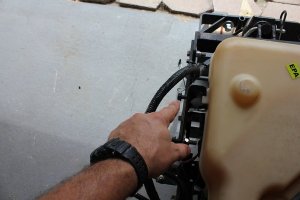
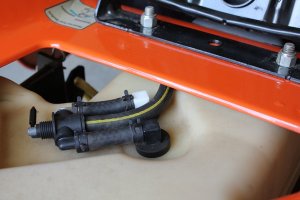
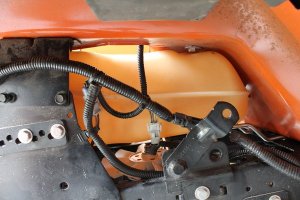
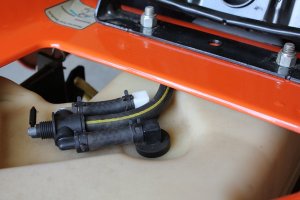
2) With clean fuel lines and connections, install the main fuel line, having it curve like this,

16.JPG

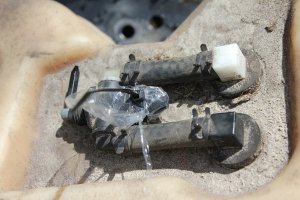
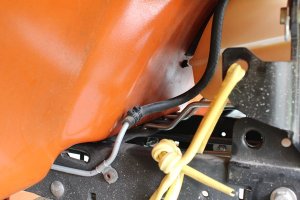
3) Install your fuel vapor return line, it will go here where mine of course broke.

25.JPG

This is your main fuel line, It will travel to the front fuel filter and the fuel pump.

24.JPG

The other end of the vapor return line goes on the right side of the carburetor (Kawasaki),

4) With your fuel tank still empty, leave the fuel cap off for now, for body install.

The tank will have a tendency to topple toward the fuel fill side, but a slight press down in back when lined up should keep it still for body install, just keep an eye on it during body install.

5) Remove the 4 rear body bolts, 2 on each side,

Right side,

19.JPG

Left side,

20.JPG

The two front nuts are in a zip lock bag, if they are on the studs, remove them now and hold on to them for the console. (Stage-6)

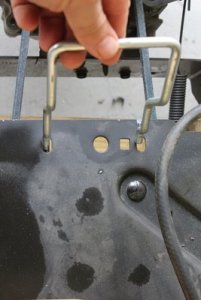
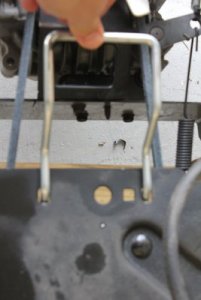
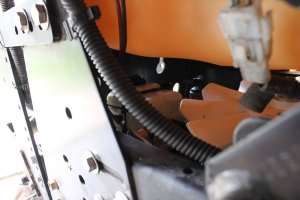
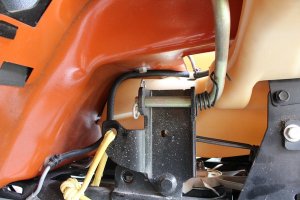
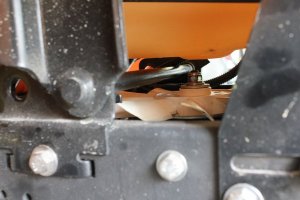
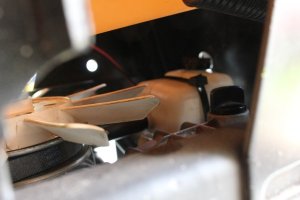
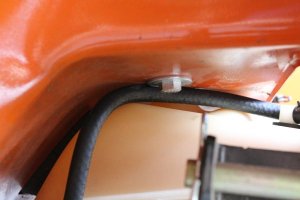
6) The vapor return line needs to be secured and not at risk of belts, body squeeze, tires, or lift lever.

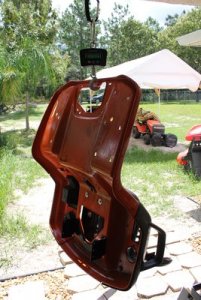
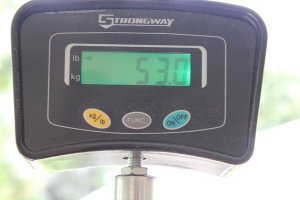
The main body weight,

47.JPG

46.JPG

Stage-5, Continued on the next reply...
 
Stage-5, Continue....

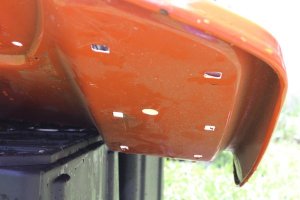
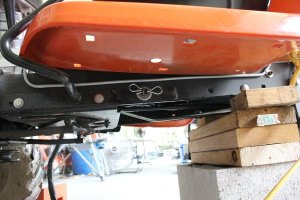
With the chassis top clean, put the body on front first under pedals and brake cruise release, the studs in front (2) are there to help guide the body down over the fuel tank. Remember to be careful with the threads on those studs.

26.JPG

27.JPG

28.JPG

29.JPG

30.JPG

31.JPG

33.JPG

34.JPG

Stage-5, Continued on the next reply....
 
Stage-5, Continued.....

As you lower the rear of the body over the fuel tank, be careful not to pinch the fuel lines and especially the fuel filler neck fuel vapor return line nipple……..

Pay special attention to the body fuel filler opening not pinching that vapor line. This part is critical, so take your time, having a helper here is a plus, it’s awkward, cumbersome, a real pain. Also align these holes to the rear sleeve, for those body bolts.

32.JPG

36.JPG

37.JPG

38.JPG

48.JPG

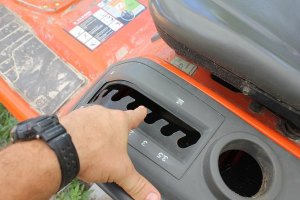
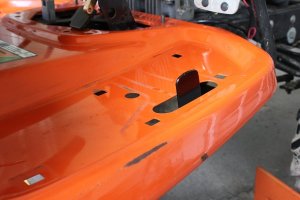
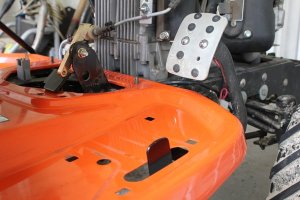
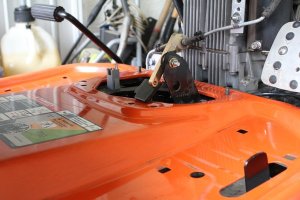
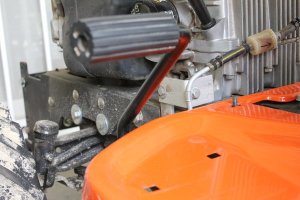
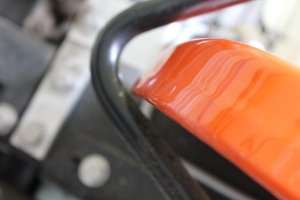
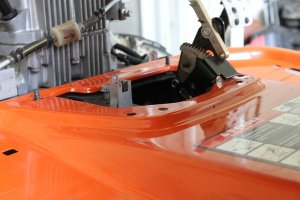
And the mower deck lift lever is probably under light spring tension down, at the same time as all the above, lift the lever enough into position to be up and go through it's slot on the main body,

39.JPG

40.JPG

Tip- If you bungee cord your seat down (secured to body) it will help, anticipate some re-shifting of the fuel tank, and lines.

Don’t attempt to install the rear bolts until the holes line up and the fuel tank, lines, are all where they are supposed to be. Just trying to minimize the risk of cross-threading here.

Once you install the bolts by hand, don’t tighten yet, we want the body to move some, until everything checks and is properly aligned.

49.JPG

Stage-5, Continued on the next reply.....
 
Stage-5, Continued......

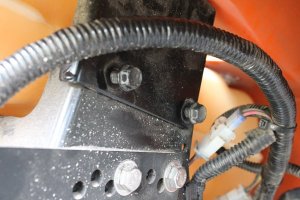
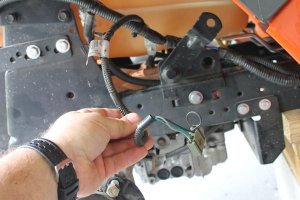
Your rear electrics from the right side,

50.JPG

51.JPG

52.JPG

53.JPG

54.JPG

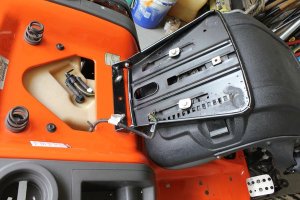
Once you put the occupant present safety switch wire in its ready position like this,

58.JPG

60.JPG

Then it should all look like this,

59.JPG

Stage-5, Continued on the next reply......
 
Stage-5, Continued.......

7) Control Pedals,

55.JPG

56.JPG

57.JPG

8) Brake/ Cruise release,

73.JPG

74.JPG

75.JPG

9) Front studs, (with spacers between the chassis and body)

72.JPG

Stage-5, Continued on the next reply.......
 
Stage-5, Continued.........

11) Fuel line,

68.JPG

69.JPG

48.JPG

Plus the vapor return line, not pinched, installed, safe.

12) Fuel filler neck, and the mower deck lift lever raised into position,

76.JPG

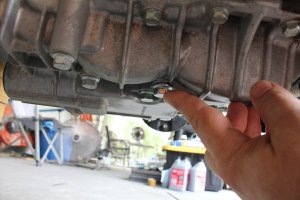
13) Check your transaxle gear side drain bolt and hydro side drain bolts, make sure they were snugged,

77.JPG

79.JPG

Now that it looks like this,

80.JPG

And you are satisfied the body is aligned at this point, passing your visual inspection,

14) Tighten the 4 rear body bolts. (the front 2 nuts are not put on until Stage-6)

Right,

49.JPG

Left, (The two black body bolts)

64.JPG

Stage-5, Continued on the next reply.........
 
Stage-5, Continued..........

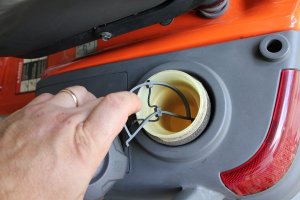
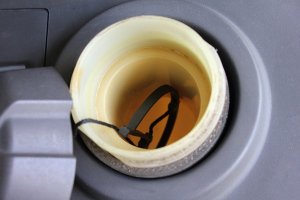
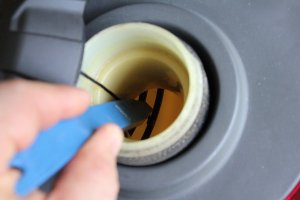
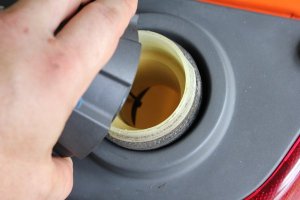
15) Complete install of fuel cap now, just push the plastic cord dangle inside and set it,

81.JPG

82.JPG

83.JPG

16) Test that the cap doesn't pull out,

84.JPG

17) Tighten cap,

85.JPG

Done.

Stage-6, Complete K66 Oil-Change Guide GT/TS, Center Console install next Thread.
 
Back
Top