You are using an out of date browser. It may not display this or other websites correctly.
You should upgrade or use an alternative browser.
You should upgrade or use an alternative browser.
White 1855 Repairs
- Thread starter Sawdust
- Start date
I did the same thing remove the troublesome Onan in installed a B&S Vanguard twin V 16 hp what a great improvement and nice Suburban it is nowI have a 16 hp that I repowered a Suburban with got rid of the troublesome Onan and made that Suburban a nice tractor
I have a nice JD318 waiting to be put back together I got from a friend. He said the Onan ran good a few years ago before he took the tractor apart. I’ve had it two years and a little nervous about it. I spin it a few times every now and then to make it think it’s still useful lol.
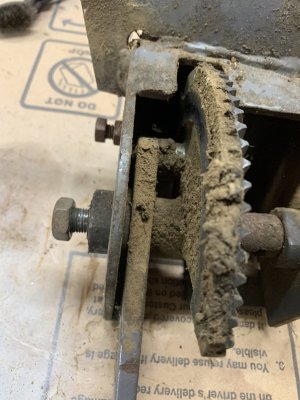
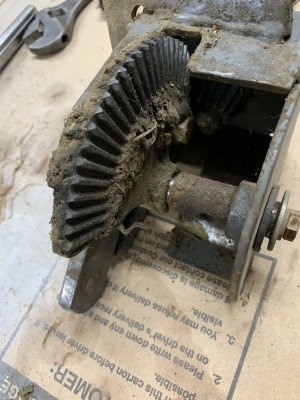
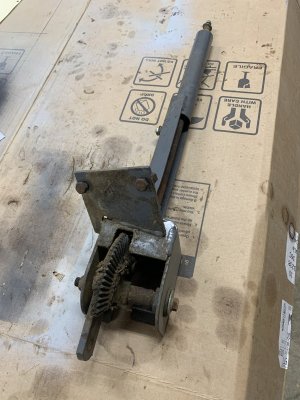
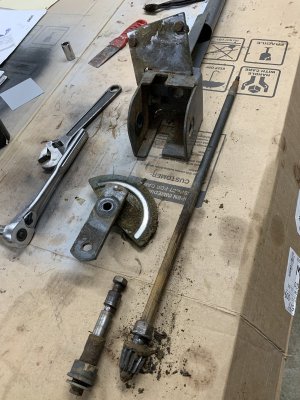
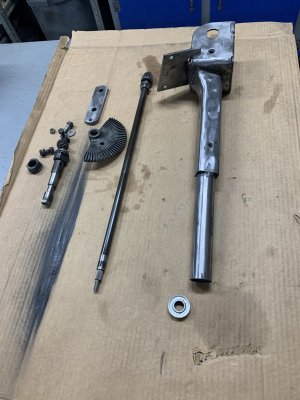
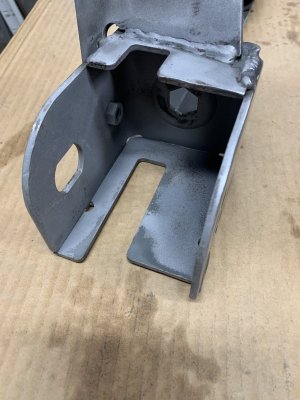
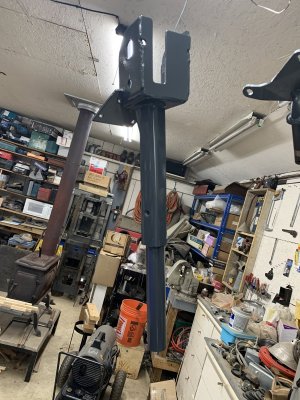
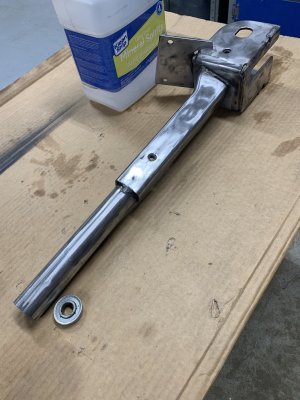
I took the steering shaft, gears and housing apart to clean. It wasn’t too bad. I used the fiber disc to knock the paint off and SB the inside of the housing where I couldn’t reach. I undercoated it with Rustoleum Rust Reformer then the finish coat. Next up will be a lot of small parts. I’ll save the hood, running boards and a few other larger parts to do at the same time. These I’ll be using my sprayer.
Attachments
-
 55C00E3D-21B4-469F-9F9F-D18B12062078.jpeg166.7 KB · Views: 8
 -
 61008E08-3A08-4D8C-890A-1584E693010A.jpeg186.8 KB · Views: 9
 -
 5D7211B4-4DF5-48E3-A654-CC2498E70F11.jpeg205.7 KB · Views: 7
 -
 72BF2C26-1A07-42A5-B084-02B0E873A4E1.jpeg245.6 KB · Views: 7
 -
 E159D5F7-9761-4750-BE38-34BA1260B534.jpeg187.7 KB · Views: 7
 -
 59FDD621-B41B-4981-838D-C4FD1A4CC336.jpeg167.7 KB · Views: 7
 -
 C0B663FD-633A-442C-BBE6-059ACA2771F9.jpeg258.3 KB · Views: 7
 -
 28837BFB-9C9B-4208-BC3E-3939B7099D97.jpeg189 KB · Views: 8
Got back on this project off and on for the past few weeks. I must admit at times I’m kicking myself for going in this deep when all I needed was a hydro fan replaced. I have to keep reminding myself how happy I was about the other two tractors I rebuilt once I had a rolling chassis vs crates of parts.
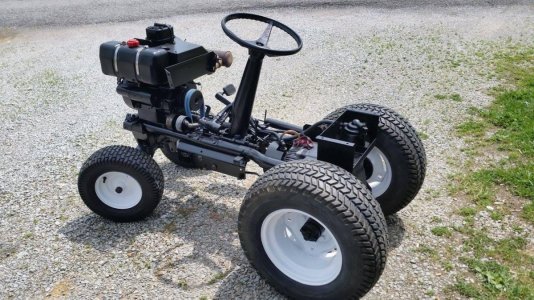
Bolens H16
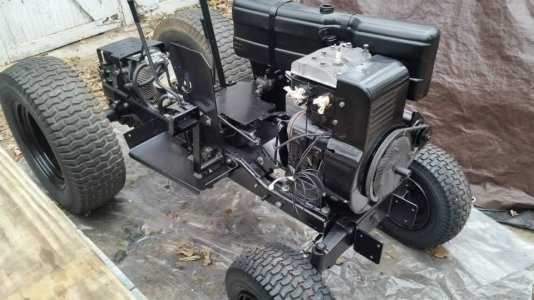
MTD990
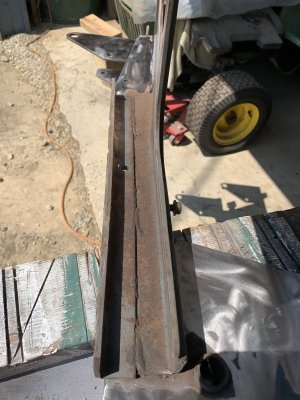
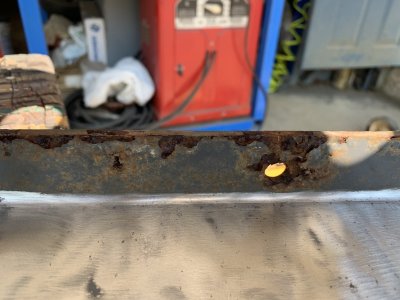
One of the main reasons I done this was this tractor had a lot of surface rust under the frame. It wasn’t bad but would be eventually. Most people only worry about rust on the outside but ground moisture can do a lot more damage. These were my most critical areas. I knocked off what I could then SB the rest.
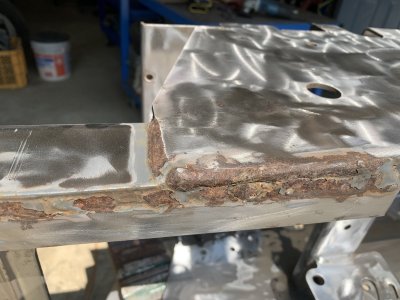
This frame is huge and heavy but cleaned up well. I had already PW it last year. I took everything down to bare metal either by using the fiber disc or SB the hard to reach places.
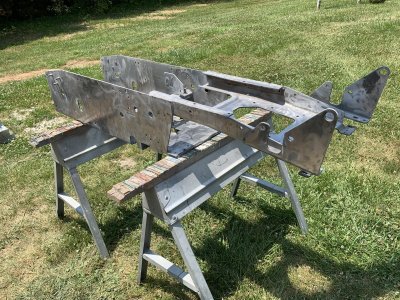
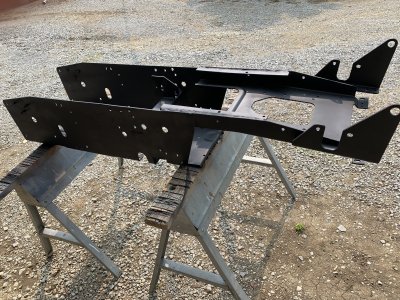
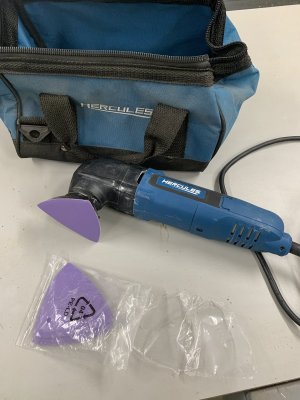
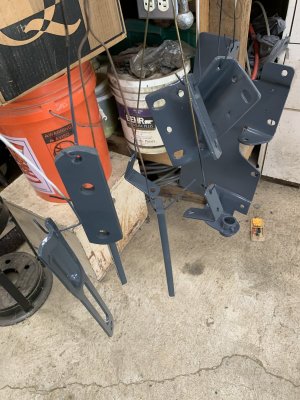
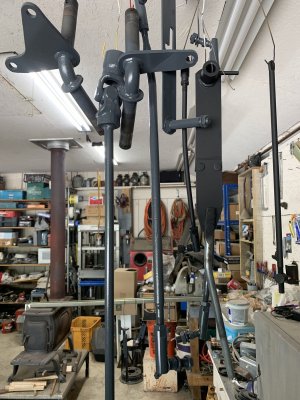
I got rid of three crates of parts the same way. It’s funny how I was wishing I had one of those triangular sanding pad tools for the tight places. I then realized I had one. My reciprocating tool has the sanding pad attachment that worked very well. I’m using Rustoleum Rust Reformer as a primer with Rustoleum Charcoal Gray as a finish coat.
Bolens H16

MTD990

One of the main reasons I done this was this tractor had a lot of surface rust under the frame. It wasn’t bad but would be eventually. Most people only worry about rust on the outside but ground moisture can do a lot more damage. These were my most critical areas. I knocked off what I could then SB the rest.


This frame is huge and heavy but cleaned up well. I had already PW it last year. I took everything down to bare metal either by using the fiber disc or SB the hard to reach places.


I got rid of three crates of parts the same way. It’s funny how I was wishing I had one of those triangular sanding pad tools for the tight places. I then realized I had one. My reciprocating tool has the sanding pad attachment that worked very well. I’m using Rustoleum Rust Reformer as a primer with Rustoleum Charcoal Gray as a finish coat.


How have I missed this.?!?!??! I love the work.
Well I’m back at it guys. I had a busy last year working at my son’s place then this year just didn’t feel like cleaning parts. I started a couple of weeks ago mainly to get the larger pieces stripped, primed and a finish coat before cold weather. I can easily paint the small parts in the shop this winter. My plan is to lay the frame on some saw horses upside down and start assembling it like I was doing surgery on it. I’ve done three tractors and this one has so many more linkages and brackets that have to go back together in unison or I’ll be doing things twice. Once I get it so far I’ll get help to set it back down on blocks.
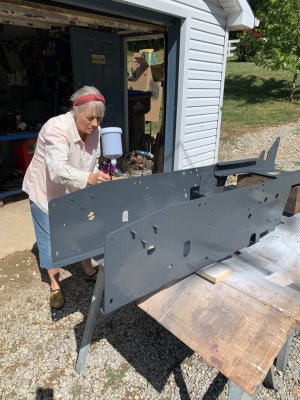
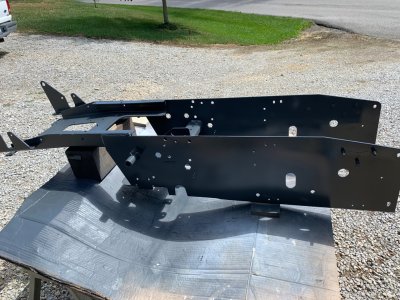
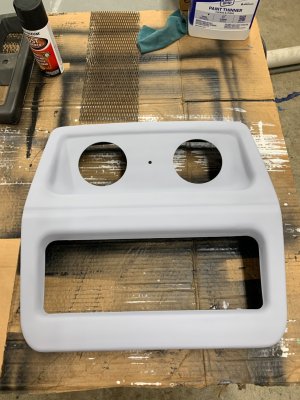
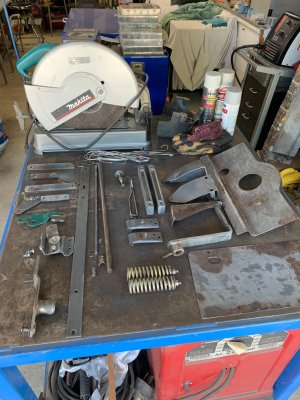
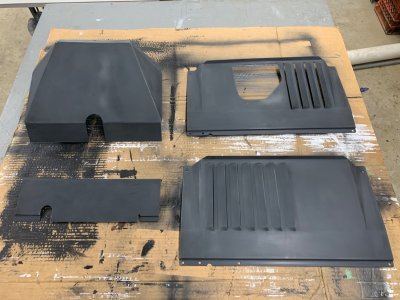
I got two finish coats on the frame, I had already stripped and primed that last year. I also stripped, primed, and finish coated the engine side panels along with some other parts. I’m a perfectionist and I just can’t bring myself to paint over old paint. The front grille and hood was in pretty good shape except for a few rusty areas on the edges. Once I started removing the paint many small rust spots started appearing. These would have probably raised the new paint later if I had not stripped the whole thing. I had some help on the frame.
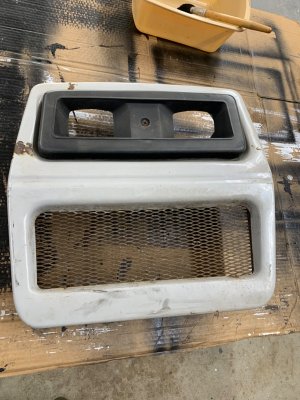
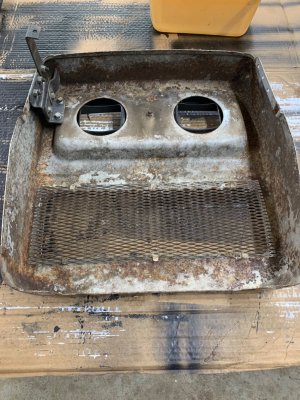
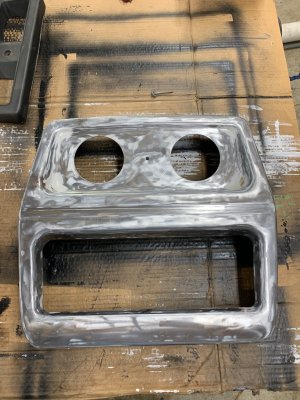
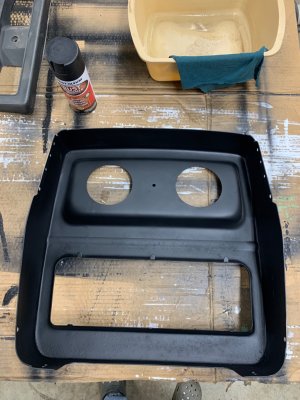
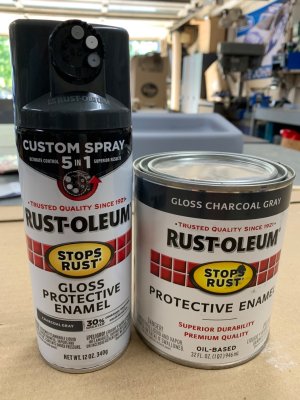
Here is the darker gray I’m using it’s almost a perfect match from Rustoleum Charcoal Gray.
I got two finish coats on the frame, I had already stripped and primed that last year. I also stripped, primed, and finish coated the engine side panels along with some other parts. I’m a perfectionist and I just can’t bring myself to paint over old paint. The front grille and hood was in pretty good shape except for a few rusty areas on the edges. Once I started removing the paint many small rust spots started appearing. These would have probably raised the new paint later if I had not stripped the whole thing. I had some help on the frame.


Here is the darker gray I’m using it’s almost a perfect match from Rustoleum Charcoal Gray.

I bought her one of those cheap Harbor Freight HVLP paint guns so she wanted to practice. She has three of those vintage metal yard chairs she wants to strip and paint.Looks like Carol handles that spray gun like a pro, Jim! Looking forward to the rest of the build!
DAC
Very good Jim! Looks like she didn't need much practice! I know a guy that does some restorations. He buys craploads of those HF sprayers. He throws them in the garbage after one use. He says for that price, they aren't worth the labor of cleaning! I can't bring myself to do that with mine! Got a couple old Binks conventional spray guns too. One is dedicated just for primer.
DAC
DAC
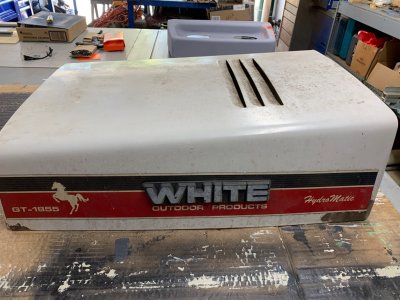
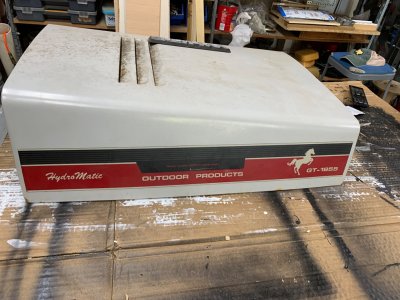
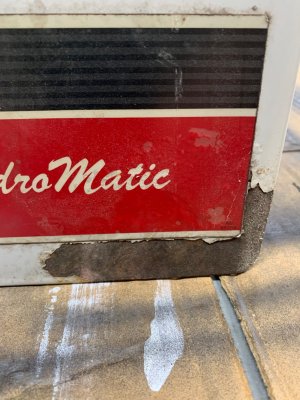
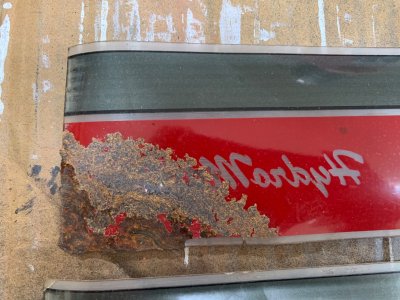
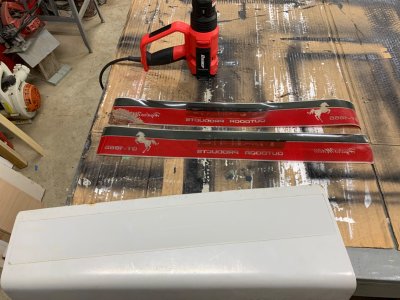
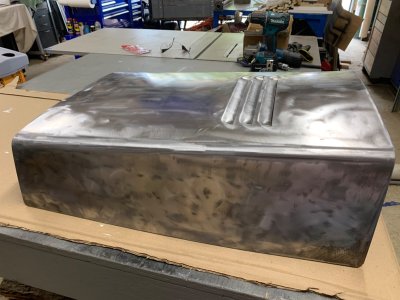
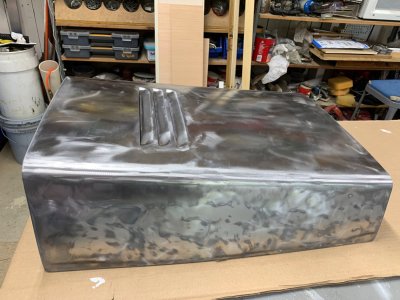
I started stripping the hood. I managed to salvage the two decals. One has a section of rusty metal and paint stuck to it. I’m not sure if I can get that off leaving it still looking nice. I can buy these decals for $50. not sure if I can justify the cost of that then again thinking the tractor will be like new when I get done so might as well replace them. I don’t have hardly any expense so far except the paint and the hydro fan which started all this. I’ll have to sand blast the area around the hinges then treat it with the Ospho then prime.


Thanks Gary they are kind of rare around here too.Looking good Jim I've only ever seen a couple of them in this area
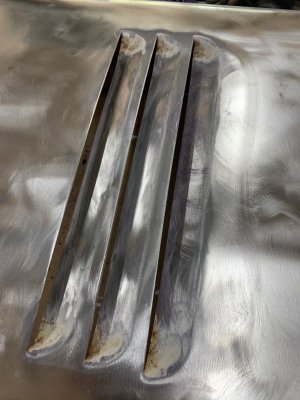
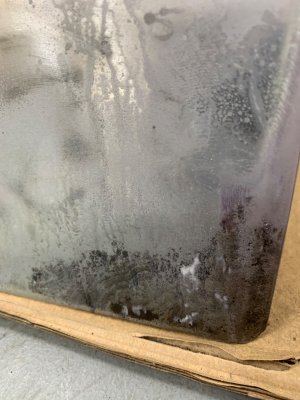
Like I mentioned earlier this project has several projects within. The hood being another one. I got a thin coat of primer on the outside of the hood I’ll wet sand that then give it another good coat of primer. The first pic shows the Ospho reaction on the rusty corner of the hood.
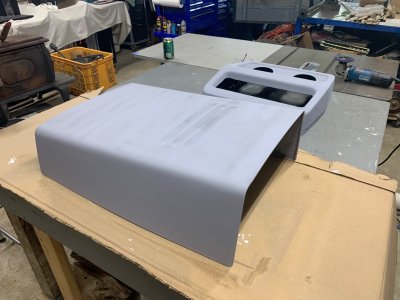
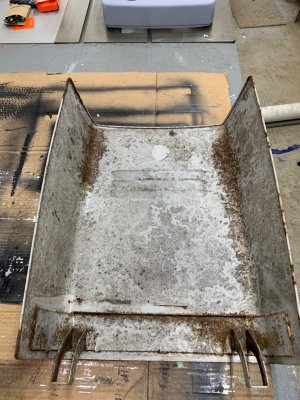
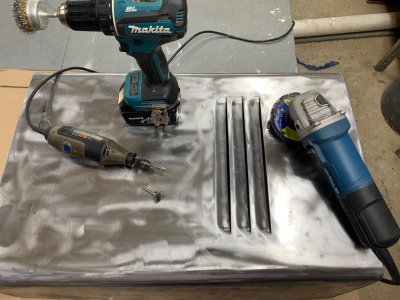
The inside was a challenge getting in all the nooks and crannies around the hinge area. I did sand blast that area along with grinding the rest off the flatter areas. I used a worn fiber disc that was tapered at the edge to get in the corners and along the edge seam. I put a new disc on which was flat to grind the field areas of the hood.
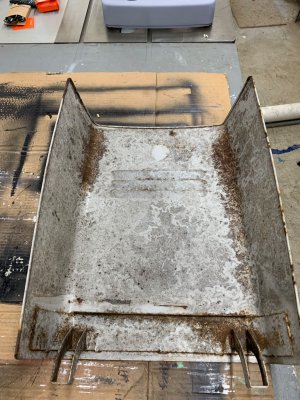
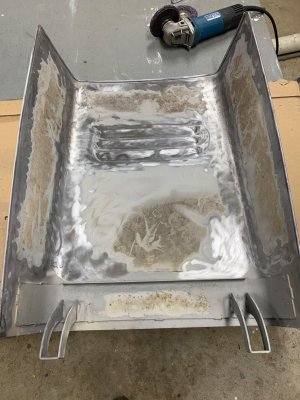
I had sprayed the Ospho on the inside with not much results because it was still dirty at that time. Once I sprayed it after the dirt, oil, and surface rust was removed the stuff really got busy raising rust everywhere. It’s remarkable how the rust comes up out of the metal and leaves it on top to be sanded away. It leaves a blackish gray scale like film that is easily removed. I sprayed a good coat of primer later.
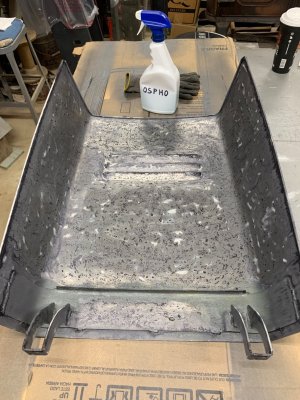
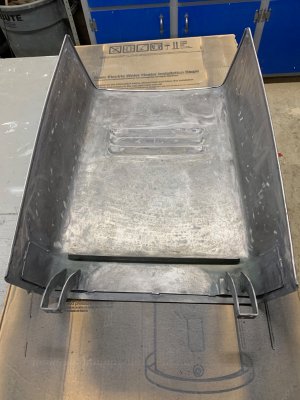
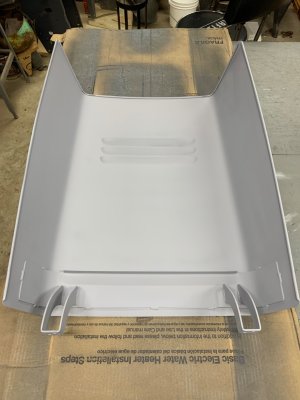


The inside was a challenge getting in all the nooks and crannies around the hinge area. I did sand blast that area along with grinding the rest off the flatter areas. I used a worn fiber disc that was tapered at the edge to get in the corners and along the edge seam. I put a new disc on which was flat to grind the field areas of the hood.


I had sprayed the Ospho on the inside with not much results because it was still dirty at that time. Once I sprayed it after the dirt, oil, and surface rust was removed the stuff really got busy raising rust everywhere. It’s remarkable how the rust comes up out of the metal and leaves it on top to be sanded away. It leaves a blackish gray scale like film that is easily removed. I sprayed a good coat of primer later.


