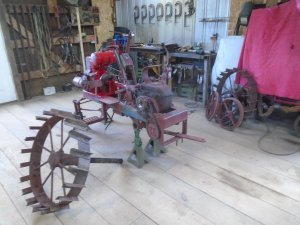
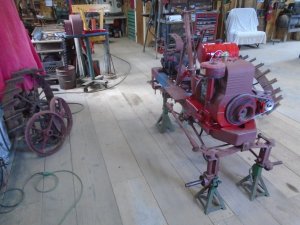
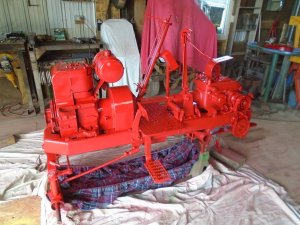
Winter project

I have never run into this difference in the RPM between the two engines before and it has made me do a lot of thinking about the best way to solve the problem.
I know in my gut that dropping two teeth off the drive sprocket is not going to lower the ratio enough for me to be satisfied with it.
So I have decided to go ahead with the jack shaft to reduce the final drive.

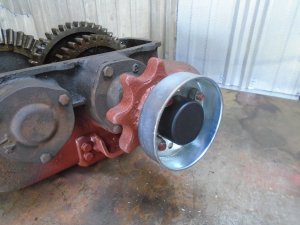
The #50 chain sprocket will go on this hub that mounts on the transmission.
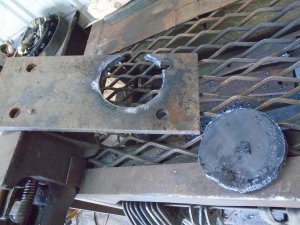
This sprocket and hub is cast iron and is all one unit so the only way to separate the sprocket from the hub is to cut the sprocket off.
Even if I had decided to use a jack shaft right from the beginning, I would still have had to get another detachable chain sprocket because this one is going to be destroyed.
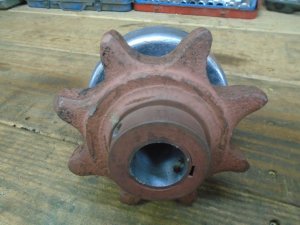
DSC02209.JPG


Obviously, there isn't enough room to fit a jack shaft in between the transmission and the wheel so I'm going to switch the drive wheel sprocket over to the other side of the tractor.
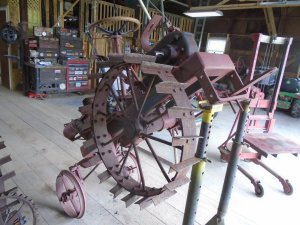
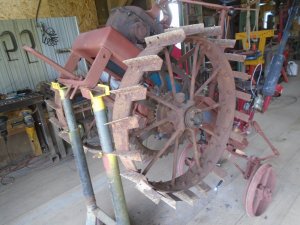
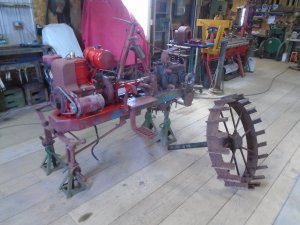
The tractor is again hoisted up onto the stands and the wheel has been removed from the left side.
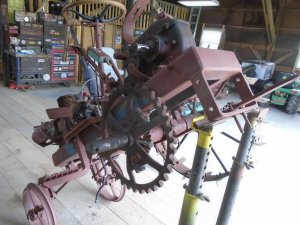
DSC02198.JPG


The sprocket and inside gear are then removed.
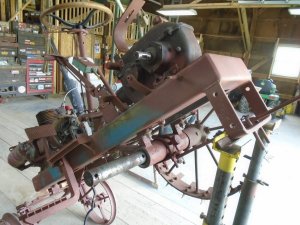
DSC02199.JPG


Using my lift cart to support the right wheel, I pull it and the axle shaft out away from the axle housing.
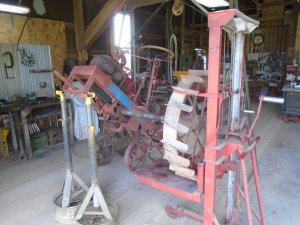
DSC02200.JPG


Then I bring it around and slide it back into the other side.
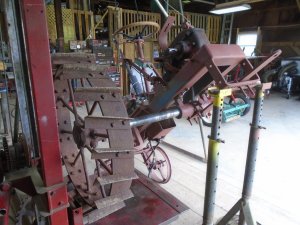
DSC02201.JPG

DSC02202.JPG


The gear and sprocket are mounted back on the axle on the right side now.
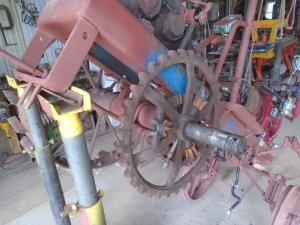
DSC02204.JPG


And the wheel is put back on.

DSC02205.JPG


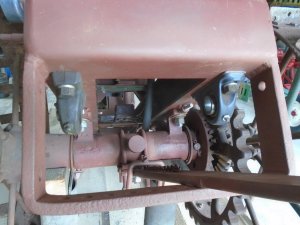
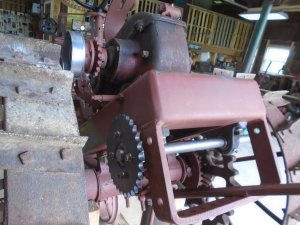
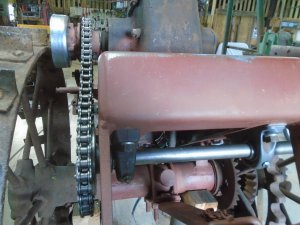
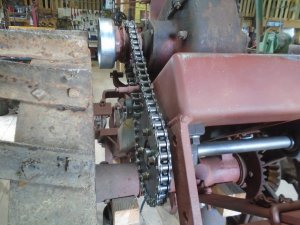
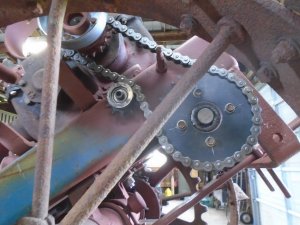
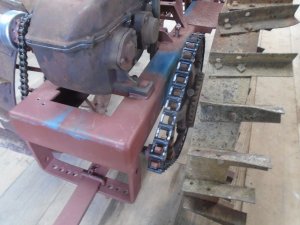
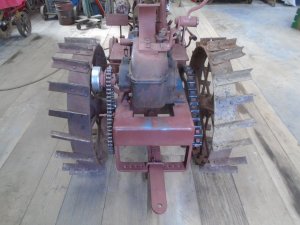
Back over on the left side ... there is now room to bring the #50 chain down from the transmission to a jack shaft that will run across under the frame and in front of the draw bar support bracket.
The #50 chain will be completely enclosed in a sheet metal housing.
The band brake and it's linkage stays right where it is and doesn't have to be changed at all.
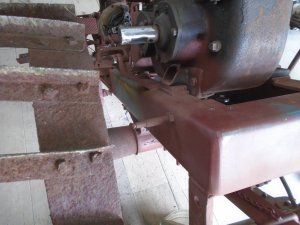
DSC02206.JPG


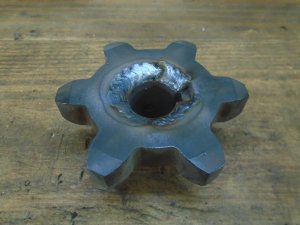
On the right side ... the new 6 tooth detachable chain sprocket will be on this end of the jack shaft with the big open chain running to the drive sprocket.
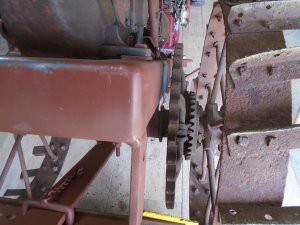
DSC02207.JPG
 
This is the sprocket and brake drum mounted on the transmission.

DSC01283.JPG


I removed the brake drum and used the bandsaw to cut as much of the teeth off the sprocket as I could.
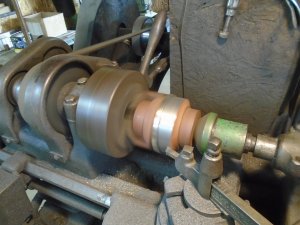
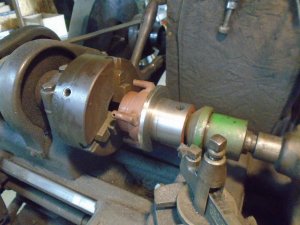
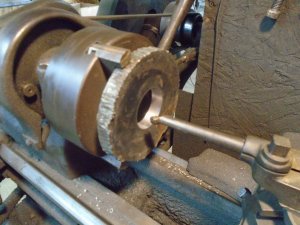
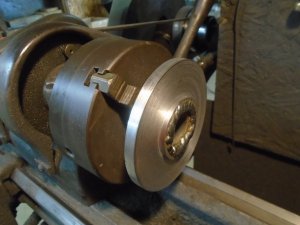
Then I chucked it up in the lathe and started cutting the hub down.

DSC02210.JPG


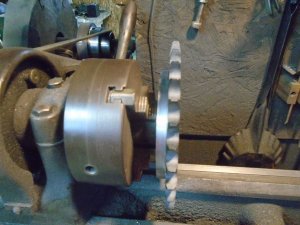
The hub is turned down to the size needed to fit a #50 chain sprocket onto it.

DSC02211.JPG


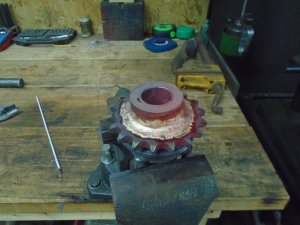
The sprocket is brazed onto the hub.

DSC02212.JPG

DSC02214.JPG


I figure that my Briggs and Stratton engine operates at about twice the speed of the original engine for this tractor.
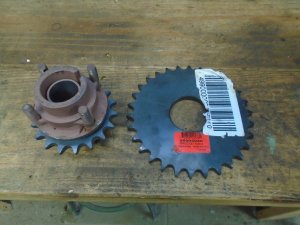
The sprocket that is now on the transmission hub has 18 teeth and the sprocket that is going to go on the end of the jack shaft has 30 teeth.
With the smaller sprocket for the detachable chain going on the other end of the jack shaft, I think the output speed of the transmission should be reduced to about 1/2 what it was.

DSC02213.JPG
 
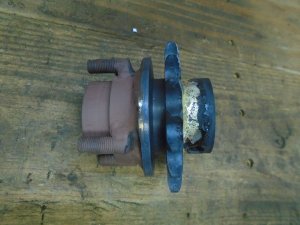
The 18 tooth sprocket is brazed onto the hub that goes on the transmission but I don't want to weld the 30 tooth sprocket to hub that goes onto the jack shaft.
Once I can drive the tractor again, I may want to have a smaller or larger sprocket on the jack shaft and it may even take a few tries yet to get the gearing just right.

I want the sprocket on the jack shaft to be able to be bolted on so I don't have to by another hub each time I want to try a different sprocket size.
For the hub on the jack shaft, I started by cutting out a round piece of 1/2 inch thick steel plate.

DSC02215.JPG


This was chucked up in the lathe and the center bored out to accept a hub with a keyway that I got from TSC.

DSC02216.JPG


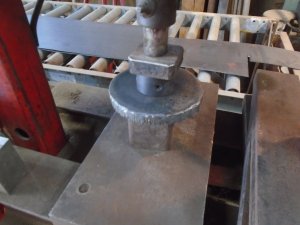
The hub is pressed into the steel plate.

DSC02217.JPG


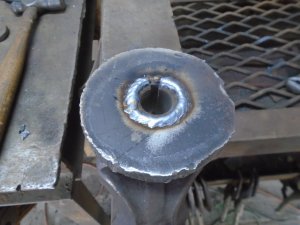
Then it is welded on the end.

DSC02218.JPG


This is mounted back in the lathe and the outside is turned down smooth.
The face is cut back leaving a collar sticking out for the sprocket to locate on.

DSC02219.JPG

DSC02220.JPG


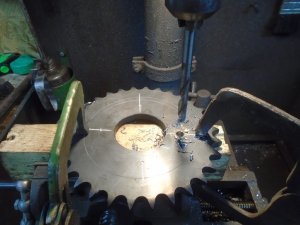
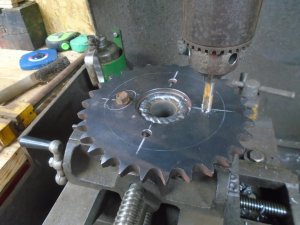
Mounting holes are drilled into the sprocket.
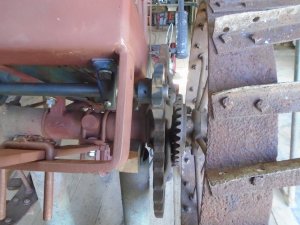
DSC02221.JPG


The hub is clamped in the vice and the sprocket is set on top of it to locate the holes that are drilled and tapped into the face plate of the hub.

DSC02224.JPG


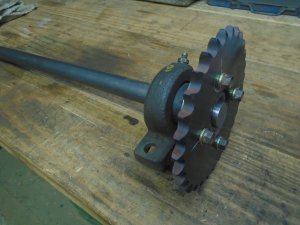
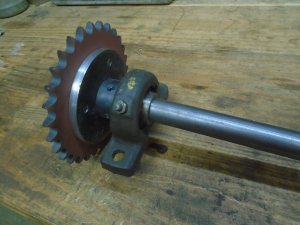
Here is the finished sprocket and pillow block bearing mounted on the end of the jack shaft.

DSC02225.JPG

DSC02226.JPG
 
The sprockets are lined up and the frame is marked where the mounting holes for the pillow block bearings will go.

DSC02229.JPG


The mounting holes are drilled and threaded into the frame.

DSC02230.JPG


Both of the bearings are bolted in place.

DSC02231.JPG


The jack shaft is slid into the bearings and the sprocket is set back on the shaft.
I haven't cut the keyway for the sprocket into the end of the shaft yet.
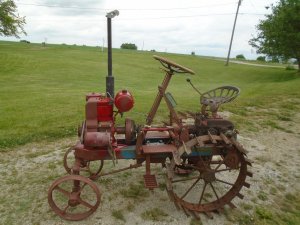
After I get the sprocket on the other end set up and the shaft cut off to the correct length, then I'll cut the keyways in both ends.

DSC02232.JPG
 
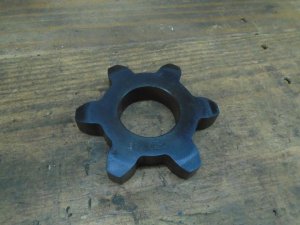
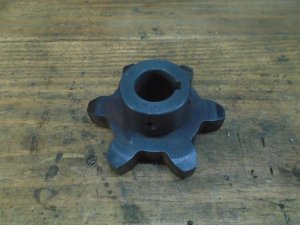
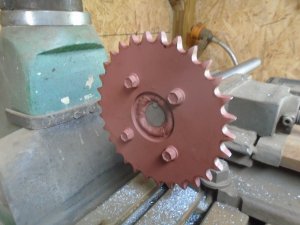
This is the new sprocket for the detachable chain.

DSC02237.JPG


I fit a hub to it and welded it on one side.

DSC02239.JPG

DSC02238.JPG


The sprocket is slid onto the jack shaft and then the jack shaft is cut off a little ways past it.
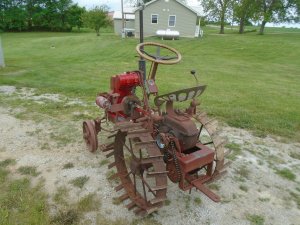
DSC02241.JPG


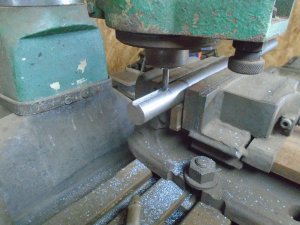
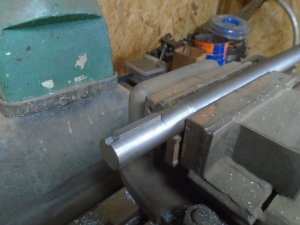
The jack shaft is set up in the mill so I can cut the keyways into it.
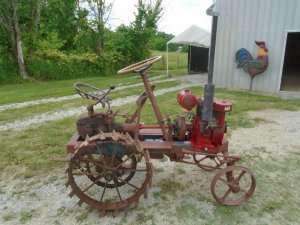
DSC02242.JPG


The fit of the key is first checked.

DSC02243.JPG


And the fit of the sprocket is checked before I un-clamp the jack shaft and turn it around to machine the other keyway.

DSC02244.JPG


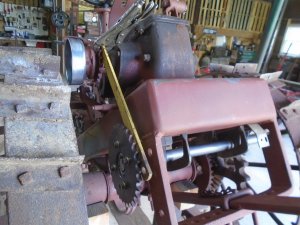
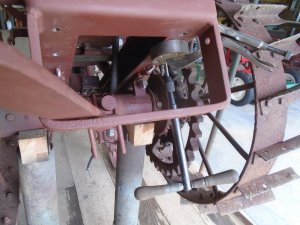
The jack shaft is re-assembled on the tractor and the chains are put on the sprockets.

DSC02245.JPG


DSC02246.JPG

DSC02247.JPG
 
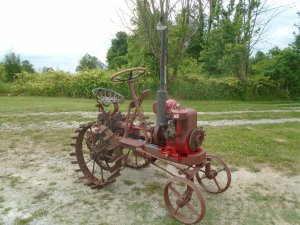
Took the tractor for another test ride today and I am much happier.
It now moves at a slower speed and I don't think I'll have to make any more changes on the reducing sprockets.

There still are a couple of bugs to work out yet though. .....
The started/generator isn't showing any charging on the amp gauge.
Usually when that happens, hooking a jumper wire to the positive battery post and touching it momentarily to the " F " terminal on the starter/generator to polarize the field coils, takes care of the problem.
That didn't work though so I'll have to do some more checking.

I put an electronic ignition coil on the engine and got rid of the old points.
While I had the flywheel shield off, I went ahead and pulled the head to clean the carbon out.
The cylinder and both valves look good so I got a new head gasket and put it back together.

The engine runs good on mid and higher RPM but it spits and sputters on low and it won't idle at all.
I've already put a rebuilt kit in the carb but I'm thinking that I didn't get the idle circuit cleaned out good enough so I'm going to pull the carb and go thru it again.

DSC02263.JPG

DSC02264.JPG

DSC02265.JPG

DSC02266.JPG
 
Good to hear the speed reduction is good to go, the charging problem is probably the voltage regulator. I've had good results using an electronic regulator made for Harley's on starter/generator when I couldn't get the old Delco unit to work thos B&S flo-jet carbs can be cantankerous tried 2 different ones on a Model 23 B&S had them apart cleaned set seems it would run good for a while then problems finally bought an aftermarket and just like that starts first pull and runs great
Here's a link for the electronic VR if your interested Superior Dixie 74510-70A 12V Voltage Rectifier Regulator Harley Davidson FL & FX | eBay
 
Back
Top