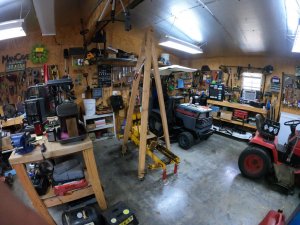
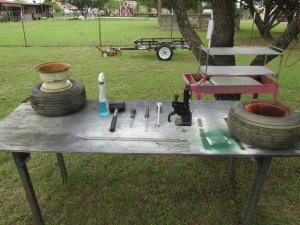
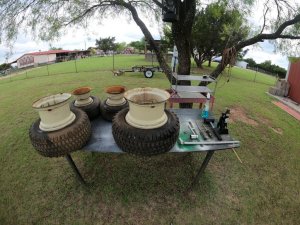
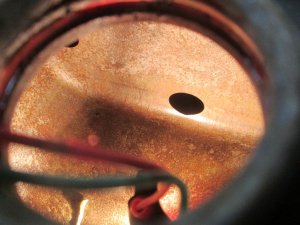
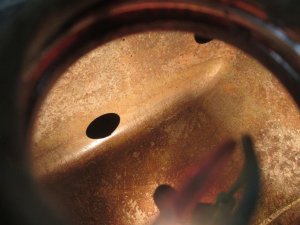
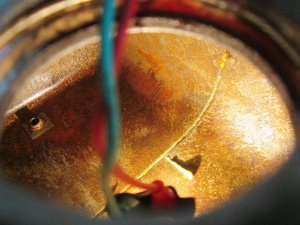
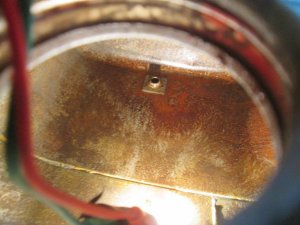
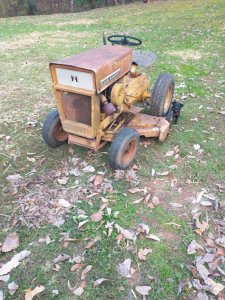
Needed to free up some room in the shop, so I decided to break the Cub's tires down and store them till I am ready for them. I popped the bearings out of the front rims so I can source them. I wish all the tires I have done were this easy!
You are using an out of date browser. It may not display this or other websites correctly.
You should upgrade or use an alternative browser.
You should upgrade or use an alternative browser.
1966 Cub Cadet
- Thread starter larrybl
- Start date
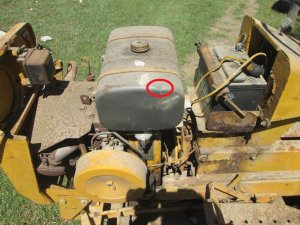
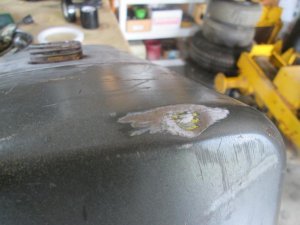
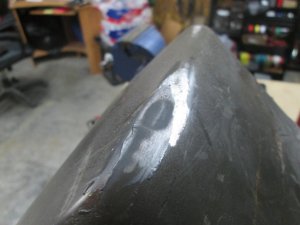
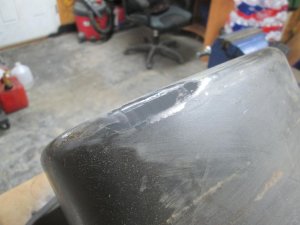
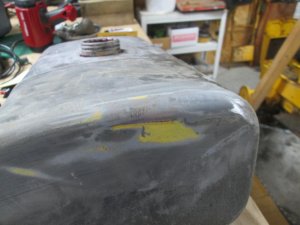
Trying to finish up the gas tank. It had a small dent that I repaired with JB weld, when sanding I found yellow paint. Checked the color brosure and sure enough it is supposed to be yellow. Not sure why this was painted grey. The Red Kote is still sticky in places. Thinking of useing an Acetone soak to try and remove the excess.
Attachments
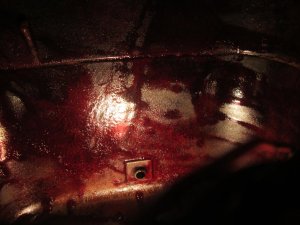
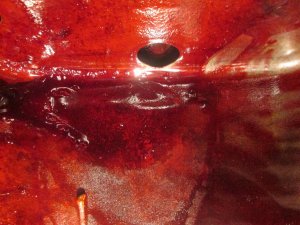
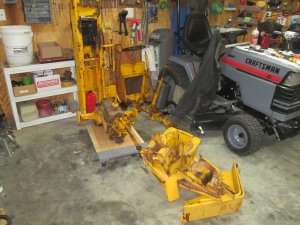
Made a mess, but for good reasons.
1. Oil needed drained any how.
2. Needed to know What type and how much, looks / spells like 90W, and around 4-5 qts.
3. Need to see if I can remove the axles (hopefully there are clips in the Diff)
4. Need to stand the frame on end (supported) to work under the chassis easier.
1. Oil needed drained any how.
2. Needed to know What type and how much, looks / spells like 90W, and around 4-5 qts.
3. Need to see if I can remove the axles (hopefully there are clips in the Diff)
4. Need to stand the frame on end (supported) to work under the chassis easier.
Attachments
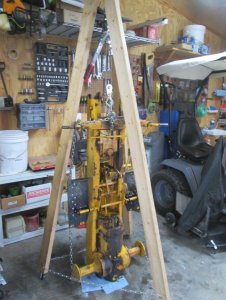
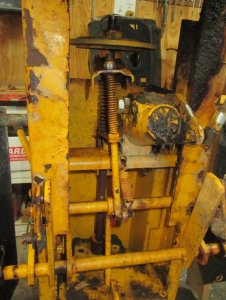
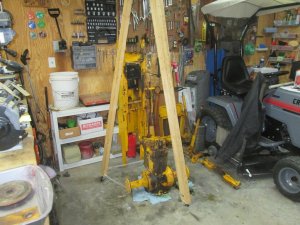
Productive day sort of. I finally got all the Red goo out of the gas tank, I sprayed WD40 in it to keep the rust at bay, it will stay like this. Got the frame stood up and supported (crap it is heavy!). I PB blasted all the bolts underneath, and took many detailed pictures. Done for the night.
Attachments
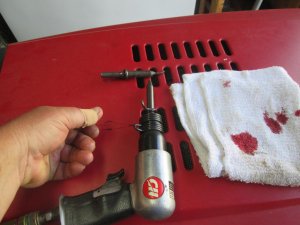
Dang! I guess that hurt, Larry! At least you had a clean rag and a real band-aid. Last time I did something like that in my shop at least I had paper towels that were clean. Couldn't find a band-aid so a piece of paper towel and electrical tape had to work---LOL!
Heal up quick!
DAC
Heal up quick!
DAC
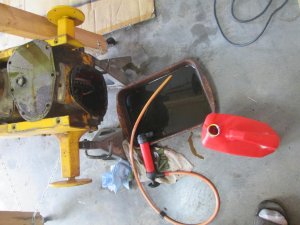
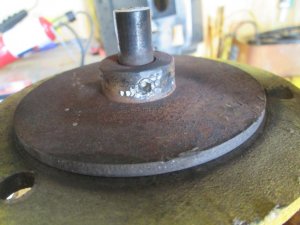
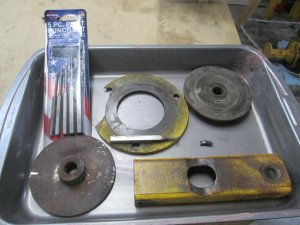
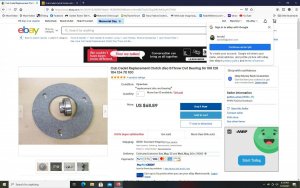
Well, it took all day and a $23 set of punches and a destroyed clutch disk (shame it was in such good shape) but the transaxle if off the frame now. Felt bad about the clutch so a new disk and through-out bearing has been ordered.
Attachments
I highly recommend getting the pressure plates turned while you have it all apart... they work Sooo much better when they are cleaned up.
Keep an eye on your fingers, you only get so many of them.
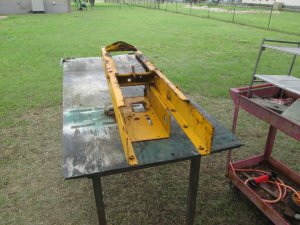
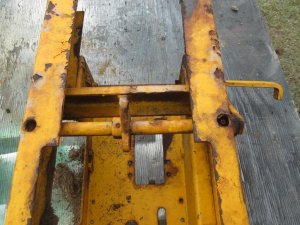
Tear down is mainly complete and parts are ready for pressure washing. I am leaving the Clutch / Brake pedal attached as there are no bushings to replace. First though I am waiting for the dew to burn off so I can mow the yard.

