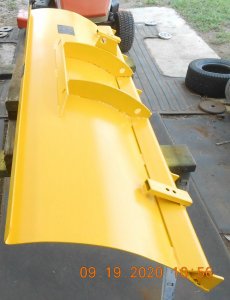
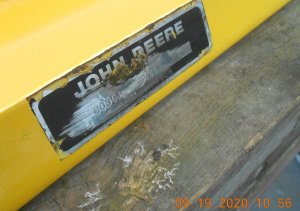
I thought is was for pushing below grade. At least that is what the manual eluded to!Kenny, not sure if you know it or not, the way JD has the blade set is the pin goes through all the holes to lock it for down force. The other set of holes is where you put the pin through over the step in the mounting bracket. That allows the side plates to pivot and gives you a float feature. Some of the tractors this blade can fit on didn't have a float feature in the hydraulic controls.
You are using an out of date browser. It may not display this or other websites correctly.
You should upgrade or use an alternative browser.
You should upgrade or use an alternative browser.
Made a score today! JD 54/56 Blade
- Thread starter KennyP
- Start date
When mounted on Deere tractors and the pin being"locked" in, the blade will push below grade, my 54 blade on my 420 will lift the front of the tractor up about 4 to 6 inches. When I use it to push snow I move the pin to the front hole to allow the blade to ride over rocks or irregularities in the driveway.
I'm not a fan of built-in float. I have operated all types of equipment for over 40 years and know when to adjust the hydraulics. I hate when I have to add weight to an implement to get it to 'dig'. Float sucks most of the time!When mounted on Deere tractors and the pin being"locked" in, the blade will push below grade, my 54 blade on my 420 will lift the front of the tractor up about 4 to 6 inches. When I use it to push snow I move the pin to the front hole to allow the blade to ride over rocks or irregularities in the driveway.
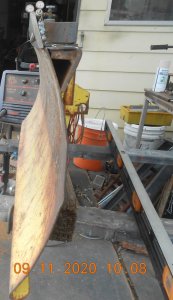
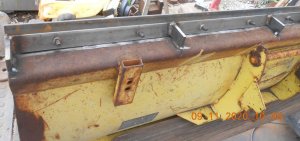
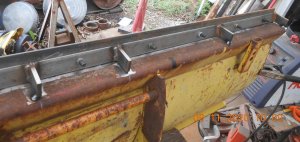
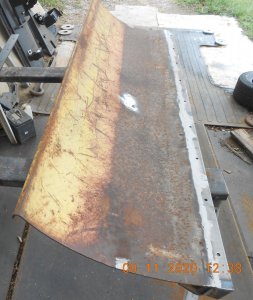
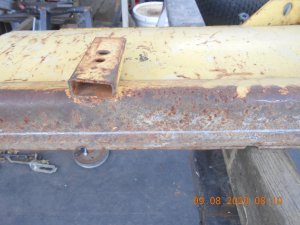
I got the blade up on sawhorses and made a mark for the cut line to even up the bottom edge. I have to add in a section for a cutting edge to bolt to. This one is worn off past those holes.
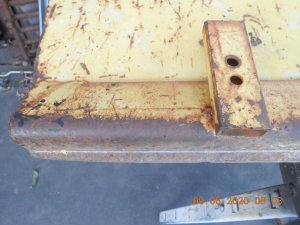
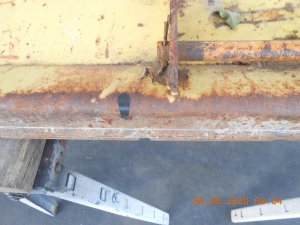
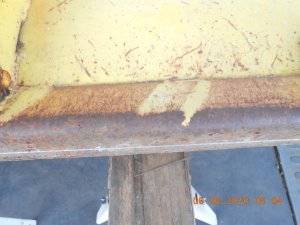
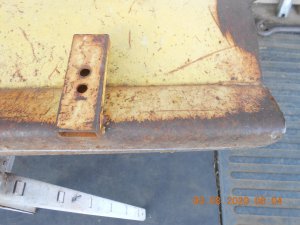
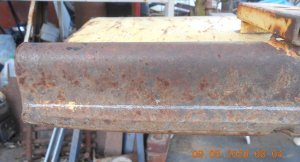
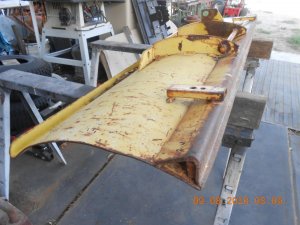
In this pic, you can see the top edge of the previous holes:
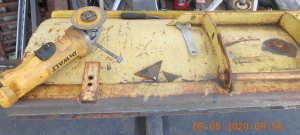
Got the cutting wheel out and went to work.
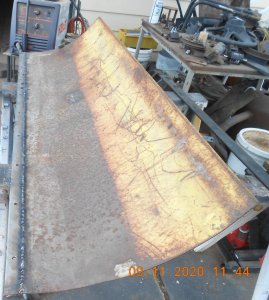
Once I had things trimmed, I made a groove/bevel to weld the blade front to the understructure. Clamped that together and put a bead along that joint.
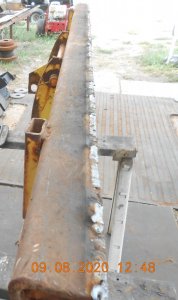
Got things smoothed back down.

Today, I will be fitting the new metal/cutting egde.


In this pic, you can see the top edge of the previous holes:

Got the cutting wheel out and went to work.

Once I had things trimmed, I made a groove/bevel to weld the blade front to the understructure. Clamped that together and put a bead along that joint.

Got things smoothed back down.

Today, I will be fitting the new metal/cutting egde.
No pics, but yesterday I used a flap disc on the front side to clean most of the rust off and gave it a coat of Rust Reformer. About ready to put it together and figure out the mount for the lift cylinder. I'll bring my new trailer up to set the tractor and plow on for mocking that all up. There will be pics for all that.
Yep, a 316. Won't have hyd. angle as the 316 is single spool.You putting this on a JD tractor Kenny?
I have a 3-spool, but cannot install it in place of the original. Steering column is in the way.Going to upgrade to a two or three spool?
I used the new trailer for a good flat surface to finish up the blade lift. Worked real good.
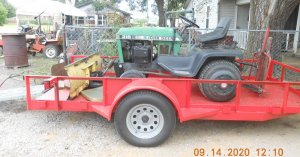
Allowed me to get things going in the right direction.
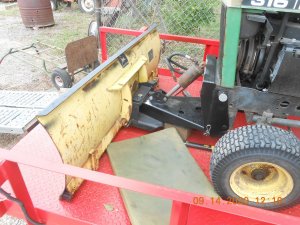
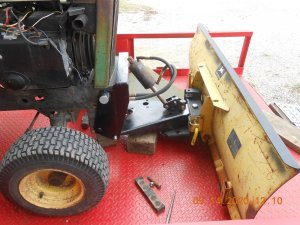
Found the measurements I needed and got the lift cylinder mounted. I have 7.5" of lift.
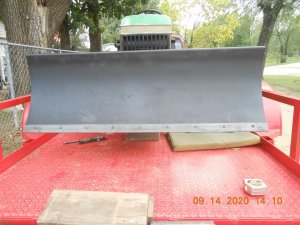
Here's the upper mount.
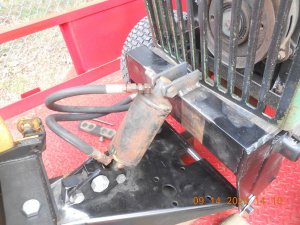
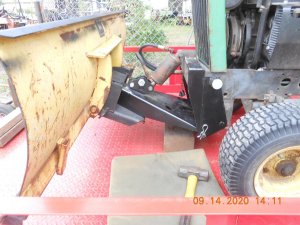
Only took 3 months!Looking good Kenny.
You are a whole lot more ambitious than I am. Might work on something a few minutes and then quit for maybe 3 or 4 weeks.Only took 3 months!
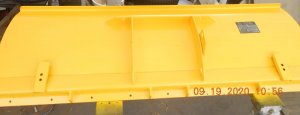
Started applying some finish paint to things the last couple days. I got the back side of the blade in primer.
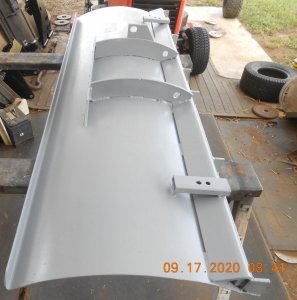
Got some other parts done up.
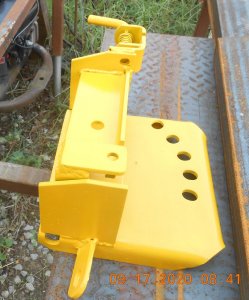
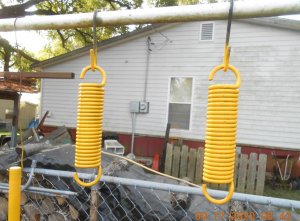
And the first coat on the back side.
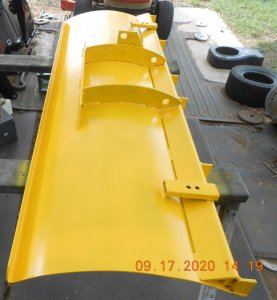
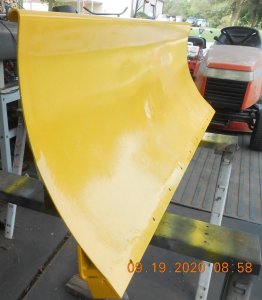
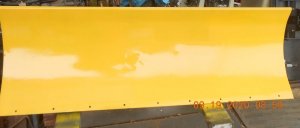
Gotta flip it over and prime then paint the front side. When it's dry enough, I'll flip it and finish the back side. This sucker is heavy!

Got some other parts done up.


And the first coat on the back side.

Gotta flip it over and prime then paint the front side. When it's dry enough, I'll flip it and finish the back side. This sucker is heavy!

