STAGE-2
Disassembly as Necessary for Transaxle Maintenance. Easy as 1-2-3…..
Prep for Center Console Removal
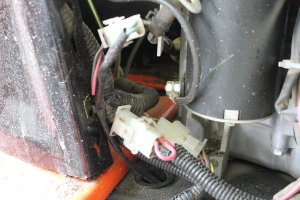
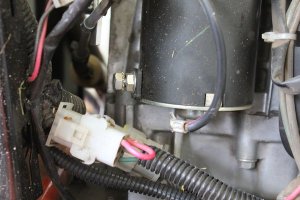
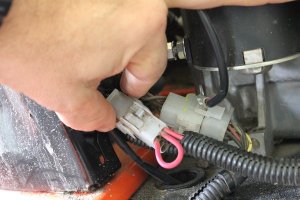
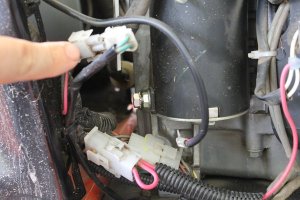
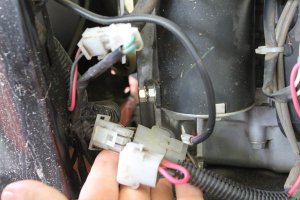
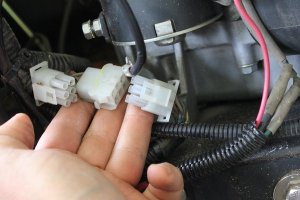
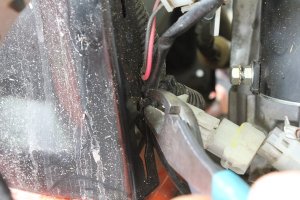
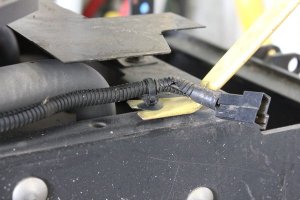
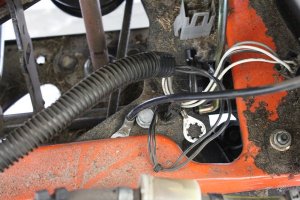
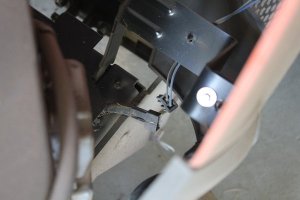
1) Disconnect front lights from wire harness.
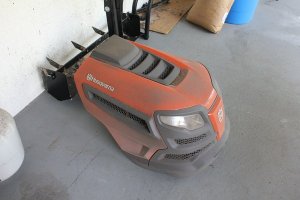
2) Remove Hood, place out of the way, safe. This is prone to scratches.
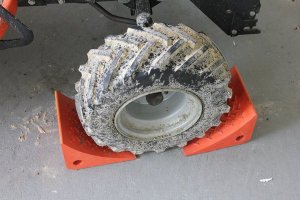
3) Secure the front wheels with chocks, wood, rocks, etc.
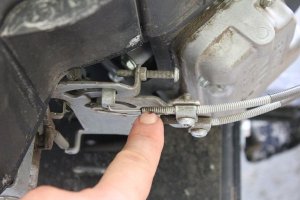
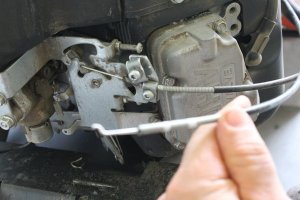
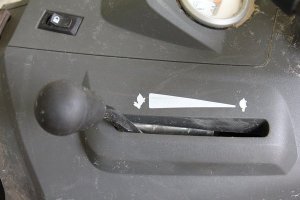
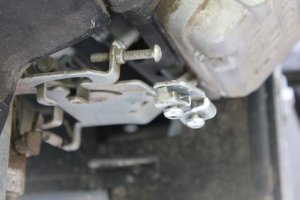
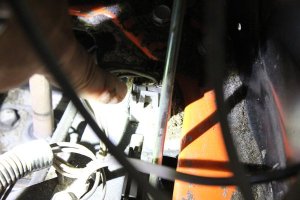
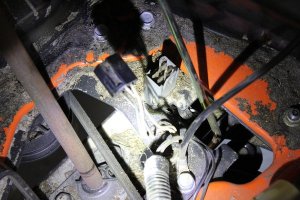
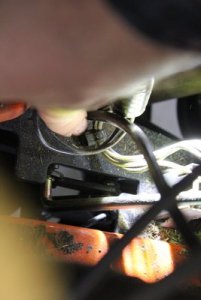
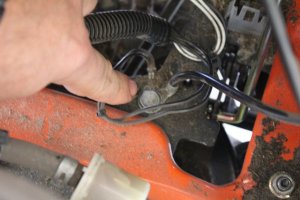
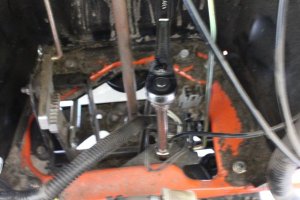
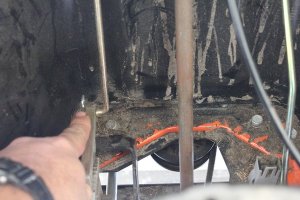
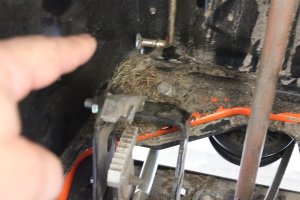
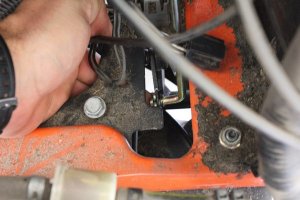
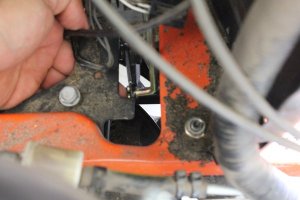
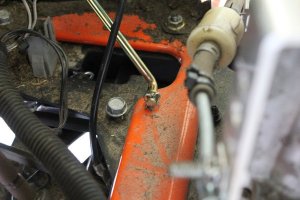
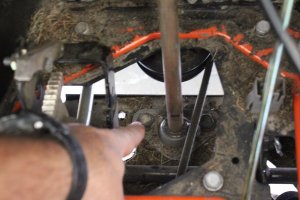
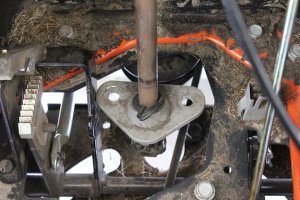
4) Place the transaxle in free wheel mode, pulling this metal rod back until you feel a mechanical switch type release.
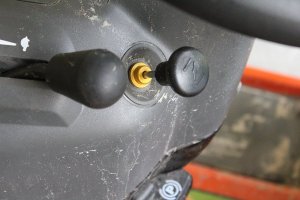
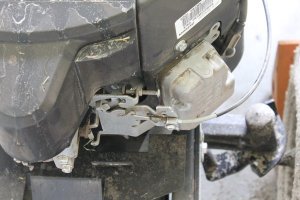
Engaged looks like this,
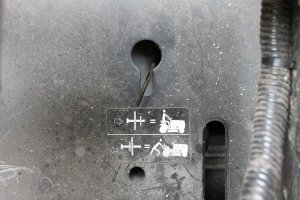
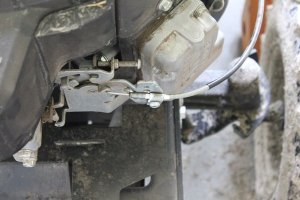
Disengaged looks like this, (Do This)
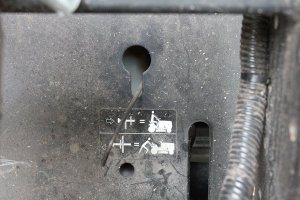
This is a transaxle safety precaution, prior to rear wheel removal, and for complete hydro chamber draining.
5) Loosen rear wheel lugs before lifting the tractor, we are not removing yet. You will need a 5/8” socket and a 6” extension in either 3/8” or 1/2” wrench for the bolt heads. I loosened a 1/4 to 1/2 a turn in a star pattern so force is released in an even way. I will say that at 65 ft lbs of torque it is probably redundant, but its a good habit to prevent warping a hub/wheel.
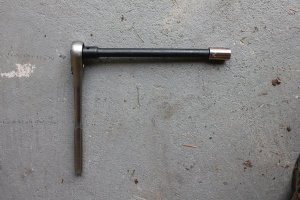
Remember stripping the tractor of weight in the beginning? Here is your payoff.
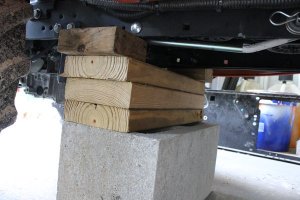
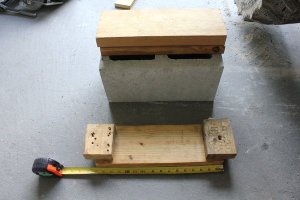
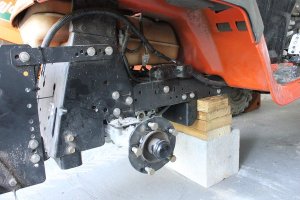
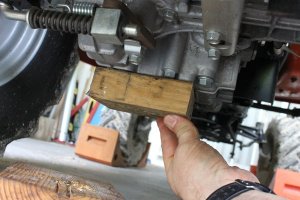
6) Lift the rear end of the tractor up safely with a block of wood like this here. This will spread the weight evenly and safely with a floor jack. The goal is to lift high enough to slip the rear wheels off, and still low enough to be level for the transaxle fill.
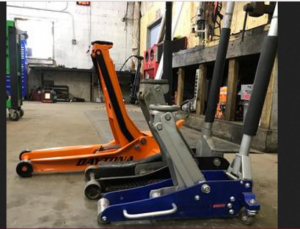
Kinds of affordable floor jacks,
This is a good hieght,
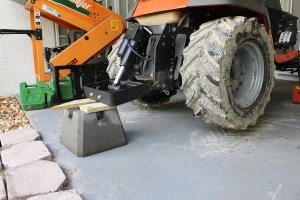
You can use bottle jacks, but it will get difficult. I recommend a floor jack for this. If you don’t own one, now may be the right time to clip a coupon and get one. It doesn't have to be fancy but it is very stable.
I use this type of jack now, (another use for a Johnny Bucket power sleeve....built in tractor jack!).
Continued on next post.
Disassembly as Necessary for Transaxle Maintenance. Easy as 1-2-3…..
Prep for Center Console Removal
1) Disconnect front lights from wire harness.

2) Remove Hood, place out of the way, safe. This is prone to scratches.

3) Secure the front wheels with chocks, wood, rocks, etc.

4) Place the transaxle in free wheel mode, pulling this metal rod back until you feel a mechanical switch type release.
Engaged looks like this,

Disengaged looks like this, (Do This)

This is a transaxle safety precaution, prior to rear wheel removal, and for complete hydro chamber draining.
5) Loosen rear wheel lugs before lifting the tractor, we are not removing yet. You will need a 5/8” socket and a 6” extension in either 3/8” or 1/2” wrench for the bolt heads. I loosened a 1/4 to 1/2 a turn in a star pattern so force is released in an even way. I will say that at 65 ft lbs of torque it is probably redundant, but its a good habit to prevent warping a hub/wheel.

Remember stripping the tractor of weight in the beginning? Here is your payoff.
6) Lift the rear end of the tractor up safely with a block of wood like this here. This will spread the weight evenly and safely with a floor jack. The goal is to lift high enough to slip the rear wheels off, and still low enough to be level for the transaxle fill.

Kinds of affordable floor jacks,

This is a good hieght,

You can use bottle jacks, but it will get difficult. I recommend a floor jack for this. If you don’t own one, now may be the right time to clip a coupon and get one. It doesn't have to be fancy but it is very stable.
I use this type of jack now, (another use for a Johnny Bucket power sleeve....built in tractor jack!).
Continued on next post.

