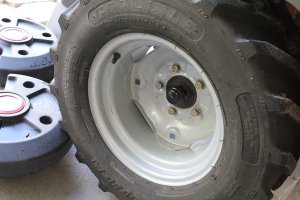
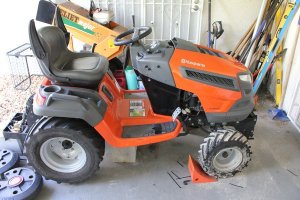
Stage-6, Continued...
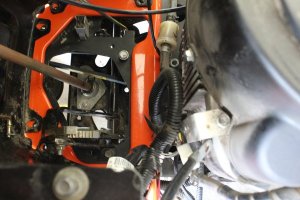
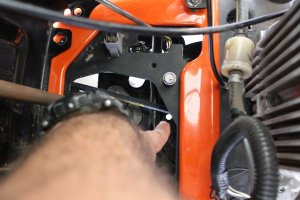
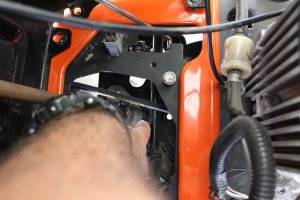
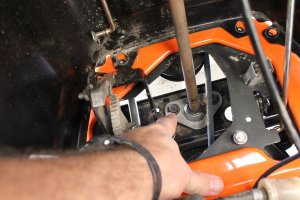
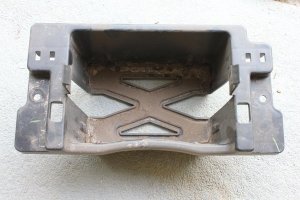
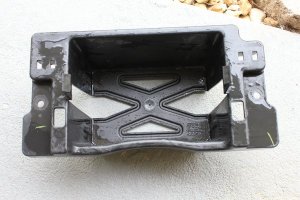
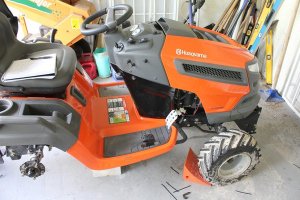
(This worked for me keeping the wheel secured while use both hands to torque, it’s still a 1/2” off the ground)
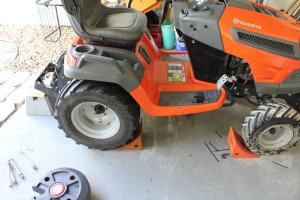
If following the 60% rule, and with a 5/8” socket and extension,
Set your torque wrench to 40 foot lbs and tighten all bolts in a star pattern to 40’lbs first.
Second, Set your torque wrench to 65 foot lbs and in a star pattern tighten the bolts to 65’lbs and done.
The method I used, set torque wrench to 65 foot lbs, tighten all bolts in a star pattern to 65’lbs, then take a socket wrench and back off each bolt in a star pattern approx ¼ to ½ a turn, just enough to break the bolt loose again, and then take my torque wrench that is still set to 65 foot lbs and in a star pattern, tighten them again to 65’lbs.
The principle behind either method is to create an even clamping force between the wheel and hub, either one can be bent or warped if the clamping was too tight on one bolt and not on the other bolts.
The above two methods help prevent this, either is fine.
For those that want to chime in that 65 foot lbs is not enough torque to be concerned about, your probably right, but then the purpose of this guide is for those that don’t have much skill as well as those that do. A good habit and mindset with wheels (think the car too) can’t be bad, plus it’s easy, so why not?
A maintenance tip for those using a clicker type torque wrench. To preserve the spring tension during none use/ storage, back the torque off to either its “start” position, or “end” position, or the first torque setting while it’s stored. If your first torque number is 25 then store it here, but don’t go below this.
If your wrench is old and you are questioning its accuracy, (at these low settings, precision accuracy is not needed), machine shops are the most common place to calibrate them.
Your tractor is ready to put on the ground.
39) Get your floor jack, with your block of wood,
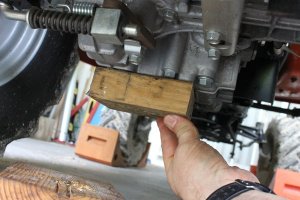
lift your tractor off its temporary support base, remove the base,
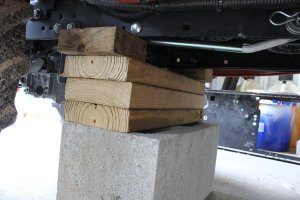
Gently lower your GT to the ground,
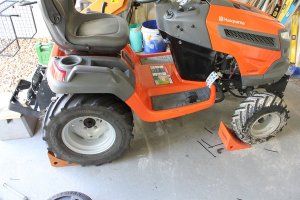
40) Put approximately 1 gallon of fuel in your fuel tank for the last tests. (if you have to go back into it, you only have a gallon at risk)
Remove your wheel chocks, and push your GT to a safe location to get prepared for a function check. For me it was just a few feet back on the grass,
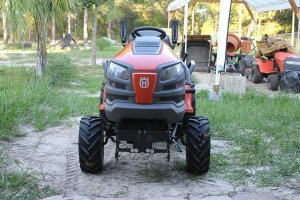
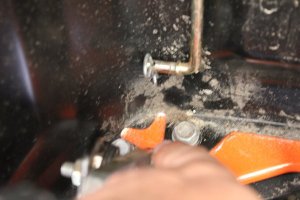
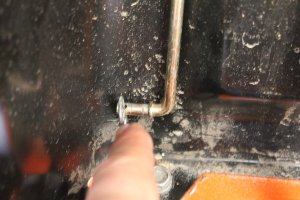
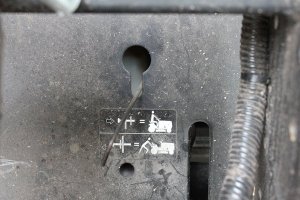
41) Engage your transaxle by pushing the transaxle freewheel rod back in.
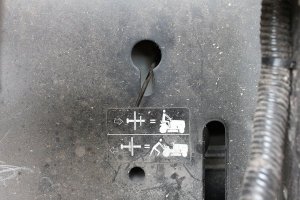
Tip- Quickly re-look at your GT, look for anything that might get hung up in the drive belt,
42) Start your tractor, (it’s light right now, this is good) and perform a function check on your transaxle in reverse, and forward. Keep doing this until the response is immediate (should respond right away, if the steps were followed).
After a few minutes of this turn the tractor off, check everything that moves, belts are in their keepers, and try and look at the fluid level in the transaxle reservoir, a real pain I know, but take the time to make sure that fluid is in there a couple notches at least.
Continue to verify your K66 is free of leaks, paying attention to drips on the right side under the hydro chamber side. The right side is where the drips will show up if the fill tube to the reservoir bottle is leaking. Leaks are bad, but if you were to have any leaks, this is the last best time to find them.
43) If your GT is healthy, (passing first of three important inspections) start your GT and drive around for at least 15 minutes, getting your transaxle up to operating temperature, then shut it down, let the transaxle go through a cool down cycle.
Once your K66 cools down, this is relative to the outside conditions and season, but it should be cool to the touch, then inspect for leaks and fluid in the reservoir bottle again. If it passes here, Stage 6 is complete. The GT is happy, and you the owner should be proud of the work you just completed.
Stage 7 will be the installation of your mowing deck without fighting with belt tension, anti-sway bar installation, and preserving all your deck settings.
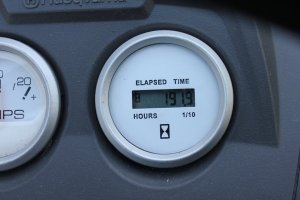
I found the picture of the clock for the specific hrs of this job...
