You are using an out of date browser. It may not display this or other websites correctly.
You should upgrade or use an alternative browser.
You should upgrade or use an alternative browser.
6hp Craftsman Power Unit Restoration
- Thread starter 1967Craftsman's
- Start date
-
- Tags
- 6hp craftsman restoration
This is all for now, more to hopefully come soon.....
Hi everyone,
Not much of an update on the tractor. I haven't really been working on it, BUT i did find the gas tank gauges I been in search of AND they are NOS. We got the last 3 too! My stepdad ordered them for me as an upcoming birthday present. Interestingly enough I put a wanted ad out here and I posted the same exact picture below.....
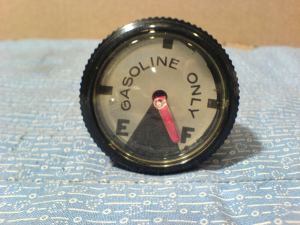
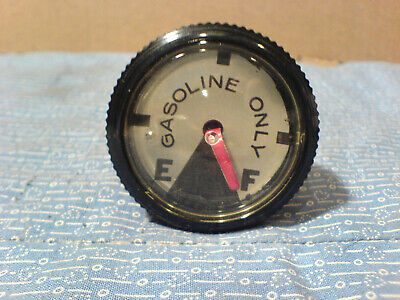
Not much of an update on the tractor. I haven't really been working on it, BUT i did find the gas tank gauges I been in search of AND they are NOS. We got the last 3 too! My stepdad ordered them for me as an upcoming birthday present. Interestingly enough I put a wanted ad out here and I posted the same exact picture below.....


BRIGGS & STRATTON FUEL TANK GAUGE. 299992 *NOS OEM PART* L-52 | eBay
Part # 299992. Briggs & Stratton fuel tank gauge. There are other online parts resources to use also to see if this part is what you need. There are no scratches on the plastic top. There is no rust on it.
www.ebay.com
I will post another update when the new gauges come, this is all for now. More to come soon.....
Hi everyone,
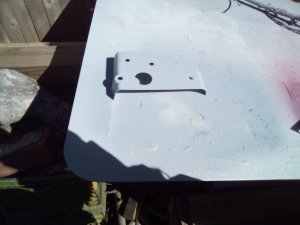
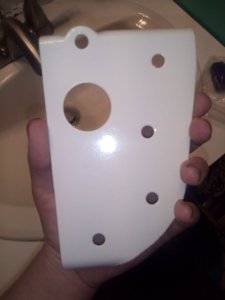
Not too much to report but I got very good news. I brought the tractors gas tank to my local radiator shop today to have them fix the holes for me, and I also brought the battery box to a local fabrication shop near me to have them make a piece of metal where the box is completely rotted out.
Making a little progress which I am happy about, more to come on these soon.....
Hi everyone,
I have a little update on the tractor. My stepdad and I went to the Lebanon Valley Indoor Tractor Expo in PA about 3 weeks ago now, and Lawn And Garden Tractor (L>) Magazine was there and I am a subscriber so I renewed my subscription. If you did not know the magazine is teamed up with Hapco tractor parts, so while at their booth renewing my subscription they had a show special on their parts so my stepdad bought me a new steering wheel as a birthday present. The reason he bought it for me was because I was deliberating about it for awhile (as I do with a lot of things) because to me it was the wrong one; it is the correct design but I didn't think it would go on smoothly because it requires a key way like my 10 horsepower has. My stepdad says "I don't think you're gonna find a better deal than that and we can make it work", and took out his wallet. It is a John Deere steering wheel yes, but I will bring it to a machine shop and have them make a key way to fit my steering column.....
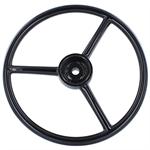
I have a little update on the tractor. My stepdad and I went to the Lebanon Valley Indoor Tractor Expo in PA about 3 weeks ago now, and Lawn And Garden Tractor (L>) Magazine was there and I am a subscriber so I renewed my subscription. If you did not know the magazine is teamed up with Hapco tractor parts, so while at their booth renewing my subscription they had a show special on their parts so my stepdad bought me a new steering wheel as a birthday present. The reason he bought it for me was because I was deliberating about it for awhile (as I do with a lot of things) because to me it was the wrong one; it is the correct design but I didn't think it would go on smoothly because it requires a key way like my 10 horsepower has. My stepdad says "I don't think you're gonna find a better deal than that and we can make it work", and took out his wallet. It is a John Deere steering wheel yes, but I will bring it to a machine shop and have them make a key way to fit my steering column.....

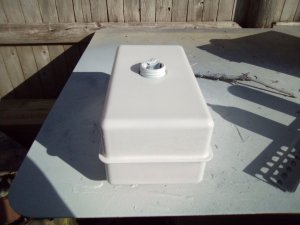
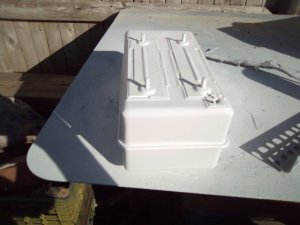
I also got my gas tank back from my local radiator shop a couple days ago, and it only cost me $20.00 to have it done and soldered. The repairman who did it said it leaked 3 times, and there was a 3rd hole that needed to be done not just the original 2 like I thought. I asked my stepdad if we could shave the holes down a bit and he said he would leave it alone and not risk doing that and filing it too far and making another hole, so I'll just leave it alone like he suggests. Here is what the tank looks like now.....
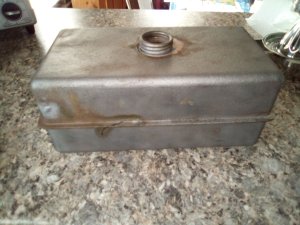
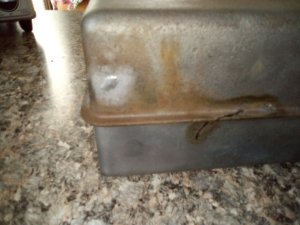
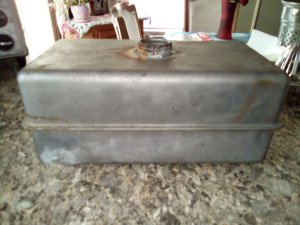
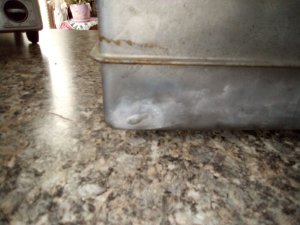
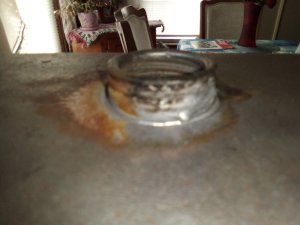


Since getting my gas tank back from my local radiator shop I sanded it all down with a used piece of 60 grit paper, then put 1 light coat of my primer in post 13 on, then sanded it with a new piece of 220 grit paper to try and get whatever rust pits that were there out, then I put another coat of the primer on, then repeated the process a 2nd and 3rd time then that was all I did. I put a total of 3 coats of primer on.....
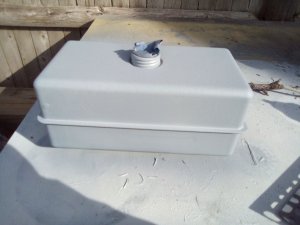
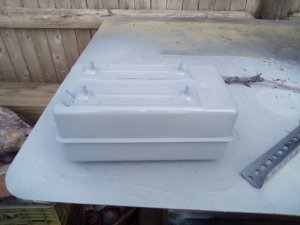


This is all for now, more to come hopefully soon.....
This is all for now, more to come hopefully soon......
Hi folks,
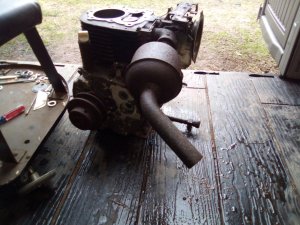
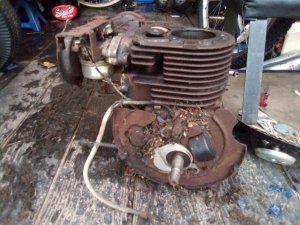
since my last post I have taken the engine off the tractor, drained the black oil, and took some parts off it so I can start the rebuild. I however have NOT started rebuilding it yet though. I also attempted to take the voltage regulator and battery box off the tractor too, but the screws are so rusted they won't come off even with PB blaster on them for a half hour to an hour. That said I will spray the PB on everyday and let it sit all day for a week, and if that does not work I will just end up drilling them out. Here are some pictures......
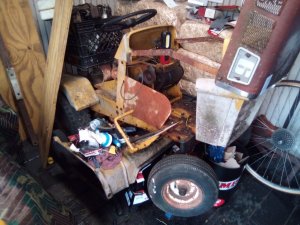
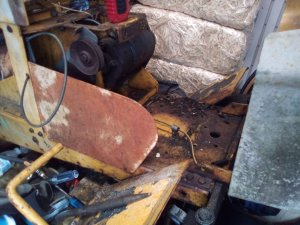
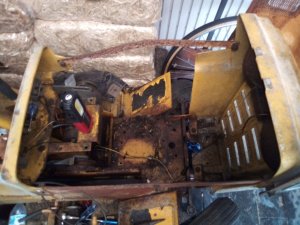
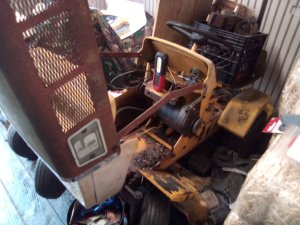
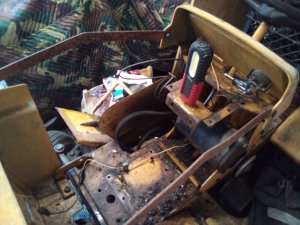
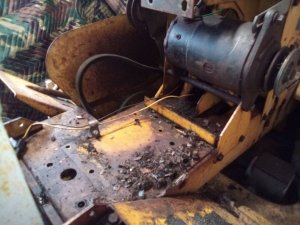
Man does it look different now without an engine......
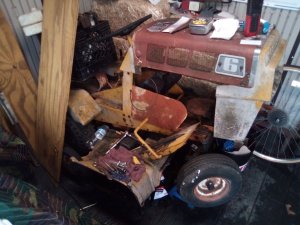
since my last post I have taken the engine off the tractor, drained the black oil, and took some parts off it so I can start the rebuild. I however have NOT started rebuilding it yet though. I also attempted to take the voltage regulator and battery box off the tractor too, but the screws are so rusted they won't come off even with PB blaster on them for a half hour to an hour. That said I will spray the PB on everyday and let it sit all day for a week, and if that does not work I will just end up drilling them out. Here are some pictures......


Man does it look different now without an engine......

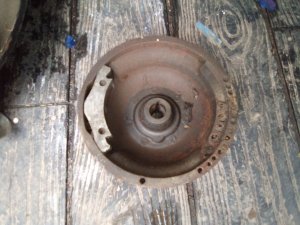
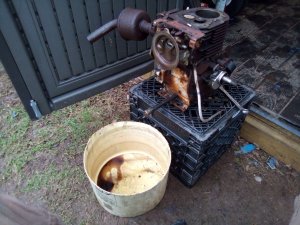
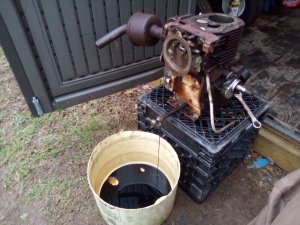
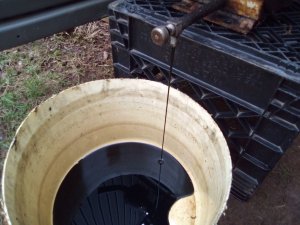
Now that the engine is off, I vacuumed up the rest of the nest in the 2nd to last picture of my previous post. Now that it's time to drain the oil, I put the engine on an ol milk crate we had lying around and let it drain out. When it was done fully draining for about 5-10 minutes I tipped the engine a bit to see if there was anymore oil left. Since this post on the engine I only took parts off it that is all, I have NOT yet started to rebuild the engine. More to come on the engine soon......


Last edited:
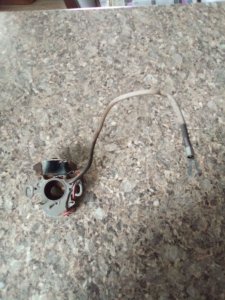
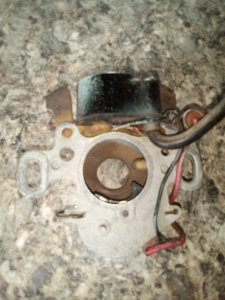
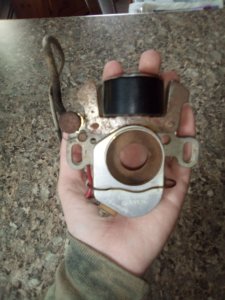
Good news; I get to save a little bit a money on this engine build as my stepdad gave me a "new" to me (but used) magneto/coil he had lying around. It looks in good shape and he said it came off a running engine. I believe he said it came off a snow-blower. On the front on the bottom in the 4th picture it says "Ezee-Start Magneto Tecumseh"......
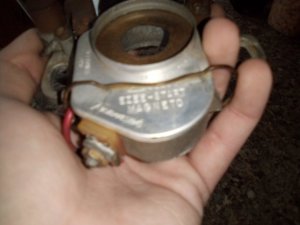


This is all for now; more to come soon......
Hi folks,
I'm back with a little older update on the tractor that is going back to post 32 on page 2 here with trying to take the old voltage regulator off. I had to take the seat off to get to it because in my opinion with the seat on, would of been a little bit too tight of a space to work in which explains my 1st an 2nd pictures. As you can see from my photos with the cap off, it is the original regulator as it says "Delco Remy Made In USA" on it and the inside actually looks pretty good in my and my stepdads opinions. I will 95% MAYBE end up just buying a new one for reliability reasons BUT we will see because I want to and will also test the original here to see if it works, and if it does just keep that one on as I like originality......
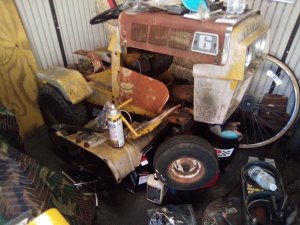
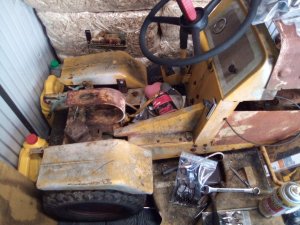
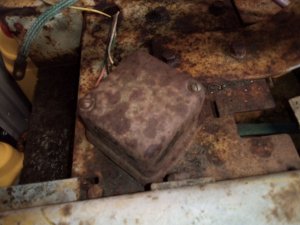
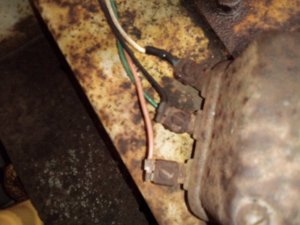
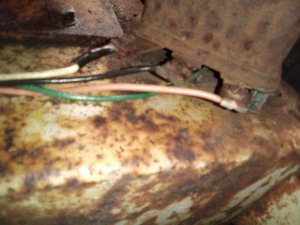
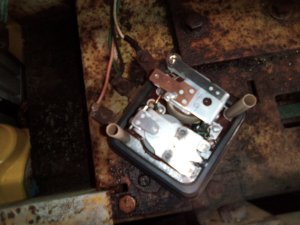
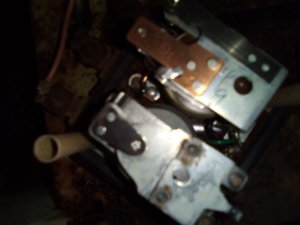
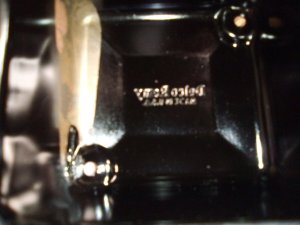
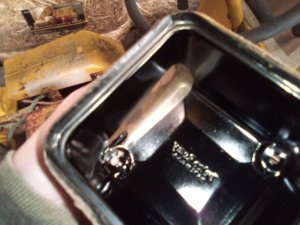
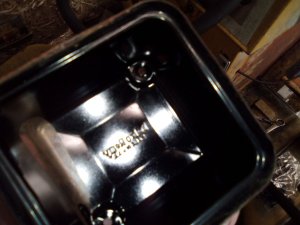
I'm back with a little older update on the tractor that is going back to post 32 on page 2 here with trying to take the old voltage regulator off. I had to take the seat off to get to it because in my opinion with the seat on, would of been a little bit too tight of a space to work in which explains my 1st an 2nd pictures. As you can see from my photos with the cap off, it is the original regulator as it says "Delco Remy Made In USA" on it and the inside actually looks pretty good in my and my stepdads opinions. I will 95% MAYBE end up just buying a new one for reliability reasons BUT we will see because I want to and will also test the original here to see if it works, and if it does just keep that one on as I like originality......


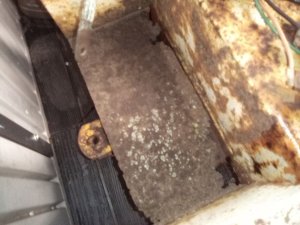
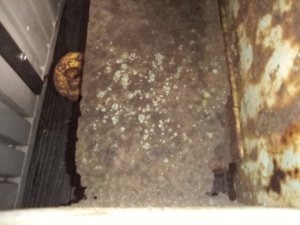
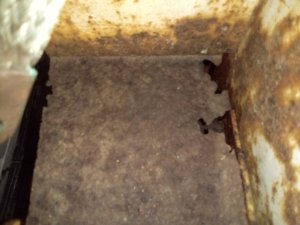
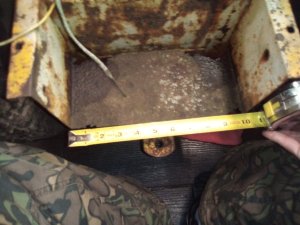
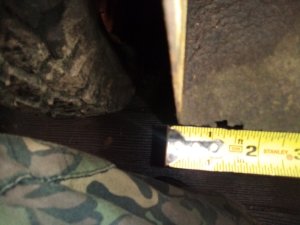
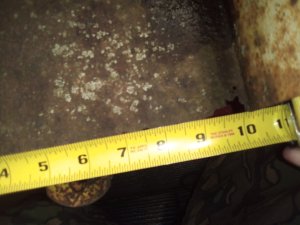
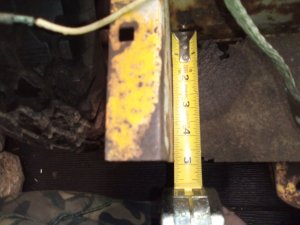
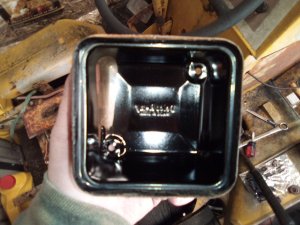
Again going back to post 32 on page 2 here, now with taking the rusted screws out to get the battery box off. Here is why below; the "culprit" being rust which I do not believe I noticed before when I first bought it from the previous owner. I could not get the screws out even with PB blaster and letting it sit so I will probably end up drilling them out. The fabrication place I am having make my other piece for the top part of the box I will have make me this piece as well; I called them this past week and they said they will have the person making my other call me BUT I still have yet to hear back. That said I will call them this week. The sides have a little rust also BUT not nearly as bad as this though. On a separate note, while I was at it I also measured the part where it is rusted and it measures 5"X10.5". More to come on this project hopefully soon.......
