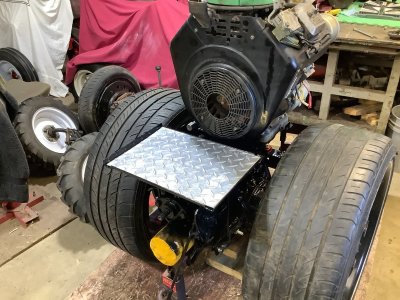
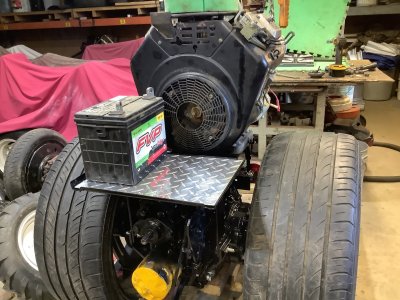
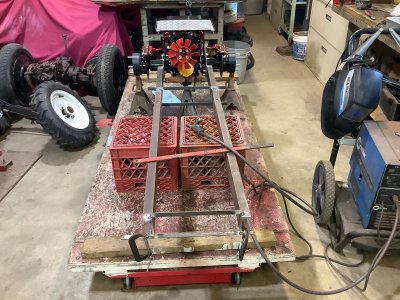
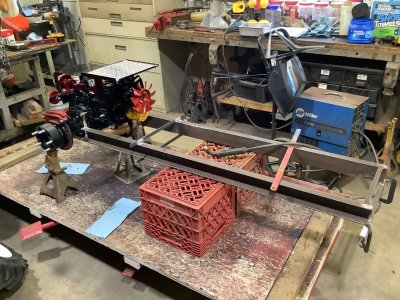
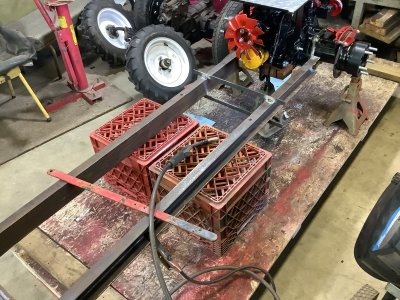
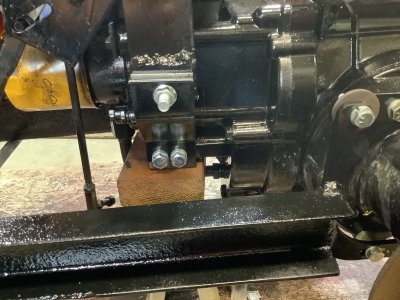
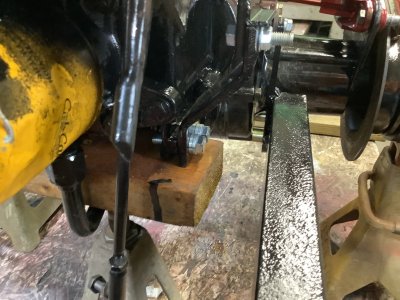
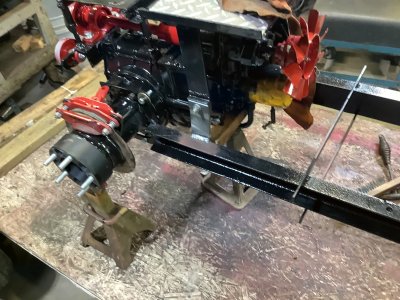
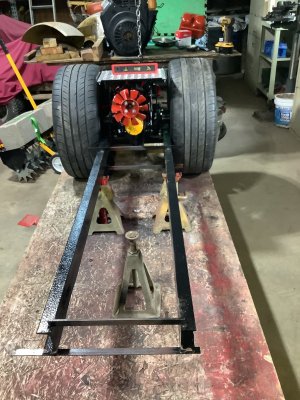
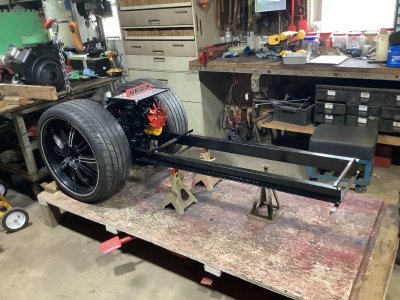
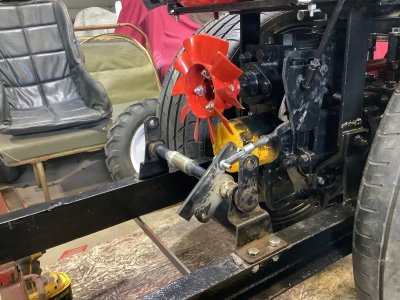
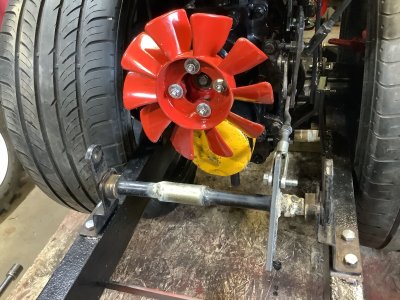
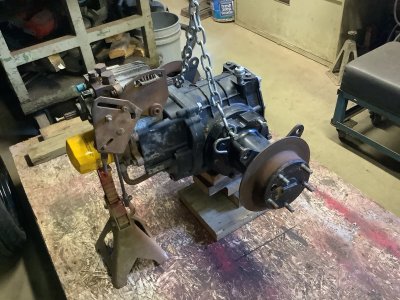
I have three Cub Cadet hydrostatic transaxles.
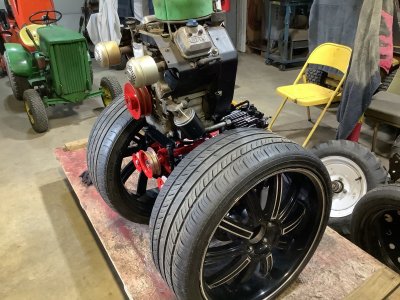
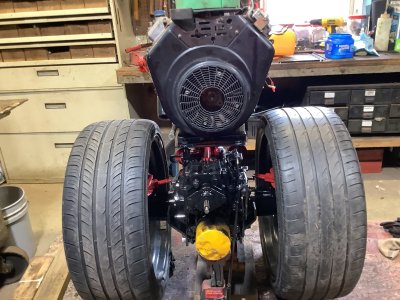
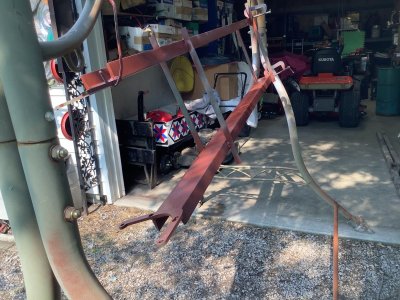
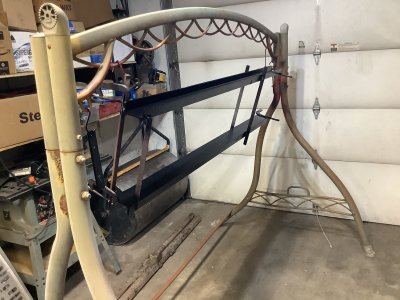
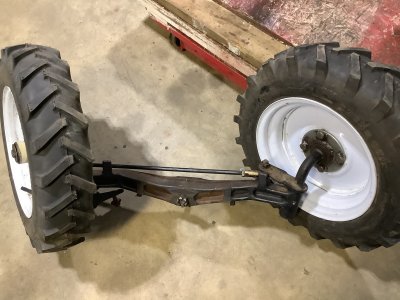
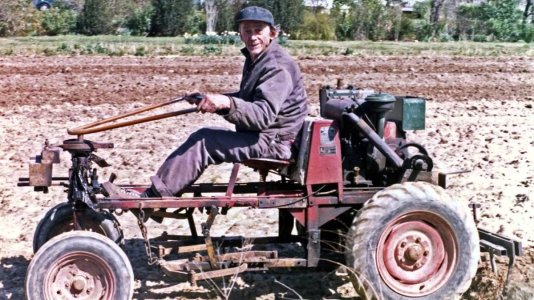
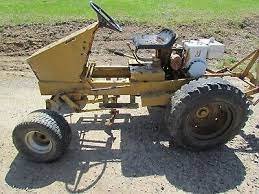
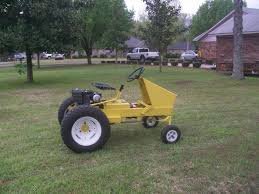
Started this project with the intentions of making something similar to a Grand Haven.
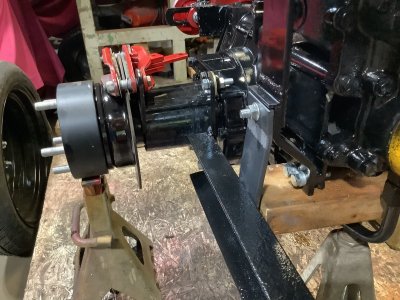
Or a Homesteader. After finding a pair of 20 inch rims/tires at a garage sale, plans changed
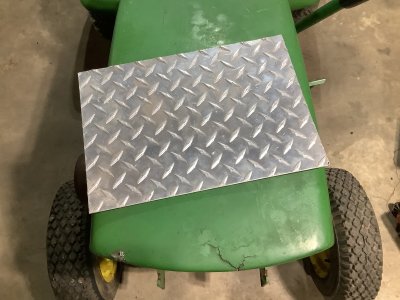
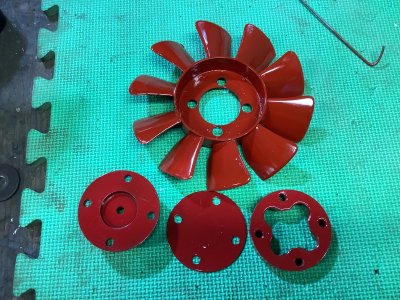
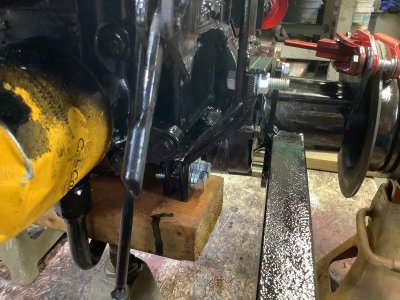
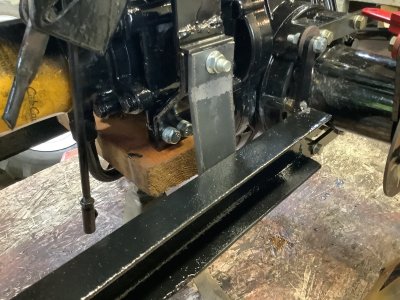
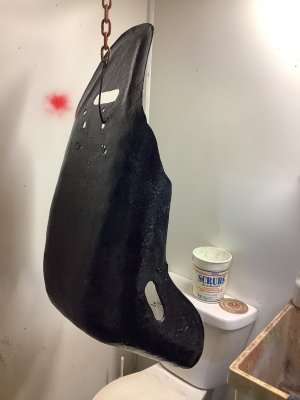
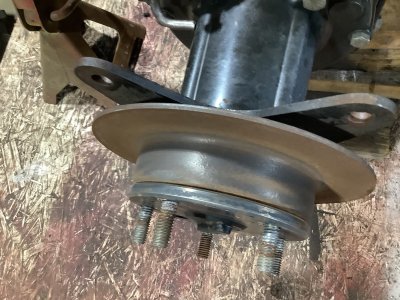
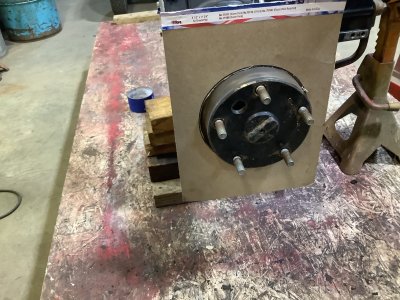
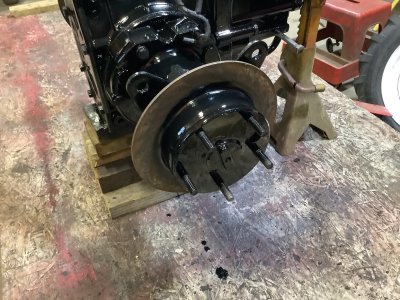
Took one of the units to the car wash and got started. Cleaned and painted the brake rotors.
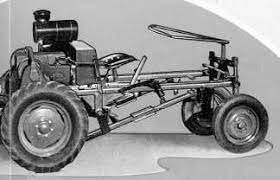
Started this project with the intentions of making something similar to a Grand Haven.
Or a Homesteader. After finding a pair of 20 inch rims/tires at a garage sale, plans changed
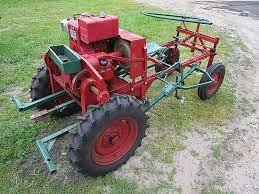
Took one of the units to the car wash and got started. Cleaned and painted the brake rotors.
Attachments
-
 3B7A469D-2EC1-42D7-9D25-98D3E7200A00.jpeg217.5 KB · Views: 29
 -
 7E99EBEE-6F8C-4D0B-832A-6A97CD1FCA9C.jpeg18 KB · Views: 24
 -
 B293C872-F34E-41E3-8F95-4549BF59DA69.jpeg27.7 KB · Views: 22
 -
 6FD7DCFB-4CC5-4159-81C8-9FE4584F1A15.jpeg26.1 KB · Views: 21
 -
 1DD3CB70-F8A0-4DC4-8DC4-98B0561E8205.jpeg19.7 KB · Views: 22
 -
 D6669656-DAF4-4B82-9D81-6AA3EEC7F9B8.jpeg243.1 KB · Views: 20
 -
 CF6BDC69-2978-49B5-8EC9-82819F9B226C.jpeg245.7 KB · Views: 18
 -
 3E4B415C-D738-48B0-9899-3C3EEEE73CC5.jpeg272 KB · Views: 17
 -
 8C9C2B6E-8A57-4724-9A6F-B386704DCDA3.jpeg258.1 KB · Views: 25
Last edited: