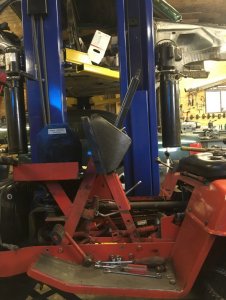
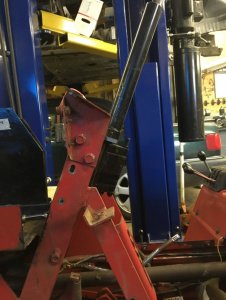
Hydraulic steering on my MF 1655

MacWorld

Tractorologist
Member
This post is only a teaser for an upcoming project I'll do and post the progress of!

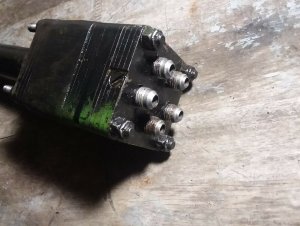
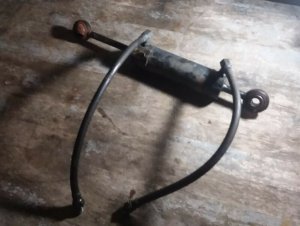
I bought those yesterday, been looking for a fair price for a while and decided to buy those at 150$ US for the column and 130$ US for the cylinder. They come from a JD 318.
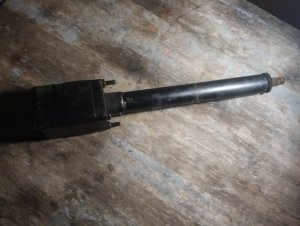
column.jpgports.jpg
cylinder.jpg

Obviously I have to wait for them to get to me in Canada and then to have enough time to work on this, hopefully (I can dream, right?) I'll have the setup working before I need to use my snowblower!

Currently I plan on installing the cylinder at the same spot as the rod from the steering box to the pivot arm on the front axle. I want to avoid applying torque to the axle as MF's do not have stoppers as JD do for the front/back movement of the axle. I might have to make a custom pivot arm as to match the travel of the cylinder with the travel available from the steering box.

As with most of my projects I'll try integrating all of this without modifying the original parts of my tractor. I do not mind modifying the column to shorten it but I'll try to avoid modifying the cylinder as to keep it easily replaceable.

It will be a nice project and a nice addition to my 1655!
 
I mounted my cylinder right on the front of the axle beam to do away with any play. I welded a mount bolt onto the right side of the beam, then redone the arm off the left spindle out the front. I'll try to get a pic. It works fantastic.
 
I would like to see your setup but I think I won't be able to do the same, my quick hitch bracket comes really close to the axle beam
IMG_7302.jpg
 
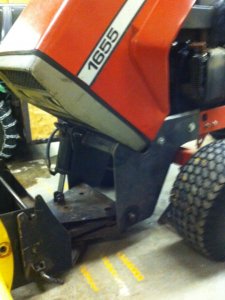
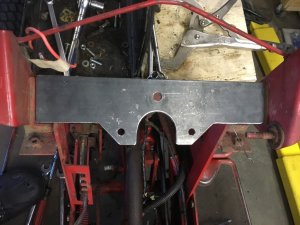
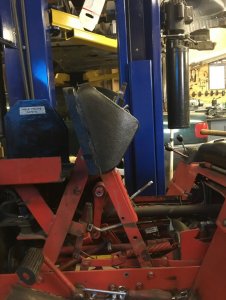
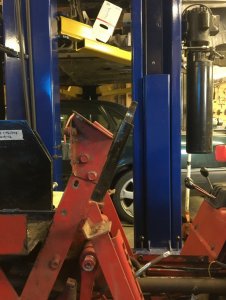
I was wrong on the power steering cylinder being on the front side, that was on my Bush Hog "Hogzilla". The cylinder on my Massey 1655 is actually mounted directly on the bottom of the axle beam, and the ram that connects to the cylinder just equals to the front of the axle beam mainframe as pics show.
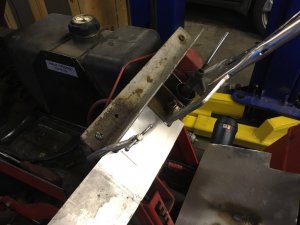
20191002_155050[1].jpg20191002_155034[1].jpg20191002_155015[1].jpg20191002_155129[1].jpg
 
You want to be sure that both the steering unit and the cylinder a good andone leak before you put in on the tractor. Those rebuild kits are not that expensive and for safety sake and trouble i would just have it rebuilt.
 
You want to be sure that both the steering unit and the cylinder a good andone leak before you put in on the tractor. Those rebuild kits are not that expensive and for safety sake and trouble i would just have it rebuilt.
Where should I search for rebuild kits? I searched a bit and the kit seems to be am107078 at ~100$ US, is that correct? For a kit of seals that seems expensive?
 
I got the kit for a Cub, same as JD and others off ebay for around $90. I believe these were Ross units. Lot of little parts in the kit. I didn't put it in, had an IH mechanic do that. The cylinder was a weld up unit. Ground the weld down and used a thin cut off wheel to finish it. Standard size seal on the ram. Made sure the seal was on the opposite end of the cylinder when we welded it shut. Clamped it together to keep it straight. Cold water rags on both sides of the weld to help cool it. Turned out ok. No leaks and worked great. I didn't do the welding either.
 
Parts received! Now we'll (I'm including my self as I have no clue ahha) have to figure out when I will have time to work on this!

At least lately I figured that my Ridgid 445R flaring tool I've bought (used but near-new) for the tubes for my mini-splits A/C can do the flares for the 3/8 steel tubes on my MF 1655! I was borrowing the tool of the hydraulic supply shop where I buy my fittings/hoses from. I looked and it's a Ridgid 458 which also makes 45° flares, JIC requires 37° but so far I never had any leaks with the 45° flares therefore I'll be able to use my tool and no longer have to borrow theirs. I'll have to make at least 10 more flares (5 tubes) for this project, it will be way faster having the tool in hand!
 
Project started! I foresee 4 parts to this project:
1 - Bracket fabrication for the steering column
2 - Shortening (and rebuild) of the column
3 - Bracket fabrication for the cylinder
4 - Final installation (hydraulic tubes and hoses)

Part 1 - Bracket for the steering column
As you might know from me, I try to avoid modifying any part of the tractor and make all my modifications reversible. To install the column I decided to install it as high as possible in the dash to clear space where the steering box is, eventually I will probably install a 6-way valve (or 2...) there.

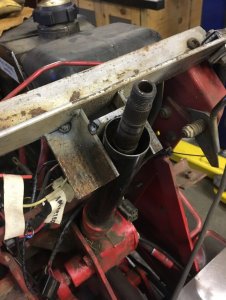
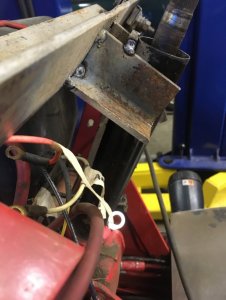
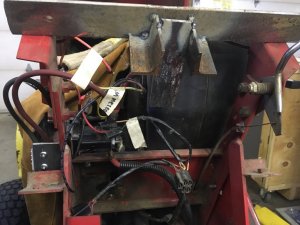
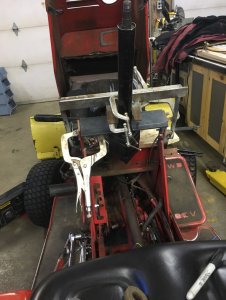
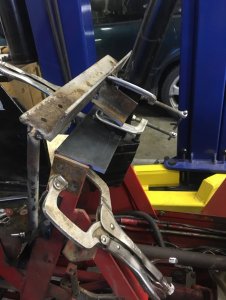
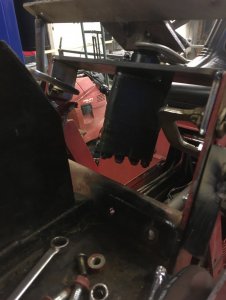
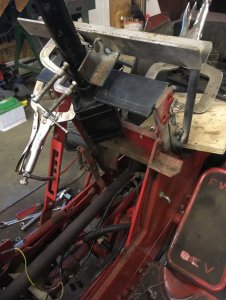
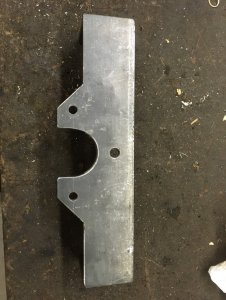
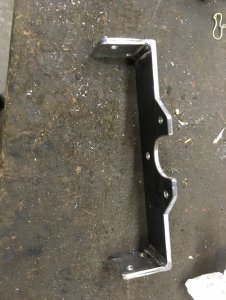
First step was to fabricate a bracket to "register" the exact location of the current column. I wanted to know it's location in the center of the tractor, the angle and position length wise and also its height. The bracket bolted where the dash is bolted... If someone has to copy me this isn't my brightest idea, it disables the possibility of validating with the dash in place.
IMG_9378.jpgIMG_9379.jpgIMG_9381.jpgIMG_9383.jpg

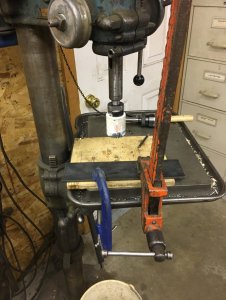
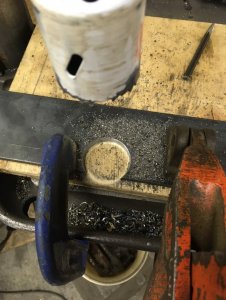
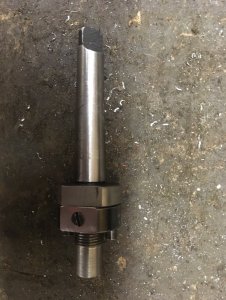
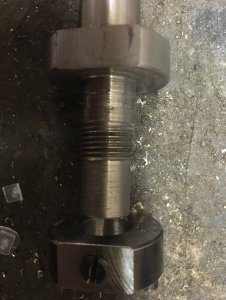
After that I used for the first time my custom Morse Taper 2 -> hole saw arbor to make a plate to receive the steering column. This arbor is way stiffer then standard hole saw arbors and given the torque is NOT transmitted through the 2 pins but by friction between the arbor and the hole saw, there is way less wobbling around. For those curious, I crushed a standard hole saw arbor in the past with my self-tightening chuck on my press drill when I was drilling 2.5" holes through 1/4" steel with my Slo Speed attachment (google image Delta 17-860) and decided to build a solution. Well this arbor is my solution :) You might see there are 2 flanges, one of them is integral to the chuck, the other one is free spining and has the 2 pins. The second flange has the 2 pins and is squeezed between the arbor and the hole saw and serves only to untighten the hole saw after it screwed itself on the arbor during drilling.

IMG_9384.jpgIMG_9385.jpgIMG_9400.jpgIMG_9401.jpg
 
Here is the bracket in progress installed to mark the holes to the A-frame with transfer punch
IMG_9386.jpgIMG_9387.jpgIMG_9388.jpgIMG_9389.jpg

You can see I installed the column at an angle and used only 3 of the 4 mounting bolts, it's to clear the ignition switch! Here is the finished bracket
IMG_9397.jpgIMG_9398.jpgIMG_9399.jpg
 
And here are the pictures I took to verify the angle of the new column. You can see the column must be parallel to the main 2x1/4" of the A-frame
IMG_9390.jpgIMG_9392.jpg

And here is the new column in place
IMG_9395.jpgIMG_9393.jpg

I've already cut the column's tube and the shaft and need to have some flats machined to the end of the shortened shaft .I will not be welding back the 2 ends of the shaft as other did, I will replicate the end that goes to the hydraulic-side as it's easy to do. It should be done and posted next weekend hopefully.
 
Looks good. My first thought was boy that steering wheel will be some high, lol then I read that you had cut it down....
 
I will say that PS is super nice. I never had a GT with it before until I got my 7020, night and day better than armstrong steering. My 1650 I'm trying to do all the cheap mods to make the steering easier. Maybe I should just bite the bullet and go with PS on it.
 
I wouldn't have done it if it wasn't for the fact that the steering is nearly impossible to turn (even with both arms) while my snowblower is raised and the tractor is stationary. I try to be as efficient as possible while using my tractor and with the PS I will be able to keep my right hand on the hydraulic levers at all time to control the snowblower while moving around which will cut down on time considerably for my particular drive way. It's also a fun fabrication project :)
 
What are you waiting for? If I am correct your Sears FF have hydraulics and it seems the kind of project which would be easy for you!
Gotta have the parts first and that's the issue. Not much around here I can afford.
 
Back
Top