You are using an out of date browser. It may not display this or other websites correctly.
You should upgrade or use an alternative browser.
You should upgrade or use an alternative browser.
Just had to do it.
- Thread starter cjet69
- Start date
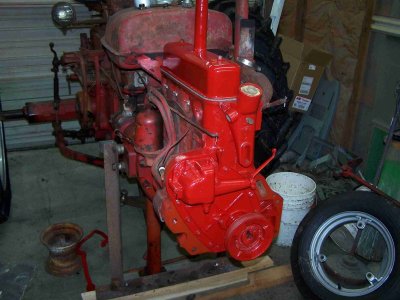
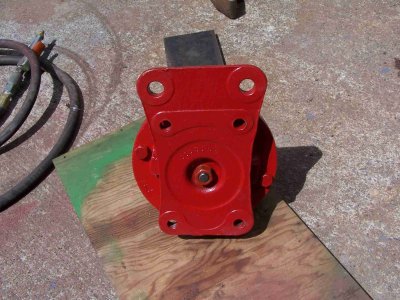
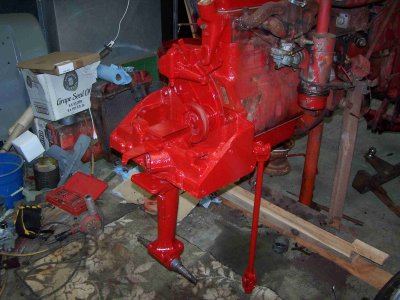
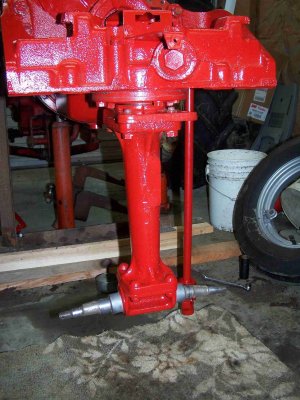
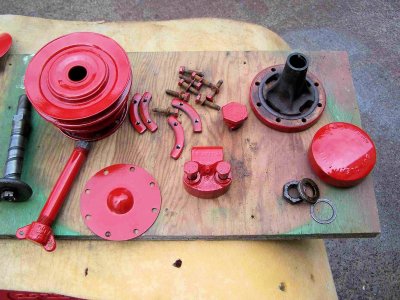
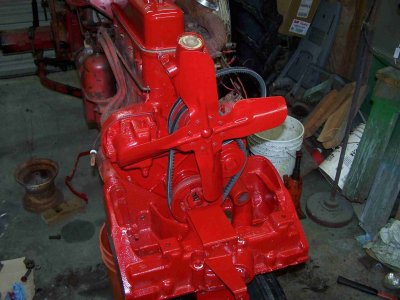
Hopefully the work I have done will stop the leaks I was after. My thoughts on cleaning and painting these parts now is I won't have to tear the front down before painting the rest of it when I get around to it.Man, she's gonna be nice!
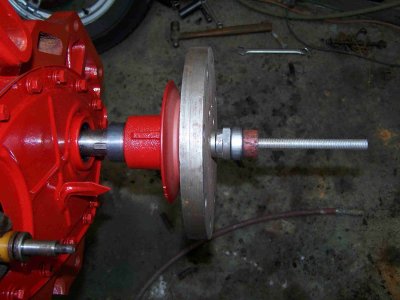
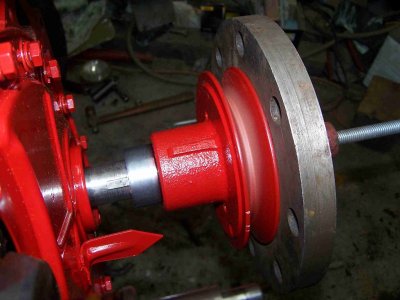
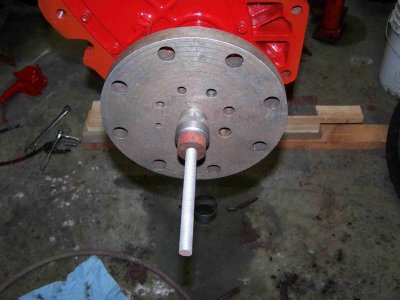
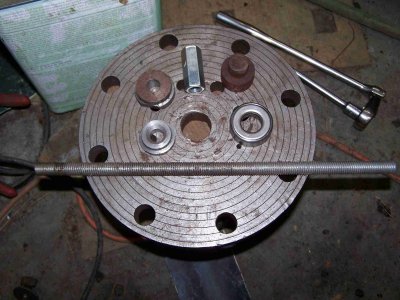
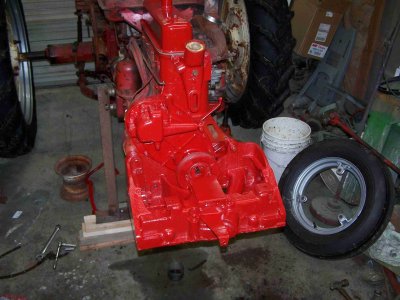
Found enough pieces to make up a pulley installer. It consists of 1/2 all-thread, several alignment bushings, an old kingpin bearing for a thrust bearing, a long 1/2 nut, and a heavy steel plate. The manual says to heat the pulley before installing. I'll probably use my heat gun for that. I also put some rtv on the timing cover gasket on the block side and snugged everything down. That should hold the gasket in place while I seal the timing cover side just before the pulley install. Its supposed to rain all day tomorrow so this would be a good inside job to work on.
Attachments
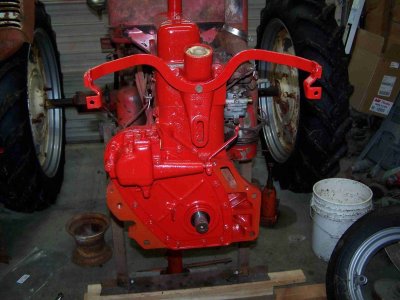
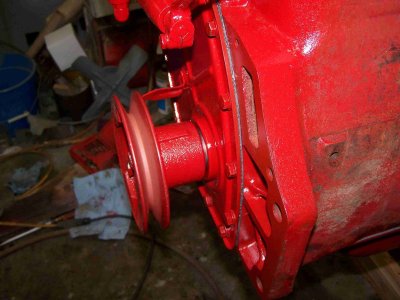
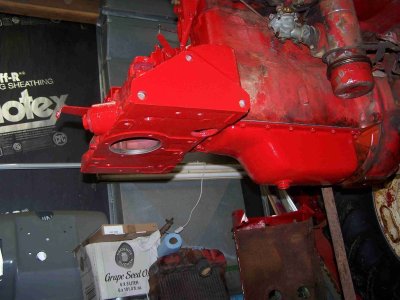
Warmed the pulley up, sealed and loosely installed the timing cover, and pulled the pulley in place. Went a lot smoother than I was expecting. Now is when I usually find something that was supposed to go on first. Need to assemble the front bolster and it will be back on its wheels.
Attachments
Boy isn't that for sure! Been there and done that many times.Now is when I usually find something that was supposed to go on first.
Boy isn't that for sure! Been there and done that many times.
You mean the dust cover is supposed to go on before you bolt the transmission in? Son of a gun…
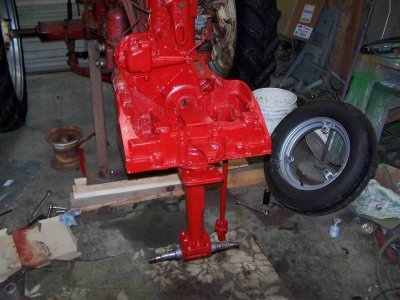
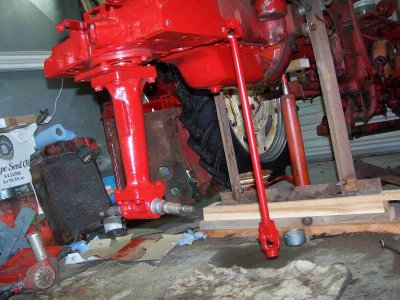
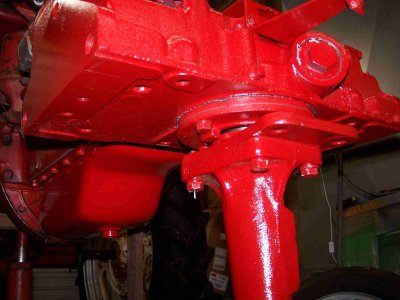
Assembled the pedestal steering shaft and bolted the steering housing to the front of the tractor. Need to install the worm shaft and seal and then the steering shaft can be installed into the housing.
Attachments
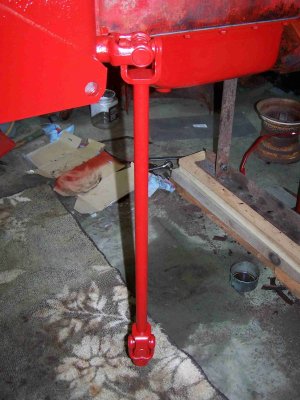
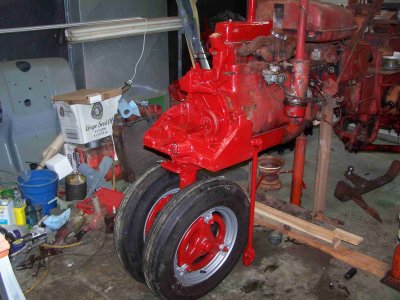
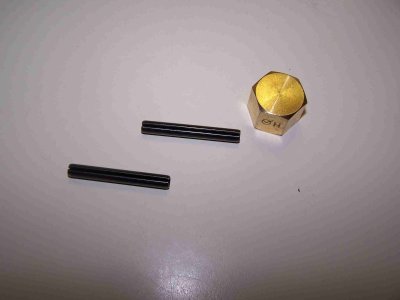
Installed the steering gear shaft, bolster, and painted the lower steering shaft that needs a couple roll pins to finish installing. I need to clean and paint the deflectors that go on the spindles before I can install the wheels.
Attachments
Yes I did. They were in pretty good shape. After cleaning they ran fairly smooth. Not perfect but plenty good for the steering. When you price them its pretty easy to live with what you got.Did you happen to check the bearings and bushings inside the steering gear box while it was apart?
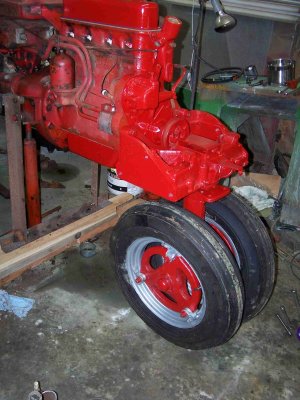
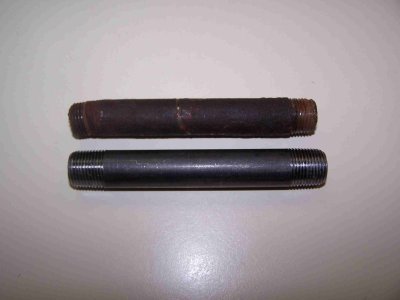
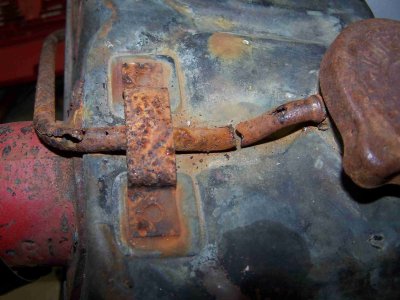
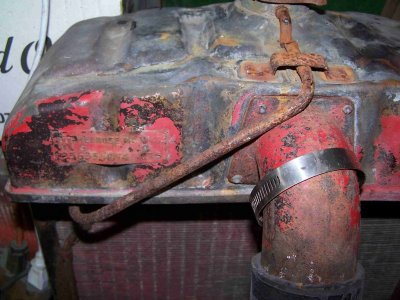
Been away from this project for several days. I installed the wheels and removed the support stand. I was going to install the water pump but found the drain pipe had been bent/kinked on the end with the drain cap. I thought it might be easier to install the pipe before the water pump goes on. Found a replacement at Home Depot for $1.99 + shipping. It should be here next week.
As I typed this I thought there must be an internal pipe wrench/socket so I looked it up. I can get some from Home Depot for not much so I ordered them also. This way I can go ahead and install the water pump now and the pipe later without scratching all of the paint off.
As I typed this I thought there must be an internal pipe wrench/socket so I looked it up. I can get some from Home Depot for not much so I ordered them also. This way I can go ahead and install the water pump now and the pipe later without scratching all of the paint off.
Attachments
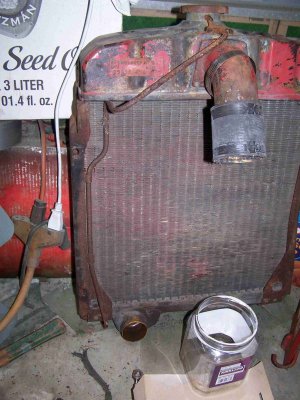
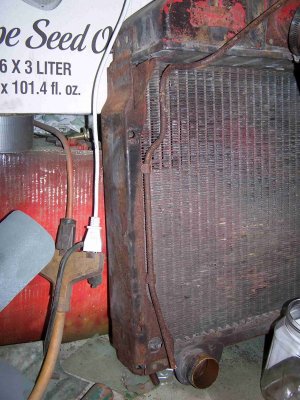
Getting the hay equipment ready has kept me from working on the 230. I just received the coolant drain pipe today which by the tracking toured 1/2 of the lower 48 before arriving. I filled the steering housing with gear oil this morning. Hopefully it doesn't all leak out on the floor. I think the radiator is next up for installation.
Attachments
Looks like a common pipe nipple, CJet. What am I missing here to make you have to order it? Oddball size or threads?Getting the hay equipment ready has kept me from working on the 230. I just received the coolant drain pipe today which by the tracking toured 1/2 of the lower 48 before arriving. I filled the steering housing with gear oil this morning. Hopefully it doesn't all leak out on the floor. I think the radiator is next up for installation.
DAC
The local hardware store carried 4" and 6" lengths and this one is 4 1/2". I could have driven 20 miles to the nearest Home Depot, but I thought with free shipping I would save the gas money. I figured they would ship it from the closest store but it came out of Illinois and ended up in Mississippi before heading my way. I won't be doing that again.Looks like a common pipe nipple, CJet. What am I missing here to make you have to order it? Oddball size or threads?
DAC
Your hardware store doesn't cut and thread custom sizes I suppose. There are still a couple around here that do. We did our own at work for uncommon sized before I retired. Would buy common sizes to have on hand though.The local hardware store carried 4" and 6" lengths and this one is 4 1/2". I could have driven 20 miles to the nearest Home Depot, but I thought with free shipping I would save the gas money. I figured they would ship it from the closest store but it came out of Illinois and ended up in Mississippi before heading my way. I won't be doing that again.
With all the self-sufficient stuff you guys do, I'm surprised you don't have a pipe threader on your place somewhere too! Of course that would probably be more labor that what that nipple cost you. At least it got to tour a big part of the country before getting installed on a tractor---LOL!
DAC
We do have pipe threading dies but I thought if I could just buy it ready to go I could save some work. Also I would have to buy the 6" pipe that costs a little more. It all worked out in the end and I am in no rush. Imagine that, a procrastinator that's not in a rush.Your hardware store doesn't cut and thread custom sizes I suppose. There are still a couple around here that do. We did our own at work for uncommon sized before I retired. Would buy common sizes to have on hand though.
With all the self-sufficient stuff you guys do, I'm surprised you don't have a pipe threader on your place somewhere too! Of course that would probably be more labor that what that nipple cost you. At least it got to tour a big part of the country before getting installed on a tractor---LOL!
DAC
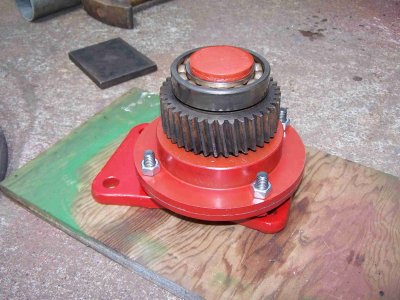
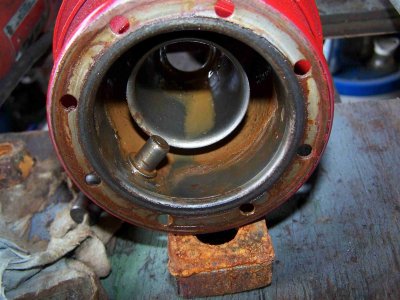
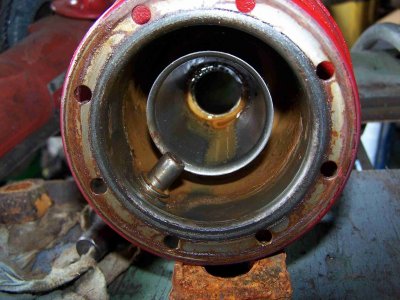
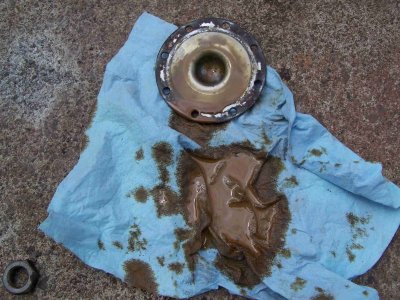
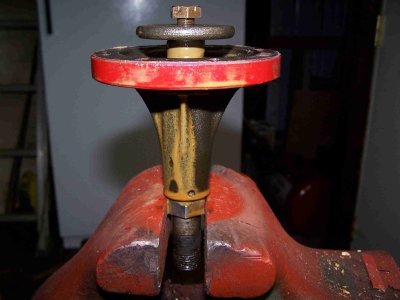
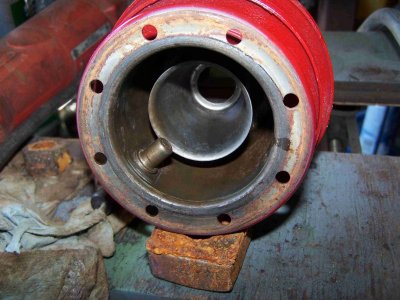
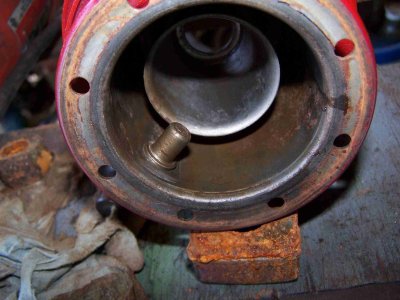
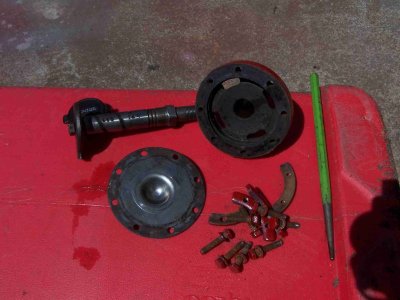
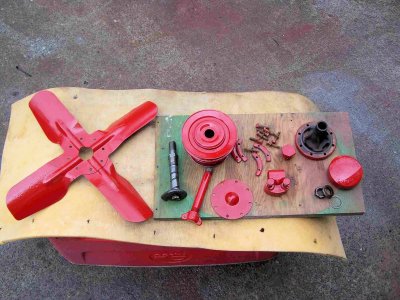
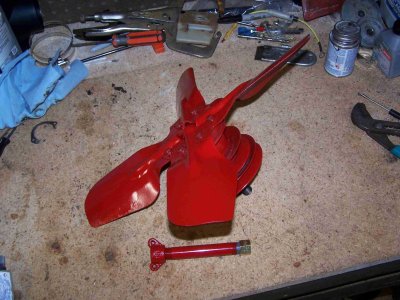
I was ready to install the fan and noticed some milky oil leaking out of it. Figured I better pull it apart, drain it, and see what it looks like inside. Looked better than I expected with very little rust. It did have some sludge build up but a quick run in the sonic cleaner took care of it. I do need to touch up the paint now but I need to paint a couple other small parts also.
Attachments
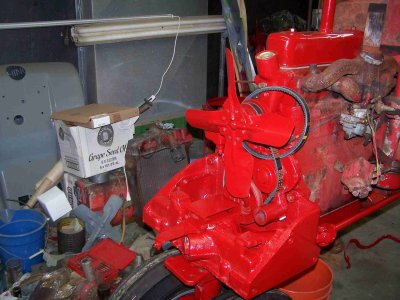
Painted and assembled the fan and mounted it up on the tractor along with the coolant drain tube and lower steering support carrier/bearing.

