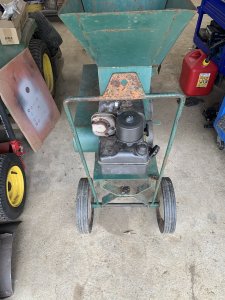
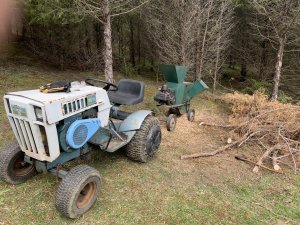
Kemp K6CH Wood Chipper

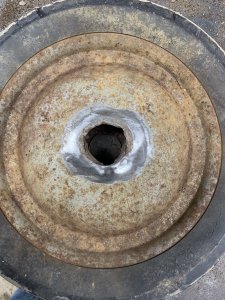
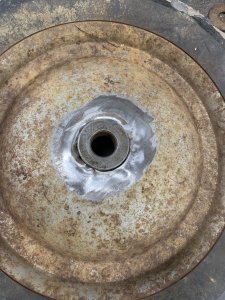
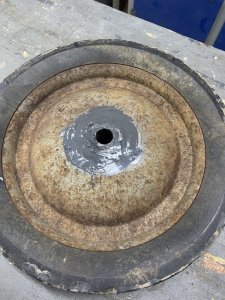
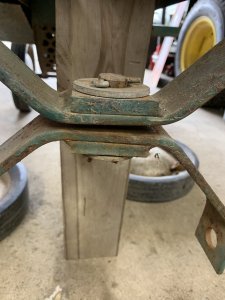
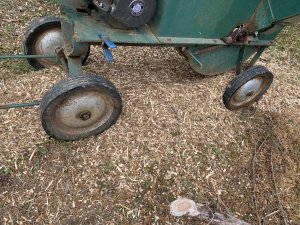
Well it’s been five months since I posted about this beast. I did repair the wheel that had the rusted egg shaped hole. I cleaned up the wheel then flattened out the area to weld the bushing back on. These bushings just rest in the hole but because it was so damaged the bushing wouldn’t stay. I put some JB weld around the area to smooth it out.
8D8EE443-8EE3-4727-BDE2-F7A56B8405B8.jpeg5ACC860C-170C-415E-BACF-AC6CD0B21B01.jpegDC17A57A-494A-4F65-80FF-9BAB3E35188C.jpeg
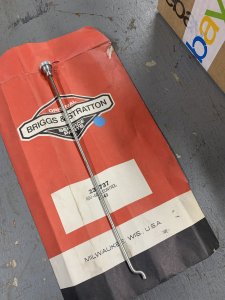
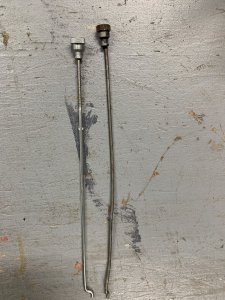
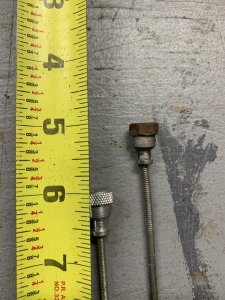
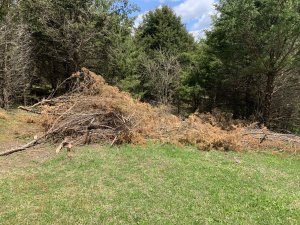
I finally found my governor rod and thumb screw at a reasonable price of around $27. including shipping. I got it three days later and I’m happy with it especially since it’s NOS Briggs. We got rain tomorrow so I’m going to start tinkering with this. I have several brush piles waiting to be chipped and shredded so I’m hoping I get this thing running good.
F594FE57-63CF-4F2A-8BB2-58D21D4AE84D.jpeg
 
Well it’s been five months since I posted about this beast. I did repair the wheel that had the rusted egg shaped hole. I cleaned up the wheel then flattened out the area to weld the bushing back on. These bushings just rest in the hole but because it was so damaged the bushing wouldn’t stay. I put some JB weld around the area to smooth it out.
View attachment 50876View attachment 50877View attachment 50878
I finally found my governor rod and thumb screw at a reasonable price of around $27. including shipping. I got it three days later and I’m happy with it especially since it’s NOS Briggs. We got rain tomorrow so I’m going to start tinkering with this. I have several brush piles waiting to be chipped and shredded so I’m hoping I get this thing running good.
View attachment 50879
You just know you're going to come across a junk motor in the near future with one of them on .
Isn't that how it goes ?
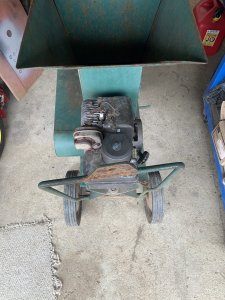
 
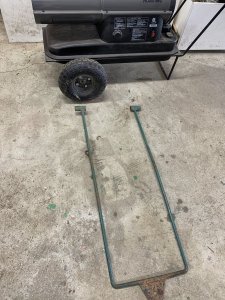
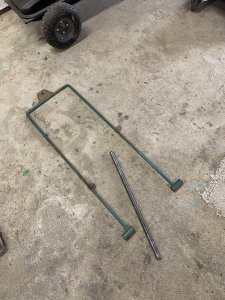
It rained all day so I got some cosmetic work done and found a problem but doable. I straightened out the handle/tow bar on my vise.
DDC3FF76-4BCF-419C-8B73-1B9B6724B150.jpegEC48A98C-F15C-4275-A522-C11E8D92B40C.jpegB59344C8-C470-4A0C-9AC6-C98F07E1B7AE.jpeg

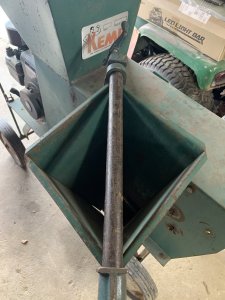
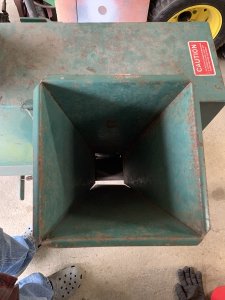
The side chute was cockeyed it works but looked annoying to me so I used an old pipe clamp and cranked it for awhile. This thing is heavy duty. With every 3” of squeeze on the clamp I only gained about 3/4” once I loosened the clamp it would spring back most of the way.
12DB7F1F-7507-4B3E-AD78-8ED125DBD126.jpeg48B4B8B5-2B4B-4C99-999B-73016E9412C5.jpeg
I pulled all the wheels off and greased them. The front steering pivot bracket had some slop in it so I added a washer in between and greased that too.
11525142-B2E7-4D78-840B-F128F6468CDD.jpegFCD92EEC-DCFF-4FA4-BA23-CDE8D2E1C28E.jpeg
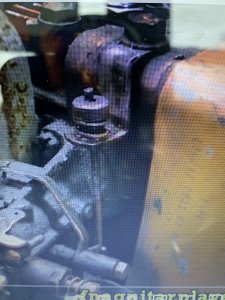
Now for my problem. My new governor rod is a 1/2” too short compared to the old one.
14703545-C85C-47FD-8BCB-BBDA698D6139.jpeg
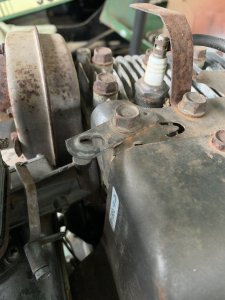
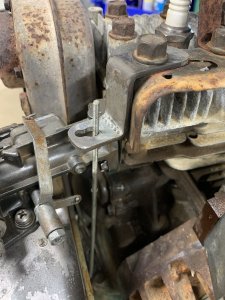
I found out today there must be a gazillion variations on the throttle and choke designs on these engines. My bracket that holds the choke rod is flat coming of the head.
5AA373FF-3253-4E2D-B471-BBA34C31E12D.jpeg
Some others have a bracket that steps down from the head. The pic of the step down bracket is not mine but is basically what I have to fabricate.
F2769634-D572-4C28-B59B-1E2F60029BC7.jpeg
I did get the engine to run good without the belt on. Once I put the belt on it bogged down under load when I throttled up. I’m assuming this will be fixed once I get the governor rod hooked up. I believe these little engines are more complicated than the larger engines. More rain tomorrow and most of the week so this project may be on hold.
 
I messed up on my comparison of the length of my new governor rod to the old one. I went to bed last night thinking why is that pic of the step down bracket so low when my thoughts were a 1/2”. I realized this morning I forgot to screw the new thumb screw down on the new rod like the old one was. This makes me 1” too short now.
5E2E6DA8-9EDC-4818-BD65-8744681FCF92.jpeg
I made the bracket this morning. I had to remove the shroud and the carburetor and tilt the tank back to get the new rod on. I’m all hooked back up but I put the thumb screw spring somewhere safe so it’s still their because I’ve misplaced it.
2EA2600D-9455-4D27-B2F6-D1FCAF6FCB1D.jpeg
If I can’t find it I’ll just pick up one up there isn’t much to it or this whole governor rod thing. I still don’t understand why it’s there. I heard some guy on YouTube say it’s to prevent a WOT beyond specs once set properly.

I did fire it up to a high throttle. She sure vibrates and dances a little sideways sitting on concrete. I know the drum has got to be out of balance. I’ll try it out hopefully in a few days. If I’m happy with it that will be my next thing to look at.
 
I'm sure with some missing hammers there'll be a balance problem.
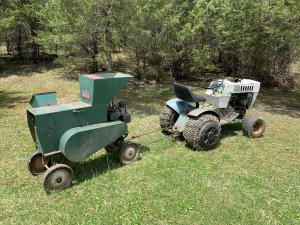
Your right if I remember I think it’s missing three and a few bent. There is 42 of them and wouldn’t be hard to make. Finding the right type of metal is important. I have a metal shop that I buy from that has treated me good. so I might stop by and see them if this works out good. Free wheeling it’s going to vibrate more.
 
I towed the C/S to my pile of brush I cut up last year. It tows better than I thought but coming back to the shop it fell over while towing. It was my fault I allowed one of the front wheels to get into a hole where recently I dug a rock up. It was easy to pick it back up.

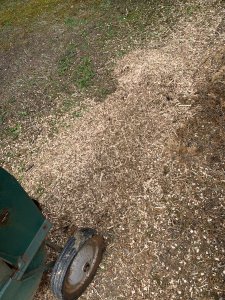
Backing this thing up is not easy if it’s even possible maybe with some practice. I’m really impressed with it both chipping and shredding. My chipper blade is suppose to be 4 1/2” long but each corner has been broken off leaving me with a 3” blade surface. I found that if I keep the branch centered in front of the 3” area it chips like a razor.

It’s going to rain on Thursday so I’m thinking about removing the drum or the hammers. I was thinking about removing some and do some staggering around to try and equal out the weight on the bars to reduce the vibration. I’m not sure if just squaring up the corners on these will create a sharpened hammer or not. I could use it like it is but I’m worried running out of balance like it is may damage the bearings.

Now that I’m happy with it I’m going to search out the chipper blade I know that is still available. I found two guys on other forums that use to make the hammers for the shredder but are MIA now. I think I can make them myself. I did read awhile back that 4140 steel is used. Each hammer is 5/16” thick 1” wide 3 1/8” long twisted a quarter turn so I’ll have to make them slightly longer to make up for the twist.
E75D3539-320B-42A3-A49A-06BC3B225138.jpeg7EDACE2F-0B6A-4348-A340-EAE62D6EF79E.jpeg49835048-C737-4F6C-912D-69EB99142783.jpegDE0B3A56-1576-4829-AC02-653DA94BBDE1.jpeg5D771ED1-310E-4F2D-B24A-3C8B0C761FC0.jpeg
 
Besides the brgs I'd worry about getting cracked sheet metal from the vibration.
It’s not quit that bad. The frame and cabinet are solid. I already found the chipper blade for $30. on Amazon. I might check out a fab shop near me I like a lot on Thursday to see about getting some metal for the hammers. This thing is going to be very handy to have around.
 
Good that its working for you Jim. It sure is narrow at the wheels.

Noel
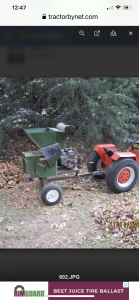
It is a little top heavy but not as much as it looks. I don’t like towing a wagon type hookup especially when the pin hitch at the tractor pivots too. It’s like backing up an accordion. I thought about widening the axle or I’m thinking two wheels in the middle of the frame would be easier to maneuver. Not mine but I like this wheel design setup on this one.
FFB640E8-87FB-4144-AE12-F89052906E98.png
 
Back
Top