You are using an out of date browser. It may not display this or other websites correctly.
You should upgrade or use an alternative browser.
You should upgrade or use an alternative browser.
RED's 2018 Winter refresh - 1990 917.254450 Craftsman
- Thread starter larrybl
- Start date
Hang on to it, may be worth a Summer road trip. The spare I spent $50.00 on didn't pan out like I would have liked. RED's original engine is still in good shape and I expect it to last a few more years.
Having internet issues right now. Have to coonec edit. Reset the extender.
Having internet issues right now. Have to coonec edit. Reset the extender.
MOWING duties? It'll be at least 3 months before I can think of mowing around here..... gotta have the snow removal equipment ready "just in case" in the meantime.BOH may have to pick up mowing duties. Merry Christmas All! 60* at 6:00am this morning and fog. Opened the shop up and did some coil testing. From the internet I am supposed to get a reading of several k ohm from the kill wire to ground. I am getting .7 ohm on the 200 ohm setting on both coils. Dug out some more and only found one that gives .28k ohm on the 20k setting. I either have a box full of dead coils, or I am not reading these correctly. I even checked RED’s good engine and get .8 ohm on the 200 ohm setting. I am really confused at this point. I think I’ll put this aside and check the starter.
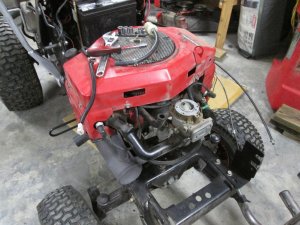
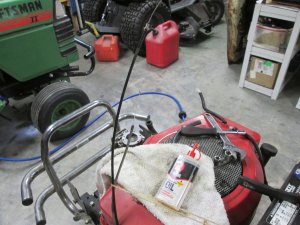
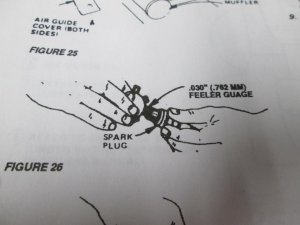
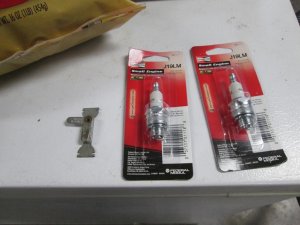
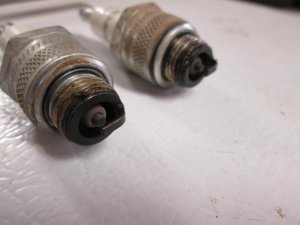
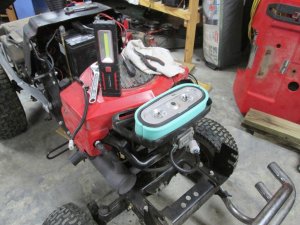
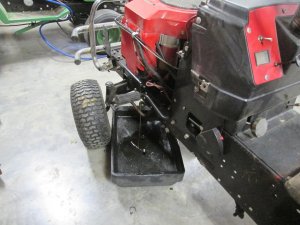
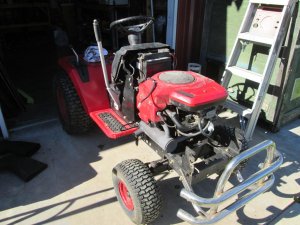
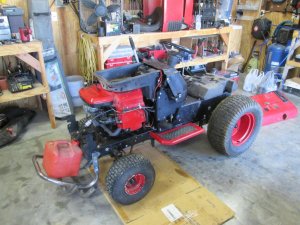
Decided to work on RED again. Was frustrated with the spare engine fail. Got help setting the original engine back on him and bolted it down. Oiled up the cables and linkages. Looked in the manual for the plug gap (More on this later) Installed the new plugs and air filter. Waiting on the oil to drain. I should have him back together this afternoon except the deck, still need to check it out.
Attachments
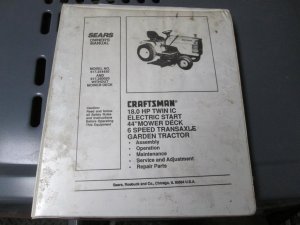
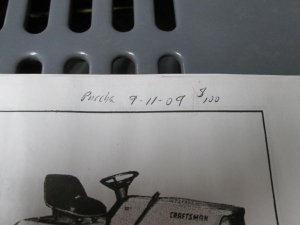
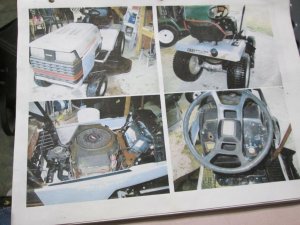
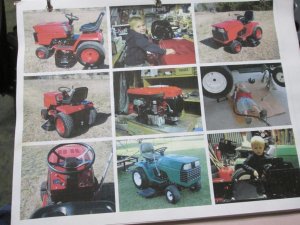
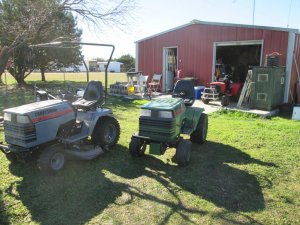
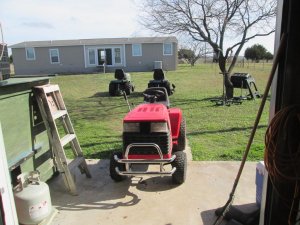
While I was in the manual, I noticed that I will have had RED 10 years. There were some printed pictures of what he looked like in the beginning. I swapped all the good parts from the green Craftsman (a 917.254450 also) and sold it. Logan was a good helper back then.
Attachments
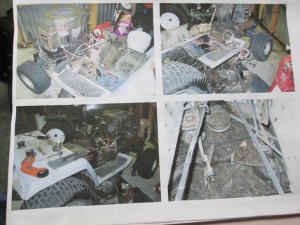
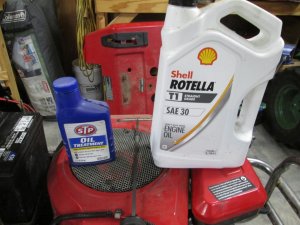
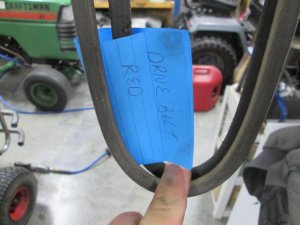
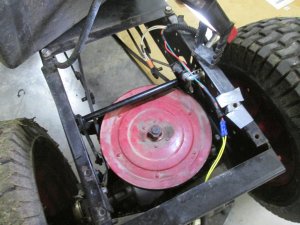
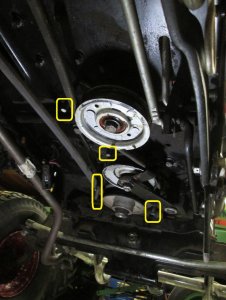
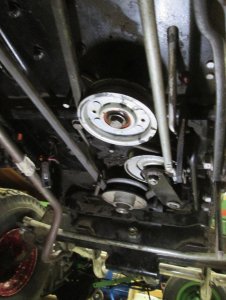
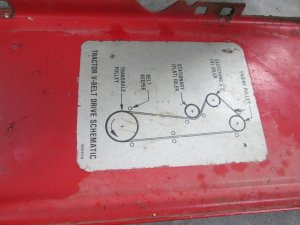
Getting there… Oil is changed, 2 oz STP and then Straight 30W. Found a decent drive belt, almost new. Easier to install from above. Simple routing, just need to make sure the belt keepers are aligned into the slots on the frame. I really think a lot of the “belt keeps jumping off” are related to the keepers not aligning up. I just had that with this. I checked the belt in the clutched and declutched position and it didn’t look right. Sure enough the keeper on the idler pulley wasn’t in the grove on the frame. All is good now and the progress continues.
Attachments
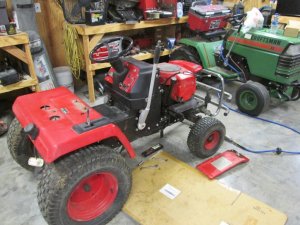
If you look at the last picture in the previous post you may notice something is missing, yep the seat switch wire. This requires unbolting the foot rest and rear pan, and lifting it up enough to feed the wire through. Good stopping point for the night.
Attachments
I cant wait for mowing duties! Your grass probably fries in the summer..
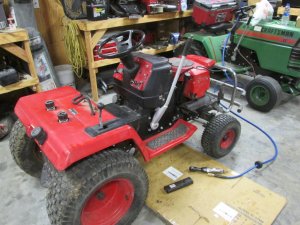
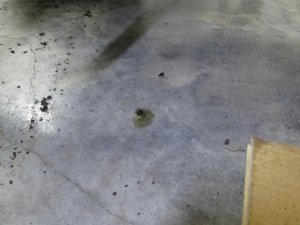
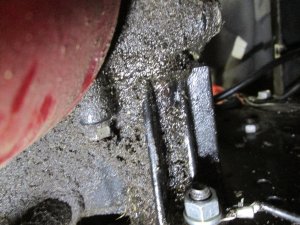
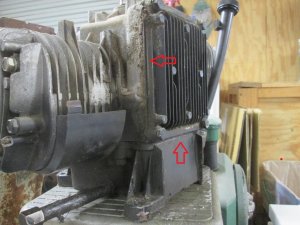
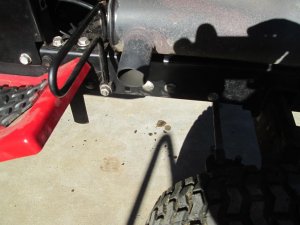
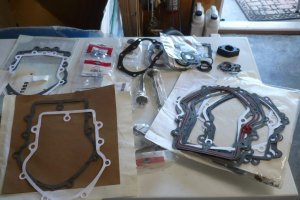
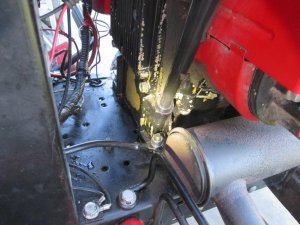
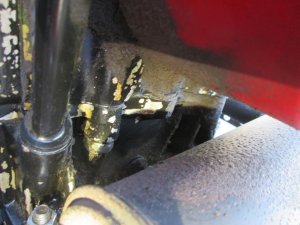
After fixing the electric shop heater I put the other running board on RED. I noticed an oil leak on the floor. I'll have to pressure wash this area to see what gasket is leaking, back plate or oil pan. I didn't clean the engine, only the frame. Either way this will be addressed on the next winter re-fresh. I'm not tearing the engine back off here again. I'll order a gasket kit this summer, and may pay Kenny a visit. The block I have may be good for the back plate and oil pan, but the block has too many striped tin fasteners to be used.
Attachments
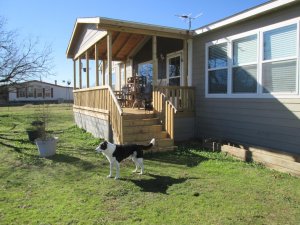
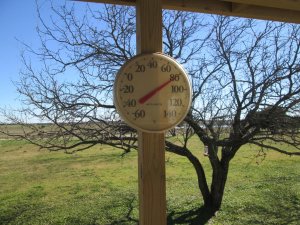
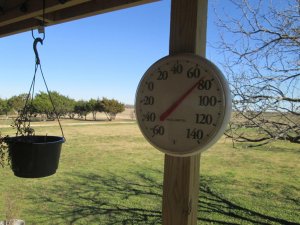
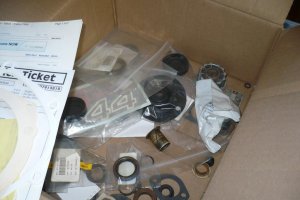
Beautiful day today, 80* in the sun and 74* in the shade. Dogs enjoying the sunshine. I think the oil leak on RED is worse than I thought. I dug through my Briggs parts box and I have plenty of pan gaskets, and oil tube 'O" rings, but no back plate gaskets. I plan to pressure wash the bottom of the engine in a few minuets to hopefully see where the leak is.
Attachments
@%$^#$&#%^*! Pressure washed, then went to do a test drive, let the clutch out and NADA! 100% sure it is the key in the top pulley. I checked the belt and all is good. Sooooo Off cones the seat, tail light, fender pan, seat bracket, and draining the gas so I can set the tank off to the side.
Attachments
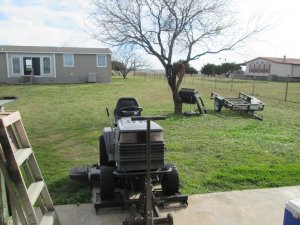
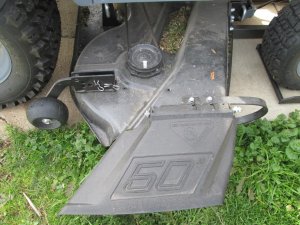
Decided to clobber clover with BOH and his salaveged 50" deck (Thanks Brandon!) very little under deck cleanup, and the yard is leveled out (clover clumps are gone. Back to RED, after removeing the fender pan three times, and draining the gas twice, I checked the front pulley. It was a little low on the shaft, so I installed the PTO clutch and bolted it on. I was almost ready to throw a fit as I was letting the clutch out, but it caught right at the top and away I went. phew! I need to adjust the brakes some, and may see if i have a smidge larger idler to tighten the clutch action up. Getting ready to clean and check the deck out now.
Attachments
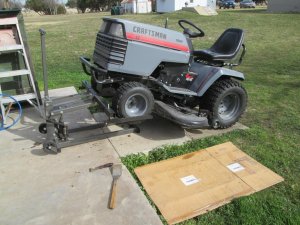
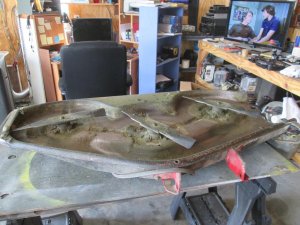
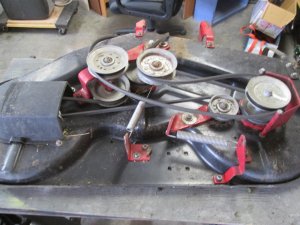
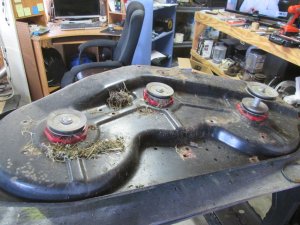
Deck is field striped, I didn't notice anything out of whack. Mandrils, pullies, and belts are good. May need some new fasteners with nyloc nuts, several bolts were loose. As for the JB weld fix last year to the belt guard, it is holding well!
Attachments
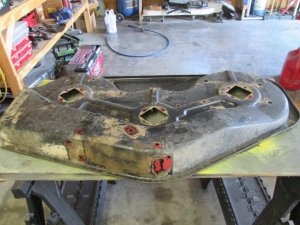
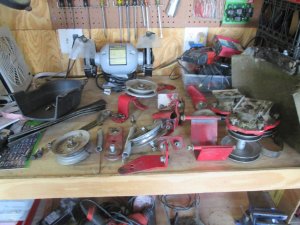
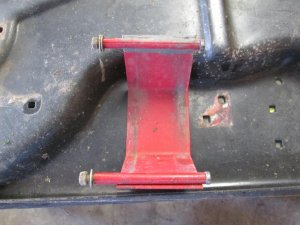
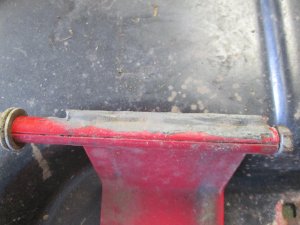
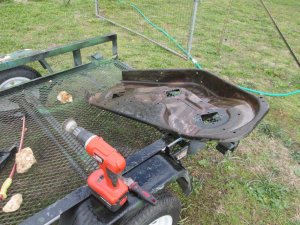
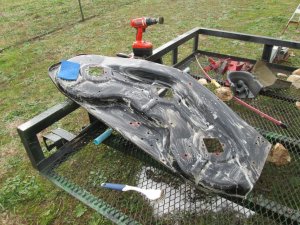
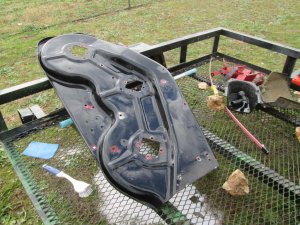
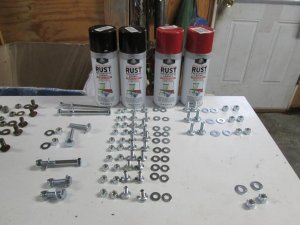
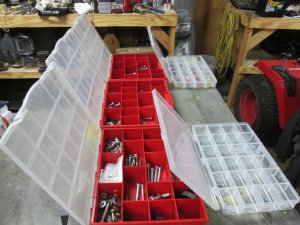
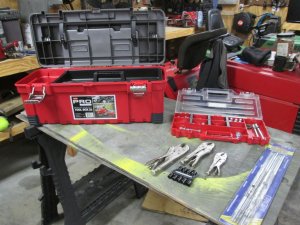
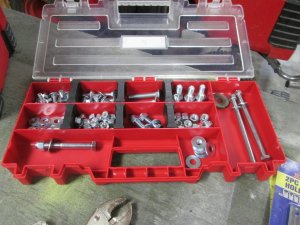
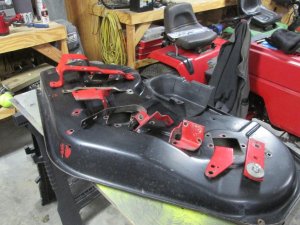
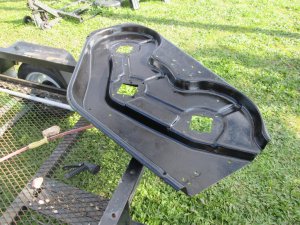
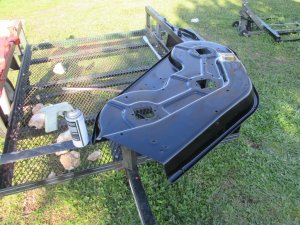
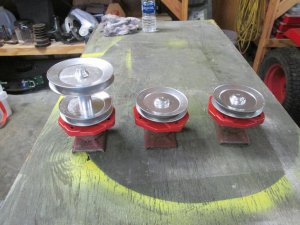
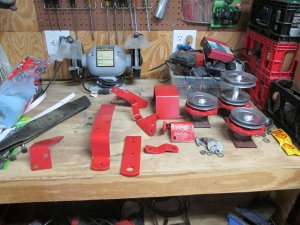
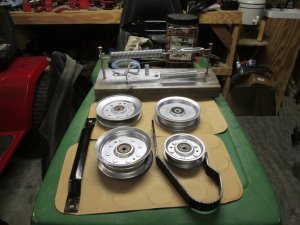
Strange... RED has been parked in the shop all week and hasn't moved and no oil spots on the floor. I did fiddle with the oil tube seal after I pressure washed the engine....hmmm. I am glad for a diversion from work, it has been a bear after the Holidays. It's a little chilly today but I wanted to clean RED’s deck up. Wire brushed the bottom, and scrubbed both sides and cleaned the brackets up. Went to the hardware store and picked up new hardware. My storage bins are full, but the new tool box I got for Christmas has a small one which worked perfect. Still some sanding to be done, then a couple coats of paint and it will be good as new.
Attachments
Sun was out and a little warmer today so I decided to do some sanding and painting. I'll let the paint harden a couple days before I start putting things together.

