
You are using an out of date browser. It may not display this or other websites correctly.
You should upgrade or use an alternative browser.
You should upgrade or use an alternative browser.
What are you currently working on??
- Thread starter backwoods
- Start date
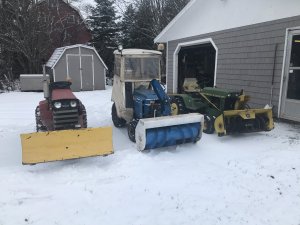
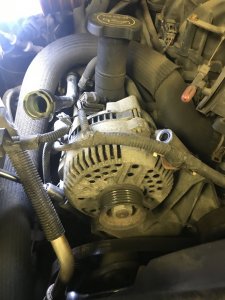
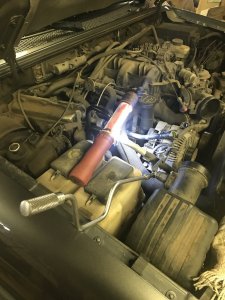
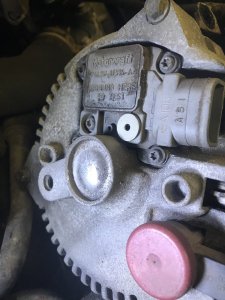
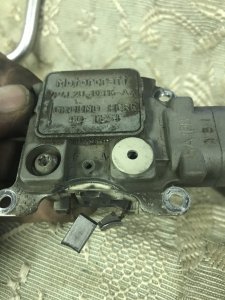
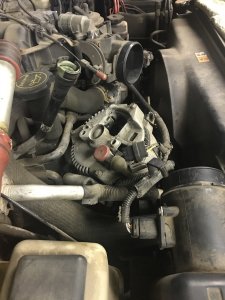
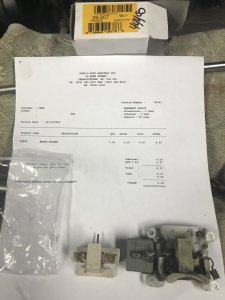
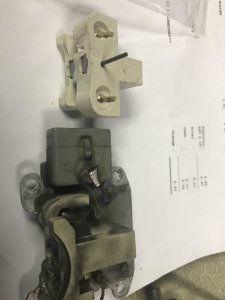
Tractors out side today. Alternator stopped charging yesterday. So had to fix that. Not to bad to work on. All up top. But had no hoist again, Doug. Any way. Cheap fix. $5.17. Put set of brushes in it. Working again now.
Attachments
-
 A4AF7B7F-2AA4-4FC1-A350-B8C955055C05.jpeg179 KB · Views: 7
 -
 D9479D3C-C86E-4A5F-97C4-6B13EA8C1832.jpeg207.3 KB · Views: 7
 -
 B625AC98-35A5-46E5-9E77-D5AF54C6769A.jpeg174.1 KB · Views: 7
 -
 C043F1D9-C4F6-42B7-9023-5C6BB43327E0.jpeg201.6 KB · Views: 7
 -
 4FD595D7-4AA8-4D18-A15D-223EFD9C8199.jpeg189.9 KB · Views: 8
 -
 7F282A69-AF1F-45CB-ABCC-B8944EA677F8.jpeg177.9 KB · Views: 7
 -
 C9A739FF-AE8B-4A96-B768-231A36CEF6E7.jpeg178.6 KB · Views: 7
 -
 311805A5-CFC6-4FF5-89FA-088E146DC8C6.jpeg143.9 KB · Views: 6
 -
 6C1117D6-30FA-4FAF-8E75-7F6F448DA7B3.jpeg93.5 KB · Views: 6
 -
 15E5DAAC-D60B-409D-8114-924CC504B23C.jpeg86.5 KB · Views: 6
At work just waiting for 3:30 to get here
Wow, I guess cheap fix! Good job, Noel! No hoist needed this time---LOL!Tractors out side today. Alternator stopped charging yesterday. So had to fix that. Not to bad to work on. All up top. But had no hoist again, Doug. Any way. Cheap fix. $5.17. Put set of brushes in it. Working again now.
DAC
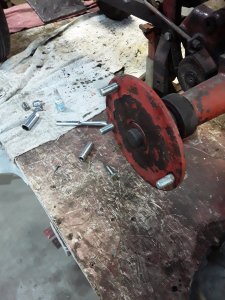
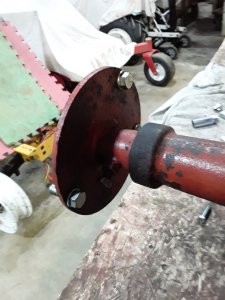
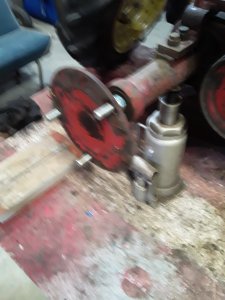
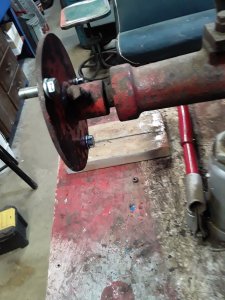
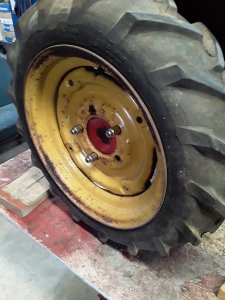
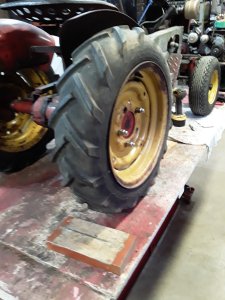
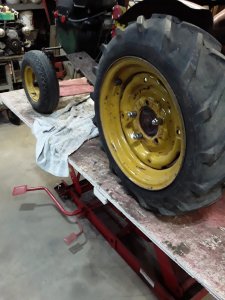
I noticed that a wheel bolt wasn't tight. After investigating I Discovered that a P.O. had forced some 7/16 coarse bolts into four of the six 7/16 fine thread holes. I managed to rethread the holes, but wasn't sure how well the threads would hold up. I decided to run bolts in from the backside with lock washers and locktight. Then I retained the wheels with some chrome lug nuts. This old beauty needed some bling!
I am still deciding as to fabricating a sears hitch or a sleeve hitch to the rear.
I am still deciding as to fabricating a sears hitch or a sleeve hitch to the rear.
Attachments
-
 20201224_143811.jpg224.1 KB · Views: 9
 -
 20201224_143822.jpg144 KB · Views: 9
 -
 20201224_144228.jpg126.5 KB · Views: 8
 -
 20201224_144232.jpg182.4 KB · Views: 8
 -
 20201224_144708.jpg179 KB · Views: 8
 -
 20201224_144719.jpg166.2 KB · Views: 8
 -
 20201224_144726.jpg164.4 KB · Views: 8
 -
 20201224_151642.jpg146.4 KB · Views: 8
 -
 20201224_151645.jpg204.6 KB · Views: 8
Still have flies? Not seen any here for over a month now.I'm feeding the fire and swatting flies!
Yep! Biggun's too! Since I build a fire in the shop, it doesn't get that cold at night!Still have flies? Not seen any here for over a month now.
I worked on replacing the stock on one of my Swiss K31 rifles to a fancy one I bought a while ago.
Not happy with the fit....at all. Was expecting some "fine tuning" but this thing had some pretty major things wrong with it.
I was so annoyed with having to file, sand, grind and polish this thing to make it fit/work, it spoilt the final result for me a bit.
Might just revert back to the original stock, and sell this one....
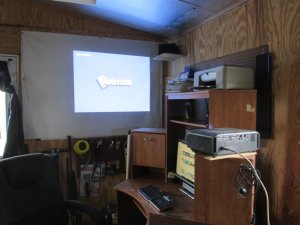
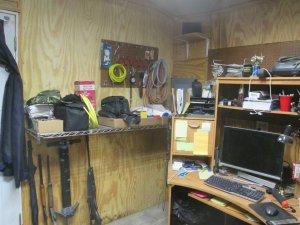
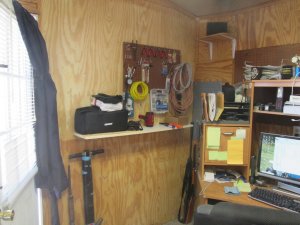
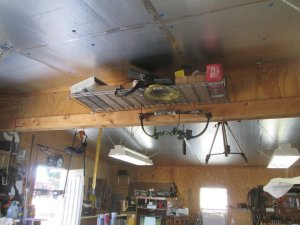
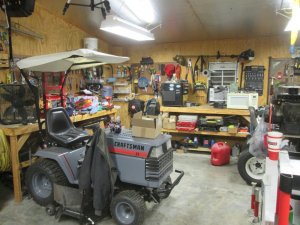
Decided to start re-arranging the shop some. I don't use the movie screen any more (I have a portable one now) so I needed to start on this one wall. I moved the peg board up, planning to add another next to this one. I found a large wire shelf, but didn't like the way it looked there. Put a regular shelf and moved the wire shelf over-head. Well, It's a start.
Attachments

How much stock is in the way? I have used a sanding drum to scalp out a place to allow the bolt to be removed. Or move the entire rifle further forward and glass in the lug. Have to put a dummy screw in the old hole. Lot more work doing it that way. Be easier to remove part of the stock.
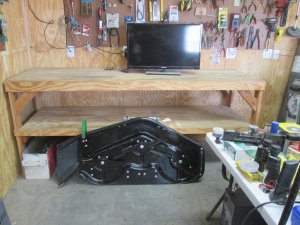
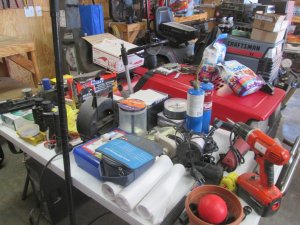
Making progress, I am impressed how much stuff one work bench holds. Hulk II's deck in under this one. Made enough room here so now I can complete the RED project. Long way to go yet.
Attachments

I need an enclosure for a 12v power socket and usb outlet/voltage meter I want to install on the Massey.


I wanted waterproof and non-conductive. Matching the faceplate would be a bonus. Enter Dusty, best brother-in-law ever, and his 3D printer.

I wanted waterproof and non-conductive. Matching the faceplate would be a bonus. Enter Dusty, best brother-in-law ever, and his 3D printer.
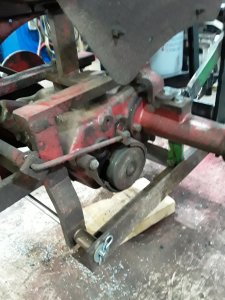
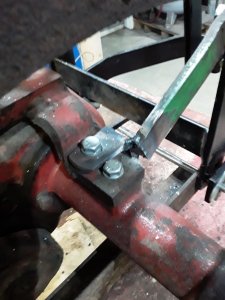
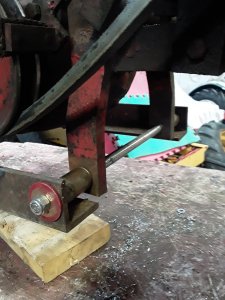
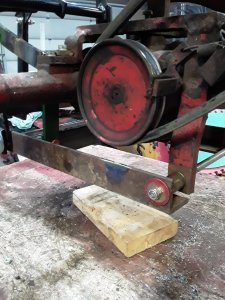
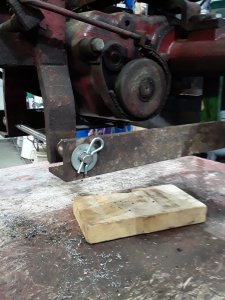
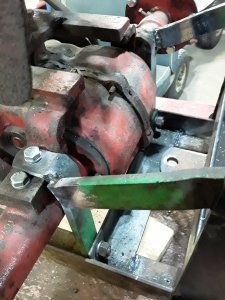
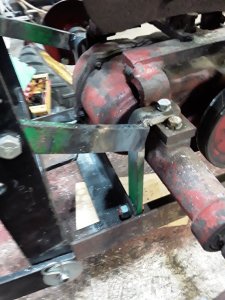
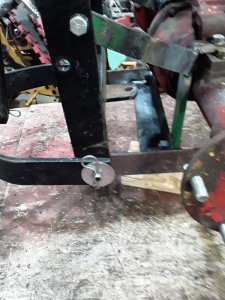
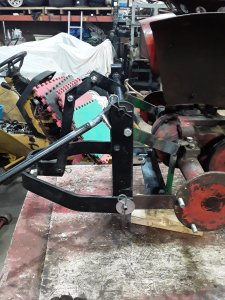
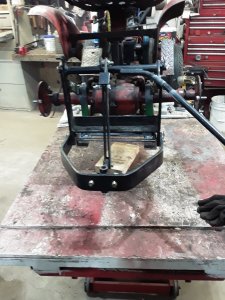
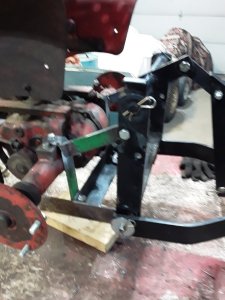
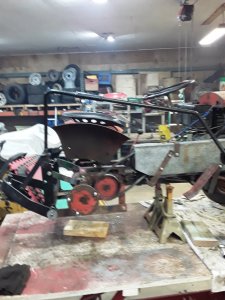
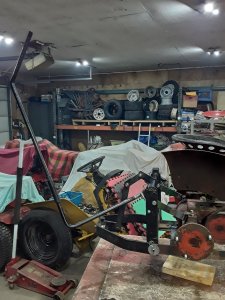
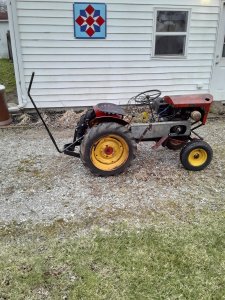
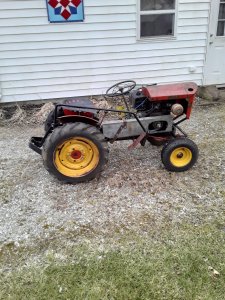
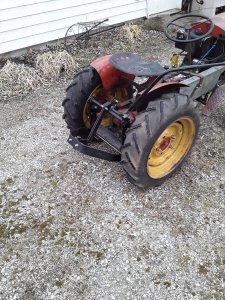
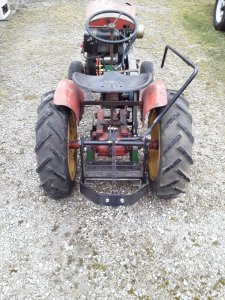
Got busy today and did some work on the Speedex S18.
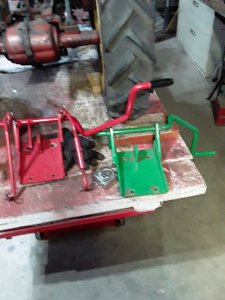
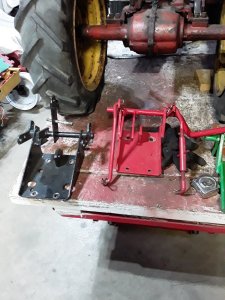
I decided to put a sleeve hitch on this unit, instead of a Sears 3-point.
The transaxle on this tractor is only held in place by 4 bolts on the top side of the axle tubes. I didn't want to pull straight off of that.
There are 2 brackets hanging down from the frame in front of the transaxle. I installed two sections of angle iron to run to the rear under the axle.
Then I dropped two brackets from the top of the axle tubes to a section of angle iron connecting the first two pieces. I kept the width wide enough to accommodate the width of the sleeve hitch. After positioning the hitch I tied it to the axle brackets with 2 pieces of flat stock. After installation I needed to bend the lift bar a little to clear the tire/fender. I will probably bend it again as it is a pretty far reach to grab and pull forward.
Attachments
-
 20201231_151403.jpg164.8 KB · Views: 9
 -
 20201231_151408.jpg146.7 KB · Views: 9
 -
 20201231_151416.jpg147.1 KB · Views: 8
 -
 20201231_151424.jpg173.3 KB · Views: 9
 -
 20201231_151427.jpg216 KB · Views: 8
 -
 20201231_151440.jpg195.6 KB · Views: 8
 -
 20201231_151451.jpg188.6 KB · Views: 8
 -
 20201231_151458.jpg178.4 KB · Views: 8
 -
 20201231_151505.jpg208.3 KB · Views: 7
 -
 20201231_151515.jpg250.9 KB · Views: 7
More pics.
Attachments
-
 20201231_151520.jpg210.2 KB · Views: 11
 -
 20201231_151529.jpg147.2 KB · Views: 11
 -
 20201231_151547.jpg172 KB · Views: 10
 -
 20201231_151600.jpg197.8 KB · Views: 11
 -
 20201231_153659.jpg368.7 KB · Views: 11
 -
 20201231_153712.jpg343.6 KB · Views: 11
 -
 20201231_153719.jpg426.4 KB · Views: 12
 -
 20201231_153725.jpg357.9 KB · Views: 12