1990 Craftsman 917.254450 (RED) 2020 update

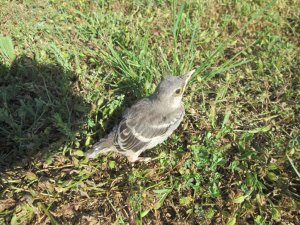
I saw this little guy just standing in the yard, touched his head and he let out a squawk and ran under a bush. Must have fell out of a nest, but I couldn’t find it. Oh Well, hope he isn’t cat food for the neighbor’s cat.

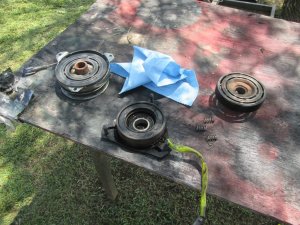
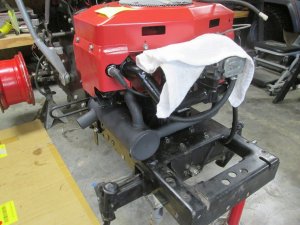
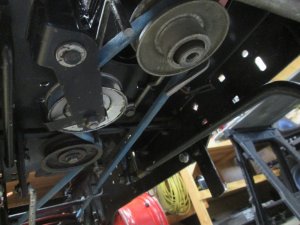
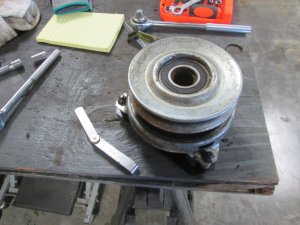
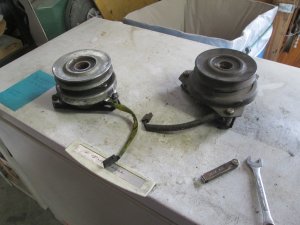
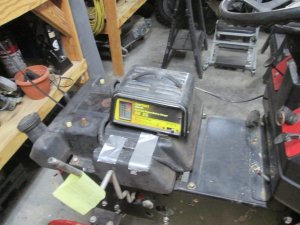
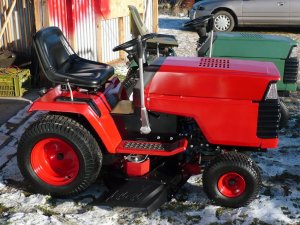
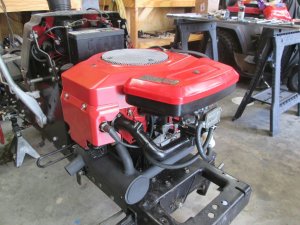
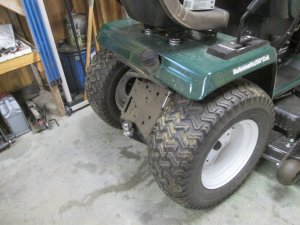
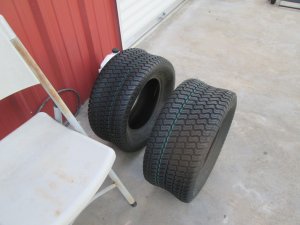
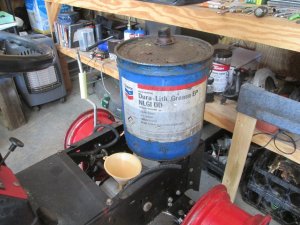
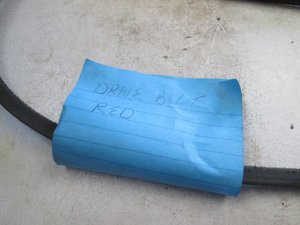
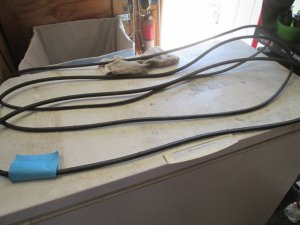
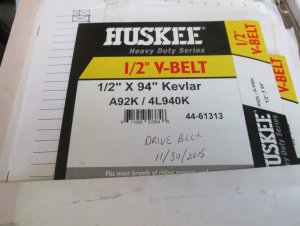
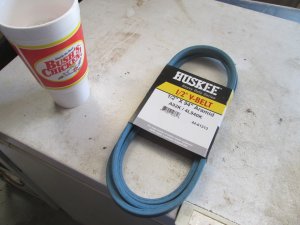
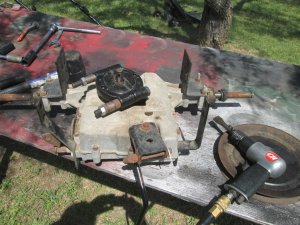
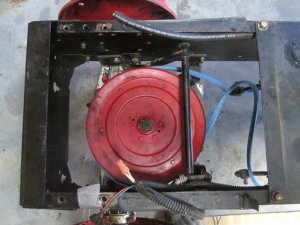
Update on RED, I added 1 – ½ funnel of “00” grease to the trans-axle. Next, I started looking for the best drive belt I had. The one that came off was installed Nov 2015 and is oil soaked, I found the one that this replaced, but it was frayed and possibly stretched. A trip to T/S solved three issues, A new belt, a MOM Day’s gift, and lunch for us.

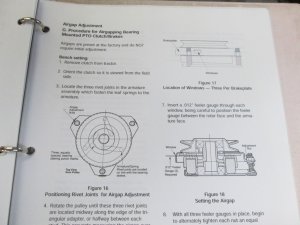
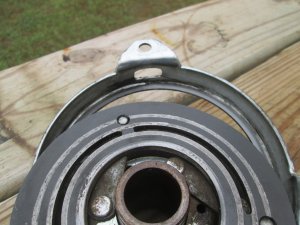
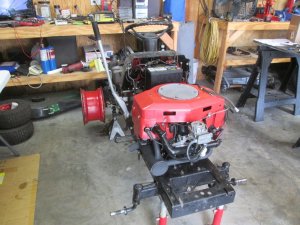
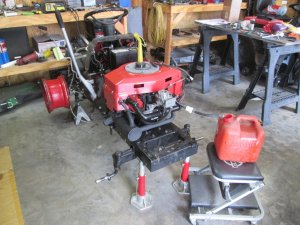
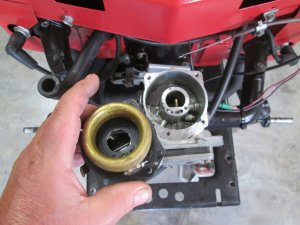
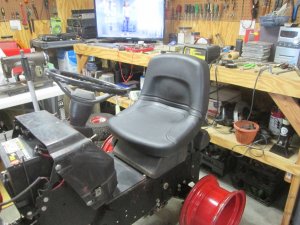
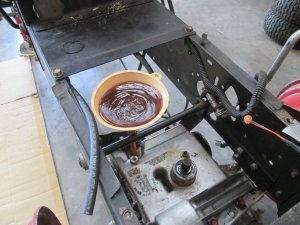
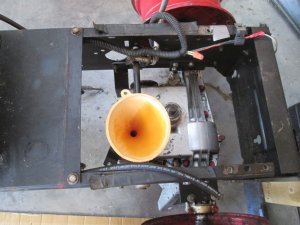
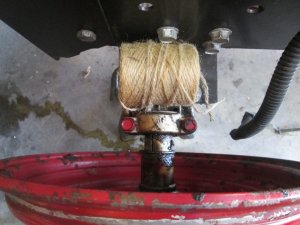
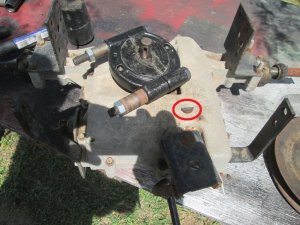
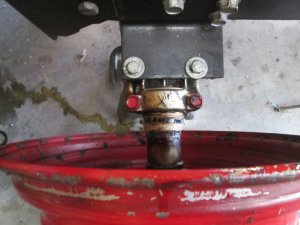
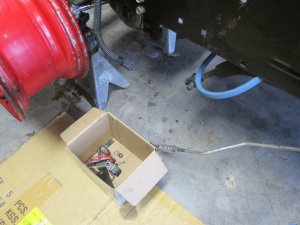
I am thinking of wrapping twine tightly around the inner axles to act as a seal to keep the grease from leaking out (as much).
 

Attachments

  • 1.jpg
    1.jpg
    349.4 KB · Views: 4
  • 10.jpg
    10.jpg
    203.6 KB · Views: 5
  • 11.jpg
    11.jpg
    180.5 KB · Views: 5
  • 12.jpg
    12.jpg
    165.4 KB · Views: 4
  • 13.jpg
    13.jpg
    138.7 KB · Views: 3
  • 14.jpg
    14.jpg
    143.5 KB · Views: 4
  • 15.jpg
    15.jpg
    137.5 KB · Views: 3
  • 16.jpg
    16.jpg
    162.3 KB · Views: 3
  • 17.jpg
    17.jpg
    153.3 KB · Views: 4
  • 96714024_3193778200635279_675149041952096256_o.jpg
    96714024_3193778200635279_675149041952096256_o.jpg
    265.3 KB · Views: 4
Came to a dead stop. I can't find the half moon key for the pulley. I am positive I placed it on top of the pulley when I removed it.
 
After looking everywhere in the shop, under the benches, moving things around, going through all the part boxes, and dragging a magnet bar around the area where I pressure washed it "nothing". I went on Mcmaster Carr and found the #9 Woodruff Key but have to buy 100 for $14.03 + shipping. All this took several hours of wasted time, then I remembered I had another pearless in the parts shed. I have no clue what this came out of, and I have had it for over 20 years. It put up a fight giving up the key, but I finally got it out with the bearing puller and air chisel. Now I am too wore out to do any more today.
Full work week next week so it will be back to slow going on this.
 

Attachments

  • 1.jpg
    1.jpg
    249.9 KB · Views: 7
  • 2.jpg
    2.jpg
    277.2 KB · Views: 7
Nothing on TV so I wrapped the axles and zip ties the string. After much fiddling I got the belt guides installed and the pulley and new belt. Next up is installing the brake assembly (requires being on the floor) and taking the PTO apart for cleaning, it is full of oil crud.

Now I am finished for the night.
 

Attachments

  • 1.jpg
    1.jpg
    142.7 KB · Views: 7
  • 2.jpg
    2.jpg
    168.1 KB · Views: 7
  • 3.jpg
    3.jpg
    148.7 KB · Views: 5
  • 4.jpg
    4.jpg
    146.8 KB · Views: 5
Ace Hardware and TSC both have Woodruff Keys. I need to get one for the BGB rebuild that I am doing.
 
Cleaned the crud out of the PTO clutch, Installed the Muffler and Drive belt. Working on the clutch adjustment now. Going to throw some burgers on the grill shortly.
 

Attachments

  • 1.jpg
    1.jpg
    278.4 KB · Views: 2
  • 2.jpg
    2.jpg
    176.7 KB · Views: 2
  • 3.jpg
    3.jpg
    150.9 KB · Views: 3
  • 4.jpg
    4.jpg
    142.3 KB · Views: 3
  • 5.jpg
    5.jpg
    166.9 KB · Views: 3
After adjusting the PTO to .012 I could barely turn it. Wasn't binding, and the bearings spin free, felt like there was still thick sludge in it. I double checked with a spare I have, it turns free. I pulled it back apart and cleaned under the housing. Spins better now.
 

Attachments

  • 1.jpg
    1.jpg
    164.2 KB · Views: 3
  • 2.jpg
    2.jpg
    155.2 KB · Views: 3
Getting close to firing the engine after the ring and gasket replacement. Oil added (no leaks yet) gas tank installed, battery installed and being charged. Maybe tomorrow.
 

Attachments

  • 100.jpg
    100.jpg
    203.7 KB · Views: 3
  • 101.jpg
    101.jpg
    164.3 KB · Views: 3
Made some hard fought progress on RED today.


Attachments

  • 0 RED.jpg
    0 RED.jpg
    141.8 KB · Views: 7
  • 1 RED.jpg
    1 RED.jpg
    201.4 KB · Views: 7
  • 2 FUEL PERGE.jpg
    2 FUEL PERGE.jpg
    204 KB · Views: 6
  • 3 FUEL BOUL.jpg
    3 FUEL BOUL.jpg
    149.4 KB · Views: 7
  • 4 Blocked line.jpg
    4 Blocked line.jpg
    190 KB · Views: 7
  • 6 Done.jpg
    6 Done.jpg
    195.6 KB · Views: 7
New seat, and I ordered two rear tires, I'll swap the old ones on to RED and put the new ones on the Craftsman Pro.
 

Attachments

  • k505_1__65815.1467401199.jpg
    k505_1__65815.1467401199.jpg
    3 KB · Views: 5
  • Old tires.jpg
    Old tires.jpg
    172.3 KB · Views: 5
  • Red Seat.jpg
    Red Seat.jpg
    194.4 KB · Views: 4
So technically I will be;

1. Finding a leak and plugging one of the used tires on the Craftsman Pro.
2. Breaking down the Craftsman Pro tires.
3. Mounting the new tires on the Craftsman Pro.
4. Mounting the fixed used tires on to RED's rims.

I have heard somewhere that placing wood spacers to spread the new tires will help with seating the beads as the rubber forms a wider memory. I'll let you know how this works.
 

Attachments

  • 2.jpg
    2.jpg
    153.5 KB · Views: 4
Back
Top