Have one on a snow blower I need to remove.
 Al
Al
You are using an out of date browser. It may not display this or other websites correctly.
You should upgrade or use an alternative browser.
You should upgrade or use an alternative browser.
1990 Craftsman 917.254450 (RED) 2020 update
- Thread starter larrybl
- Start date
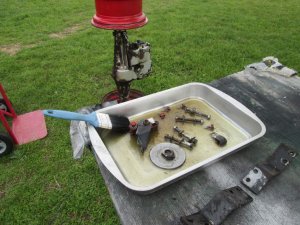
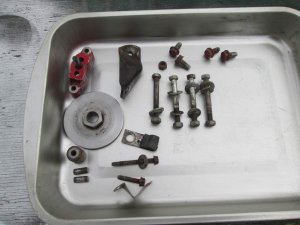
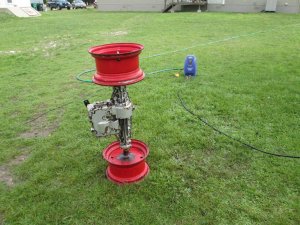
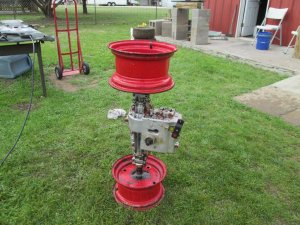
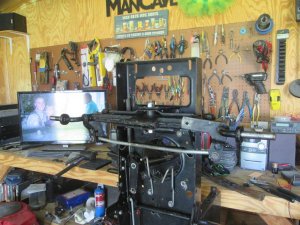
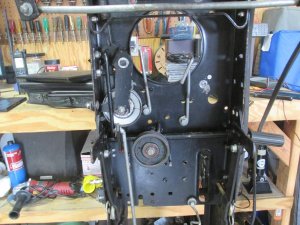
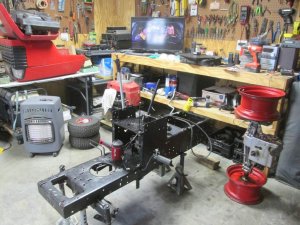
Finished dissembling the trans-axle as far as it will go. Small parts cleaned in solvent. Brake pads are not worn at all (Due to grease leakage). Pressure washed the trans-axle and got soaked in the process. It will stay here till I get new tires for it. Race is on TV!
Attachments
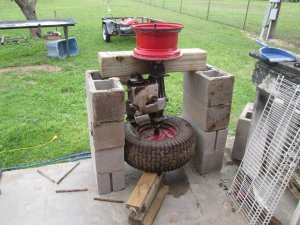
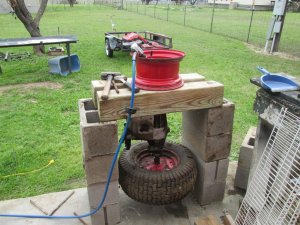
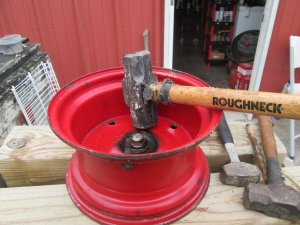
Had to replace broken hub on a Massey Harris 44 tractor. no small matter eithr as you could not just set the hub on a press and push the axel out. I soaked the axle and hub for about a week with a prenatation oil you can buy in stores. then I tried to just hand pull it off, Nope, go to a 2 pound hand sledge, Nope, trided a 8 pound sledge, again Nope.
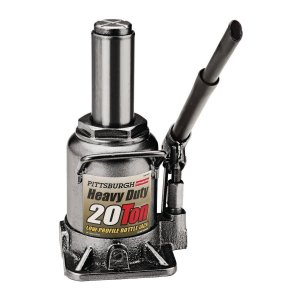
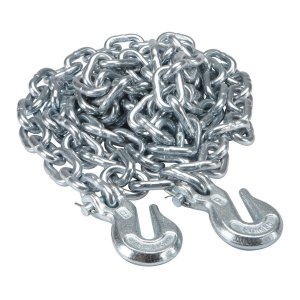
Made a log chain section and a 20 ton bottle jack and still couldn't get it to move. Added heat from the smoke wrench with the 20 tons of pressure, still nothing.
Was talking to my dad and said I guess the only thing left was to use thr esmoke wrench to cut it off and hope I didn't screw up the axel.
I had to go out of town for my job Dad suggest I go and buy a can of the old coke (when New coke just came out) Pour it on tha axel after I made a pool with plumers puddy.
I returned 3 days later and slid that broken hub off the axel with just hand pressure.
People were drinking that stuff too.
 Al
Al
Made a log chain section and a 20 ton bottle jack and still couldn't get it to move. Added heat from the smoke wrench with the 20 tons of pressure, still nothing.
Was talking to my dad and said I guess the only thing left was to use thr esmoke wrench to cut it off and hope I didn't screw up the axel.
I had to go out of town for my job Dad suggest I go and buy a can of the old coke (when New coke just came out) Pour it on tha axel after I made a pool with plumers puddy.
I returned 3 days later and slid that broken hub off the axel with just hand pressure.
People were drinking that stuff too.
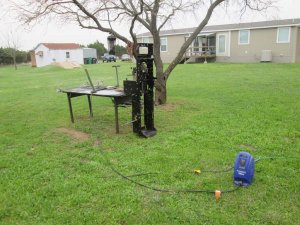
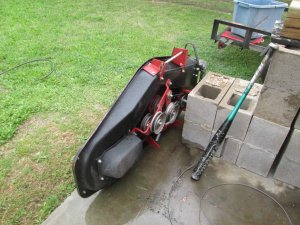
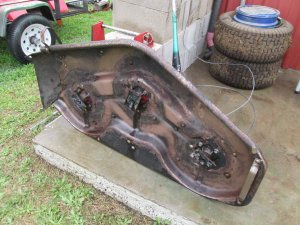
Got the pressure washer out to clean up some of RED’s parts and deck. Ended up cleaning a few tractors too. The frame turned out squeaky clean!
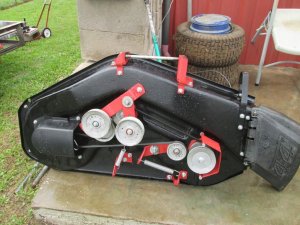
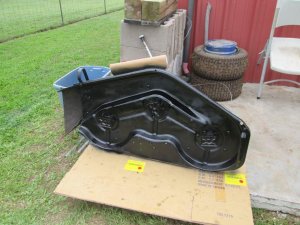
Moved on to servicing the deck. Only the underside is getting a coat of paint, and the blades sharpened. All the pulleys and mandrills spin easily and no slop, belts still look good. No additional work needed for the 44” deck. No rust or pitting anywhere.
Moved on to servicing the deck. Only the underside is getting a coat of paint, and the blades sharpened. All the pulleys and mandrills spin easily and no slop, belts still look good. No additional work needed for the 44” deck. No rust or pitting anywhere.
Attachments
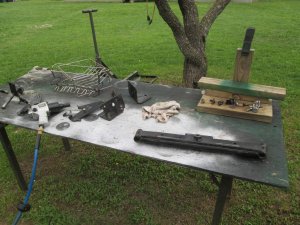
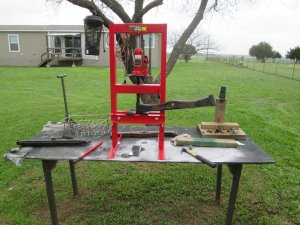
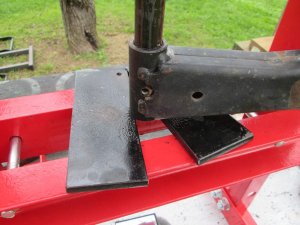
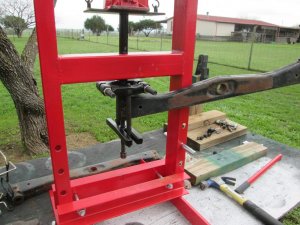
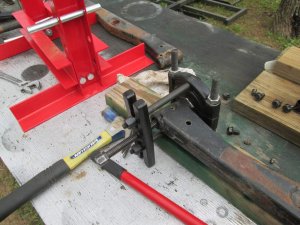
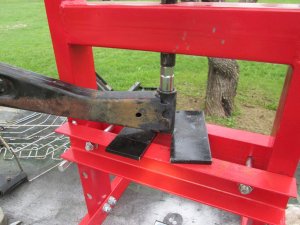
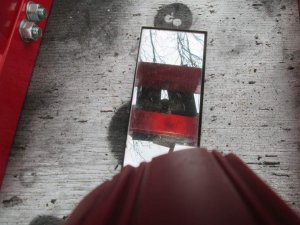
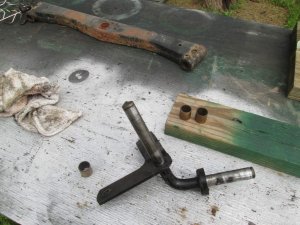
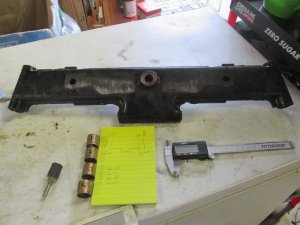
I have a couple spare front axles and went to salvage the spindle bushings. I found out that the center of the spindle sleeve is tapered and I promptly got the press stuck. I used the bearing splitter to un-attach the press from the axle. I found a socket to allow me to press the bushings out. I won’t lie, had to use a BFH at times also. I used a mirror to line up the press plates to allow the bushing to pass through, Ended up bending the plates, but turned them over for the other side and they straightened out. Got two good bushings out on one axle, Re-thinking the removal process before I go to the other spare axle and RED’s axle. Done for the day.
Attachments
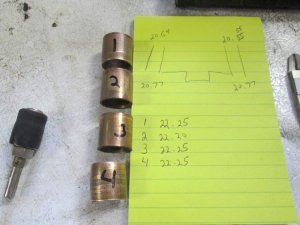
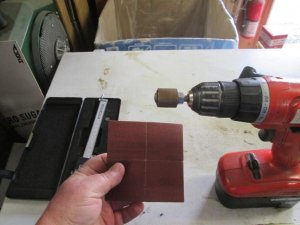
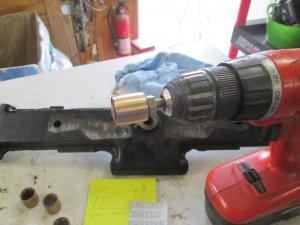
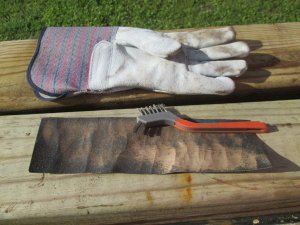
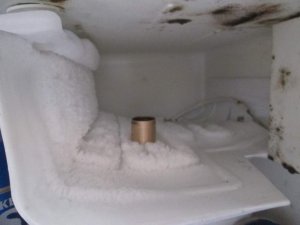
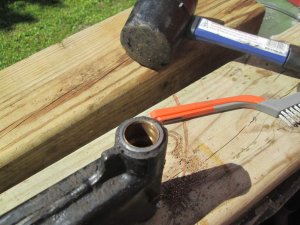
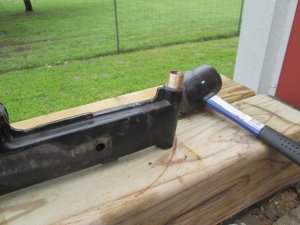
I finally have new bushings installed in RED’s front axle. The old bushing seems to be a steel insert the full length of the tube. I left it in place and decided to add the brass bushing to the top and bottom. I was able to salvage 4 good bushings out of a couple old axles I had. Took some measurements and looks like I needed to remove 0.20 from the OD. The only method I have for this was a drill with a barrel sand drum adapter, 100 grit sandpaper and a welding glove. Took 2 days of sanding to get these close. After the 1st set, I got smarter and once the bushing was close, I popped it in the freezer for a couple hours and it hammered in easier. Finally, I reamed the ID with a ¾ hole saw. The spindles have no slop at are, and are snug.
Attachments
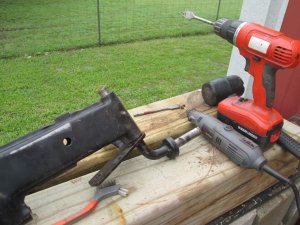
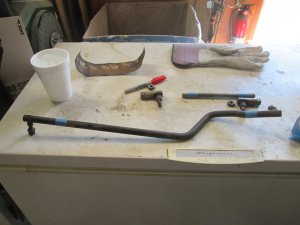
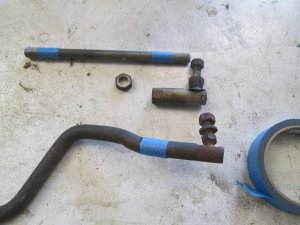
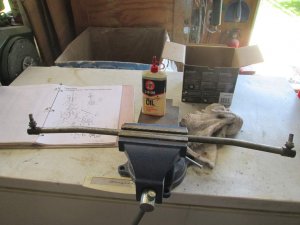
After the steering bushings I moved on to the drag link. This is a notorious failure item on these machines. I replaced this 3-4 years ago and it is developing slop again. I have three used ones that I decided to try and add adjustable / replaceable ends on. I have a link arm off something that has good ends. Plan is to cut the non replaceable ends off the drag link and cut and weld the threaded ends on.
Talked with my neighbor and he said easy no problem.
Talked with my neighbor and he said easy no problem.
Attachments
Too bad you can't thread the ends so they are replaceable!After the steering bushings I moved on to the drag link. This is a notorious failure item on these machines. I replaced this 3-4 years ago and it is developing slop again. I have three used ones that I decided to try and add adjustable / replaceable ends on. I have a link arm off something that has good ends. Plan is to cut the non replaceable ends off the drag link and cut and weld the threaded ends on.
Talked with my neighbor and he said easy no problem.
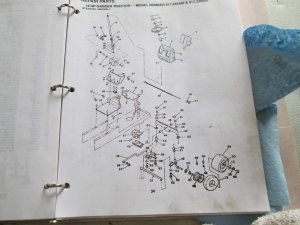
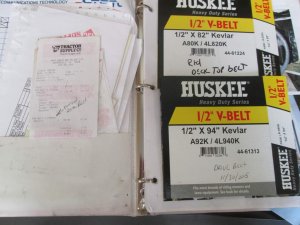
Trying to get this to page 3. So while working remotely I decided to install the clutch pulleys. Had to refer to the manual as when my computer is remote I can't do anything else including looking at tear down pictures. The top rubber caps are a pain to install, I had to heat them to the point that the old grease smoked, and I had to use gloves, took two tries per side. The drive belt is oil soaked from the engine oil leak and will need replaced. The clutch spring was another challange, I used a trampoline tool to stretch the spring, but had to make a wire loop to allow me to anchor the end.
Attachments
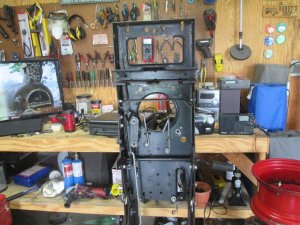
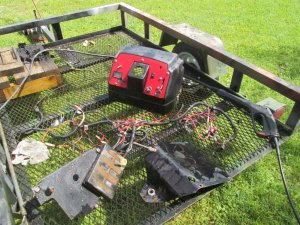
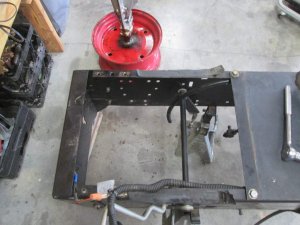
Red update, Working from home, dragging Red out to kill time now (don't want to finish this too quick). Neighbor welded threaded ends on a drag link, this may work but needs tweaked, 1/2" too long, if I can find a thread die to fit this I may be able to loose the 1/2". Also need to bend one end some. The original is still good, this was more like an experiment. The wire harness was nasty so I pressure washed it, It needs some additional work. Dash tower is getting installed. I had to sand and repaint the battery tray as it was getting rusty.
Attachments
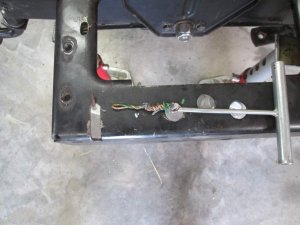
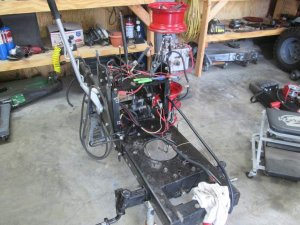
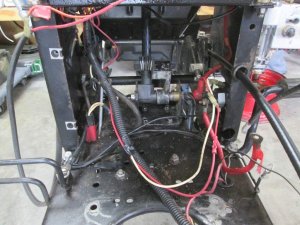
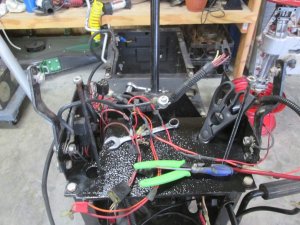
Sorted, un-tangled, and installed the wire harness. I had to pull some pins out of plugs to fully untangle. Also installed 5' of new fuel line.
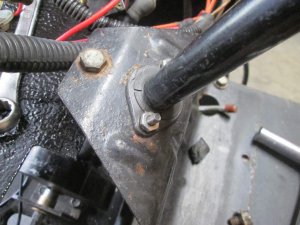
I did a modification on the upper steering bushing as it was allowing side-to-side and up and down movement. I added an additional nylon bushing, and washer and nuts to the mounting bolts as these loosen up often. This thing is as tight and smooth as ever now.
I did a modification on the upper steering bushing as it was allowing side-to-side and up and down movement. I added an additional nylon bushing, and washer and nuts to the mounting bolts as these loosen up often. This thing is as tight and smooth as ever now.

