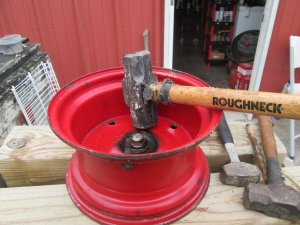
Have one on a snow blower I need to remove.
 Al
Al
Al Al Al
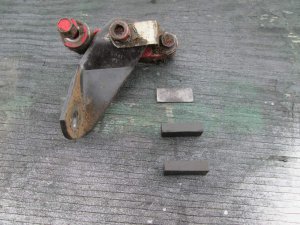
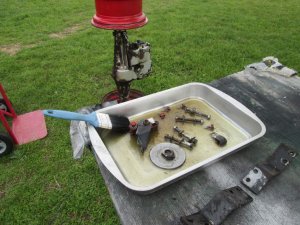
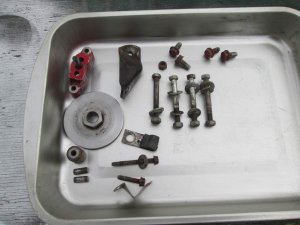
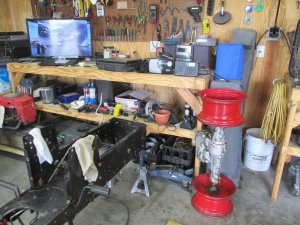
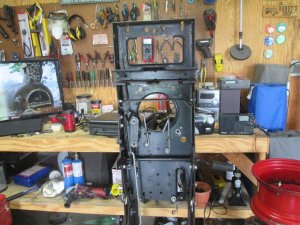
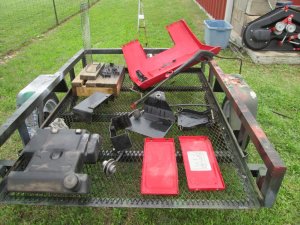
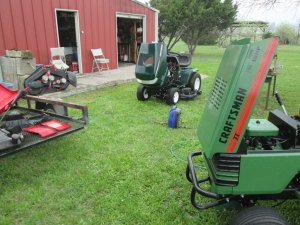
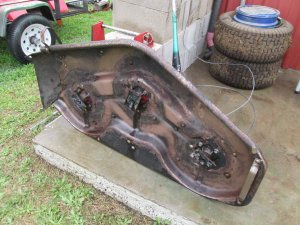
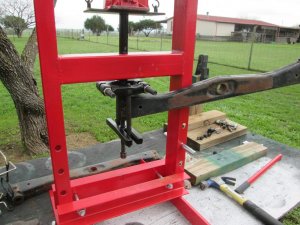
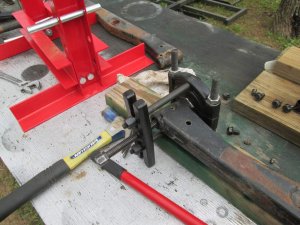
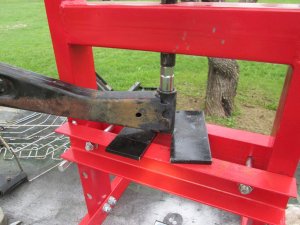
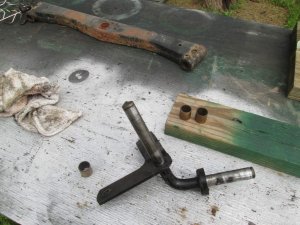
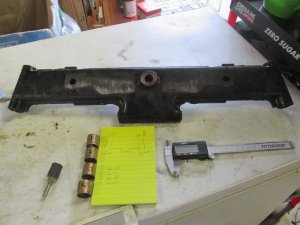
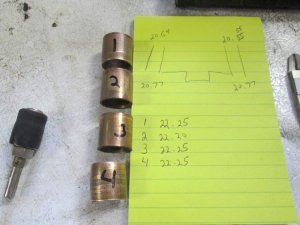
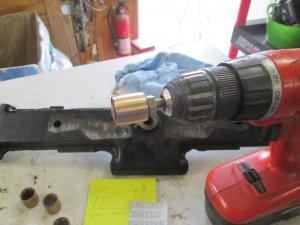
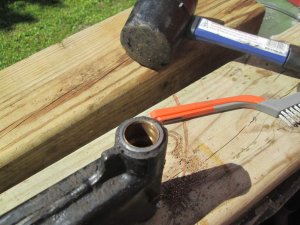
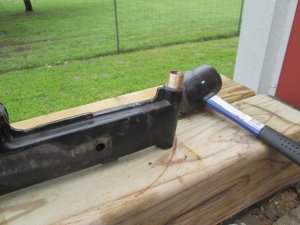
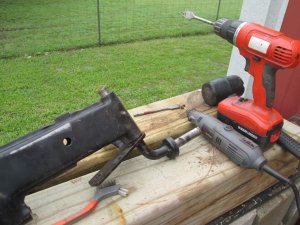
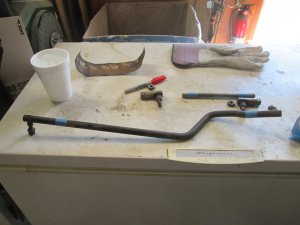
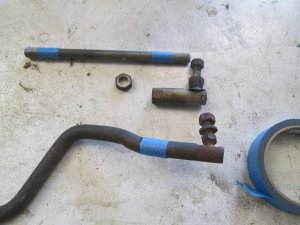
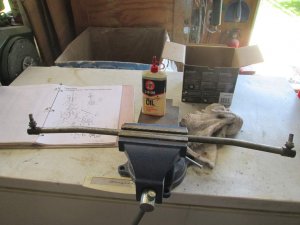
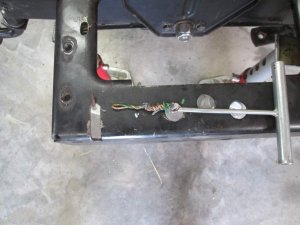
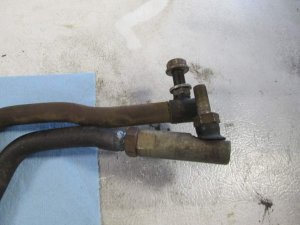
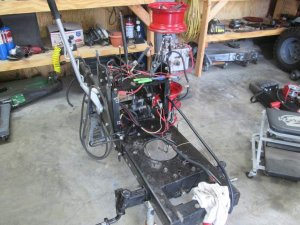
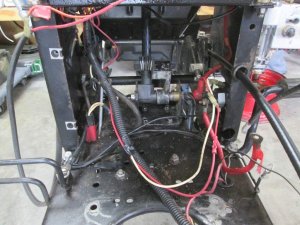
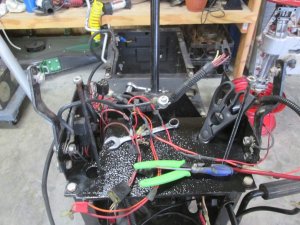
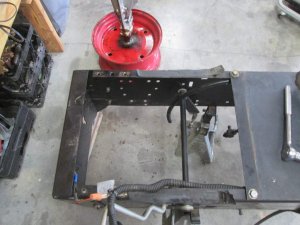
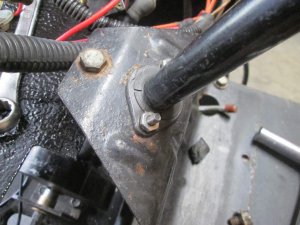
Al AlToo bad you can't thread the ends so they are replaceable!After the steering bushings I moved on to the drag link. This is a notorious failure item on these machines. I replaced this 3-4 years ago and it is developing slop again. I have three used ones that I decided to try and add adjustable / replaceable ends on. I have a link arm off something that has good ends. Plan is to cut the non replaceable ends off the drag link and cut and weld the threaded ends on.
Talked with my neighbor and he said easy no problem.