I found an Owners Manual for this Larry. Says your deck to PTO belt is a 136573 BELT (1/2" x 83"). The 54" deck uses a 5/8" belt to run it all. Other than that, it would fit under there. I've been hanging onto it in case I find a mower like that with a bad deck!

You are using an out of date browser. It may not display this or other websites correctly.
You should upgrade or use an alternative browser.
You should upgrade or use an alternative browser.
Craftsman 917.273100 2000 Estate find
- Thread starter larrybl
- Start date
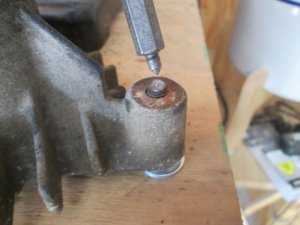
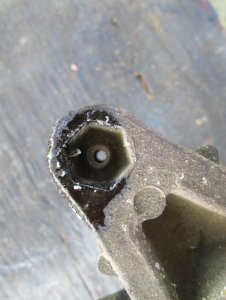
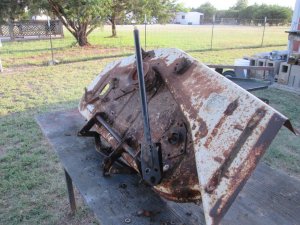
OK, we busted 4 mandrel bolts and a finger yesterday, Here is how I fix these.
This method works well on mandrel through hole broken bolts.
Start off center punching the broken bolt as close to center as possible.
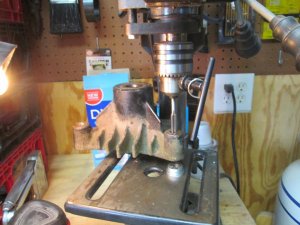
Make the part as level as possible, I used a stack of washers to achieve this.
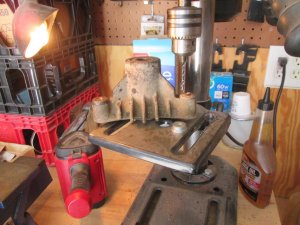
Use plenty of oil, sharp bits, and clean often. Drill all the way through, and check it didn’t drift.
Step up the drill size till the hole will accept the tap.
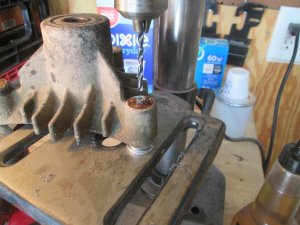
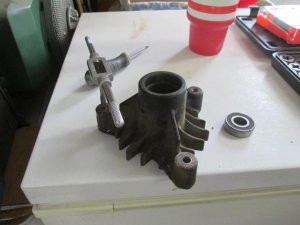
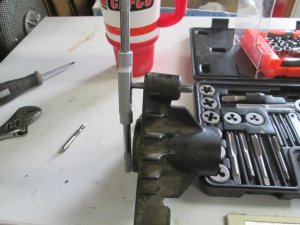
Use the same drill / washer setup to “Manually” start the tap in a couple turns.
Finish up by hand tapping, One down three more to go.
This method works well on mandrel through hole broken bolts.
Start off center punching the broken bolt as close to center as possible.
Make the part as level as possible, I used a stack of washers to achieve this.
Use plenty of oil, sharp bits, and clean often. Drill all the way through, and check it didn’t drift.
Step up the drill size till the hole will accept the tap.
Use the same drill / washer setup to “Manually” start the tap in a couple turns.
Finish up by hand tapping, One down three more to go.
Attachments
You can just buy new housings! That's what I do! Won't even mess with trying to drill them out!
EDIT: Just tried to look them up and Pat's doesn't stock those spindles. Did find them here:
https://www.amazon.com/Spindle-Housing-137152-532137152-143651/dp/B00LT83496
EDIT: Just tried to look them up and Pat's doesn't stock those spindles. Did find them here:
https://www.amazon.com/Spindle-Housing-137152-532137152-143651/dp/B00LT83496
Last edited:
thanks Kenny, I just finished drilling and tapping them. they are good to go, but I saved the link. I am discussing an option with my neighbor of cutting the mounts off the bad deck and welding them on the 50" that is on BOH. I have his original 44" stored. Might see if that deck can be made to fit both. I think that would be an easier route than trying to adapt your 54". Another option would to be cut the damaged area off, and cut a matching peice off the good deck and weld up. I can use everything off the cut up deck as spares. I'll see what he says.
Attachments

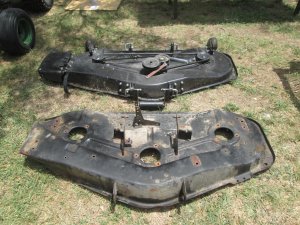
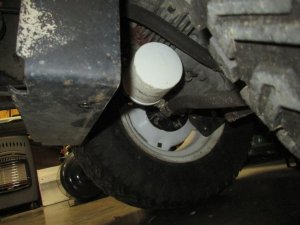
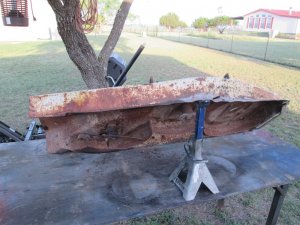
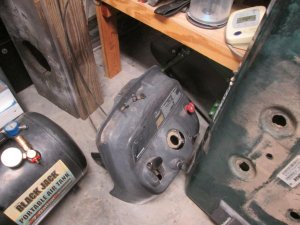
I found another deck that the metal can be cut off and grafted on to the damaged deck. Hope my neighbor can pull this off. On another note, it looks like the transaxle has an external filter, and no evidence of leaks. hope this means changing the fluid should be easy.
Attachments
Larry, some heat applied to the mandrel ears with a propane torch will most of the time make the bolts come loose as the aluminum has a higher expansion rate than the steel bolt. I always apply some O/A heat to them and they always come loose. Antiseize will make the next time a cinch.
Mike
Mike
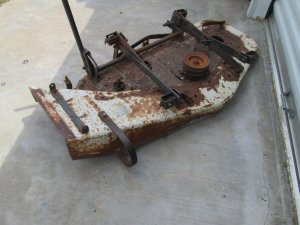
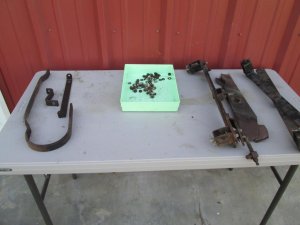
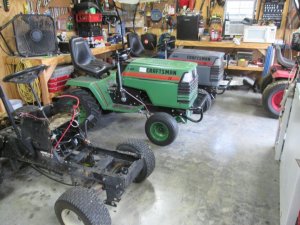
Neighbor said he didn't have the right kind of steel to repair the deck. I am in the process of stripping a Sears SS 50" deck and see if he can transfer the steel from it to the Craftsman deck. I don't want to trash a good working 50" deck on BOH. Critter approves of the Craftsman Pro.
Anyone need parts of a SS 50" deck?
Anyone need parts of a SS 50" deck?
Attachments
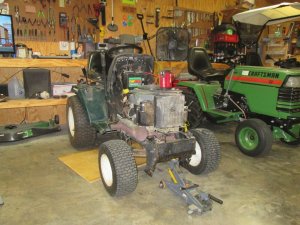
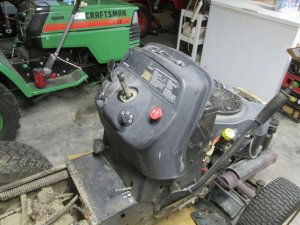
My process is to do one or two things to the Tractor each work night. Here is the progress so far. Foot Rests, Fender pan, Gas Tank, and steering wheel removed. It is a much nicer process to not deal with rusted bolts. The more I look at this the less I am thinking of a full restore, but just go with the mechanical repairs. I'll leave the engine and transaxle attached and do a detailed frame pressure wash. Change all fluids filters, and fuel lines, and go over all the steering bushings.
Attachments
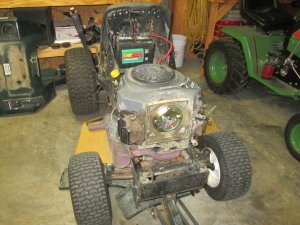
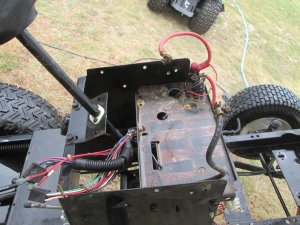
Battery and Dash removed. Need to dig deep to check the steering bushings. Engine and Steering tower will need to be removed. Many detailes pictures taken for re-assembly, here is a few.
Attachments
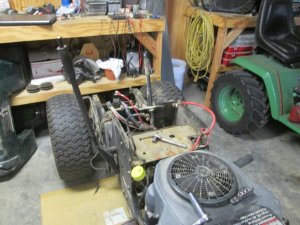

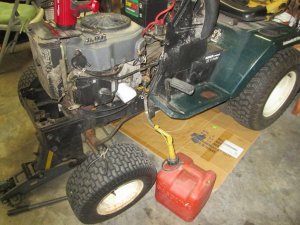
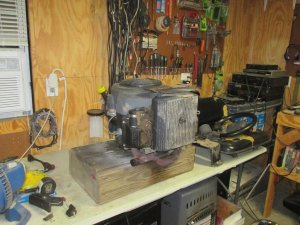
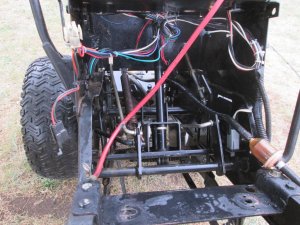
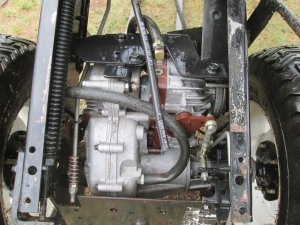
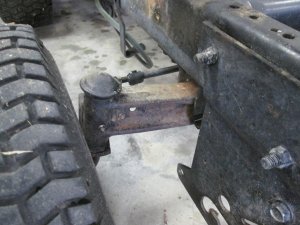
Tonight's progress. PTO and Engine is removed. The engine mounting bolts were knuckle busters. Looks like the drag link and tie rod ends will need replaced as they are pretty sloppy. Plan to take the "rolling chassis" out again for another pressure washing. Pool needs some water too.
Attachments
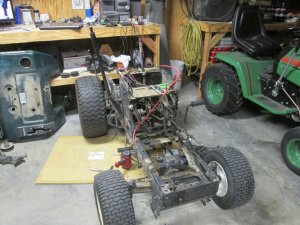
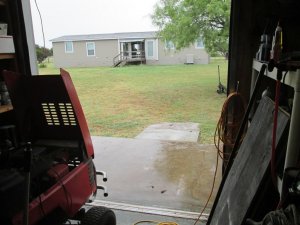
Started this morning with an oil change on the Ranger. Then moved everyone out of the way so to get the rolling chassis out for a pressure wash. After seeing the before and after pictures, I went back and got the rest of the crud off the axles. About this time the humidity got thicker so I moved every one back inside.
Attachments
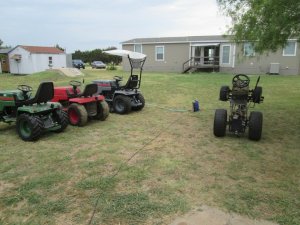
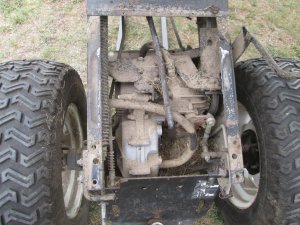
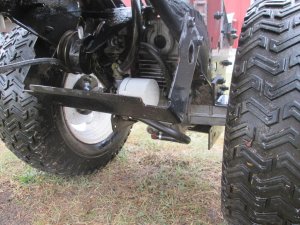
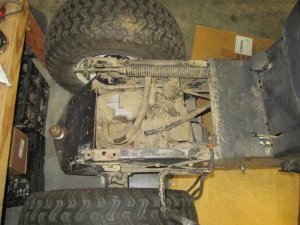
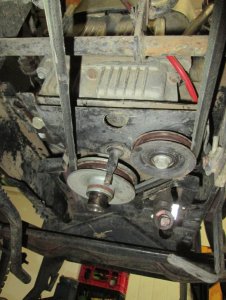
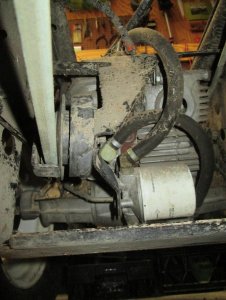
Win some loose some. Looking at the front axle difference this has a solid axle vs the stamped ones on the Craftsman II's. The wires to the seat safety switch go nowhere, and the switch is MIA. Looking at the underneath picture I see the hydro fan is toast (added to my parts list) and the Mesquite has already struck.
Attachments

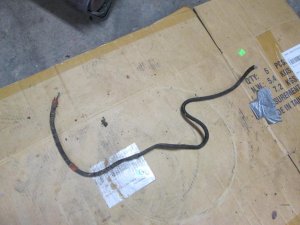

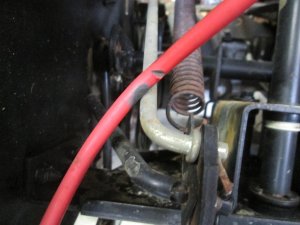
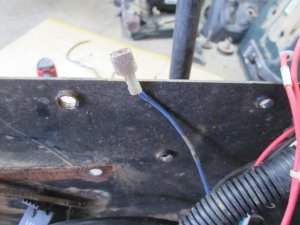
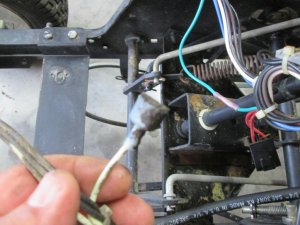
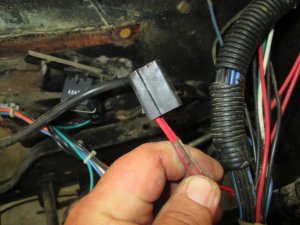
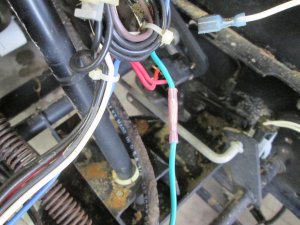
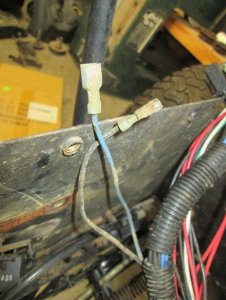
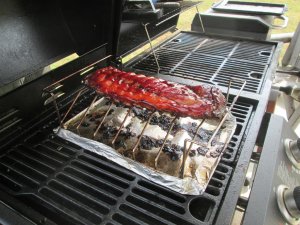
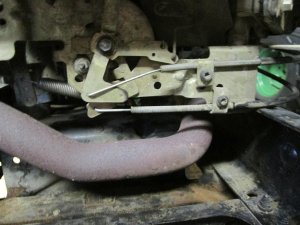
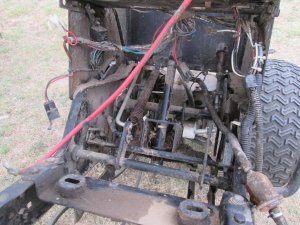
Ready for a nap. While fixing supper I was working on the steering tower removal, concentrating on the wires. The HOT wire looks like an accident waiting to happen, rubbing on the Brake lock lever. Mystery Blue wire should go to an optional hour meter. Need to figure out the mystery white wire. Standard mystery connector with red wires on one side are for an optional electric deck lift. Found where they spliced the green wires that would have gone to the seat switch. I think the black wire goes with the blue for the optional hour meter. Supper happened, baby back ribs with sweet baby ray, and home-made macaroni salad. Not sure how much I’ll get done this evening.