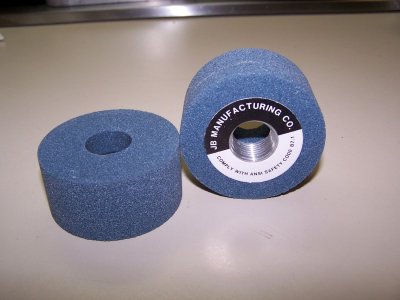
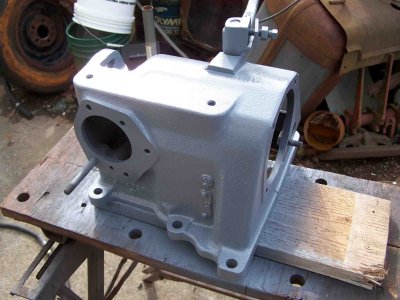
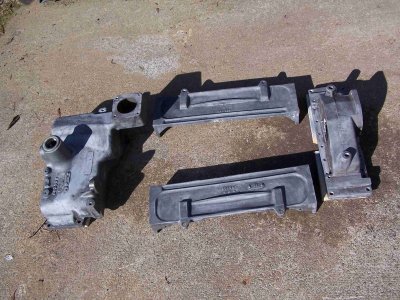
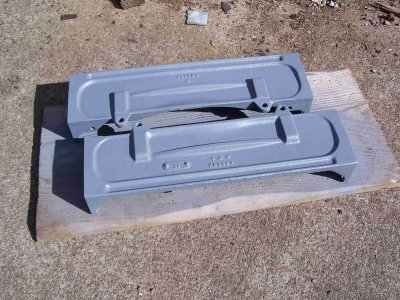
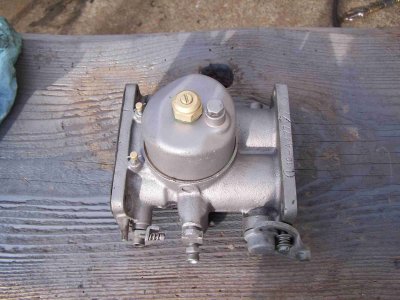
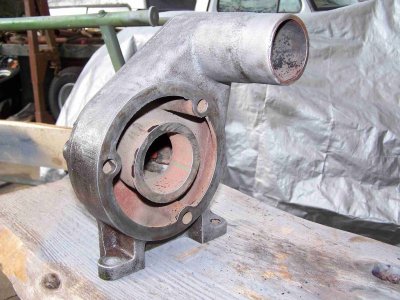
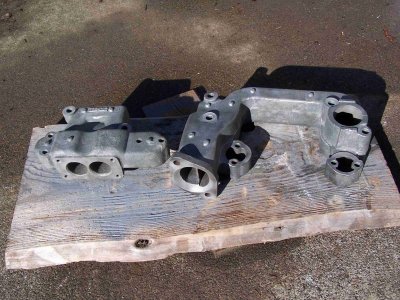
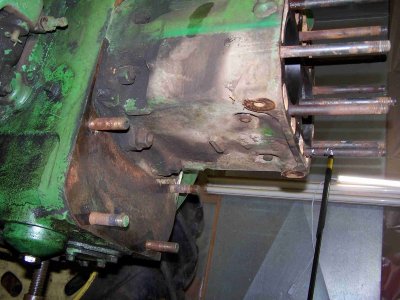
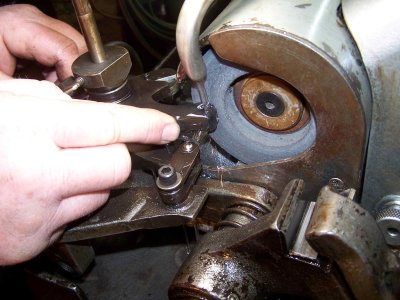
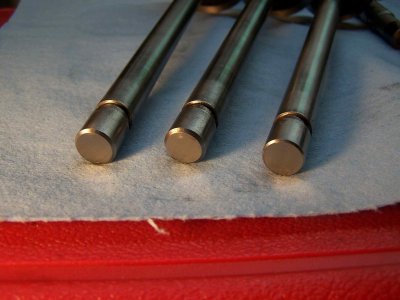
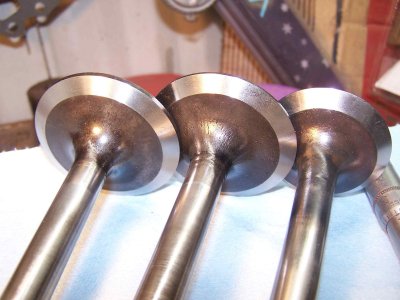
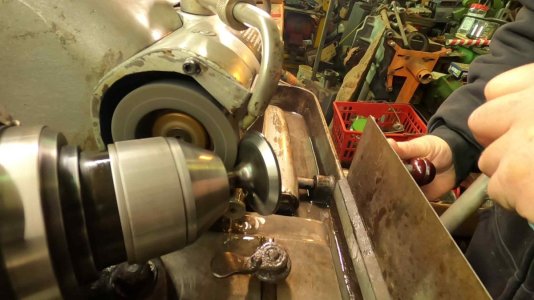
It took a lot of scraping to get it clean. This crud was set up like concrete. Just what I need, more projects.Hey cjet you have that machine looking good, that should work good, I could send you a bunch of valve to work on
")

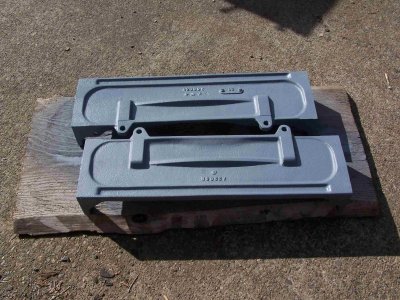
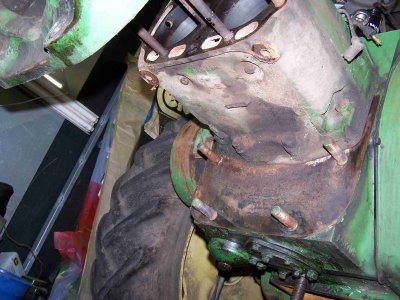
It took a lot of scraping to get it clean. This crud was set up like concrete. Just what I need, more projects.Hey cjet you have that machine looking good, that should work good, I could send you a bunch of valve to work on
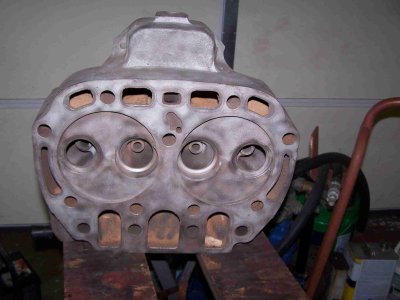
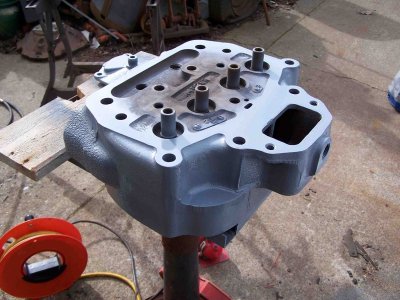
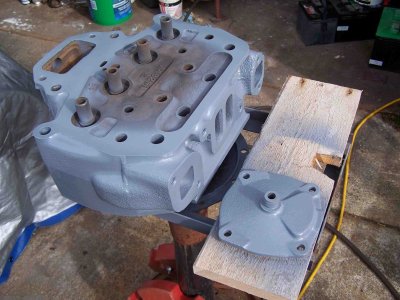
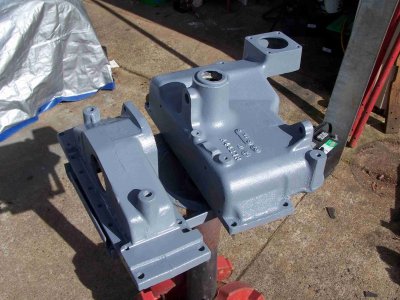
It looks pretty caked on in the photos but its nice and clean nowIt took a lot of scraping to get it clean. This crud was set up like concrete. Just what I need, more projects.

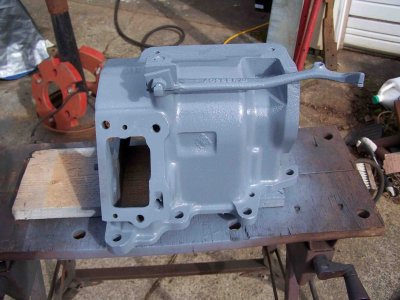
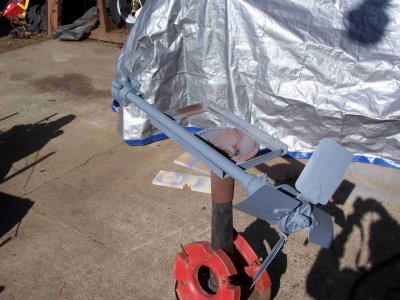
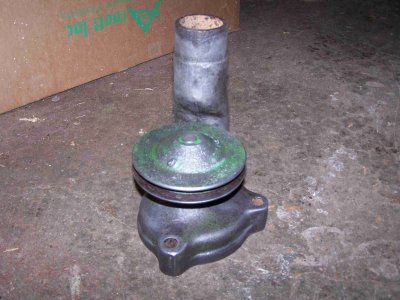
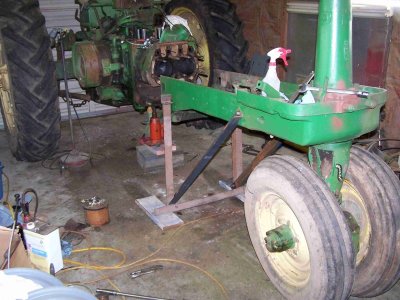
Exactly what I was thinking!Once your cousin seen how nice the engine and inside of the farme loook he will want the whole tractor painted - - before it leaves your shop.
Once your cousin seen how nice the engine and inside of the farme loook he will want the whole tractor painted - - before it leaves your shop.
My cousin wants to add power steering and a wide front end to this tractor. I think he has gathered up some of the parts but not all of them that are needed so that will happen at a later time. When he decides to paint it, I am willing to help him out. The painting I am doing now will make it so he won't have to back track as far to complete it.Exactly what I was thinking!