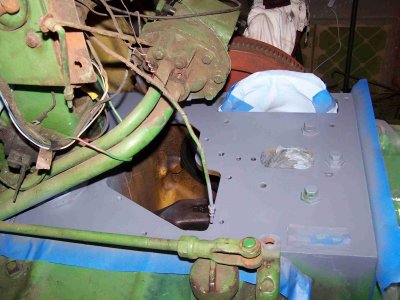
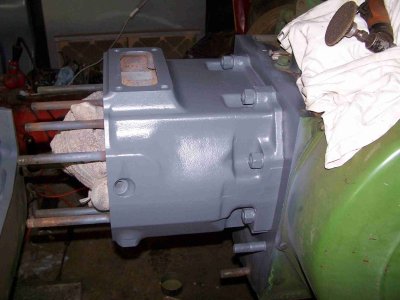
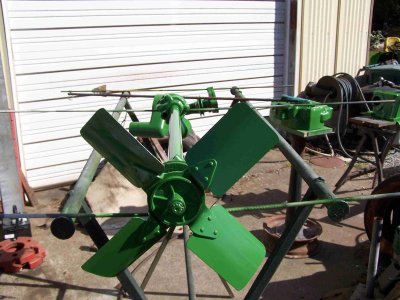
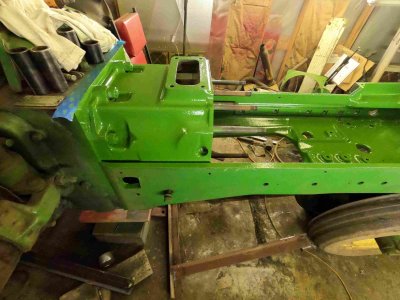
Had a few other things that took me away from this project but I back to it now. Got the inside of the frame wire wheeled and most of the block. Still need to clean around the block mounting bolts and then its time to prime and paint.

You are using an out of date browser. It may not display this or other websites correctly.
You should upgrade or use an alternative browser.
You should upgrade or use an alternative browser.
John Deere 60 repairs
- Thread starter cjet69
- Start date


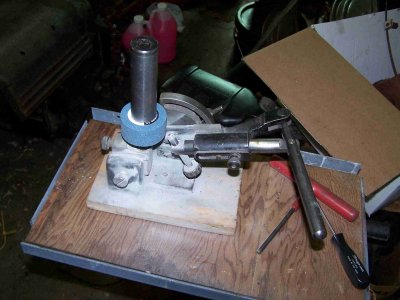
Yes you can dress the stones or even totally change the angle. Here is a pic of the stone dresser in our grinding setup. I bought a couple 90° stones so we could cut our own angles for the top and bottom cuts of the 3-angle seat grind.Always wanted a valve grinder. Just wondering.... can you reface the stones, or just replace?
Attachments
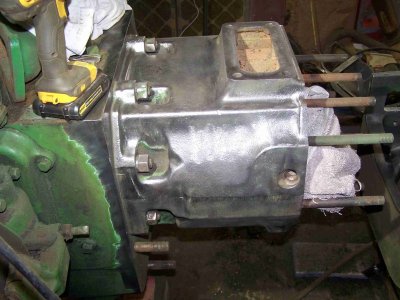
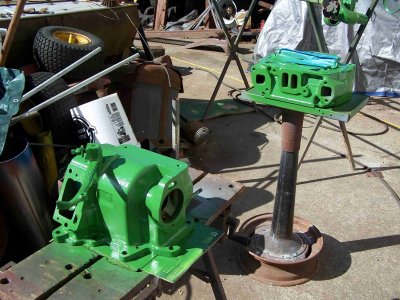
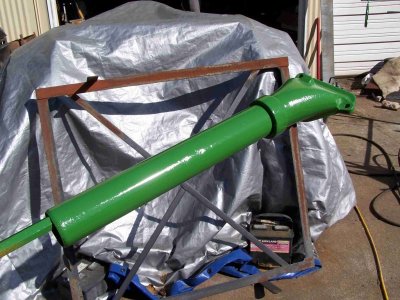
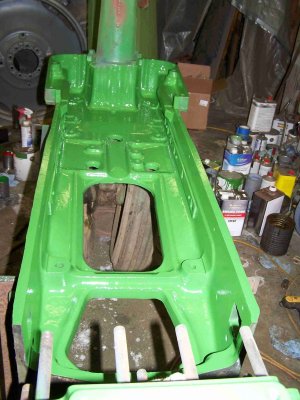
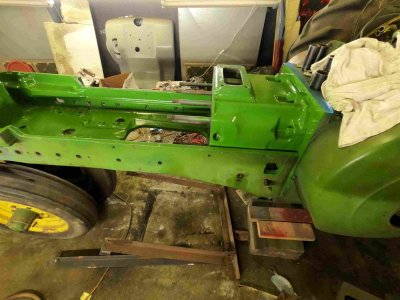
Primed the block this morning and sprayed some green on some of the small parts this afternoon. I should get the frame and block sprayed green tomorrow and if the weather is nice enough, I'll try to get the rest of the pieces sprayed green also.
Attachments
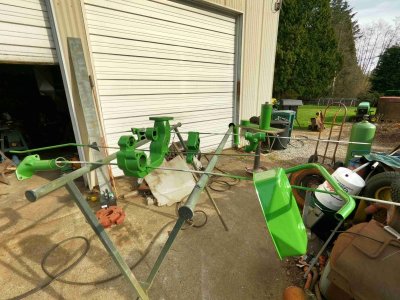
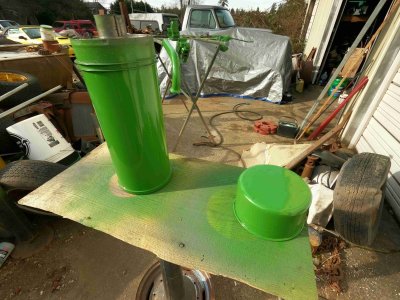
Sprayed more green today. I'll let this dry good and probably start assembling pieces this weekend.
Attachments
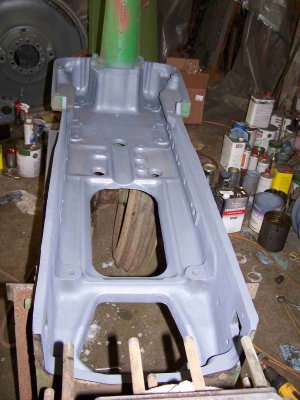
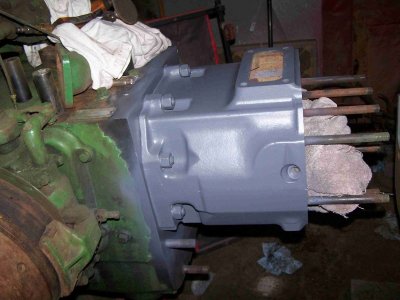
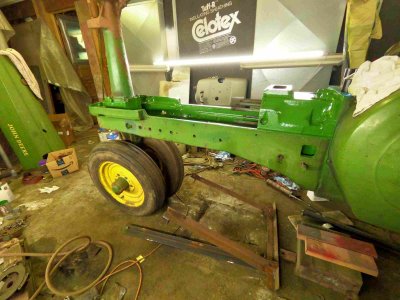
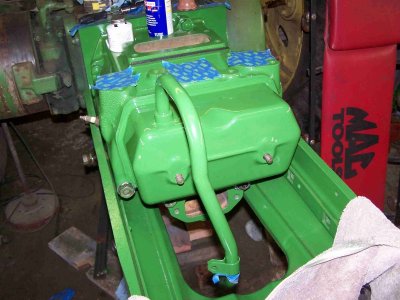
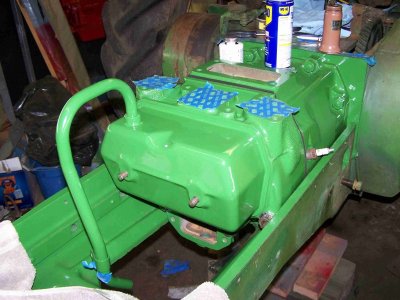
Bolted the frame back on the 60 today and did a final cleaning of the head and governor housing. I'll get the valves installed in the head tomorrow and maybe go for head installation. Feels good to have this going back together.
Attachments
Last edited:
Bolted the frame back on the 60 today and did a final cleaning of the head and governor housing. I'll get the valves installed in the head tomorrow and maybe go for head installation. Feels go to have this going back together.
Attachments

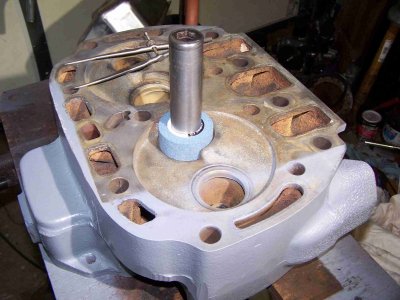
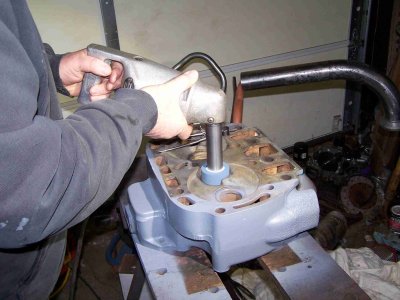
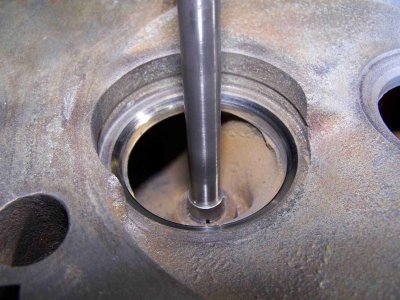
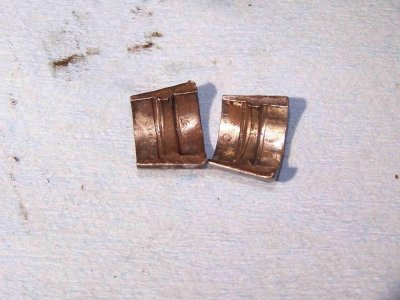
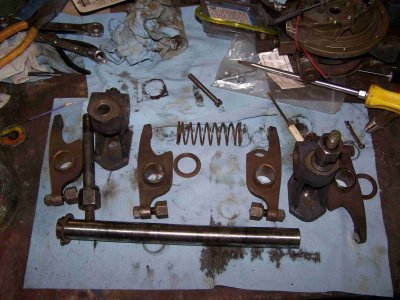
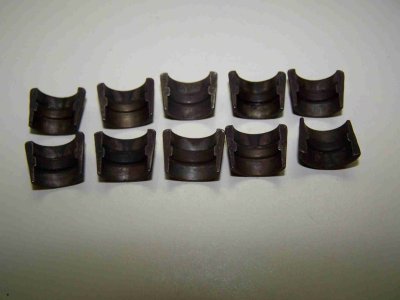
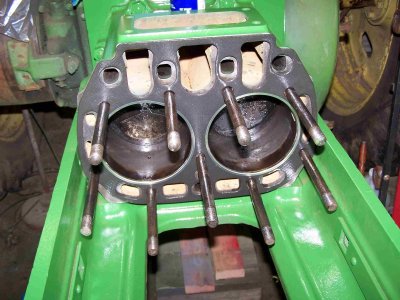
Started installing the valves in the head and noticed some wear in a couple pairs of keepers. Need to get some new or good used one's which I will talk over with my cousin. Cleaned up the head gasket surface on the block and ran the rocker shaft parts thru the solvent tank and sonic cleaner.
Attachments
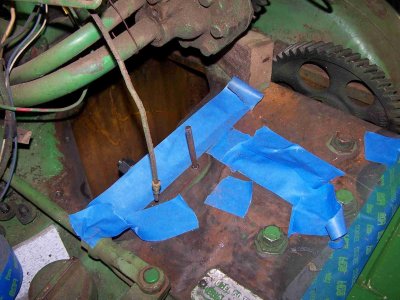
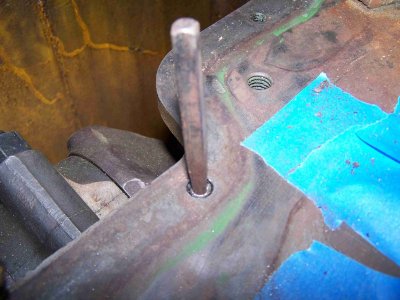
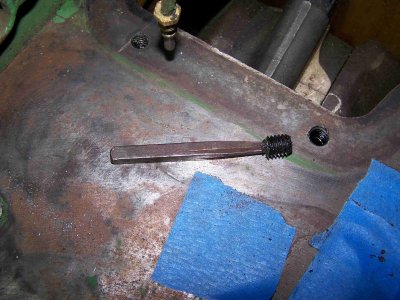
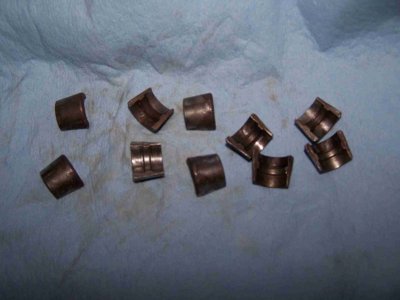
Drilled out a broken bolt for the crankcase cover and the used keepers arrived today. I ran them through the sonic cleaner so they are ready to install.
Attachments
Last edited:
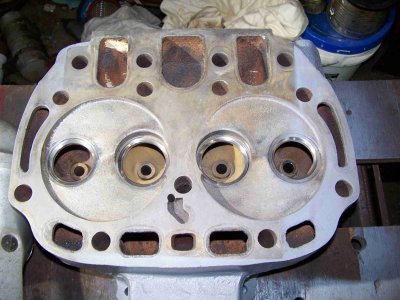
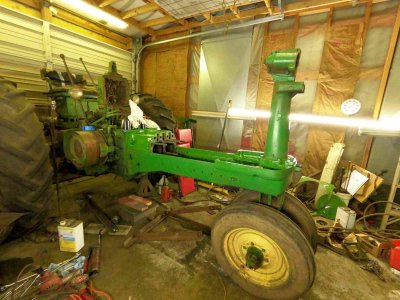
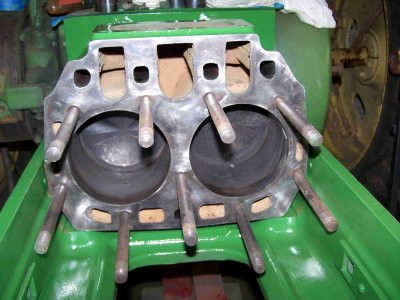
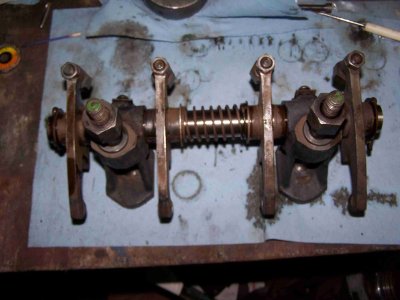
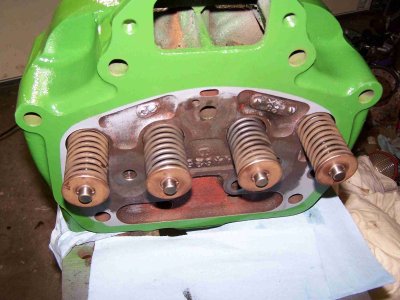
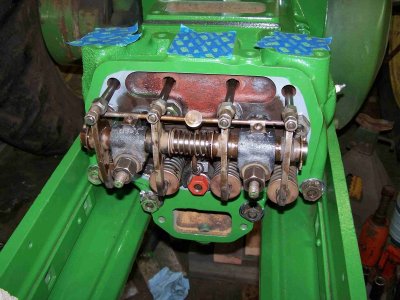
Assembled the rockershaft yesterday. Installed the valves, and installed the head today with my brothers help.
Attachments
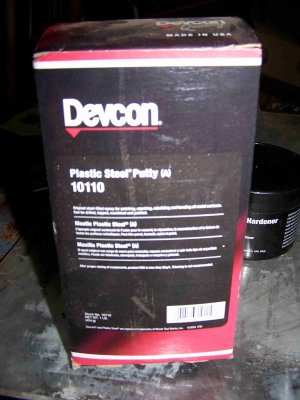
Started the repair on the radiator tanks. The flange area's had some rust eat into the gasket surface so I filled it in with Devcon plastic steel. I then placed it on a piece of plexiglass with wax paper on it to try to keep it as smooth as possible. Looks like it worked pretty good. This stuff gets really hard so I'm not sure if I can sand, file, or have to mill it.
Attachments

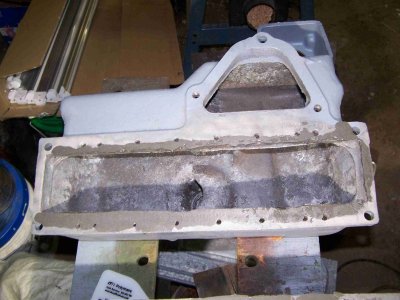
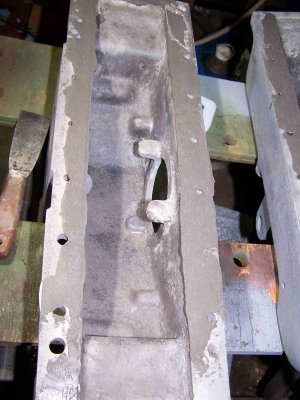
I was able to use one of my air sanders with some 80 grit paper to knock down the Devcon filler. I finished it up with some Emory paper on a flat file. There are a couple small voids still, but the sealer will take care of that when I assemble it. This will give me a nice flat flange surface to get a good seal on now.
Attachments

Last edited:
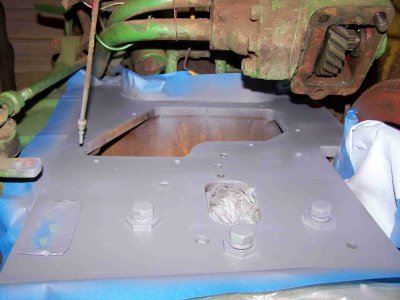
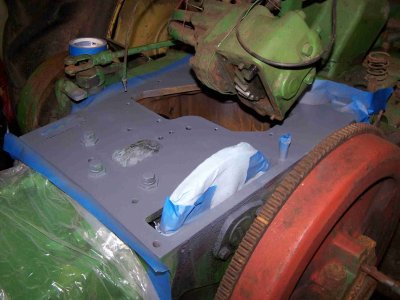
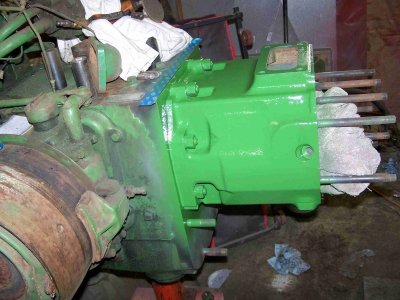
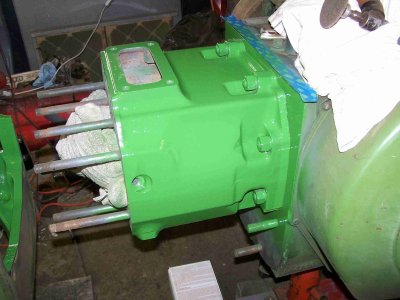
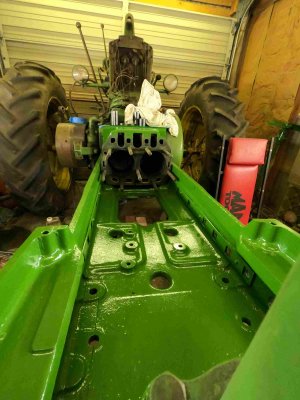
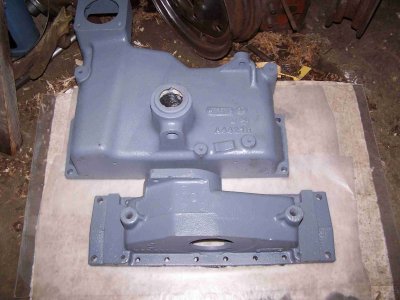
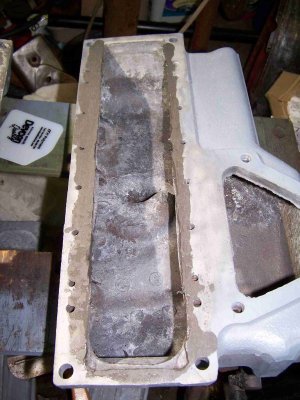
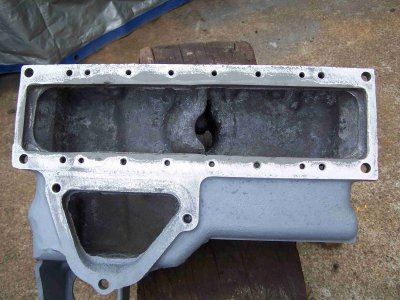
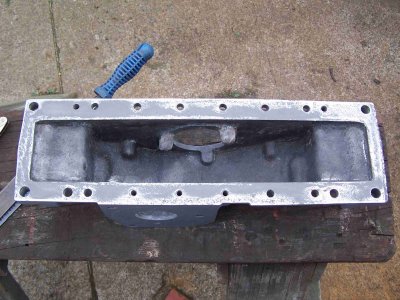
Prepped the top of the crankcase and shot some epoxy primer on it. I plan on shooting green on it and the radiator parts tomorrow and then I should be able to start bolting everything back on the tractor.