We use the green on a lot of the farm machinery. Its a step below the red in strength but will wick and flow into voids. Also We are out of red at this time and this was on hand. Loctite comes in red, green, blue, and purple and also in several grades. Here is what Loctite says:

You are using an out of date browser. It may not display this or other websites correctly.
You should upgrade or use an alternative browser.
You should upgrade or use an alternative browser.
John Deere 60 repairs
- Thread starter cjet69
- Start date
I went out and got the number on the bottle, Loctite 680.Thanks cjet
Thanks cjetI went out and got the number on the bottle, Loctite 680.
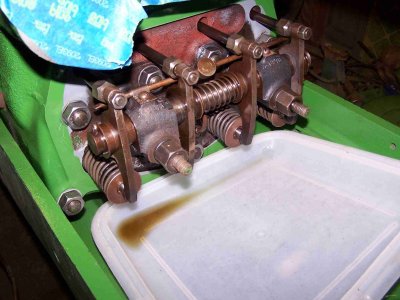
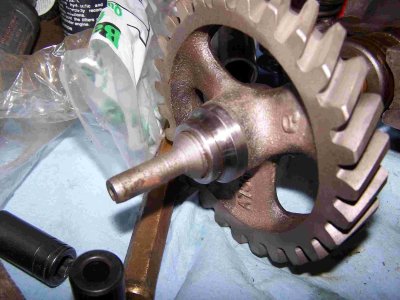
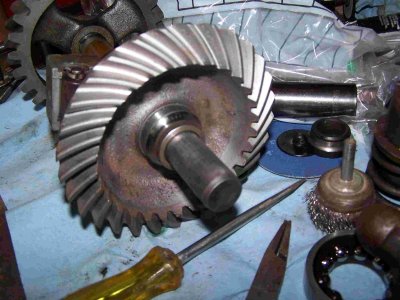
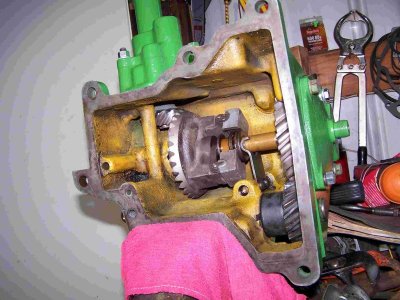
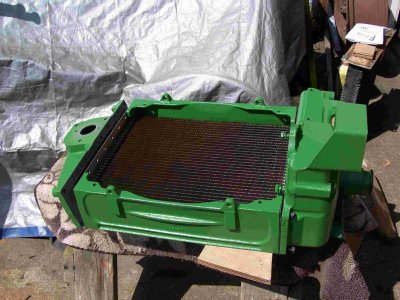
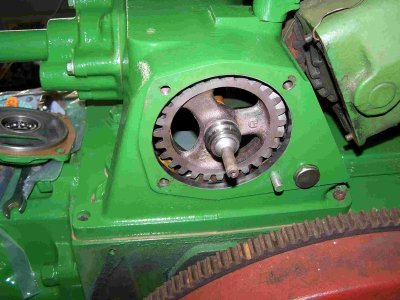
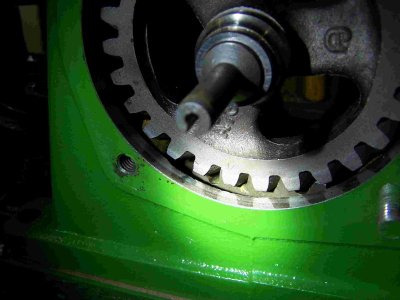
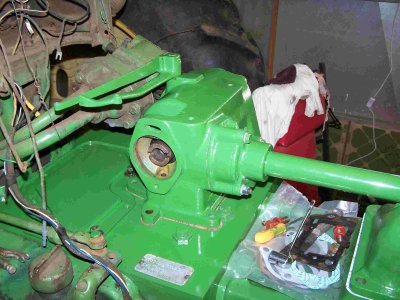
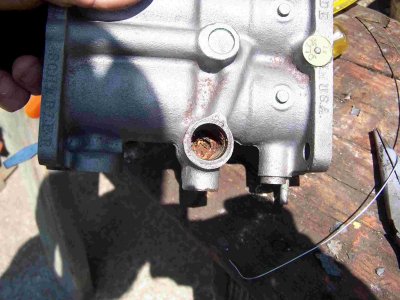
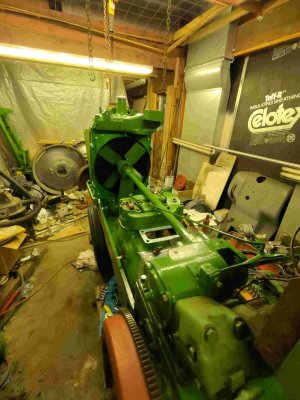
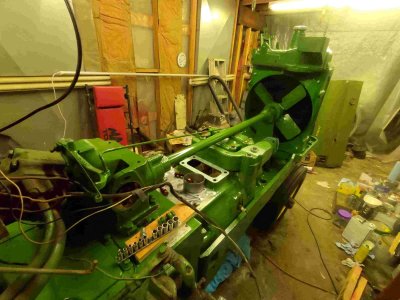
Had to use a few more drops of the Loctite on one of the bearing races the press on the governor shaft. It fit good on the shaft until it was seated and then it would spin on the shaft (3rd pic). Painted a couple more parts that I had set aside and forgot about. Chase all the threads in the radiator castings so the Rad should be ready to assemble.
Attachments
Last edited:


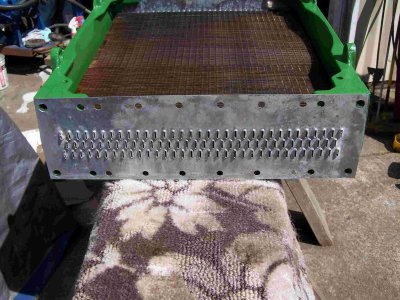
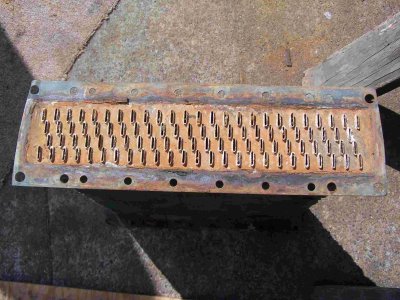
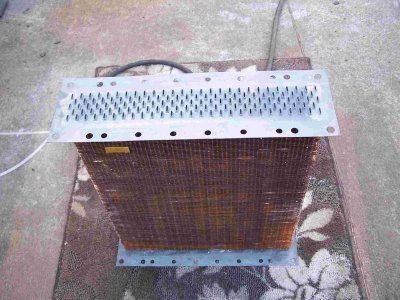
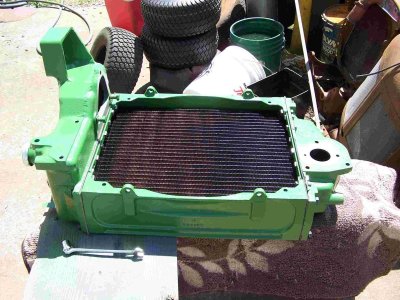
While trial fitting the new core in the radiator, I thought I should double check with my cousin to see if he wanted to just go with this 3-row core or if he wanted to buy a new 4-row core like the original was. His dad had bought this core over 20 years ago so there is no returning it. Initially he said just use what we got, but then got to thinking that was going to use this plowing and discing so it would get worked hard and thought he better just spend the money now on a 4-row and not chance an overheating problem down the road. I agreed since that would be a 25% reduction in cooling going from a 4-row to a 3-row core.
Attachments
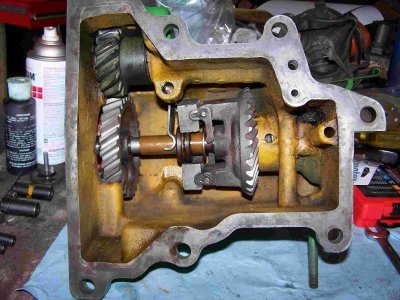
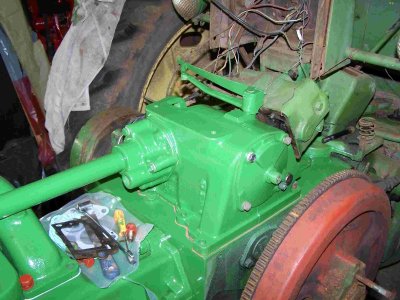
Set the governor/fan shaft assy back on the tractor and verified the timing marks were correct. I'm cleaning and painting the bolts now and will get this bolted down tomorrow.
Attachments
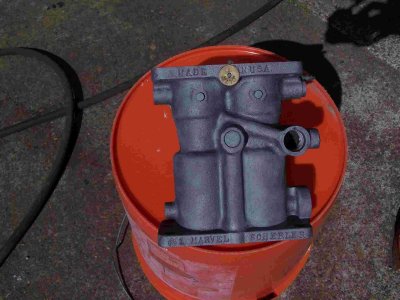
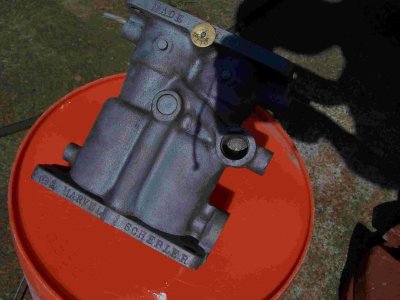
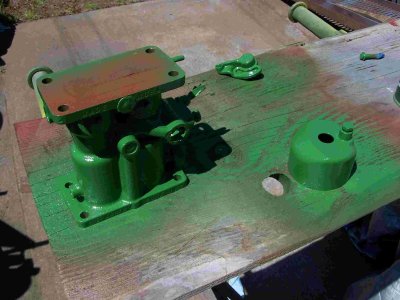
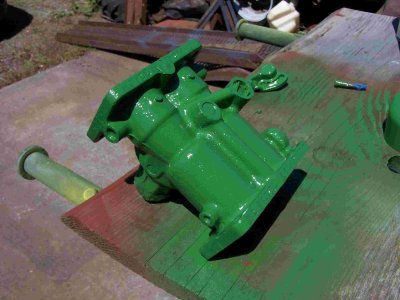
Pulled the carb apart today. It was cleaner than I expected with the only rust buildup being in the fuel inlet/strainer bowl. All of the passages and jets appear to be open. Ran it thru the glass bead cabinet and treated with Ospho. I'll get it painted tomorrow and assemble this weekend.
Attachments
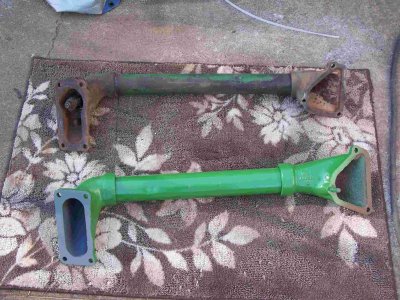
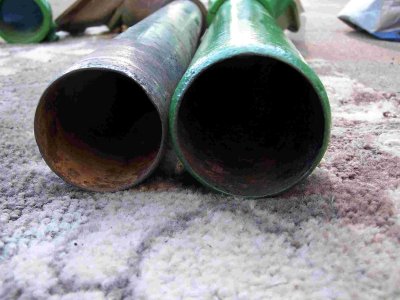
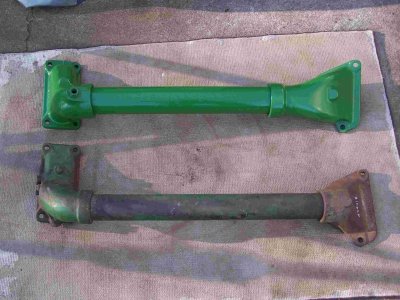
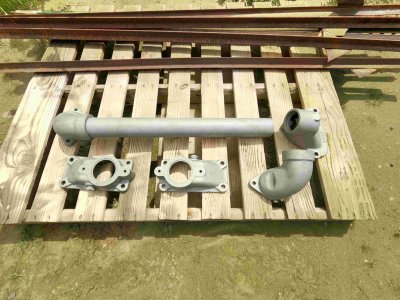
Received the new radiator core and a later model upper water pipe assy that has the thermostat in it. This tractor is an early model that used a bellows type thermostat in the lower radiator tank that ran a shutter to control the temp. The old bellows doesn't work and it didn't have the shutter on it. Both castings and the water pipe diameter are different between the early and late model upper water pipes.
Attachments
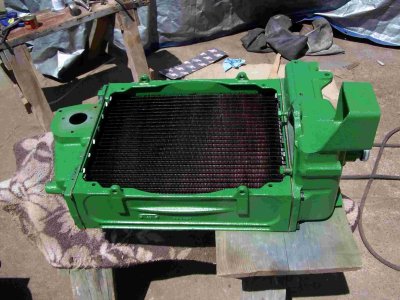
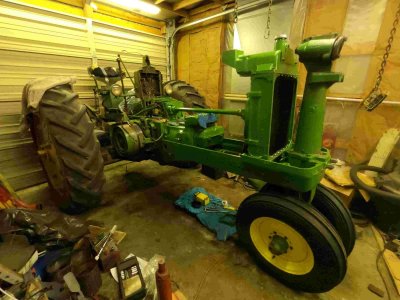
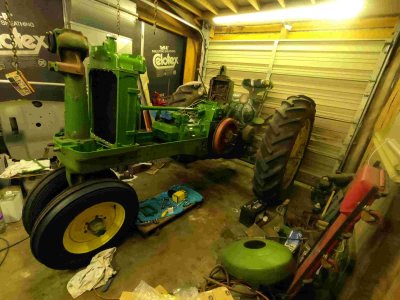
Had my brother come over to help wrestle the radiator up onto the tractor. Managed to get it on without any damage. After it was on, I installed the water pump, hose, and lower water pipe. Had the shroud laying over the fan shaft before the rad was put in place.
Attachments

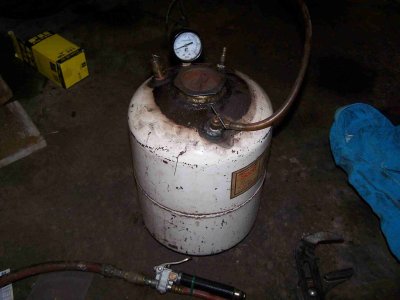
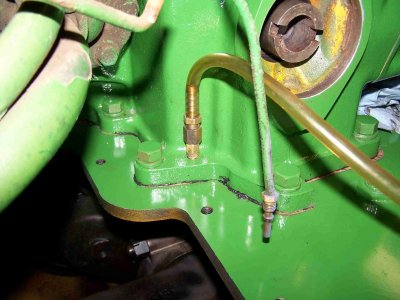
Installed a new oil filter and setup the pressure tank to pre-lube the engine. Plumed it in to the oil pressure port on the governor. Pumped about a gallon through it and got oil at the rod and main bearings and up to the rocker shaft oil tube. Its ready to put the rocker cover back on and the crankcase cover. Its getting close now. I just have the upper water pipe, carb and intake pipes, air cleaner, and the alternator. most everything is just bolts and gaskets with a little wiring. Can't wait for the test fire.