
You are using an out of date browser. It may not display this or other websites correctly.
You should upgrade or use an alternative browser.
You should upgrade or use an alternative browser.
John Deere 60 repairs
- Thread starter cjet69
- Start date
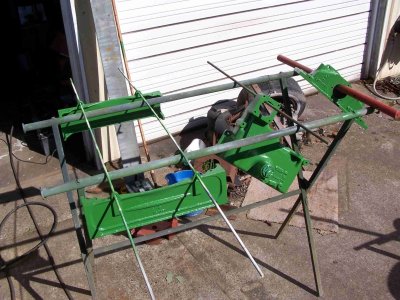
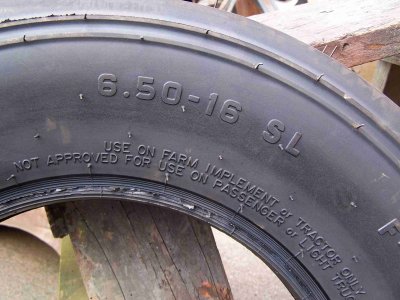
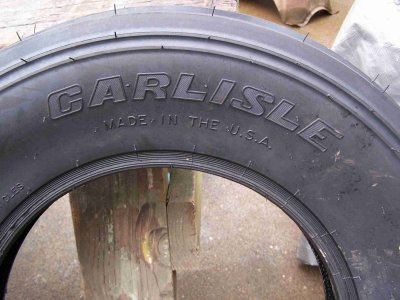
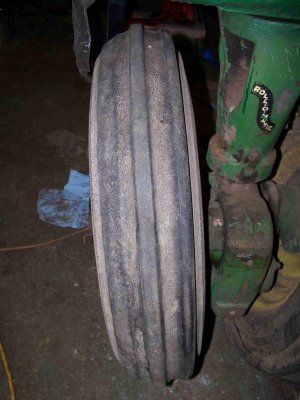
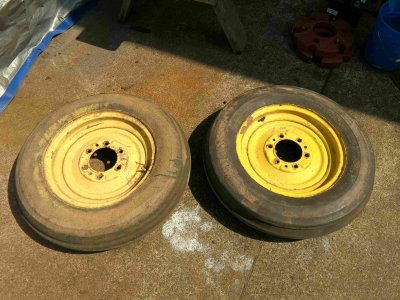
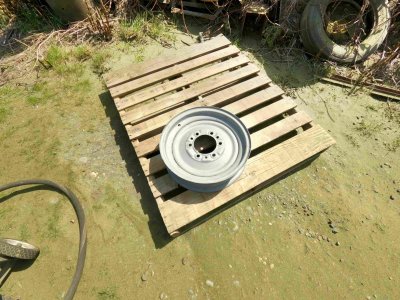
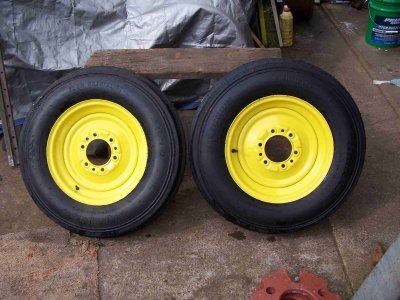
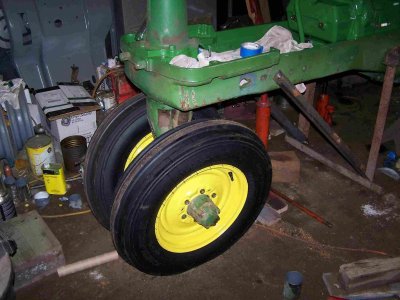
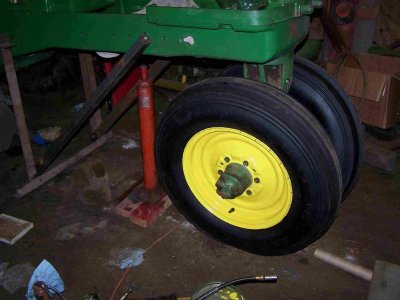
I wish it was going faster but with other farm duties a couple times a day and the shop being such a big mess that I am operating at or above total grid lock that I often can only do a little at a time. The tractor is actually in my paint booth, so I need good weather to set up outside when spraying parts. Also, as we got started on this, we kept finding more problems than we were expecting. Today my cousin dropped off some new front tires and tubes. One front is always going flat and the outside rib is worn completely down, so he just wanted to replace them. Now I have 2 front wheels to blast and paint.You are sure doing a fine job on it! Going slow and steady like you are is next to a guarantee against any bad surprises.
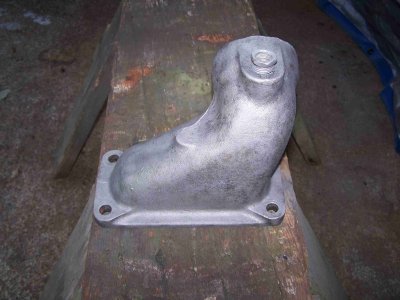
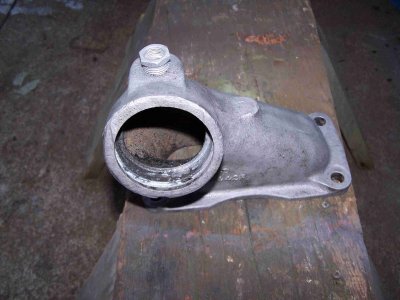
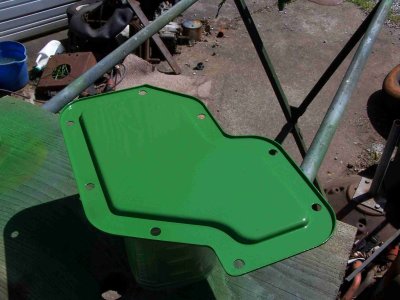
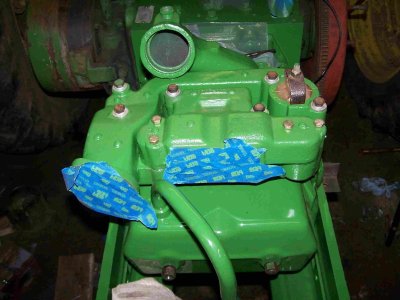
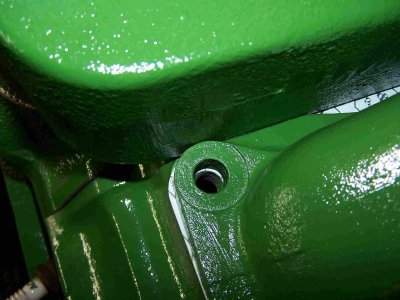
I almost forgot about this water outlet that has the temp sensor in it. The sensor was stuck so I set back on the shifter to deal with later. Managed to get the sensor pulled and got it cleaned up. Also some pics of the old and new tires.
Attachments
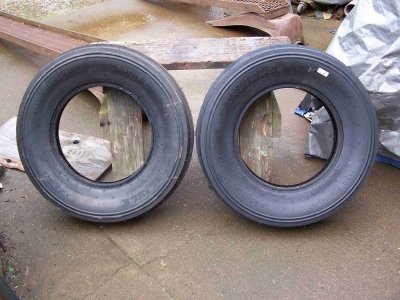
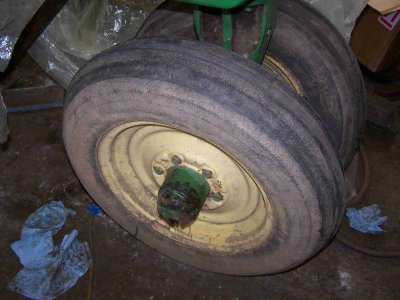
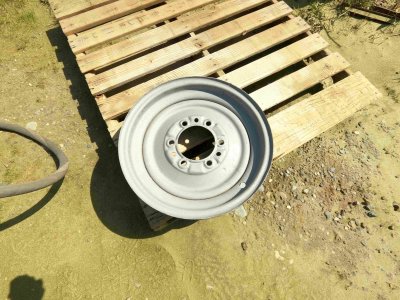
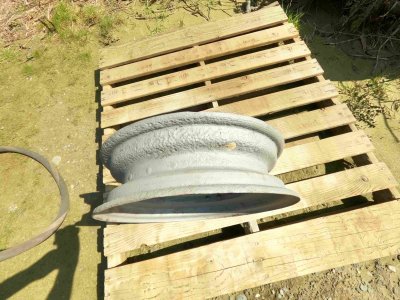
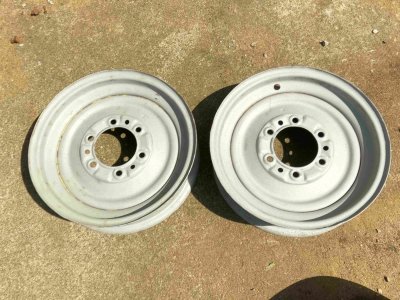
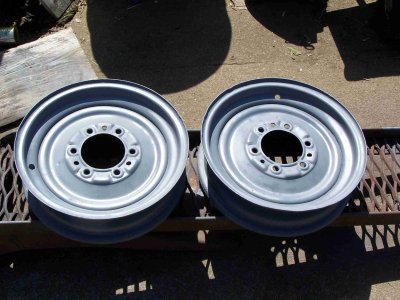
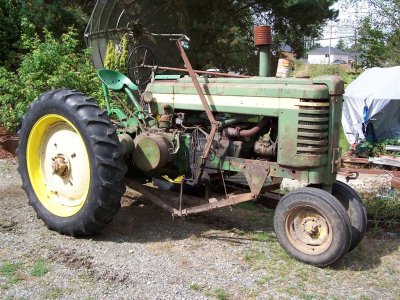
Pulled the front wheels, demounted the tires, and fired up the big sandblaster. One wheel was in good condition but the other had a fair amount of rust on the inside. Its a little thin around the valve stem hole so I will probably do a little welding and grinding to get rid of the sharp edge.
Attachments


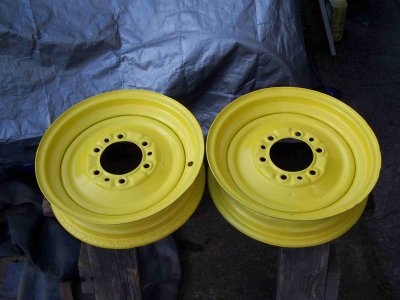
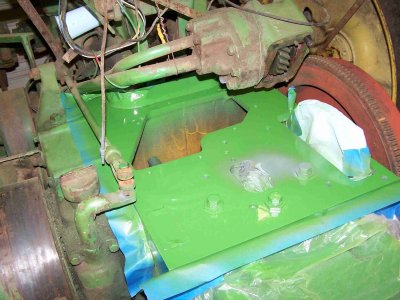
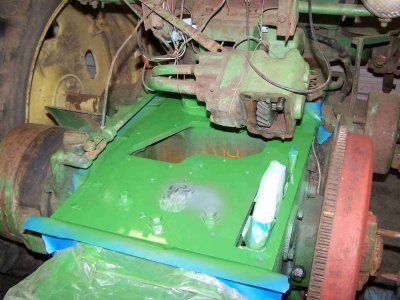
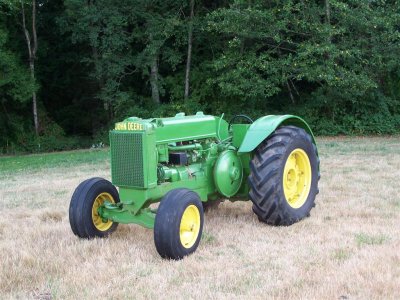
Now that's prettySprayed Yellow on the wheels.
Parts of it anyway. I'm just hoping it runs good and doesn't have any problems.She’s gunna look new cjet.
Noel
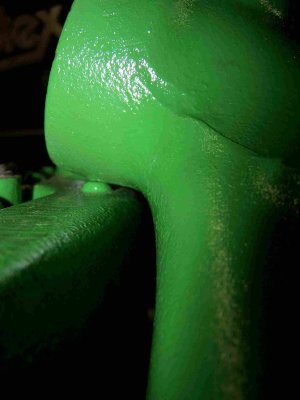
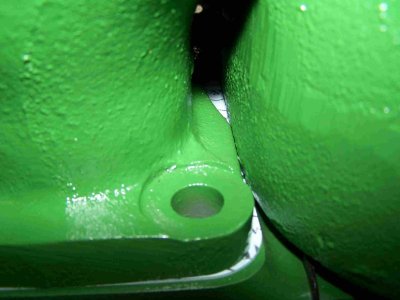
Just getting over a nasty cold that's kept me from doing much on the 60 for the last several days. Today I bolted the front wheels back on after chasing all of the threads. Then moved on to the Exh/Int manifold. Found a little interference between the water outlet and exhaust manifold. I think I can just grind a couple spots on the water outlet flange and a little casting bump? off of the exhaust manifold to get the clearance needed.
I forgot to add that this is an aftermarket manifold built in China.
I forgot to add that this is an aftermarket manifold built in China.
Attachments
Last edited:
I do have some experience with these John Deere's when I restored our John Deere AO and did some governor work and more recently, I replaced the crankshaft in my 1952 John Deere A. Its probably easier working on this than your old car project. Its just time consuming when you weren't the one to tear it down and have to locate all of the parts. Luckily it was torn down right across the street in my cousin's shop.Gotta hand it to you, I would never take on a project like that unless I had overhauled a number of them before this one. Your to be congratulated for getting this far.
My 52 has the single front wheel. The 46 has the narrow front but fixed and not Rollomatic. We have a B that was originally a single that we put the lower Rollomatic on. The AO is a fixed tread wide front.
Attachments

Last edited:
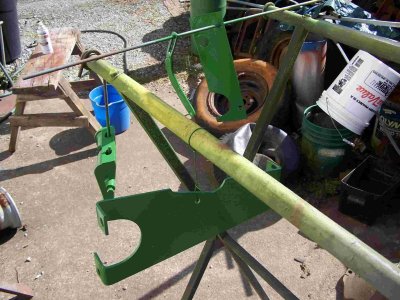
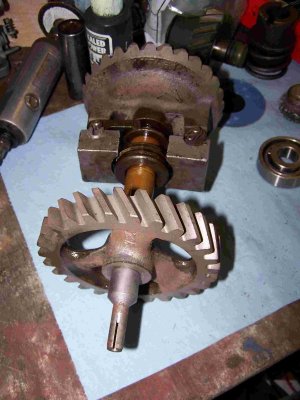
Started assembling the Governor. The drive gear had some play in it before I took it apart. Found a worn woodruff key when I pulled it apart. Put a new woodruff key in the shaft for the drive gear but still had a little play in it. Better, but still there. I put some Green Loctite on it and that seems to have done the trick. I'll let that part sit overnight and put the bearings on the shaft tomorrow.
Attachments
Green???? Don't you know the world is held together with RED!I put some Green Loctite on it
")
Green is new to me have used Red & Blue for years but never heard of greenGreen???? Don't you know the world is held together with RED!