With a couple days of rain showers I got away from haying and installed the overflow tube. I guess now I should pressure wash the rad and give it a quick shot of black paint.

You are using an out of date browser. It may not display this or other websites correctly.
You should upgrade or use an alternative browser.
You should upgrade or use an alternative browser.
Just had to do it.
- Thread starter cjet69
- Start date
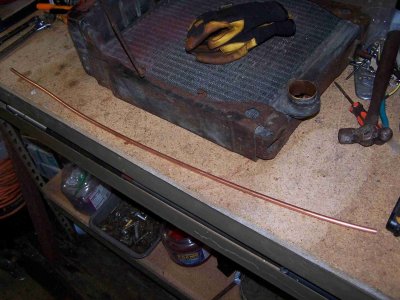
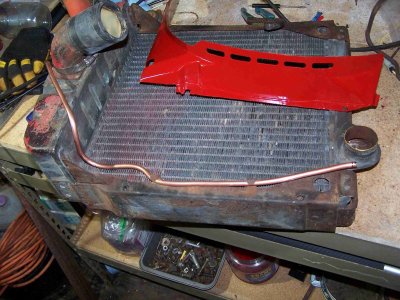
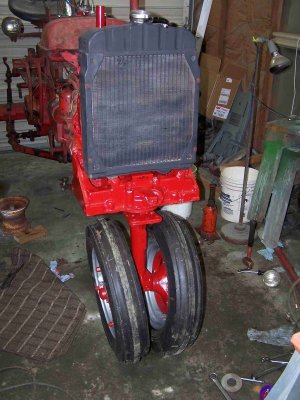
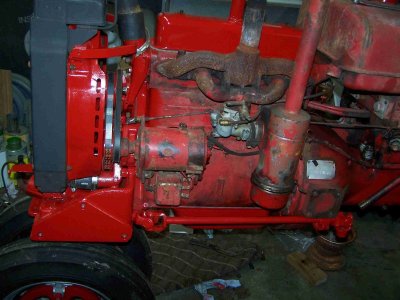
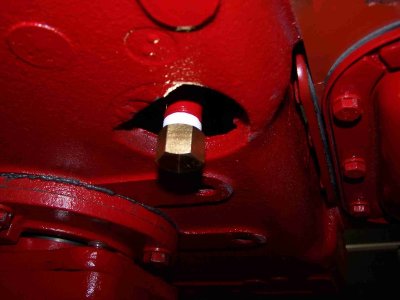
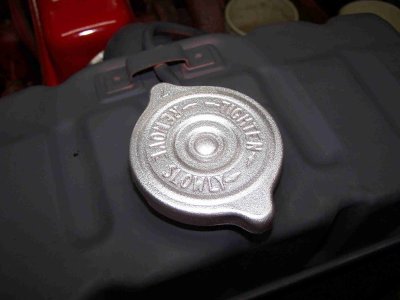
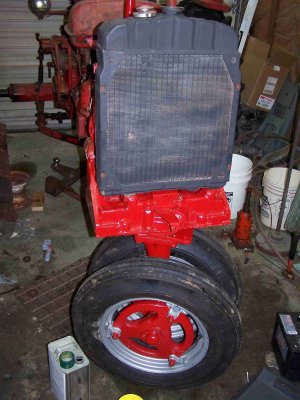
Now, where was I ? Installed the radiator/shroud, drain pipe, the generator, and the distributor this afternoon. I need to install the new water temp gauge and then it should be time to fill the cooling system. Shot some rattle can on the radiator cap and the generator tension bracket.
Attachments


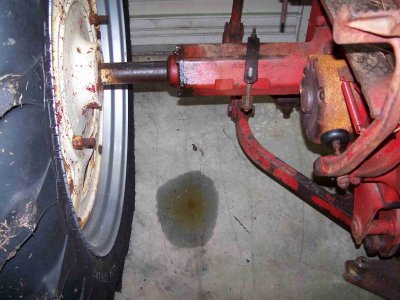
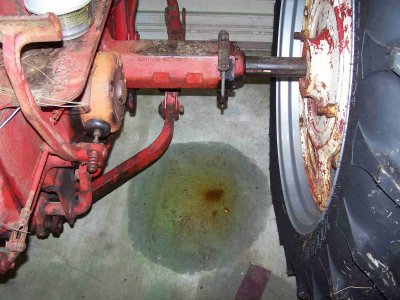
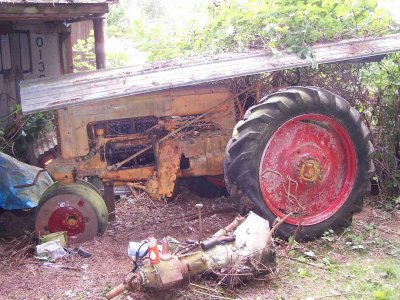
Since this has been sitting on a concrete floor for a while, its showing me the next items to address. The rear axle seals are both leaking. I guess I better check the bearings for play before placing an order for seals, felts, and gaskets.
Attachments
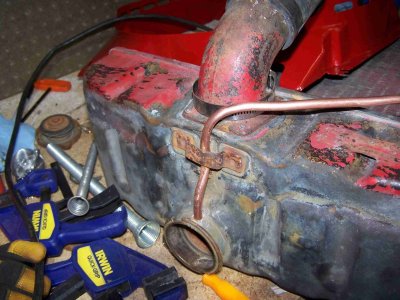
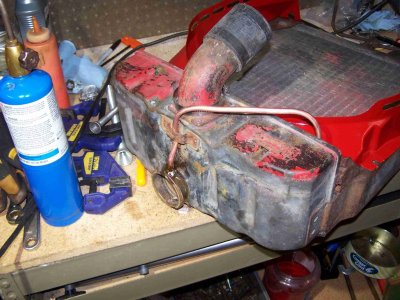
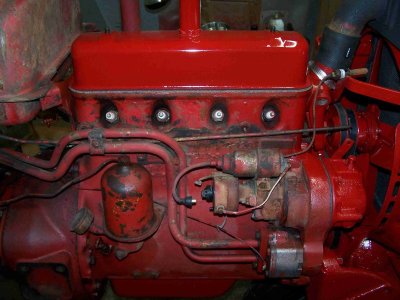
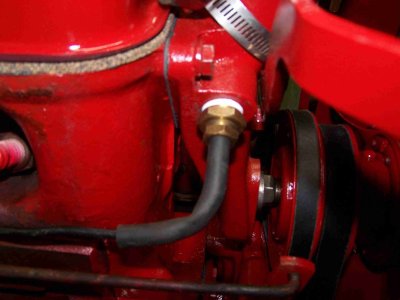
Pulled one side of the battery box off so I could remove the battery for access to the back water temp gauge. Installed the new gauge and routed the capillary tube through all of the mounting clips and threaded it into the thermostat housing.
Attachments
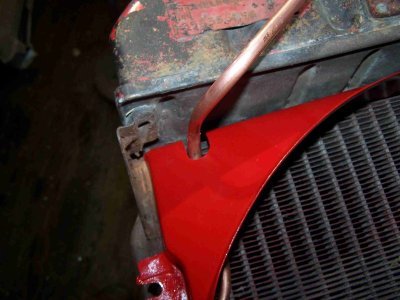
I filled the radiator yesterday and after about 5 minutes I saw a small leak on one tube. Its right in front for easy access so I will try to solder it up today. Also noticed a few drips of oil from the front steering housing. Appears to be leaking around the bearing cage bolts. I don't remember putting any thread sealer on them so I will have to drain it, clean up the bolts and threads, and put some thread sealer on them. Hard to get anywhere when you make one step forward and 2 steps back.
My brother and I spent a couple hours yesterday checking half a dozen tractors that haven't been run in years. Wanted to check and see if any were stuck. All were good except one. Its also the only one that I have a piece of roofing metal over it to keep any water from getting in it. I shot some ATF/Acetone mix in it and will try it again in a week or two.
My brother and I spent a couple hours yesterday checking half a dozen tractors that haven't been run in years. Wanted to check and see if any were stuck. All were good except one. Its also the only one that I have a piece of roofing metal over it to keep any water from getting in it. I shot some ATF/Acetone mix in it and will try it again in a week or two.
Talk about water in an engine. The other day I went to start a Predator engine on the pull behind tiller and it wouldn't start. This is kept in the pole shed out of the weather. Checked the gas and made sure the switch was on. Normally this starts on the first or second pull but not even a pop this time. Finally pulled the plug out and it was wet with water. Pulled the engine over and some water shot out of the plug hole. Dried the plug and tried again and it fired up. I have never had that happen in an engine that is inside and run every 3 or 4 weeks and it was running fine when last used. Got me!only one that I have a piece of roofing metal over it to keep any water from getting in it.
So there is some truth to the old saying..."ran when parked"..?Talk about water in an engine. The other day I went to start a Predator engine on the pull behind tiller and it wouldn't start. This is kept in the pole shed out of the weather. Checked the gas and made sure the switch was on. Normally this starts on the first or second pull but not even a pop this time. Finally pulled the plug out and it was wet with water. Pulled the engine over and some water shot out of the plug hole. Dried the plug and tried again and it fired up. I have never had that happen in an engine that is inside and run every 3 or 4 weeks and it was running fine when last used. Got me!
")
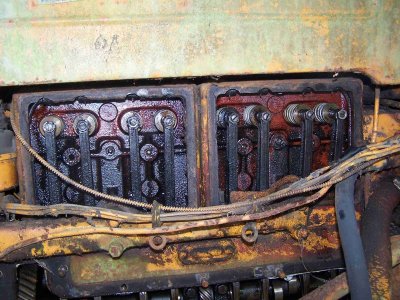
My brother stopped in again today and we decided to open up the tractor with the stuck engine and see how bad it is. The tractor is a Minneapolis Moline ZA and they can be opened up pretty easily. Pulled the side cover off of the crankcase and things look pretty good. I used my bore scope to look up at the bottoms of each bore. Found 2 that have just a couple rust streaks. Then check the top of the bores thru the spark plug hole. Again just a couple of small surface rust areas around the top of a couple pistons. I think if I let it soak for a few weeks we might be able to bump it loose. It looks like this was caused from condensation. Here are a few pics.My brother and I spent a couple hours yesterday checking half a dozen tractors that haven't been run in years. Wanted to check and see if any were stuck. All were good except one. Its also the only one that I have a piece of roofing metal over it to keep any water from getting in it. I shot some ATF/Acetone mix in it and will try it again in a week or two.
Attachments

Made an attempt at soldering the radiator and sealed the cage bolts in the steering housing. Filled the housing with gear lube so we will see if this fixed it. I'll fill the rad with water tomorrow and see if it still leaks.
Attachments

Thats just what I did. ATF/Acetone mix in the cylinders, let it sit for a week, and a couple bumps with another tractor it popped loose.That Minneapolis oughta unstick easily. Put some ATF down spark plug holes and in just a couple days should let go.
Last edited:
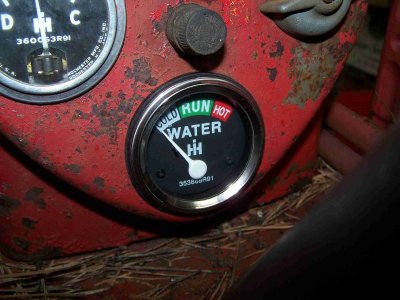
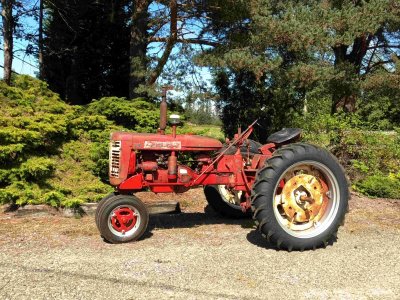
Put the sheet metal back on and drove it around for a bit. Looks like my brand new temp gauge doesn't work. Guess I have to contact the seller about a replacement. So far everything else looks fine. May take a bit for any leaks to show up.
Attachments
Last edited:
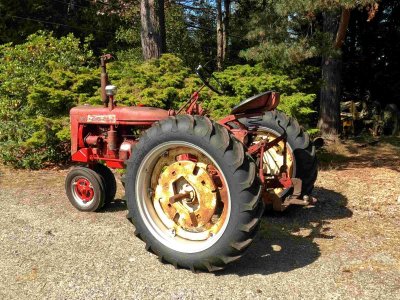
I looked it up and I bought the temp gauge a year ago on Amazon. Looks like its too late for a refund. I may see if the local Aftermarket tractor parts supplier has one in stock. The good thing is I can use the tractor again.Looks good Chris bummer that the temp gauge doesn't work