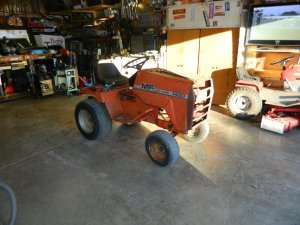
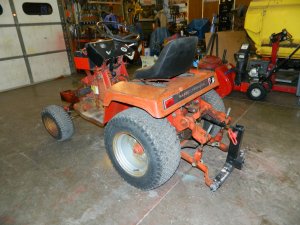
MF 1450

Hope the oil doesn't seep out around the putty.
Looks to be tightly sealed to the block casting, Kenny. We use two-part putty at work that will set up like steel. Can drill and tap it even. Hopefully this stuff is as good.

Doug just a couple of questions. Did you slowly rotate the engine to see that the splash dipper on the rod clears the base. Pictures make it look like it might hit. Another thing is the hole in the rod to lube rod and crank. Did you put the hole toward the camshaft.
I have a couple of those engines with the different base that fits those engines. My Case 224 has that style of engine. Those cut outs are for dip sticks. Did the kit you get have two different base gaskets Doug. ?

Noel
Yeah, Noel, I did rotate the crank and cycle the rod. No problems there. The hole in the rod is toward the cam. The kit I got did have two pan gaskets. One was shaped like this block, and one was shaped like the oil pan. The dip stick housing bolts to the side of the block in this application rather than going through plumbing plugs in the base.

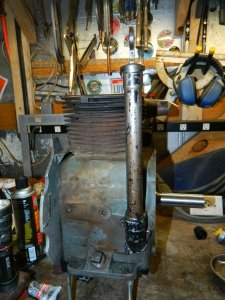
I rigged up a "stand" with some old small block Chevy long starter bolts. Chased the threads in the pan and on the bolts. Didn't want to take a chance on boogering up those aluminum threads for the motor mount plates. That will sure make it easier to assemble the rest of the components. Will be a bit tough to torque the head I think though. It may not get torqued until in the chassis since I think a couple of things attach to head bolts.

Now I have a question. Is it safe to clean the flywheel magnets and the stator with brake cleaner? I do have some throttle body cleaner that is supposed to be safe on modern plastics. Of course the insulation on the stator is not modern materials, as well as the glue holding on the flywheel magnets.

After I got the engine up on the stand bolts,
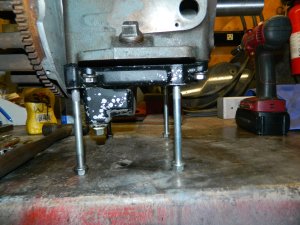
DSCN4074.JPG
I slid the flywheel on and rotated the engine a couple times faster than I could by just rotating the crank ends. It felt smooth and solid.
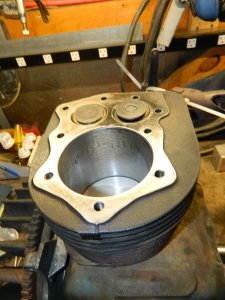
DSCN4075.JPG

So far so good. May not get anything done tomorrow night. My wife has to work Sunday so I told her I would watch the "Duels at Daytona" with her tomorrow night. Probably head in the house right after work. Saturday is the only day of the week we both have off at the same time.

DAC
 
Carb and brake cleaner won't harm the magnets or stator, at least it never harmed any on my engines over the years. Won't be long and she's gonna be alive again!
Thanks, Daniel! Still a ways to go but I appreciate your advice and encouragement. There is a broken engine mount on the chassis of the tractor too so that will require some attention to install this and put the tractor to work again. I may have to remove the center lift lever to use the spool valve cover you sent me. It's the wrong lever and I don't have any attachments for the center lift anyway. Need to build something that fits the cover rather than cutting the cover to fit the lever.

DAC
 
Loree and I I had running around in town to do today, but still got to the shop for awhile late afternoon. Main thing I focused on was getting the billboard tarp off of the MF 1450, and shoving it back into the shop. Wish I could have pressure washed it but no time for that. I'll clean it up with some solvent in the engine bay.

The billboard tarp held on even with gusts over 70 mph a few times, but some of the tight bends like over the seat and steering wheel had chafed though a little bit. Fibers were still hanging on but there was light showing through.
DSCN4078.JPG DSCN4079.JPG

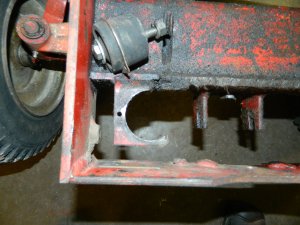
Then I rounded up a piece of 1/4" plate to replace the right front engine mount plate that is broken.
I really need to buy some decent center punches! I have 5 of them and all have been hammered flat! Not real easy to sharpen since handle shape gives me grief against the grinding wheel. Took my oldest one, I made in high school shop class nearly 50 years ago and chucked it in a drill. Laid that against the grinding wheel and that worked much better than I expected! It punched a nice, deep center hole for the machinist at work to use to cut a 2" hole for the rubber motor mount to sit into. He is the same guy that built the driveshaft for this tractor. I have no hole saws that are capable of cutting a 2" hole in 1/4" plate, so he is going to use a mill. That piece of plate came off of this tractor. No clue why it was scabbed on to it but before someone torched it, very possibly it was a factory piece of this tractor. It was MF red.
DSCN4080.JPG DSCN4081.JPG DSCN4082.JPG

Should make some more progress tomorrow.

DAC
 
I’ve been using tapmatic edge cream at work. It’s a paste cutting oil. Works really good on the sluggers bits.

smear some on the bit at the start. Get a groove started then pull back up and fill the line with cream then have at it. Depending on the depth you might have to do it 2 or 3 times.
 
Good advice from all of you about using a hole saw. Unfortunately I have no decent quality ones. The machinist at work will get it done for me.

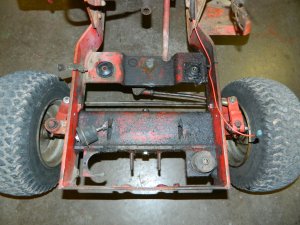
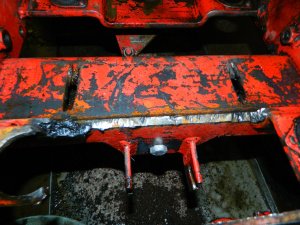
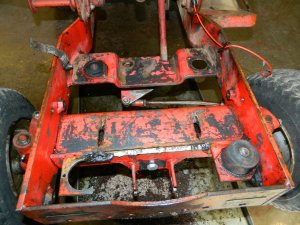
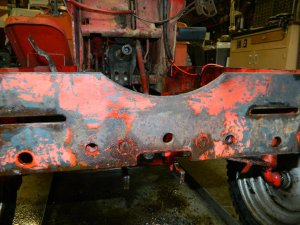
Got some stuff done while watching the race today. Got the frame cleaned up around the engine mounts. Someone had done some crude cutting torch work on this poor old tractor! Probably should have parted this thing out rather than spending money on it. I'm in too deep now.
No clue what the cutting wheel chops are for on the cross member.
DSCN4084.JPG DSCN4086.JPG

These pins that got torched off must have been for front implements to hang on to. Fortunately they spared the notched brackets on the cross member.
DSCN4085.JPG

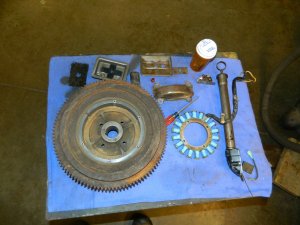
Also got the engine enclosed except for the head. Next I better put the stator and flywheel on, then the front PTO electric clutch.
DSCN4089.JPG DSCN4088.JPG

DAC
 
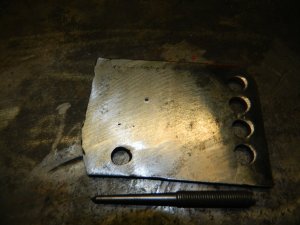
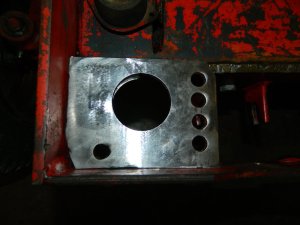
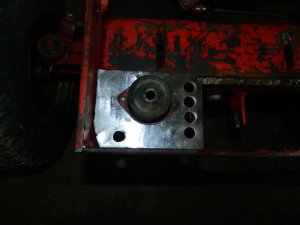
We drilled the 2" hole in the plate I took to work. He did exactly what you guys said, but used a mill to chuck a bi-metal hole saw into. Ran it slow with plenty of cutting oil. Too cold in the main shop to do anything tonight, and I can't seem to warm up from work today anyhow. I will have to trim the plate up with a cutoff wheel but I can work with this.
DSCN4093.JPG DSCN4092.JPG

Thinking I should go ahead and weld the top of the plate in the pic and the left side to the frame rail. About 3/4" will be trimmed off the right and bottom ends. For some reason the mounts were free-standing tabs off of the cross member. The torch abuse this tractor got at one time is probably what broke the original mount though. A piece of it had been torched, then the rest broke off.

DAC
 
Last edited:
Got some stuff done on the engine today. Normally my wife and I have a lot of running around to do, but not much on the adgenda. She rested some since she has a 14-1/2 hour day tomorrow with unruly kids. I watched part of the Xfinity race with her though. Did some chores and got to the shop.
I'm taking 8 hours overtime at work tomorrow so it will be late afternoon before anything gets done in the shop again.

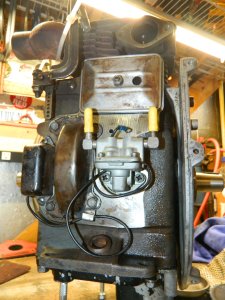
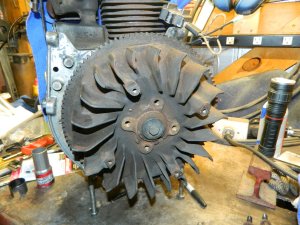
Stator and flywheel installed.
DSCN4100.JPG

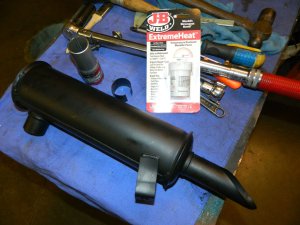
Did some planning on the broken exhaust nipple, and what to do about the muffler I bought that has an inlet the same size as the exhaust on the engine.

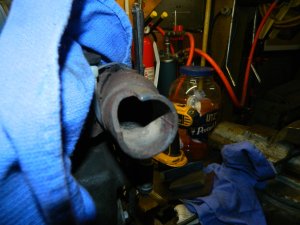
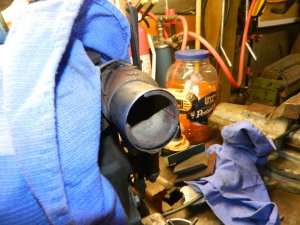
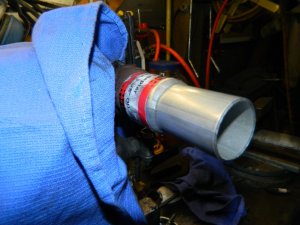
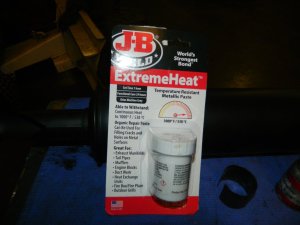
The exhaust reducer is 1-1/2" inch I.D. and of course the manifold on the engine is 1-3/8". Built a "shim" that will cover the broken off spot and make the adapter slide on fairly tight. Will probably use some of this JB weld high heat epoxy too. The adapter will get shortened as well as the inlet on the muffler. I'll try to weld the adapter to the muffler. Will have to build a support bracket to hold up the discharge end too but will deal with that when I get there.
DSCN4102.JPG DSCN4103.JPG DSCN4104.JPG

DSCN4105.JPG DSCN4106.JPG

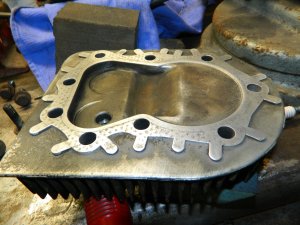
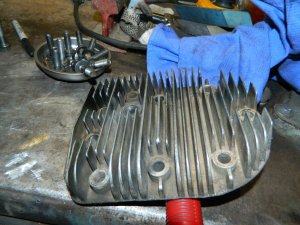
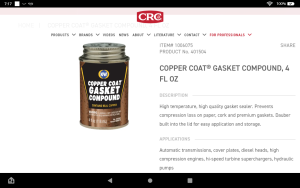
Then I cleaned up the head and head bolts. There is enough pitting in the aluminum from the old gasket that I will use some copper coat on the new gasket too.
DSCN4099.JPG DSCN4101.JPG

That's it for today.

DAC
 
Your getting along great Doug. I seem to be stuck in a rut and have not done any thing to mine. Never seen heat JB weld before. That’s good to know. Thanks. And the copper coat you mention, could you post some pictures of that so I can see what it is. Have you checked to head to see if it’s warped any ? They, say to put a piece of fine sand paper on a piece of glass and rub the head in a figure 8, or what ever and that will show if it’s warped and that’s the way to flatten it by rubbing until the sand paper is touching all surfaces of the head.

There’s my rambling for today.

Noel
I believe this is the copper coat Doug is talking about ?

Screenshot_20220227-071719.png

BTW.."There’s my rambling for today."
That's what we're all for otherwise forums would be dead.. :thumbs:
 
Back
Top