You are using an out of date browser. It may not display this or other websites correctly.
You should upgrade or use an alternative browser.
You should upgrade or use an alternative browser.
MF 1450
- Thread starter MFDAC
- Start date
That was my thought too, probably dipstick holes, just don't understand the putty stuffed in the holes.All good Doug. Just glad to be able to chat back and forth.
That plug is probably for a dip stick. Depending on engine application.
Noel
DAC
I ran out of patience on that clutch for now, but I quit before it got destroyed at least. If the crank comes out of the block that direction, is there an outside chance it can stay in place? Didn't study that part much yet!Yes, besides the electromagnet, this bolt holds the moving parts to the crank. Often times it's hard getting it to slide off crank, as the keyway will hold things up, but it will come off with patience.
Got a few more things off and out this afternoon after HOPEFULLY I got our battle with the IRS resolved!
The rod doesn't look like there's many hours on it but the piston skirts show some wear. Crank looks fine. Cylinder has vertical marks but can't feel them. Decided to pull the piston mainly to stand the block up right to pull the flywheel. Didn't want to damage the dipper hanging out the bottom. Muffler is junk too so gonna have to look around for a good replacement.
Little at a time. It's gotten dang cold so progress may even be slower if you can imagine that---LOL! Gas bill for the shop is a little over double what it was this time last year.
DAC
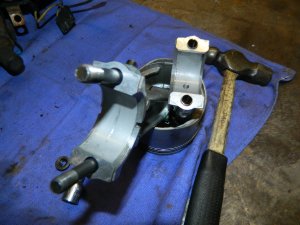
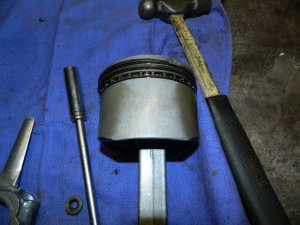
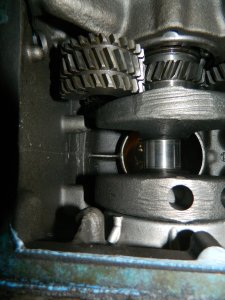
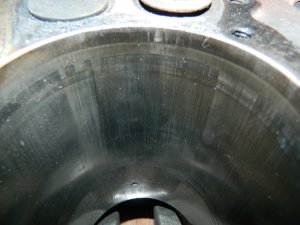
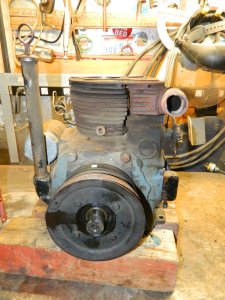
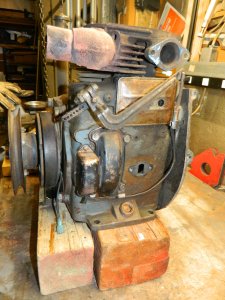
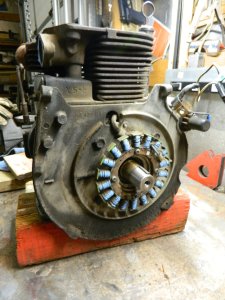
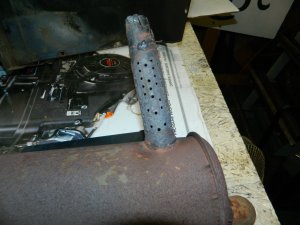
That’s lookin pretty good Doug. One I thing I want to mention. When you put the rod back in make sure that hole in the rod is placed in correctly. That hole, if I remember correctly, goes toward the cam. Do your research on that Doug to make sure. Engine don’t run to long if in the wrong way. It won’t lube the rod and crank. I know that now !!! And the piston has to go a certain way also. It may have a notch on the top. Notch goes either toward the flywheel or pto end. Again I can’t remember for sure. Do your research. Now would be a good time to clean up your stator and magnets in the flywheel. And make sure the magnets are tight. I did that to my John Deere engine this summer and it seems to charge better.
Noel
Noel
Thanks for the advice, Noel! Yeah the oil hole is on the cam side. I have been taking more pictures than what is being posted here to help my bad memory. Then the manuals Kenny and Gary posted will be a great help too. I know automotive pistons all should be marked for position. I built a lot of Briggs 5 hp back in the 80's and 90's but I can't remember much about that including piston position!That’s lookin pretty good Doug. One I thing I want to mention. When you put the rod back in make sure that hole in the rod is placed in correctly. That hole, if I remember correctly, goes toward the cam. Do your research on that Doug to make sure. Engine don’t run to long if in the wrong way. It won’t lube the rod and crank. I know that now !!! And the piston has to go a certain way also. It may have a notch on the top. Notch goes either toward the flywheel or pto end. Again I can’t remember for sure. Do your research. Now would be a good time to clean up your stator and magnets in the flywheel. And make sure the magnets are tight. I did that to my John Deere engine this summer and it seems to charge better.
Noel
That's a good tip on cleaning the stator and magnets too. I think that a while back I did post that it actually started showing a charge on the plus side of the amp gauge. May have been cruddy in there and cleaned itself out a bit.
DAC
I almost pulled them last night but had to quit for the night. Had a sign job come in today so worked on it rather than going out in the cold work bay. Pretty much just stayed in the shop office. Thanks for your comments, Kenny!On the PTO clutch, remove those 4 Bolts at the block also. Think the bolt in the crank is in case the bearing fails, the pulley doesn't go flying off.
DAC
Got more parts pulled, but the crank is still in there due to the clutch inner half.
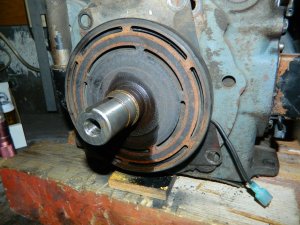
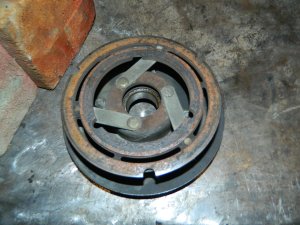
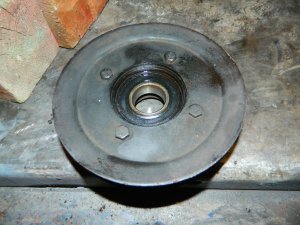
The pulley and hub came off nicely today with just a little wiggle. No pry needed!
Stator unbolted to get at the aluminum plate bolts. Plate didn't want tp move. Didn't see any choice but to start working it back and forth with pry bars.
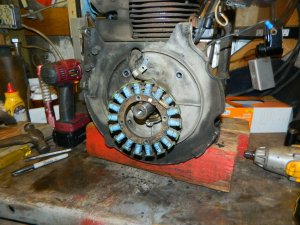
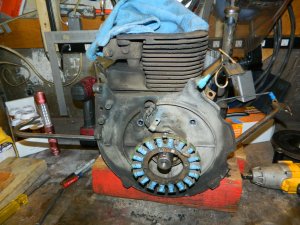
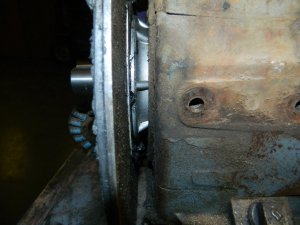
Plate finally came off the bearing.
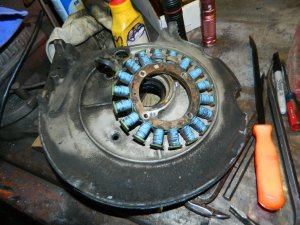
Laid the block back on it's side to get a look in there again. So close but so far away still.
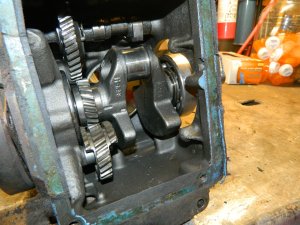
I googled "Kohler K series electric clutch removal" but everything I found was for newer tractors using a vertical crank engine.
Will try to get time tomorrow to come up with a brilliant idea about that clutch. Might have to trash it to get it off.
DAC
The pulley and hub came off nicely today with just a little wiggle. No pry needed!


Stator unbolted to get at the aluminum plate bolts. Plate didn't want tp move. Didn't see any choice but to start working it back and forth with pry bars.


Plate finally came off the bearing.

Laid the block back on it's side to get a look in there again. So close but so far away still.

I googled "Kohler K series electric clutch removal" but everything I found was for newer tractors using a vertical crank engine.
Will try to get time tomorrow to come up with a brilliant idea about that clutch. Might have to trash it to get it off.
DAC
Hopefully you don’t have to do that Doug. Can’t remember if I ever had trouble with getting those off. But it should slide right off. If I remember right. Spray some stuff in the key way too. Then I would put three prys in behind and put a little pressure on it. Pry a 12:00 o’clock, 4 and 8. Then I’d use two small hammers to tap it lightly. Holding one hammer on it then tap with the other from the opposite side. Keep adding a little pressure to prys. Then if that doesn’t work I'd try a litte heat on it. Put don't redden it. Just a little heat.
Just some thought Doug. Not sayin it’s the right way. Hope fully you get it off.
Noel
Just some thought Doug. Not sayin it’s the right way. Hope fully you get it off.
Noel
Thanks Noel, it is off! Don't think anything got damaged! Didn't get pics of the removal. There was no space to get pry bars behind it at first. I had taken your advice on making sure the key slot had stuff sprayed into it and was soaking and I think that was the biggest help!Hopefully you don’t have to do that Doug. Can’t remember if I ever had trouble with getting those off. But it should slide right off. If I remember right. Spray some stuff in the key way too. Then I would put three prys in behind and put a little pressure on it. Pry a 12:00 o’clock, 4 and 8. Then I’d use two small hammers to tap it lightly. Holding one hammer on it then tap with the other from the opposite side. Keep adding a little pressure to prys. Then if that doesn’t work I'd try a litte heat on it. Put don't redden it. Just a little heat.
Just some thought Doug. Not sayin it’s the right way. Hope fully you get it off.
Noel
I decided to take the rubber hammer and whack the end of the crank with the electromagnet flange against the block firmly. It moved! Gave it a couple more and then there was a big enough gap to do some prying. I would pry some and whack with the rubber hammer then the clutch slid off! Looks like I was over-reacting about damaging things. Guess I just need to hope the rubber hammer didn't hurt the crank.
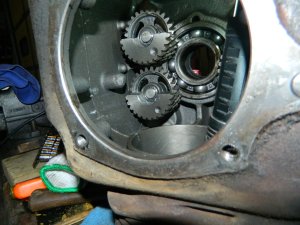
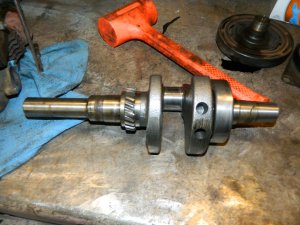
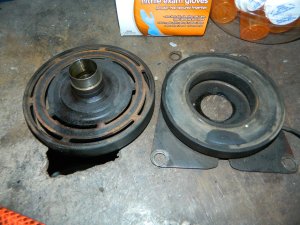
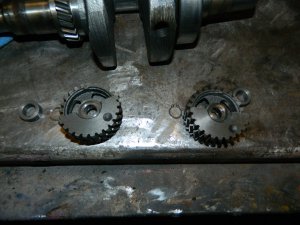
Those grenade gears were very sloppy and loose. They are gone now!
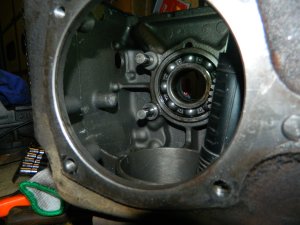
Guess the next thing will be to get the valve springs compressed to pull the keepers out. Looks like my old vavle lapping tool will fit the valves. The points pushrod won't pull out. Is it supposed to come out from the outside, or just the inside with the cam removed? I couldn't see a mushroom on the cam end of the rod but it wouldn't take much.
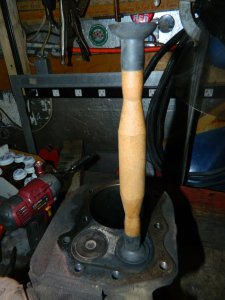
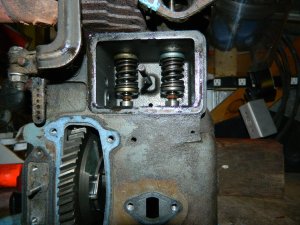
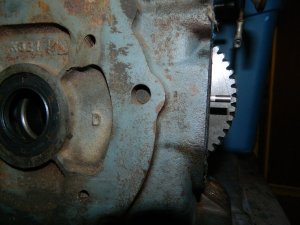
Slow progress but at least it's coming along!
DAC
Thanks, Noel. I don't want to damage the points rod bore so it will stay there for now. I haven't decided if the cam is coming out yet. Looks great and no wiggle on the shaft or end play. Looks like there's a rod thru the center of the cam that would need to be driven out to remove the cam. If the block has to be bored, then it has to come out. I think I can hone the cylinder with the cam in place if standard bore will be ok. Will need to do some better measurements.Rod must be mushroomed a little at the inside end. I’ve never had that trouble Doug. So not sure what to say with the points rod. If you take the cam out, I guess take it out that way.
Good you got it apart.
Noel
DAC
Was the engine smoking bad Doug when you had it running. Maybe I asked that before. Any way can’t remember if you told me any thing or not. ??? Hehe. I’ve never had one bored. If it looks reasonable I just put new rings, maybe piston and a rod in. Put er back together. Mine have all run fine. Ya they might burn a little oil and maybe not, I don’t get to concerned about it. What would it cost to have one bored out. ?
Noel
Noel
Had one bored last summer. Briggs L head twin 16. Rings were broke, walls scored, etc. Bored 0.010 over. Put new pistons, rods and rings in. Have a new gov. spring to get it running right but ran really well at 2/3 throttle. Cost me $160. Took them a month to get to it.
I will do that Daniel! Hope it's ok. I did notice the fuel pump cam looked real good. Too cold to go work on it tonight.Check the cam where points pin runs. Some cams will wear there so much that the points can barely open.
I have no idea on cost, Noel. Sometimes it would smoke for awhile on start up but it seemed to go away after some warm up time. Daniel had mentioned earlier that the oil rings might be collapsed, and eyeball wise it looks like it. They didn't expand near as much as the compression rings. Possibly that is normal though. I am leaning toward the standard bore rebuild kit.Was the engine smoking bad Doug when you had it running. Maybe I asked that before. Any way can’t remember if you told me any thing or not. ??? Hehe. I’ve never had one bored. If it looks reasonable I just put new rings, maybe piston and a rod in. Put er back together. Mine have all run fine. Ya they might burn a little oil and maybe not, I don’t get to concerned about it. What would it cost to have one bored out. ?
Noel
160 bucks for two cylinders sounds like a reasonable price, Roger. Probably be twice that with the crazy prices everyone charges for services up here though!Had one bored last summer. Briggs L head twin 16. Rings were broke, walls scored, etc. Bored 0.010 over. Put new pistons, rods and rings in. Have a new gov. spring to get it running right but ran really well at 2/3 throttle. Cost me $160. Took them a month to get to it.
DAC
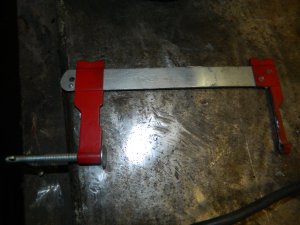
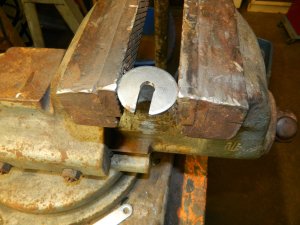
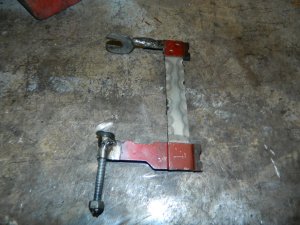
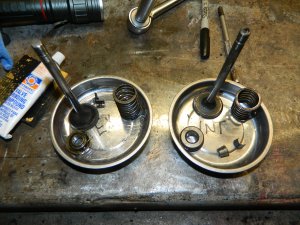
Got to tinker on that engine for a couple hours today. I scabbed together a quickie valve spring compressor and it worked real well! Got the valves and springs out. The rotators on the retainers feel nice and smooth, and they were turning the valves.
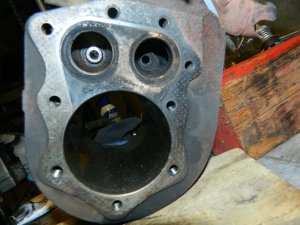
I have some concerns about the cam for the points. The push rod does move slightly and I'm thinking that's all it needs to do, but I will put the dial indicator on it tomorrow.
DAC


I have some concerns about the cam for the points. The push rod does move slightly and I'm thinking that's all it needs to do, but I will put the dial indicator on it tomorrow.
DAC
