You are right, Daniel. If I put some hi-temp black on the muffler, then things may blend together better.I don't think it's ugly, plus always better if you don't have to start chopping tin work. That hood would be hard to chop anyway as there's not much metal there with the louvers.

You are using an out of date browser. It may not display this or other websites correctly.
You should upgrade or use an alternative browser.
You should upgrade or use an alternative browser.
Sears ST/16 with a Predator (now Kohler)engine
- Thread starter KennyP
- Start date
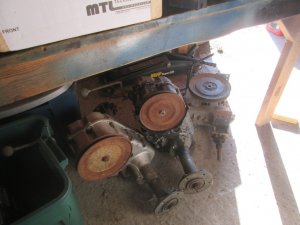
Thought I would document the rear end tag here.

Got the hood hinge welded together.


Got a support welded to the muffler.

It's in the paint booth so to speak!
Found some good libation. Helps the aches & pains disappear if taken sparingly!


Got the hood hinge welded together.
Got a support welded to the muffler.
It's in the paint booth so to speak!
Found some good libation. Helps the aches & pains disappear if taken sparingly!
It's in the paint booth so to speak!
Found some good libation. Helps the aches & pains disappear if taken sparingly!
View attachment 31271 View attachment 31270 View attachment 31269
Thought you were talking about paint but that stuff looks more like thinner...
")
Looks good to me Kenny! I had to build a similar setup on the MF8E and the black bar-b-q paint has held up great. Wish I had used exhaust tubing like you did but the plumbing pipe was already laying around here. I did not want to cut the hood on it either!
I thought about going into town for some Crown "libations" earlier today but just didn't make time! Hopefully a couple beers will work on the pains!
DAC

I thought about going into town for some Crown "libations" earlier today but just didn't make time! Hopefully a couple beers will work on the pains!
DAC
Did nearly the same on the mf7 repower with the predator. I took the stock muffler. Cut off the flange and welded a 3/4" pipe coupler and used a street 45, short nipple and hot dog muffler.
Works great and I didnt have to cut the hood. Way too nice to cut on the hood...
Works great and I didnt have to cut the hood. Way too nice to cut on the hood...
Here's some of today's progress while waiting for the brake band material to arrive. Put the exhaust on:

Got the battery tray installed:

Put the grille & hood back on. Got a 'safety chain' installed:

Battery hold down is gonna work:

I hooked up the headlights and they are both bad. Have to find new ones. Oh well at least the tail lamp still works!
Got the battery tray installed:
Put the grille & hood back on. Got a 'safety chain' installed:
Battery hold down is gonna work:
I hooked up the headlights and they are both bad. Have to find new ones. Oh well at least the tail lamp still works!
If anyone has a replacement bulb # for these, please advise!


Thinking there's a LED version of this too but don't know the numbers..
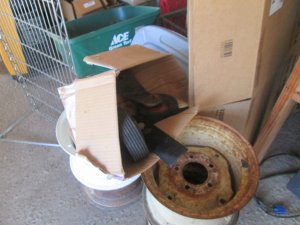
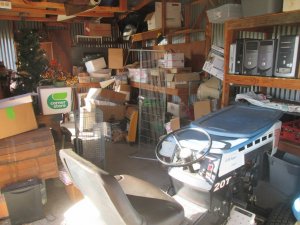
I am looking for the ones I pulled out of the Roper 20T. No luck so far, but they both worked.
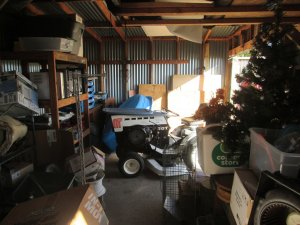
I'm in no rush to replace them.I figure I'll find the ones I have/had when you order those. Worked up a sweat digging through three sheds.
I got the brake band 'glued' on to the strap.

Once it was installed to the rear end, it was time to put things back as before.

Used the JD 316 fork lift to get the part back into the tractor.


All bolts are tight. Tomorrow I will finish this installation.
Once it was installed to the rear end, it was time to put things back as before.
Used the JD 316 fork lift to get the part back into the tractor.
All bolts are tight. Tomorrow I will finish this installation.
Last edited:
Dash is in great shape! I can get more pics of it if needed!Your dash looks like its in very good shape Kenny. That's something else on these tractors that don't hold up against abuse..
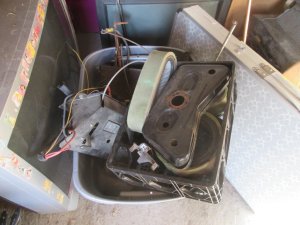
Jack Pot, With the help of daylight I was able to go through the storage shed where I have boxes of parts and store the Roper and found the head lights. I hooked them up in series just to verify they work. message me with your address again and I'll send these to you.
Attachments
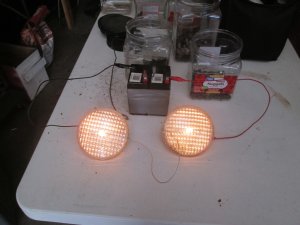
Cool! Those will work!
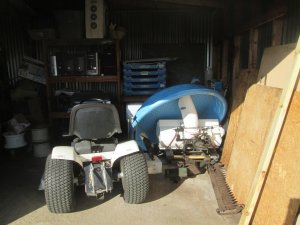
It's all back together! Needs some 'fine tuning' but runs good.

I did change the oil out. Put a little MMO in the oil and gas to clean things a bit. I also made up a 'belt stopper' similar to what it had before.

I'll need to adjust the brakes and a few other things as it 'wears in'. But it is fast! Need to lower tire pressure some for a better ride!
It's all back together! Needs some 'fine tuning' but runs good.
I did change the oil out. Put a little MMO in the oil and gas to clean things a bit. I also made up a 'belt stopper' similar to what it had before.
I'll need to adjust the brakes and a few other things as it 'wears in'. But it is fast! Need to lower tire pressure some for a better ride!