The Build to "Beware of Husqvarna Garden Tractors!"

GT48DXLS

Tractorologist
Senior Member
Member
Turning a GT48DXLS into an actual Light Duty Garden Tractor.

I want to show the process as it unfolds as best I can, mistakes and all, to hopefully inspire someone in my position (with a buckled frame) that finds himself on the fence, questioning, if you can do this, or to just pay the $500 to $600 as quoted from the Dealer to have the same problem frame. It is my hope that the answer is "if that guy can do it....so can I".

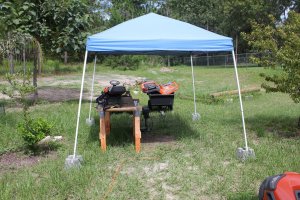
This build will start with a $70 Harbor Freight canopy for shade. The Temperatures in Aug here in Florida are a Brutal 90F plus 80% t0 100% humidity with a thunderstorm 4 times a week to interrupt the personal sweat shower.

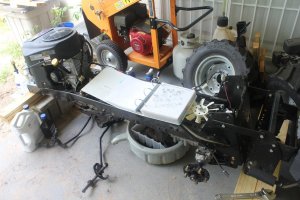
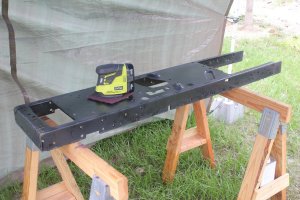
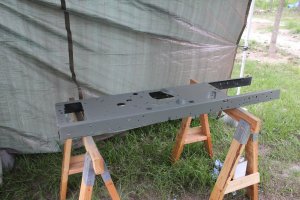
My tractor is in pieces on the back porch, lawn, and canopy.

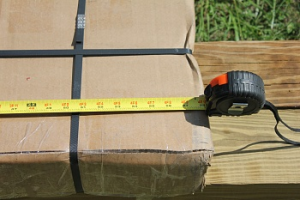
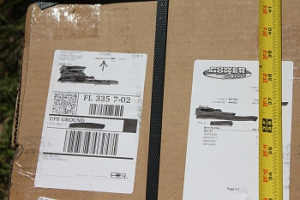
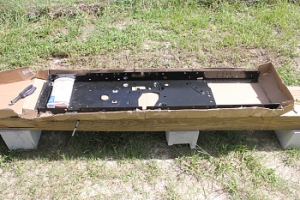
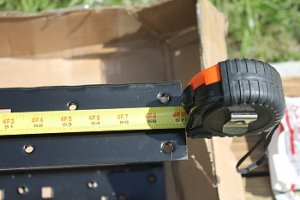
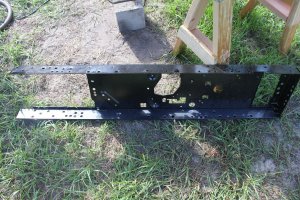
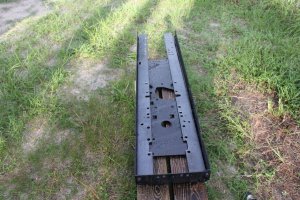
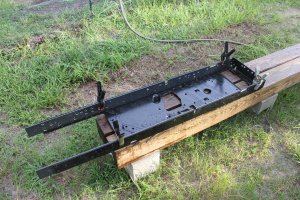
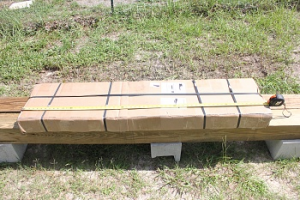
Here is the new frame arrival,
1537653605927.png


1537653469913.png

1537653694654.png

1537653713849.png

1537653753591.png

1537653771774.png

1537653788600.png

1537653811202.png
 
01JUL2018,

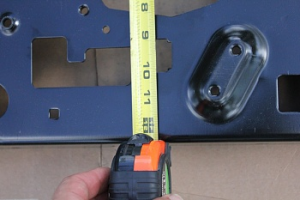
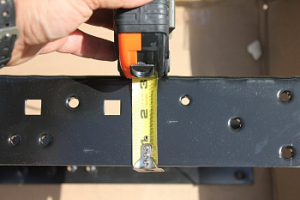
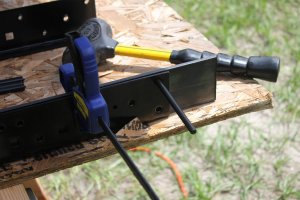
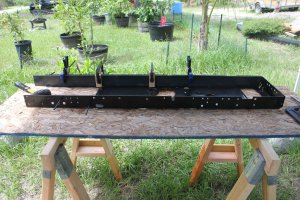
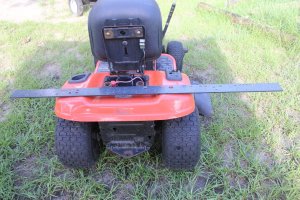
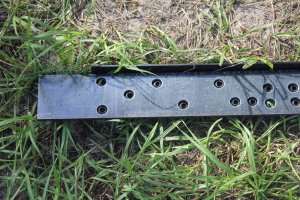
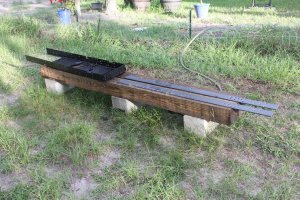
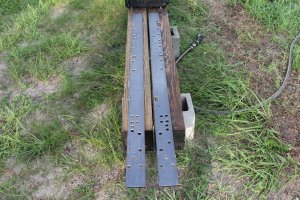
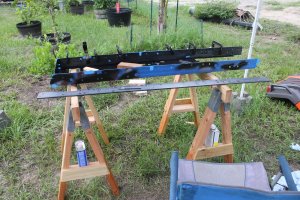
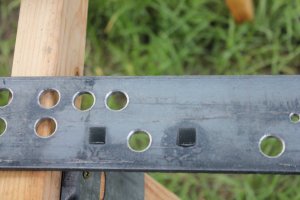
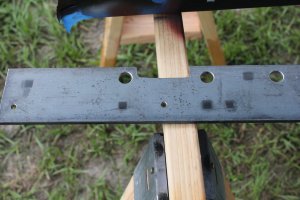
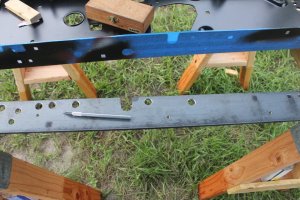
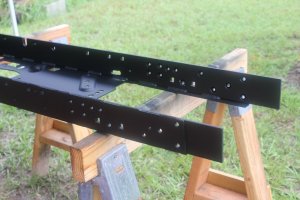
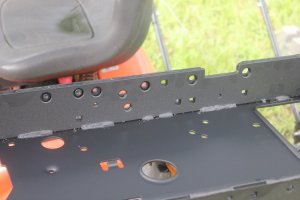
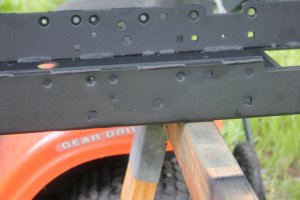
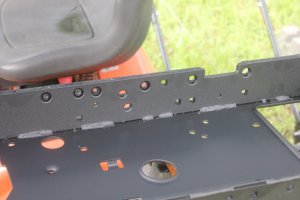
The 1/4" x 3" x 60" flat bar being prepped for the fabricators. The 2 rails are 25 lbs, the frame is 26 lbs.

IMG_0743.JPG

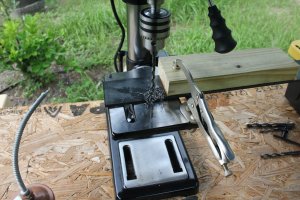
I'm using HF transfer punch set, they were sized correct to ensure that the center would be dimpled to keep the over 50 holes as accurate as possible, thanks to machine forums.

IMG_0745.JPG

IMG_0744.JPG

IMG_0746.JPG

A look at the rest of it in waiting on the porch with the complete manual I constructed of the Tractor, Kawasaki, Tuff Torq, Parts list's, Trouble Shooting and Transaxle Maintenance, all laminated. The reason for laminating? Greasy fingers, torrential rain, and torrential rain. I got tired of wet soggy pages I would have to remake.

IMG_0740.JPG

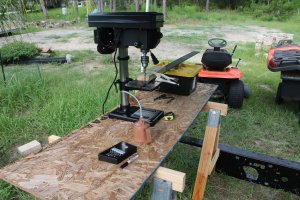
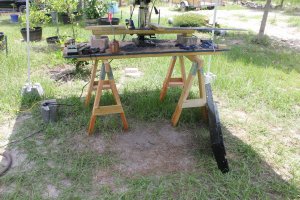
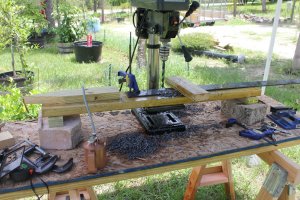
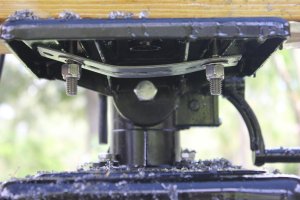
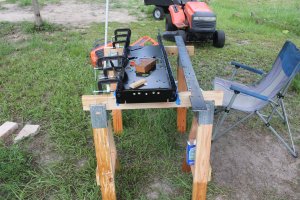
This is the HF 12 speed drill press I bought for the job. The holes were to be drilled at 250 to 400 rpm with plenty of cutting oil to keep the bits cool so they would not dull. I also bought Cle-Line 15 bit set, 135 degree split points that were well worth the money for a project this size with 1/4" steel. They were cool to the touch and didn't dull (another piece of good advice, I was tired of bits going dull to quick). The oil I used was 30 wt, and dispensed it out of a $10 oil can that had a long spout. I just kept the bits oiled and used a steady hand, with a lot of patience. (all day plus the next morning)

IMG_0747.JPG

IMG_0748.JPG
 
01JUL2018-02JUL2018,

More project pictures,

IMG_0749.JPG

IMG_0753.JPG

IMG_0754.JPG

IMG_0757.JPG

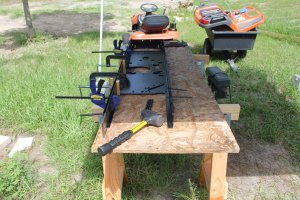
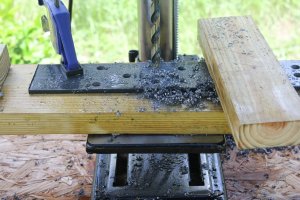
Those are 3/8 bolts holding that wood on solid for flat drilling surface.

IMG_0759.JPG

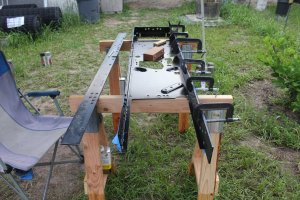
I ended up drilling most holes 2 sizes over with the edges deburred on both sides. My logic on this was that as careful as I was, I noticed that the holes would still have miner alignment issues. I wanted the fabricators to be able to weld without having to chance fixing my work (they are pro's I'm not!). I also made sure that the bar would be perfectly flat on both sides with out it biting me when I was bolting it back together (guaranteed no burrs)

IMG_0760.JPG

IMG_0761.JPG

You can see here the factory frame pressed in aluminum bolt sleeves. Yep, aluminum. the factory then would just have to screw the bolt in, while cutting threads at the same time and presto-magic it's fastened! I have a different plan.
 
02JUL2018, 03JUL2018

More project pictures,

IMG_0764.JPG

My part is almost finished!

IMG_0765.JPG

IMG_0769.JPG

IMG_0772.JPG

By the way, I did wipe them down in WD40 to keep them from flash rusting.

I'm getting these ready to use paint to color the square holes that are going to be punched by the pro's for $1 each, well worth it!

IMG_0788.JPG

That's 3M painters tape. I used an ex-acto knife to cut out the squares and black spray paint. The surface was prepped with acetone and denatured alcohol.

IMG_0789.JPG


IMG_0791.JPG

IMG_0792.JPG

IMG_0793.JPG

IMG_0794.JPG
 
04JUL2018

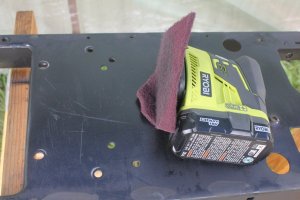
next was to prep the frame for welding using any number of tools to sand paint away from all potential spots to be welded by a minimum of 1". I did all the sides and 2" just to be sure. The best tool was the 3M Roloc Bristle Disc (green) 18527, 3" with a die grinder for the 15,000 to 20,000 rpms. They are great for head gaskets too, they don't harm the metal and they are truly fast and easy. The corners and edges were done with a Dremel.
 
17JUL2018,

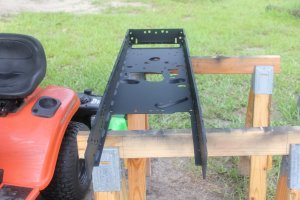
My modified frame is back and I had the brilliant idea to paint this myself with rattle cans.

IMG_0795.JPG

IMG_0796.JPG

I was using the mouse to scuff the surface, not clean to bare metal.

Below is how it turned out with 4 layers of primer 92-94F and 90%+ humidity.

IMG_0797.JPG

IMG_0798.JPG

Yep, bad idea. It was terrible. The paint would dry hitting the metal and that soft surface is the powder like feel that would just rub off. Too Hot, To dirty, and TOO Much humidity to paint.

I opted to have powder coaters in Tampa (another hour + away) get the job done right.
 
Sorry to hear of your story but am glad you posted it, thanks.

And a couple questions,

what steel did you use for the reenforcements? on the other post you stated 80ksi, this is not mild steel.

and why are you even keeping this tractor? I would put it back together with the factory upgrades and dump it as fast as a could.

Dan
 
That is a great job! Are you re-inforcing it only against bending in one direction only or you have taken provision for the other directions and for frame twisting? I am not aware of the source of the problem nor your uses of the tractor asking this.

Those kind of problems are the main reasons why I stick with older tractors, they were nearly overbuilt. Even if I am well equiped to strengthen a tractor, I do not feel like doing it and always chasing after the next part that will be the weakest and require upgrade.

Keep us updated on the progress and maybe explain the source of your problem!

Edit: oh, I "found" the other thread (;
 
well unfortunately its one of those "I paid too much for a machine that wont do as claimed, gonna lose my a$$ on it either way, might as well get as much good (usage) out of it as I can".... to put it back together as was, with the new frame and "factory upgrades" and dump it.... he already had more into it than the original purchase price, and even if all hadn't gone to He11 there is no way he could come close to getting his money back on, say Epay or Craigslist.... let alone having to spend the money on the new frame and the time to swap everything over besides...… fix it, upgrade it best he can, then run the crap out of it...… about the only thing someone could do in that situation unless he is rich enough that the price of this piece o' crap is a proverbial drop in the bucket, which I doubt
 
I'd argue that the rest of the machine is of the same "class" as the original frame and break downs are coming.
Better to cut the losses up front and get a machine designed to do the job.

But what is really most disturbing about all this is that Husqvarna is the largest builder of LT and maybe GT in the US,
with MTD 2ed and Deere a distant 3rd.


That means there is a lot of junk out there.

Dan


[QUOTE="I paid too much for a machine that wont do as claimed, gonna lose my a$$ on it either way, might as well get as much good (usage) out of it as I can"[/QUOTE]
 
well as I remember from the old thread he already had the trans replaced and did so with a heavier model....
but the sales person swore up n down it would do what he wanted it to do, and the fact that you can buy attachments made FOR THIS MACHINE would lead a "normal" person to believe that they were buying a machine designed to do the job.

but Dan, you are so right about the "lot of junk being built/sold today".... exactly why most of us fix up these OLD tractors and keep them as long as parts can be had and make a few ourselves along the way.
 
Unfortunately, sometimes, things are what they are. Opinions are in the same category. If you want to do something it's your/their choice. Everybody is not the same nor are their abilities . What you can do. What you want to do. What you can afford to do. We all have different ways we do things. Doesn't always have to be a right or wrong thing. I enjoy following people's work. If I see something that seems wrong to the point where someone may get hurt I may give an opinion. But I try to stay on the positive/suggestive side with my post. I hope I always come across, to all of you, in that way.

Bill
 
Wow! so many great replies. Good questions, I'll try to get them answered, and the laughs are always welcome (can't have an ego when you own the newest restored tractor :)). I also have more build pictures to update as I can.

What I want to point out here is that I figured I bought a $1,600 Kawasaki FR730V motor, and a $1,600 Tuff Torq K66 Transaxle with mechanical locking rear differential for a package price of roughly $3,000 (it's close) and saved a couple hundred over buying these two items new at full retail!

To sweeten the deal, I got a couple of shiny pieces of metal (painted body panels), wheels and tires, a fuel tank (no longer available, it's already been changed), a fabricated deck that is tougher than the whole machine!, steering wheel, lights, instruments, and a seat, all for free! (I am mixing in some sarcasm).
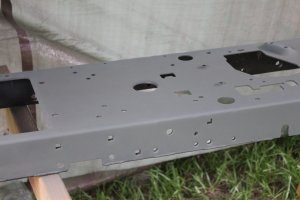
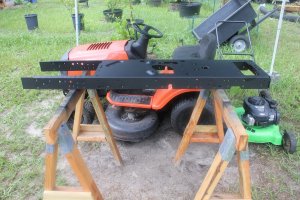
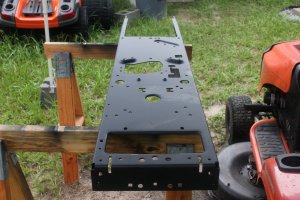
The tractor is truly capable of the static and dynamic loads of a Johnny Bucket Jr. now after all the modifications. I will start looking at the old tractors at some point for when I'm ready for hydraulic, there is no question in my mind that they are way over built for what they were supposed to do, experience has been a good teacher.

my thoughts so far are this;

If you want to buy a Garden Tractor for true light duty (just observing through this process and of course flexible), the only ones I see that will not need to be tinkered with are going to start at $6,000 and up.

Heavy Garden Tractor will run $8,000 and up.

True hydraulic capable will start at $10,000 and up.

My budget could have stretched for the $6K at the time, but not now. So here I am, I will be a thorn in Husqvarna's side when I can. Life still goes on and I still need the helping hand of my tractor out in the yard, and I know others out there have been hosed by this company, so I present what it took me, to get this machine to be able to function as it was originally represented to induce the sale. At least it will give someone some practical information to consider before going down this path.
 
Sorry to hear of your story but am glad you posted it, thanks.

And a couple questions,

what steel did you use for the reenforcements? on the other post you stated 80ksi, this is not mild steel.

and why are you even keeping this tractor? I would put it back together with the factory upgrades and dump it as fast as a could.

Dan

If I remember correctly, the book that was shown to me rated the steel at 70Kpsi-80Kpsi. You are right, this is not the Chinese steel sold out of convenience at HD and the like. I took the engineer at the fabrication shop seriously with upgrading my tools for this task, and I’m very glad I did.

This steel was not like what I was used to drilling holes in, much harder, and takes along time to drill each hole. I kind of thought logically that there is a difference between Chinese steel and American, but wow, there really is a difference!
 
WOW!!!!!!!!!!
Very nice upgrade to fix a very poor design.
I missed what bent the frame in the first place. ???

I do have more to share on how poor the design is but I'll continue with the build updates for now. There is so much on the how, in the first posting under "Beware of Husqvarna Garden Tractors".

The short of it was a front scoop, with sand, my yard is roughly sand for at least 70 feet down where the limestone starts, drains well but what a pain to keep cleaned up.
 
Back
Top