The Build to "Beware of Husqvarna Garden Tractors!"

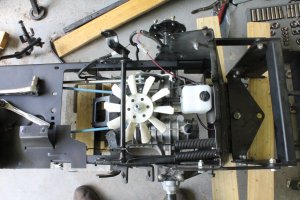
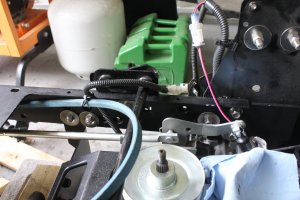
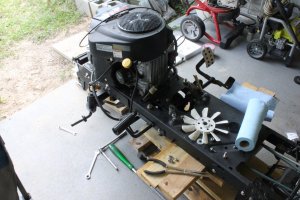
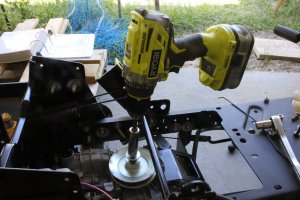
This is how I bled the transaxle. Yes it is self bleeding but It is still recommended to bleed it first, so...
IMG_1164.JPG

I put the bolt on the input shaft, switched the power speed in the drill to 2 (high) and ripped through one battery charge. The axles barely moved at first but after a few forward input at the pedal and reverse input while spinning the input shaft, it came to life. Bled, done.

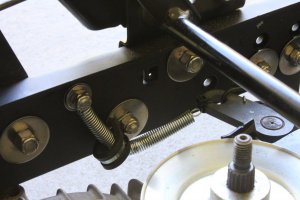
another problem was the weak return spring on the brake pedal arm at the transaxle. It would have been ok, but it was slow and I had a 2 pound spring that I put on it that makes sure it is always to the rear (disengaged) unless I want brake applied, cheap upgrade that has worked well.
IMG_1159.JPG
 
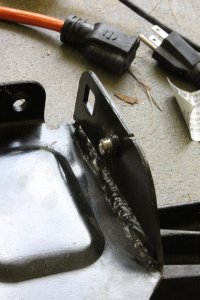
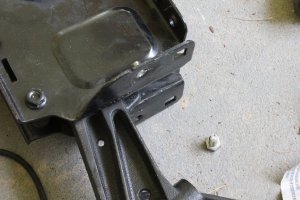
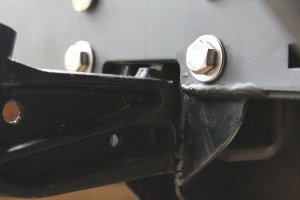
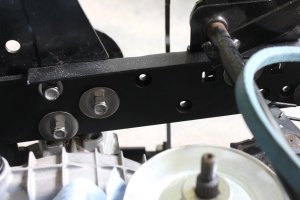
I want to add that in the above pictures those are 3/8"x 2" to 3" Stainless Steel bolts and large oversized washers on the inside and regular washers on the outside, with nylon lock nuts. The frame is reinforced with this in most critical places. This adds one more extra layer of clamping force to the welded frame. I spent along time counting out 100 bolts, nuts, and 200 washers at the bins in lowes:)
 
14AUG2018

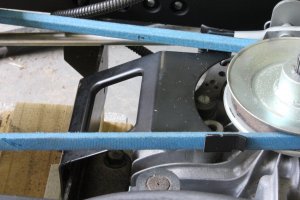
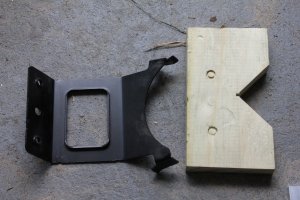
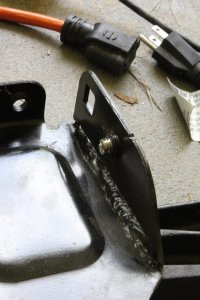
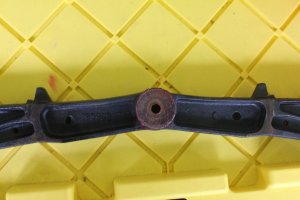
The drive belt guide on the transaxle input pulley was bent and able to dig into the belt. This is how I solved that problem,

IMG_1026.JPG

IMG_1022.JPG

IMG_1023.JPG

IMG_1024.JPG

Doing yet another re-fit, lots of re-fits until it was right,

IMG_1030.JPG
 
16AUG2018,

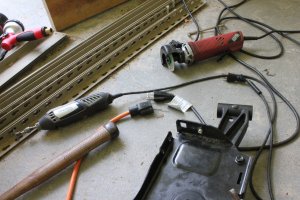
This is one of the two steering support brackets that had to be cut by 1/4" on each side, and welded to fit in the new frame. Cost on this was $159.86, for two new modified plates.

IMG_1043.JPG

IMG_1041.JPG

IMG_1042.JPG

IMG_1043.JPG
 
Right! Horse Power is for marketing and Torque is for work:cool:

The compressor does vary but I somehow got the compressor on my mind, when referring to the total component list it comes out to 20 + hp of parasitic drain on the motor, good correction.

On the MF and Case (also I think Cub Cadet does also?) those belts are as you say doubled up and I'm guessing very direct routing?

As to the TDI, I too have experience there with a 1981 VW diesel pick-up (caddy). I had a 1.6 litter that my friend and I replaced with a 1.8 from Canada that went in a jetta (MK2). I used a quantum injector pump with fuel enrichment and a Volvo turbo and a 2 click head gasket, with an exhaust manifold off a turbo diesel Jetta (not tdi) and a flow master. Blew the head, changed the gasket to a 5 click and added ARP studs, and with 15psi boost it was stunning! That was 20 years ago, but a fun project. I'm told those 1.9 tdi's can actually pump out 300+ ft lbs of torque with minor modification, that's a powerful little motor!

On the tires, that sounds right, smaller tire more revolutions increase in torque, so the larger tire can go on the tractor with an adaption to the internal gear ratio which might be a loss in top speed but a gain in traction, does this sound about right?

I won't be highjacking your thread talking VW's too much here, sounds like you had a lot of fun! I still have 2x mk2 Jetta (Trophy edition both), and also a Audi UrS4. Lets say I am into german cars (;

Indeed the straps are really direct, shafts one on top of the other and a roller for tension, that's all!

I don't know if bigger tires will get more traction.. In fact it might be the opposite, the pressure per area (PSI or whatever) will decrease, this may lead to less traction. In fact they are called "high flotation tire", I guess the idea is to spread the weight and the torque to a greater area to make less damage to grass. Agricultural / Industrial tires are way different! In fact another analogy with cars might be with my UrS4, I run it with 225 wide tires in the winter, I thought it would be great but it's quite the opposite, they are so wide the car floats! It's fun... but it's not the best traction! Would I replace them I would go with 205 wide.
 
16AUG2018,

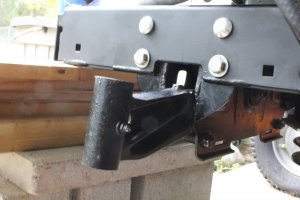
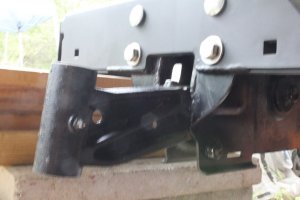
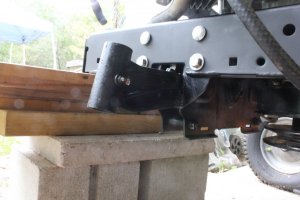
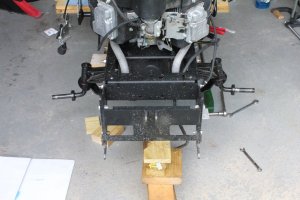
When I added a 1/4" of steel to the inside of the frame to each side, causing the steering support plates to be 1/4" too wide on each side.......
The axle now won't clear the frame on each side for up and down movement and is stuck by, yeah 1/4" each side.

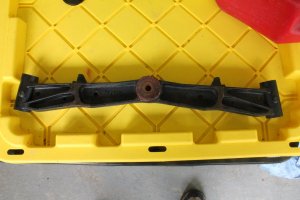
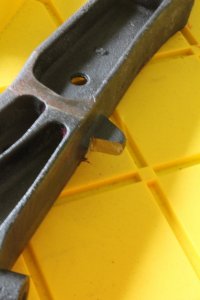
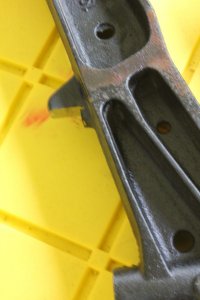
I used my HF cut off saw for this careful procedure to go far enough but not too far. When I checked for clearance I had to re-install the whole thing and then uninstall (a few times). On these cast iron front axles, they have molded in to them top limit bump stops,

IMG_1045.JPG

IMG_1046.JPG

After the cuts

IMG_1047.JPG

IMG_1048.JPG

Here is were the Clarence was solved,

IMG_1049.JPG

IMG_1050.JPG

IMG_1054.JPG

IMG_1056.JPG
 
I won't be highjacking your thread talking VW's too much here, sounds like you had a lot of fun! I still have 2x mk2 Jetta (Trophy edition both), and also a Audi UrS4. Lets say I am into german cars (;

Indeed the straps are really direct, shafts one on top of the other and a roller for tension, that's all!

I don't know if bigger tires will get more traction.. In fact it might be the opposite, the pressure per area (PSI or whatever) will decrease, this may lead to less traction. In fact they are called "high flotation tire", I guess the idea is to spread the weight and the torque to a greater area to make less damage to grass. Agricultural / Industrial tires are way different! In fact another analogy with cars might be with my UrS4, I run it with 225 wide tires in the winter, I thought it would be great but it's quite the opposite, they are so wide the car floats! It's fun... but it's not the best traction! Would I replace them I would go with 205 wide.

I too am a German car fan, and I've enjoyed being able to share that with my now adult kids. That S4 is a fantastic sport sedan in the snow! Yeah, my first 4000 S Quattro was an 1984, 5cyl, 70K miles barely broke in from my perspective, and black. Living in Alaska at the time, driving on solid ice in the winter...........Good memories, thank you. I enjoyed hearing your about cars, no worries.

Now on to the tractor, I do remember the tire issue on snow, though I think I ran 195 on snow and 205 in summer, and more impressive is if I actually remembered that right. But the narrow tire dug a little more. Yet on sand when traction needs to be increased letting the air out to make them soft increased traction by creating more surface area. In mud you want that float to compensate for sinking to your axles and being done, I think. I like brainstorming these things even though sometimes it just ends up being information constipation:)

Here's were I think the benefit in a larger tire comes in play with the tractor (but maybe not in all scenario's), best I figure it comes down to tire patch, this is my best guess for now and I'm already trying to think of a way to test this with real measurement at a later time when I get some projects done that got backed up.
 
17AUG2018,

some more frame re-enforcement,

IMG_1066.JPG

that is the forward/reverse input pedal rod that I replaced as a precaution.

IMG_1067.JPG

IMG_1068.JPG

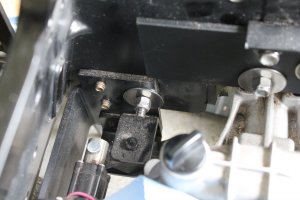
That is the electric actuator for the locking rear differential, the bracket support for it got stainless steel too.

This is a rap for the day, and shows it is really coming along...

IMG_1070.JPG
 
When I mentioned counterweight I was thinking of transferring weight off the front axle. With the weight box that will effectively lift weight off the front, of course not equal to the weight of the box due to the different distances from the rear axle centerline.
Mike

Thank you for pointing that out. You are referring to leverage, such as multiplying a weight each 1' out, distance x weight, such as 200lbs, 2' out is 400lbs leveraged?

I just took some measurements for you,

From the center of the rear axle to the suitcase weight bracket is 16" and to the end of the weights when attached is 2'. The weights are 48lbs each.

the Johnny bucket is 43" from the tip of the teeth to the center of the front axle. The load while traveling is 27" from the center of the axle and is 9" above the ground. The front wheel axle height is 8", but the frame is 12".

So if I am looking at these right, I have a max counter weight of 500lbs in suitcase weight plus the weight of the uni sleeve to counter a possible lift of 600 to 900lbs (the 200lbs plus 120lbs of the bucket and support x 2' to 3' depending on lift verses travel)?

I can tell you the suitcase weights make a big difference when working with the bucket.
 
GT,

You are making great progress.
I'll try to answer the questions, but I think you are "over thinking" the tire size.
As for how I look at it, tire size and weight are indicators of how "heavy" a given tractor is and what it is designed to do.
If you look at any of the larger tractors, they will be >800lbs and have at least 26" tires, ie; the 4xx Deeres, the Symplicity Legacy, the Bolens HT's, and others. It's even better if they are shaft drive.

Yes, micro vee's/poly v's etc being thinner in cross section don't build up the heat like std v belts and so they last longer and can be bent tighter.
"The use of serpentines has more to do with wear, easier routing (tighter bends to use a single belt instead of 3+ on some old cars) and resistance to slipping when wet.

Yes, the MF1855's drive the drive shaft via 2 belts, the rear PTO is a direct shaft, the ft pto is via elec clutch and a 2ed set of 2 belts.
BUT, the Bolens/Troybilt are direct shaft to the transmission, and the ft pto is via elec clutch and 2 belts. (this drive the mower and blower)
"On the notion of shaft driven implements I would add that most tractors like the MF 1655 the shafts are driven at one point or another via v-belts, always in pair in case of the 1655."


A Deere, no, it's a Bolens/Troybilt GTX20. It was designed and sold as a Bolens Duratrac, a heavy medium or light heavy depending on your view.
The later ones have the Kohler vee twin horizontal shaft, w/direct shaft to the transmission (Eaton 11), and the ft pto is via elec clutch and 2 belts. PS/cruise/2 spools std. FEL optional.
"My ignorance is going to show with this next question, by GTX are you referring to front spindles on a John Deere GT?"

I have been looking at the MF, I like it. This GTX I'll be looking at also, thank you .
 
The only reason I mentioned rear counterweight was that it will remove weight from the front axle even when the bucket is loaded. Too much counterweight will make for tricky steering with the bucket empty especially if driving uphill.
Mike

This makes perfect sense to me. This may be the difference in its improved handling when I went from two weights to four when using the bucket.

The Johnny Bucket is proving to be incredibly useful and I'm in a project right now, leveling a pad 30'x50' on top of an area where I pulled numerous tree stumps and palmetto (it was a mess back there and I rented a mini excavator for that job).
 
30AUG2018,

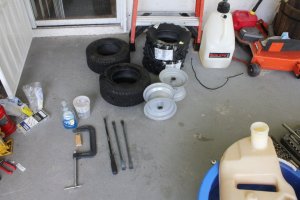
I received my two new front 4ply lugs from Amazon (they are Carlisle).

IMG_1122.JPG

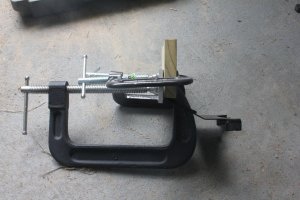
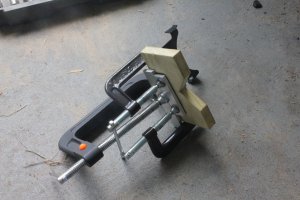
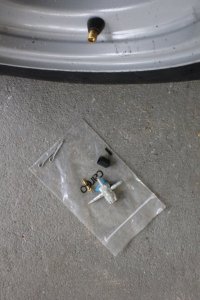
The dawn was for making soapy water to lube the rubber when installing (by hand). The c-clamp and wood was used to break the bead on the original tires. Before breaking the bead I unscrewed the valve to let the air out, completely. this is tubeless. The "T" bicycle tool is what I used to remove the little valve.

IMG_1158.JPG

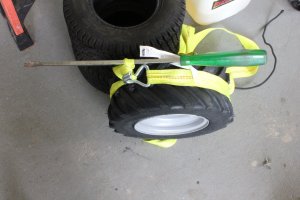
And when filling the tires I used a cargo strap and giant screw driver to apply a tourniquet to squeeze the side walls tight against the wheel rim while filling.

IMG_1156.JPG
 
01SEP2018,

This is another factory quality problem I had to fix.

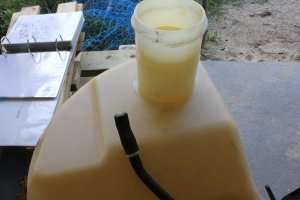
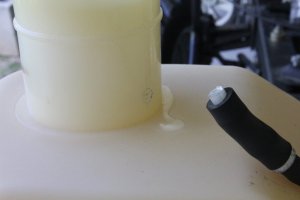
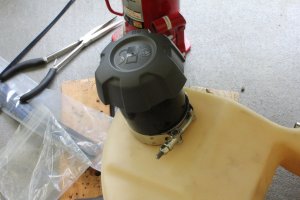
The fuel tank (called an EPA) has a little 1/8" fuel vapor vent return nipple on the outside of the filler neck of the fuel tank, it's weak and it's plastic. You can't really repair this without some true special tools because of the type of plastic that needs to be welded and in the long run will just break anyway again because of it's placement.

The filler neck comes up through a hole in the body and if the tank (that is not held in place by any real secure way but just placement under the body and the hole!) moves and it did, then it will break and you will smell fuel while operating, or contaminate the fuel in the tank, or don't park it next to a barbecue.

The Fuel tank is no longer available after a year of ownership, huh, maybe they know?

Again, I will fix Husqvarna's poorly designed GT, here is what I did,

This is the problem,

IMG_1166.JPG

IMG_1167.JPG

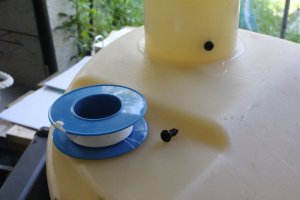
1 small screw, some Teflon on threads for seal,

IMG_1168.JPG

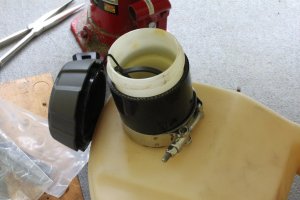
1 silicone bump hose for the outside of screw and for vibration protection between the filler neck and the hole in the body. 1 stainless steel "t" clamp for extra protection over the screw, done and sealed!

IMG_1170.JPG

IMG_1169.JPG

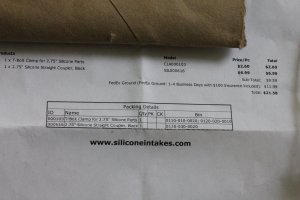
this is the specifics on the two pieces,

IMG_1172.JPG
 
:)

How much effort was it to remove the old tires and put on the new?
I just received new Carlisle turfs, 4 ply, for the front of the GTX. Haven't had time to start the job yet though.
The rear I'll let the guys do where we get the cars worked on, there is 1 to match the one the PO replaced, they are 6 ply.

Dan
" I received my two new front 4ply lugs from Amazon (they are Carlisle). "

6 ply are going to be tough, agreed, let the pro's do it. My rear lugs were done by Good Year and cheap.

The fronts were not to bad. The c clamp breaking the bead took much of the work out.

The cargo strap was a new idea for me and it made it much easier, worked so well I only needed one hand to hold it while using a steady air supply. The rope idea was a pain to do and I felt like it was a circus act.

By the way I found it easier to push the wheel out the hole, maybe pointing out the obvious, but dish soap on the whole process very liberally applied like the pro's do was key. :)
 
Very detailed progress:thumbs:
I use the ratchet to seat the tires. Wow, can they jump when the tire is filled and releasing the strap. Sliced a finger a few times. Yup, I am a hard learner, takes a few lessons to sink in.
 
Back
Top