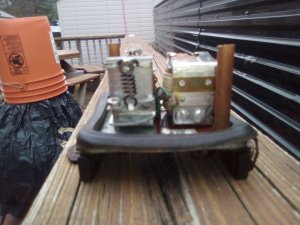
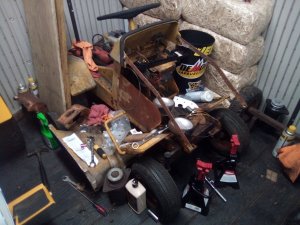
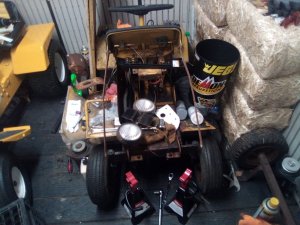
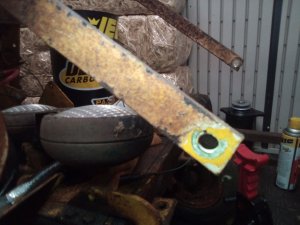
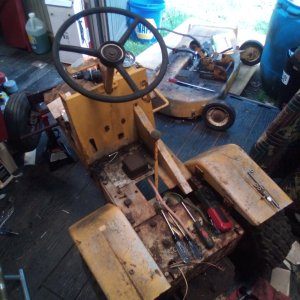
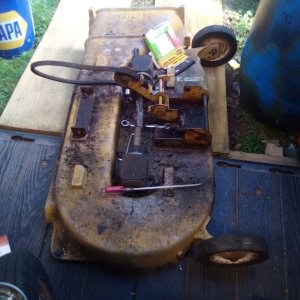
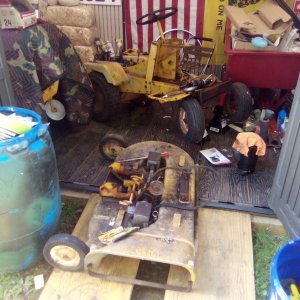
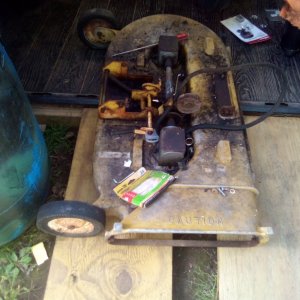
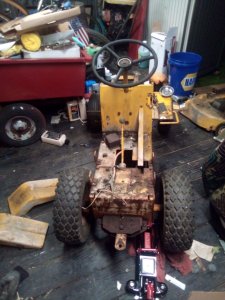
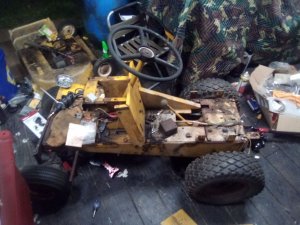
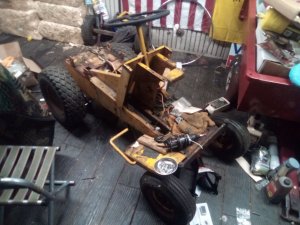
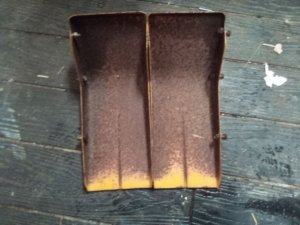
This is all for now, more to come soon......
You are using an out of date browser. It may not display this or other websites correctly.
You should upgrade or use an alternative browser.
You should upgrade or use an alternative browser.
6hp Craftsman Power Unit Restoration
- Thread starter 1967Craftsman's
- Start date
-
- Tags
- 6hp craftsman restoration
Hi folks,
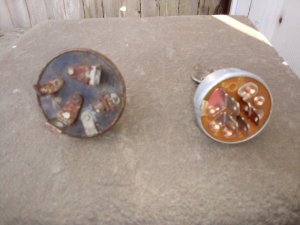
I got another update on the tractor, but it unfortunately is not a good one. Going yet again back to post 32 on page 2; about a week ago I got my new ignition switch I ordered from Norman at ISaveTractors, and unfortunately in my opinion it's wrong. My stepdad however says we could possibly make it work if I can't find a new one like the old original one in the worse case scenario; but positively speaking I think I may have located a VERY close match if not the same one from O'Reilly Auto Parts. (See my link below.) I say the new one from ISaveTractors is wrong because it is a 5 terminal and a click/snap in type of terminal and smaller in size and diameter, and when I got my old original one out I noticed it's a 4 terminal and a screw in type and it's bigger in size and diameter. A comparison on that will be in a another thread.
Here is the link for the one from O'Reilly Auto I'm thinking about buying below.....
The one from Norman at ISaveTractors below. It is a switch for a Magneto ignition like mine BUT you will see the comparison in another post......
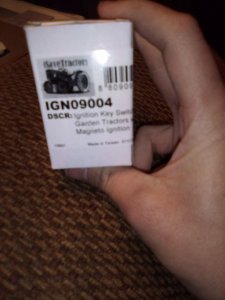
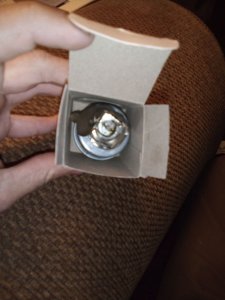
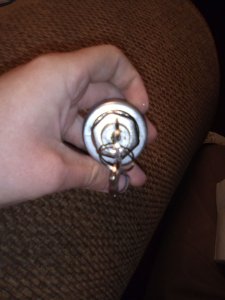
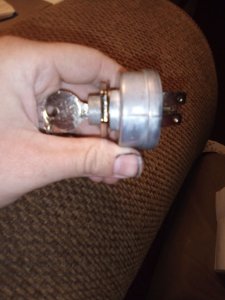
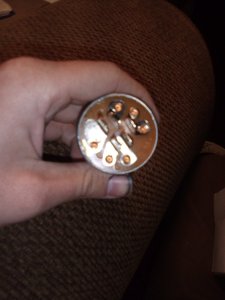


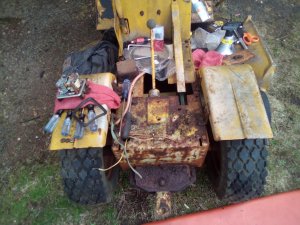
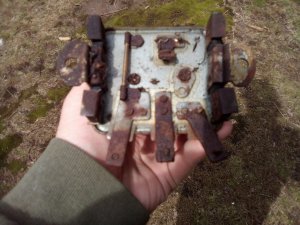
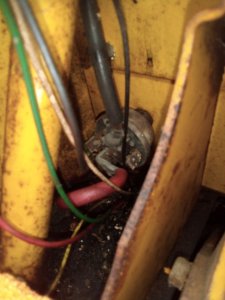
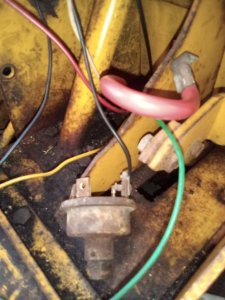
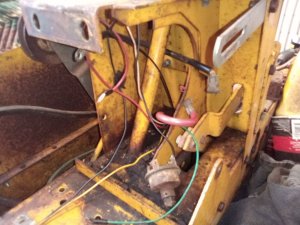
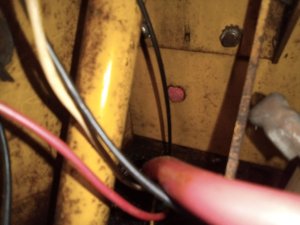
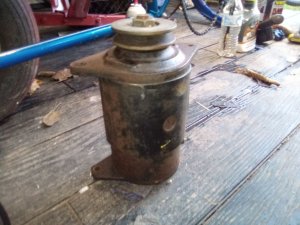
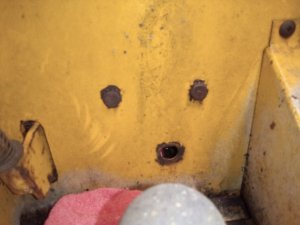
Another older update...... It's time to take the old original ignition switch out! I took the switch out the next day or 2 since I got the new switch from ISaveTractors. I would use it to save a little money and to keep as many original parts as possible and I'm sure it is still good, BUT there is a rusted piece of key that is stuck and will not come out in the key hole so it has to go. To get it out was a "nightmare" for me with so little room to work with the steering column in the middle of the switch. I also had to take the starter generator out too. Here are some pictures.....


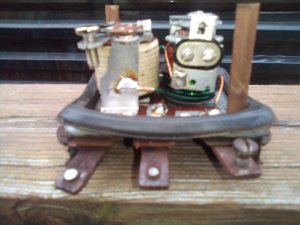
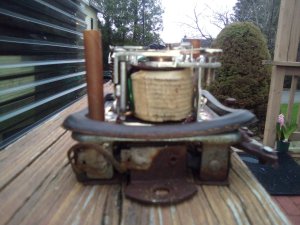
It's time for the ignition switch comparison that I mentioned in post 42. You can see what I am talking about when I say that the new one is different because it is a 5 terminal and a click/snap in type of terminal and smaller in size and diameter, and when I got my old original one out I noticed it's a 4 terminal and a screw in type and it's bigger in size and diameter. See my 2 pictures below......
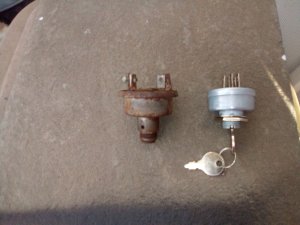


This is all for now, more to come soon......
Hi folks,
I got a few more updates on the tractor since my last post. A couple days ago this past Tuesday I got it out for the very first time since I bought it this past December to have my stepdad help me get the battery box off and to also get the voltage regulator off to see what it looks like, because I could not get them off myself as mentioned in post 40. That day after the rest of the box was taken off I brought it down to my fabrication place I am having make the piece for the top of the box. Let's start with taking the rest of the battery box off, which we sadly had to grind both the screw heads down to nothing to get it off which explains my last 2 pictures. (I am sorry for and excuse the crap show in the background in the first 2 pictures by the way, I got too much crap lol).....
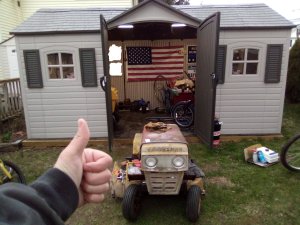
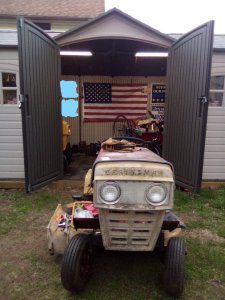
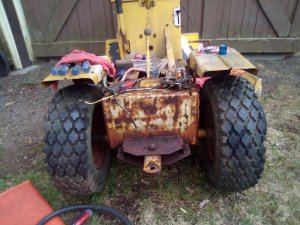
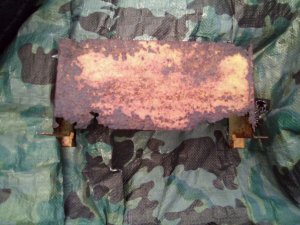
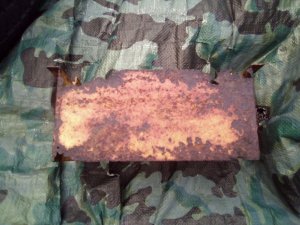
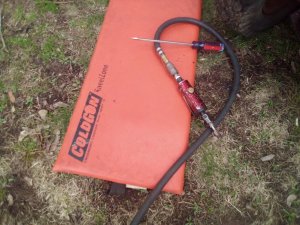
I got a few more updates on the tractor since my last post. A couple days ago this past Tuesday I got it out for the very first time since I bought it this past December to have my stepdad help me get the battery box off and to also get the voltage regulator off to see what it looks like, because I could not get them off myself as mentioned in post 40. That day after the rest of the box was taken off I brought it down to my fabrication place I am having make the piece for the top of the box. Let's start with taking the rest of the battery box off, which we sadly had to grind both the screw heads down to nothing to get it off which explains my last 2 pictures. (I am sorry for and excuse the crap show in the background in the first 2 pictures by the way, I got too much crap lol).....


No such thing as too much crap. Not enough room can be a problem though----LOL!
DAC
That's another thing I have too, is not enough room.
LATEST battery box update. As mentioned a couple posts ago this past Tuesday I brought the rest of the battery box to my local fabrication place where I am having the top piece for the box made, I am now very happy to report that those pieces are made and I brought them home today and I think they came out great! Just the littlest things can make a big difference. Now we just have to cut the old rusty pieces out and weld the new pieces in......
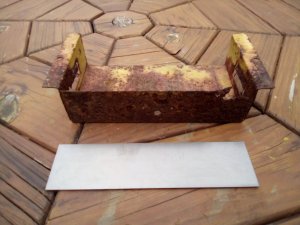
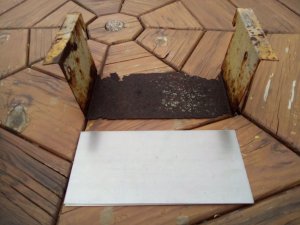


This is all for now, more to come soon.......
Hi folks,
I got somewhat of an update on the tractor, and there is story behind this one. I took the seat off the tractor a month ago to work on the voltage regulator and the battery box and just left it off to eventually sand it down, primer it, paint it, and have it reupholstered. I thought to myself a couple weeks ago when it was a very warm temperature and sunny day out that "today is gonna be that day", OR so I thought. I was taking the nuts and bolts out of the seat with a ratchet and socket to sand it down with my stepdads DA or dual action sander/polisher, and my stepdad says to "just grind them off it will be faster" so we did. When we grinded the nuts and bolts off the seat we noticed that the crack in the middle of the seat just so happens to be so to speak "bondoed" or patched with brass, I say it is bondoed or patched with brass because we took the grinder and put the wheel on and it did not create any sparks. See 1st photo below.
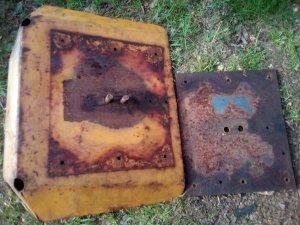
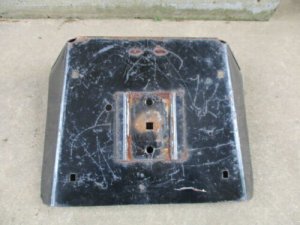
Anyway as a separate note if you look at my 2nd picture, when we grinded the nuts and bolts off the seat there was a non original plate that the nuts and bolts were holding onto. I say the plate is not original to the seat because I looked at the bottom of my 10 horsepower Craftsman seat and it is different like in the 3rd picture, and just to verify if it is like the 3rd picture I looked at my stepdads 10 horsepower Craftsman and it was the same thing. That said right now the plan of action is to......
1) Sandblast the whole seat from the tractor,
2) Have the local fabrication shop I had make my battery box pieces fix the seat and make the correct piece for the bottom,
3) primer, then paint the seat black,
4) then have it reupholstered in the same pattern as my 10 horsepower seat.
Wish me luck!
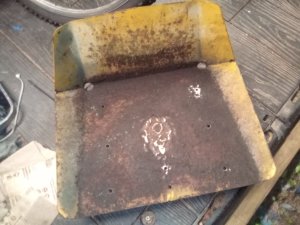
What the bottom of my seat SHOULD be, (photo courtesy of a seller on Ebay 2022)......
I got somewhat of an update on the tractor, and there is story behind this one. I took the seat off the tractor a month ago to work on the voltage regulator and the battery box and just left it off to eventually sand it down, primer it, paint it, and have it reupholstered. I thought to myself a couple weeks ago when it was a very warm temperature and sunny day out that "today is gonna be that day", OR so I thought. I was taking the nuts and bolts out of the seat with a ratchet and socket to sand it down with my stepdads DA or dual action sander/polisher, and my stepdad says to "just grind them off it will be faster" so we did. When we grinded the nuts and bolts off the seat we noticed that the crack in the middle of the seat just so happens to be so to speak "bondoed" or patched with brass, I say it is bondoed or patched with brass because we took the grinder and put the wheel on and it did not create any sparks. See 1st photo below.
Anyway as a separate note if you look at my 2nd picture, when we grinded the nuts and bolts off the seat there was a non original plate that the nuts and bolts were holding onto. I say the plate is not original to the seat because I looked at the bottom of my 10 horsepower Craftsman seat and it is different like in the 3rd picture, and just to verify if it is like the 3rd picture I looked at my stepdads 10 horsepower Craftsman and it was the same thing. That said right now the plan of action is to......
1) Sandblast the whole seat from the tractor,
2) Have the local fabrication shop I had make my battery box pieces fix the seat and make the correct piece for the bottom,
3) primer, then paint the seat black,
4) then have it reupholstered in the same pattern as my 10 horsepower seat.
Wish me luck!


What the bottom of my seat SHOULD be, (photo courtesy of a seller on Ebay 2022)......

This is all for now, more to come soon.....
Hi everybody,
Not much of an update on the tractor. I just ain't done much to it lately because I ain't had time with work and working on the 10 horsepower Craftsman and everything else goin' on. Nothin has changed on the tractor since my last post so you maybe wonderin' why the heck I'm postin, well I'll tell ya. This is the reason here below in the pictures, and a special thank you goes to my stepdads brother for this. It's an NOS SW amp gauge from Napa with the bracket, nuts, instructions and everything. Sad thing is it goes to 30 where as the original one to the tractor goes to 10, but that is ok. The plan for this right now is to store it for a spare in case I need it if the original doesn't work or won't shine up when I polish the chrome edges where you will see it, or use it for another project. This is all for now, more to come hopefully soon......
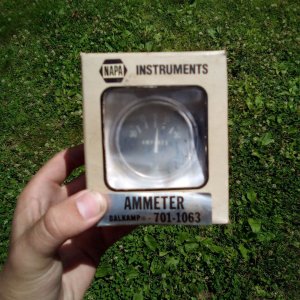
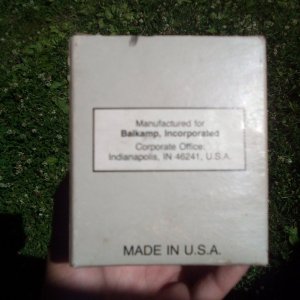
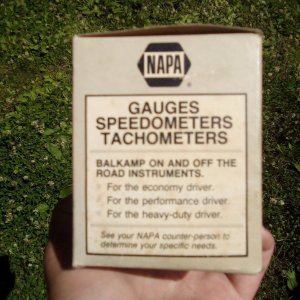
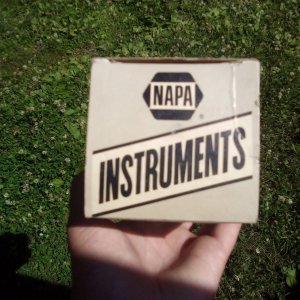
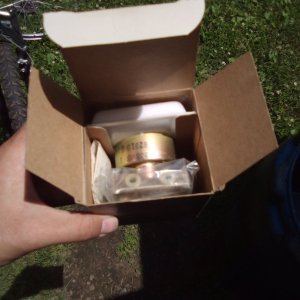
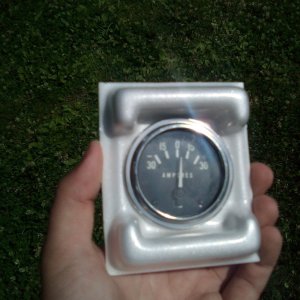
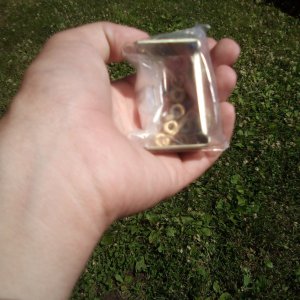
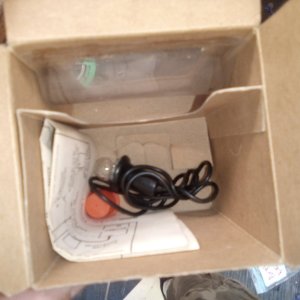
Not much of an update on the tractor. I just ain't done much to it lately because I ain't had time with work and working on the 10 horsepower Craftsman and everything else goin' on. Nothin has changed on the tractor since my last post so you maybe wonderin' why the heck I'm postin, well I'll tell ya. This is the reason here below in the pictures, and a special thank you goes to my stepdads brother for this. It's an NOS SW amp gauge from Napa with the bracket, nuts, instructions and everything. Sad thing is it goes to 30 where as the original one to the tractor goes to 10, but that is ok. The plan for this right now is to store it for a spare in case I need it if the original doesn't work or won't shine up when I polish the chrome edges where you will see it, or use it for another project. This is all for now, more to come hopefully soon......


Hi Everyone,
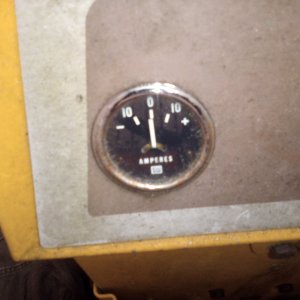
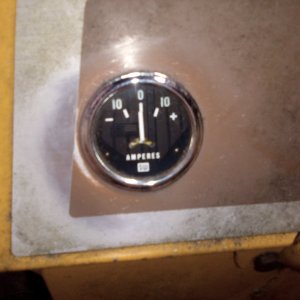
Again, not much of an update on the tractor, but since my last post I polished the original amp gauge with some steel wool to see what it would look like. I was just curious is all
 . I think it came out pretty good but I mess up the "wood grain" on the dash a bit, now all I gotta do is see if it works but that won't be for awhile. The 1st picture is when I first polished one little spot, the 2nd picture is obviously the whole thing polished up.
Before Below......
After Below......
This is all for now, more to hopefully come soon......
Again, not much of an update on the tractor, but since my last post I polished the original amp gauge with some steel wool to see what it would look like. I was just curious is all
Before Below......

After Below......

This is all for now, more to hopefully come soon......
Hi Everybody,
Still no work done on the tractor lately since my last post since I'm working a lot, doctor appointments, and still working on my 10 hp Craftsman but I went and bought a pair of new E clips at my local Tractor Supply for the steering wheel. I did this because I wanted and went to take the old steering wheel off and the clip was so stuck on there it broke in half when it finally came off. Here are the new clips, they are 3/4". Until next time, this is all I got for now......
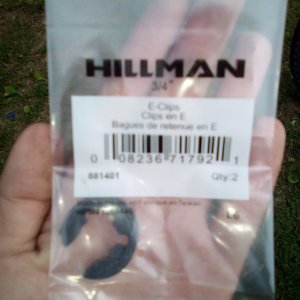
Still no work done on the tractor lately since my last post since I'm working a lot, doctor appointments, and still working on my 10 hp Craftsman but I went and bought a pair of new E clips at my local Tractor Supply for the steering wheel. I did this because I wanted and went to take the old steering wheel off and the clip was so stuck on there it broke in half when it finally came off. Here are the new clips, they are 3/4". Until next time, this is all I got for now......

Hi Everyone,
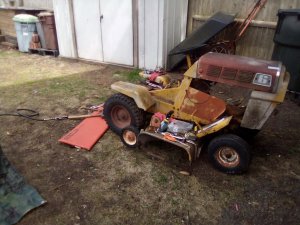
I FINALLY got back to working on the ol 6 horsepower Craftsman 855C I bought from the fellow that is a MTF member the other night after 4 months, and it looks a little different now but not that much different. I took the headlights out of the grille to have my stepdad sandblast them, I took the front bottom pieces that hold the nose on off, I also took the left foot pedal off, the belt guard off, the drive pulley and tensioner off, the starter generator brackets off, the dash off, and the ammeter out of the dash. I soon HOPE to get the other belt guard off by where you sit to drive the tractor, get the deck off for the first time since I owned it almost a year ago and maybe the first time in 50+ years, and maybe the dash tower too. I am attaching 2 photos, the 2nd photo is what the tractor currently looks like. As a side not I am not sure if I showed everyone this but I also bought this for when I start painting the deck boxes and all the pulleys.......
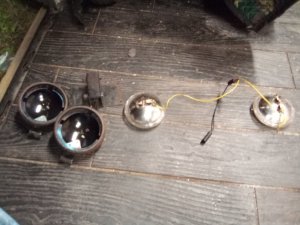
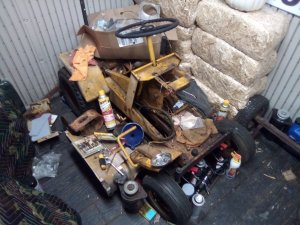
I FINALLY got back to working on the ol 6 horsepower Craftsman 855C I bought from the fellow that is a MTF member the other night after 4 months, and it looks a little different now but not that much different. I took the headlights out of the grille to have my stepdad sandblast them, I took the front bottom pieces that hold the nose on off, I also took the left foot pedal off, the belt guard off, the drive pulley and tensioner off, the starter generator brackets off, the dash off, and the ammeter out of the dash. I soon HOPE to get the other belt guard off by where you sit to drive the tractor, get the deck off for the first time since I owned it almost a year ago and maybe the first time in 50+ years, and maybe the dash tower too. I am attaching 2 photos, the 2nd photo is what the tractor currently looks like. As a side not I am not sure if I showed everyone this but I also bought this for when I start painting the deck boxes and all the pulleys.......


Hi everyone,
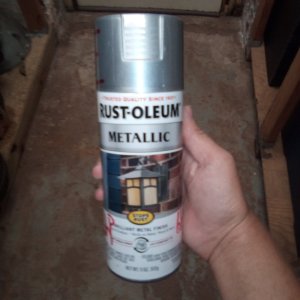
Here are pictures of the paint that will be used on the pulleys and deck boxes that I already bought when we get to that point. The first picture of the silver metallic will go on parts of the mower deck boxes .....
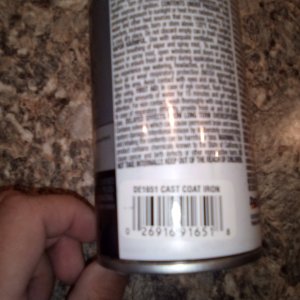
This cast iron coat paint I bought from Advance auto and will go on the pulleys and parts of the mower deck boxes.......
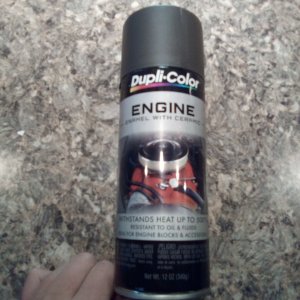
Here are pictures of the paint that will be used on the pulleys and deck boxes that I already bought when we get to that point. The first picture of the silver metallic will go on parts of the mower deck boxes .....

This cast iron coat paint I bought from Advance auto and will go on the pulleys and parts of the mower deck boxes.......


