And more junk.

Try putting a short piece of cable or something like that inside before you bend it. Know anyone with a conduit bender?
I'm afraid the cable wouldn't pull back out, Chris. Had a conduit bender at work, but I ain't there anymore---LOL!
Kinda what I was thinking too.
I packed thin wall pipe with sand too. For minor bends nothing extreme. Just have find a way to plug the ends..
I was thinking the same thing Bill, as I started reading this.

Noel

We used to bend nerf bars and other smaller tubes for race cars back in the '70's with the sand. I knew a guy that did his whole roll cage that way but I didn't feel like that was a good idea.

DAC I still have the fill tube in the parts 1450 transaxle if you need it.
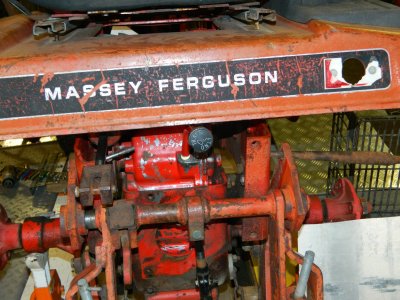
I may have come up with a way to use this tube, but for curiosity, does the one you have look like this one, Ted?


I re-thunk a couple of things.
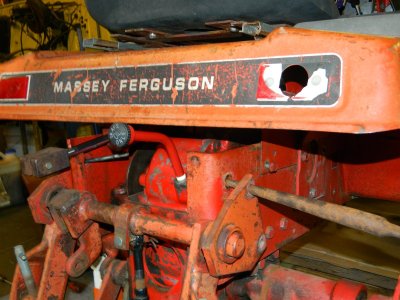
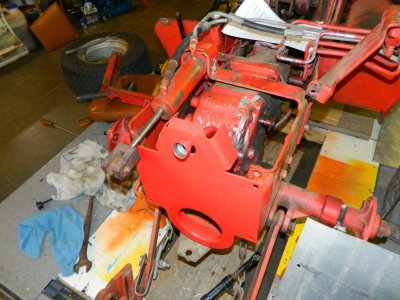
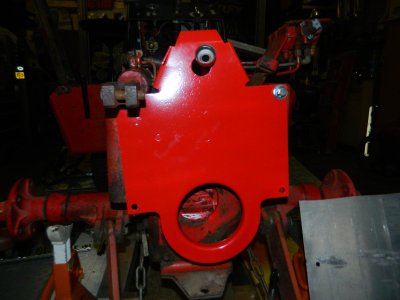
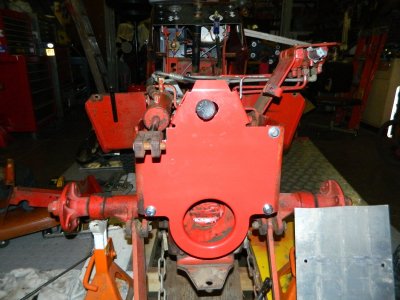
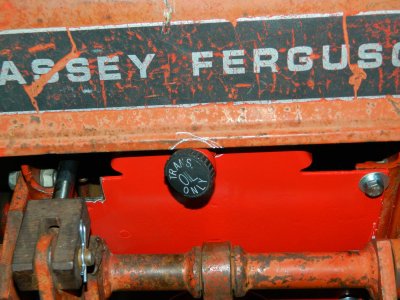
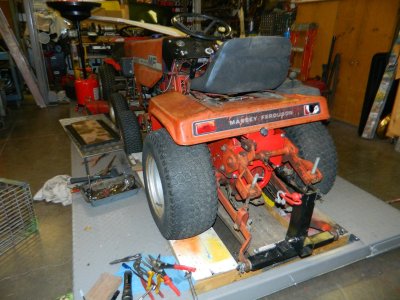
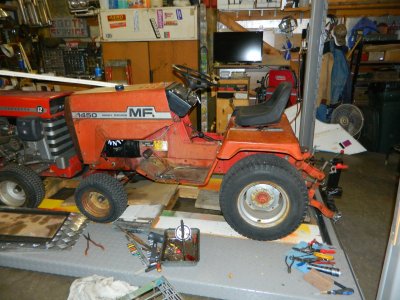
Decided to go back to a k.i.s.s. idea Jim came up with. Turned the tube 180*. Looks like it could possibly work after all, ignoring the service manual location. Test fitted the fender pan mount, fender pan and 3 point mounts. Of course, nothing is bolted down. It does barely clear tha back of the fender pan!
DSCN5895.JPG

DSCN5896.JPG

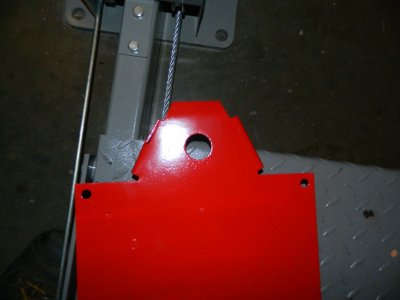
Then my next brilliant idea was that the rear frame cover had a seemingly useless hole in it that didn't correspond to any of the rear pto stuff I removed.
DSCN5897.JPG

Maybe that tube will stick through that hole! It might, but the tube won't fit through the hole, so holding the plate in an awkward position before bolting it on is the only way to screw the tube back in to the transaxle.
DSCN5898.JPG

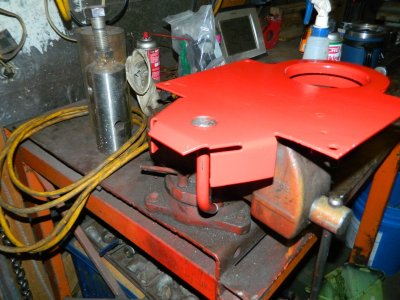
I put it together that way but discovered that plate I had gotten off ebay was not for a 3-point tractor! No holes would line up and the cylinder shaft hit the plate.
DSCN5899.JPG

DSCN5900.JPG

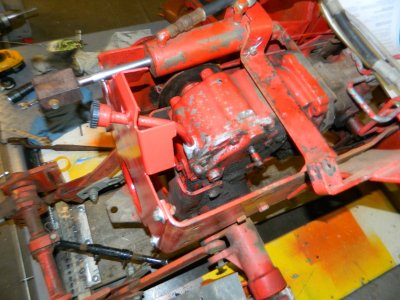
It almost looks like that dipstick tube is supposed to face rearward though. I cut a chunk out of that plate so the cylinder clears and swivels. Had to chase the threads on the 3 remaining usable holes in the frame with a tap, then was able to bolt the plate up. That was a bit of a battle too, having to ream one hole a bit.DSCN5901.JPG

It was tight, but it did seem to fit.
DSCN5902.JPG

DSCN5903.JPG

I figured that I was home free---LOL! Not so fast dummy---LOL!
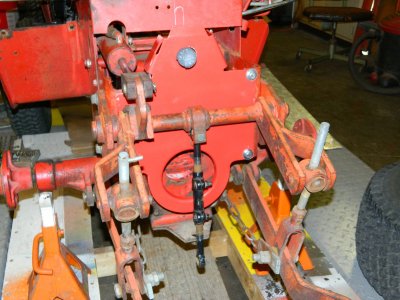
The fender pan hits the dipstick tube hard. It needs to come down a bit further than the white line.
DSCN5905.JPG

That was enough for today. More beer---LOL!

DAC
 
It looks just like that one. fyi mine is facing forward. It is still in the unit I have not taken it out yet.
Your setup is just like the service manual then Ted. There must have been variations in the pan mount and other things through the years of this series of tractors. This tractor is a 1978. Sounds like I would have needed to buy a lot more from your parts tractor than I did to make things fit right!

DAC
 
Can you shim your fender pan up a little to avoid cutting it out. I’ve seen several guys do that for another inch for tire clearance.
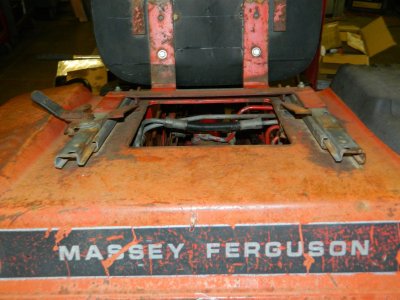
That would have opened up a whole nuther can of worms, Jim. I would have needed to use longer bolts at the rear. Sounds simple except---The bolts go through the seat slider bottom rail and both rails of the seat slider are bent and won't move to pull the old bolts and install new ones.
DSCN5906.JPG

Like I have said before, I think this tractor fell out of the back of a moving pickup or off of a trailer at some time. Lots of things were and are bent on it. It is back together. Took tin snips and roughed in the notch for the dipstick tube to clear the fender pan, then used a flap wheel to clean it up. Didn't do a test run on the brake yet, but the park brake seems to hold well with the wheels back on and sitting on the lift. Decided to pick up tools after I took these pics.
DSCN5907.JPG

DSCN5908.JPG

Called it a day after picking up tools. Hopefully something won't bite me on the test drive, maybe tomorrow. Still need to do some more shop cleaning. It's getting invaded by crickets coming in to die! One good thing about getting old is I can't hear those annoying insects any more. Back when I could hear then they drove me nuts!

DAC
 
You're a regular comedian, Noel---LOL! It's not gonna get much more than it has now. Think it took me a couple 3 weeks just to put the brake "pucks" in---LOL! I would croak long before this thing could be restored like new, not to mention be broke. I think it's in good enough shape again to haul my junk around and do driveway maintenance. Someday it might get the push blade from the MF12G adapted to it.

Wind was gusting up to 50mph+ today so the overhead door stayed shut. Worked on scanning and editing some old pictures this afternoon.

DAC
 
Still didn't open the overhead door today. Colder and still windy. Raised up the lift and went around the whole shop vacuuming up dead (and some alive) bugs. A few wasps, box elder bugs, rollie polies but a few hundred black crickets---LOL! Moved some obstacles in the living and dining room of the house and ran "Alice" the robot vacuum cleaner. I could work in the shop and get text messages from the robot if it had trouble. The battery died before it found the charging dock so had to put it on there "manually"---LOL!

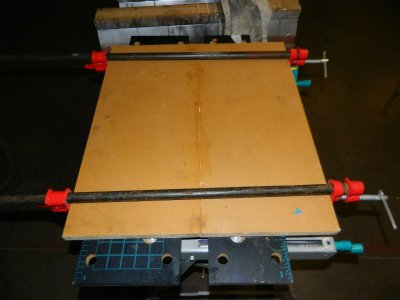
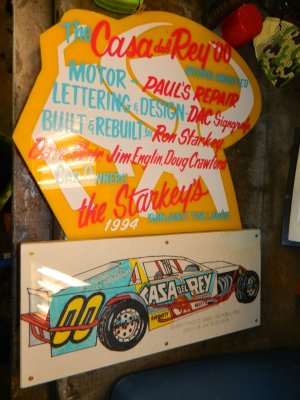
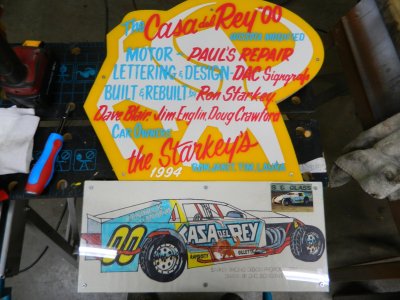
Then I glued a couple pieces of MDO signboard together to mount an old car show sign and design drawing I did back in 1994. It will probably get donated to the local racing Hall of Fame for a silent auction next year to help raise some funds for operating costs. That stuff was from the same guy that I did some lettering on a new car a few weeks ago.
DSCN5909.JPG

DSCN5910.JPG`

DAC
 
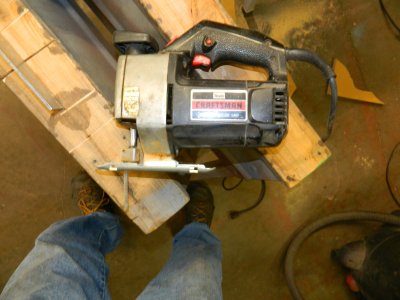
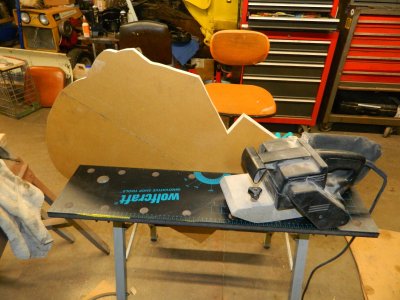
Got the panel cut and edges sanded. Dug out a couple of 1980's tools to do the job---LOL!
DSCN5913.JPG

DSCN5914.JPG

Then it was time to mount the old plexiglass sign and paper drawing onto the cut shape. The drawing has a piece of clear lexan over it. Added a small pic of the actual car too.
DSCN5916.JPG

Didn't put a hanger on it yet. Think a framing cable or wire might be best since it's an awkward shape and the balance point may not be exactly center. I'll sleep on that. Picked up tools and swept the floor.

DAC
 
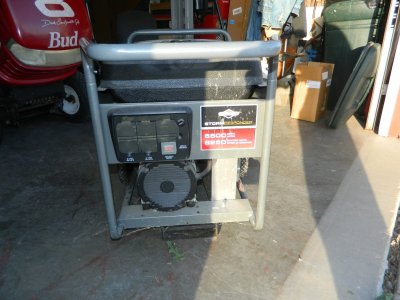
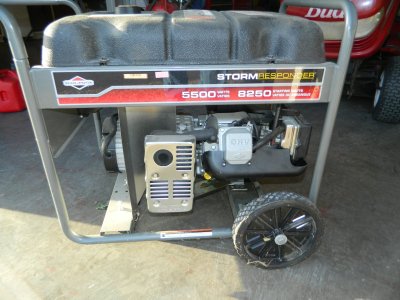
Been piddling around in the shop, finishing the edges of that sign and other small things. Decided I better learn a bit about that generator I got last May, and see what I might need to do for a backfeed cord in case of power outages. Probably should have an old electrician I know set up one of those transfer switches that I can plug in outside. but it won't energize the house until the main braker is shut off.
DSCN5203.JPG DSCN5204.JPG

DSCN5205.JPG

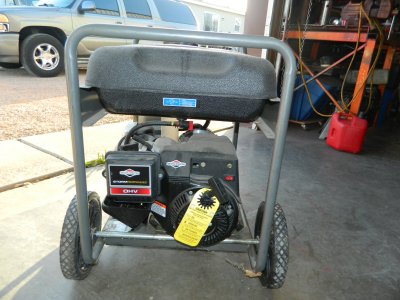
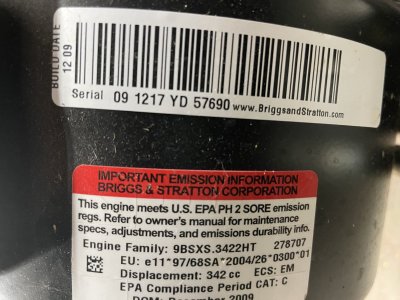
Can't find any info on the engine that is accurate. The engine model and type number are obsolete on B/S website. 342 cc on the sticker. Would like to know the power specs but these more modern engines are top secret it seems---LOL!

Numbers on valve cover.
IMG_1114.jpg
Those numbers get hits for parts, but I sure couldn't find any accurate specs.

Built in December of 2009. I have read 342cc could be anywhere between 10-14 HP! I'm thinking more like 10.
IMG_1103.jpg

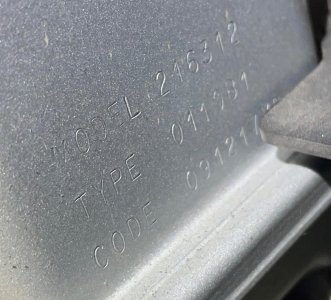
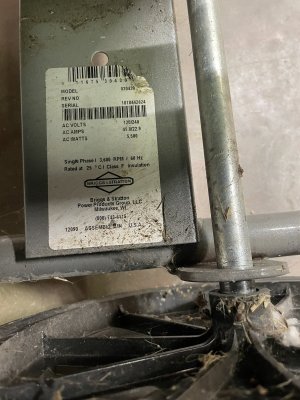
The generator model number.
IMG_1108.jpg

Guess I don't really need to know exactly what it is, but it would satisfy my curiosity---LOL!

DAC
 
Last edited:
Been piddling around in the shop, finishing the edges of that sign and other small things. Decided I better learn a bit about that generator I got last May, and see what I might need to do for a backfeed cord in case of power outages. Probably should have an old electrician I know set up one of those transfer switches that I can plug in outside. but it won't energize the house until the main braker is shut off.
View attachment 75572 View attachment 75573

View attachment 75574

Can't find any info on the engine that is accurate. The engine model and type number are obsolete on B/S website. 342 cc on the sticker. Would like to know the power specs but these more modern engines are top secret it seems---LOL!

Numbers on valve cover.
View attachment 75577
Those numbers get hits for parts, but I sure couldn't find any accurate specs.

Built in December of 2009. I have read 342cc could be anywhere between 10-14 HP! I'm thinking more like 10.
View attachment 75578

The generator model number.
View attachment 75576

Guess I don't really need to know exactly what it is, but it would satisfy my curiosity---LOL!

DAC
Here is a link to the owners manual for the generator itself if you don't have a copy -
Briggs & Stratton 030430 generator manual
 
Here is a link to the owners manual for the generator itself if you don't have a copy -
Briggs & Stratton 030430 generator manual
Thank-you, Stew! I never had a clue this may have come from Sears! I suppose the numbers indicate that, but nothing on it says Sears anywhere. That manual will be helpful!

I figure about 11 hp Doug.

Noel
Thanks Noel. One of the sites I looked at said 11.7 HP so that guess was the closest to what you got!

Just did some painting and cleaning around the shop, and also some historical computer searching today.

DAC
 
Thank-you, Stew! I never had a clue this may have come from Sears! I suppose the numbers indicate that, but nothing on it says Sears anywhere. That manual will be helpful!


Thanks Noel. One of the sites I looked at said 11.7 HP so that guess was the closest to what you got!

Just did some painting and cleaning around the shop, and also some historical computer searching today.

DAC
I think these are the owners manual and parts list for the engine.
 

Attachments

I think these are the owners manual and parts list for the engine.
Thanks again, Stew! Hope I never need major parts but got the links on file!

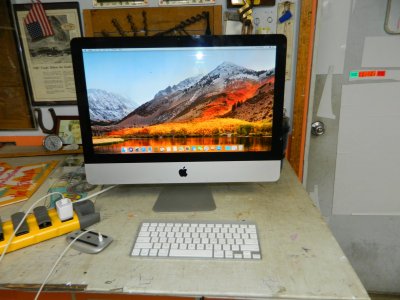
Still had some paint drying out in the shop bay so did some work in the shop office today after running errands in town this morning. I've had this old Apple desktop laying around here for a couple years so decided to fire it up and see if it works. Keyboard batteries still tested good, but the mouse needed charged. It seems to work well, even though not connected to the net. Cleared a spot on my computer desk and transferred some pictures from my external hard drive to it. Plan is to use it for photo editing. Our daughter usus one extensively in her video editing business so hope to get some pointers from her and maybe even an old copy of photoshop. It seems to work quite smooth but that little keyboard and mouse will take some getting used to!
DSCN5917.JPG

DAC
 
Pretty photo. Did you take it?
No Chris, that pic was the Apple wallpaper already installed on the computer. Nowhere's near that good of a photographer---LOL!

Had a roofing company inspector check out the roof on the house and it's hailed out! He gave me some rough figures and it sounds doable on our end. Biggest problem is trying to contact the local insurance agent! I must have spent two hours dikking around with a call center, then never getting anyone local. Finally emailed the agent but it was too late by then to hope for a response. The roofing inspector texted me a different number, also but I didn't see the text until it was too late for that too! Will try that number Monday. Figured we better get the roof inspected since Loree's car got damage.

Got that sign put back together with the finished panel behind it and a hanger installed. Hard part is to find a hole on the wall to hang it---LOL!

Then our daughter texted that there was a old adobe photoshop for a Mac computer around the house somewhere that she left years ago. Dug around and found it, and it said it installed on that Apple computer. Took over an hour. Problem is I don't know how to launch the program even---LOL! The program can be used for editing videos too so it's waaay over my head! Will try to get some advice from her soon. We are going to Aberdeen for Thanksgiving with her, so maybe I will take the computer with!

DAC
 
Back
Top