You are using an out of date browser. It may not display this or other websites correctly.
You should upgrade or use an alternative browser.
You should upgrade or use an alternative browser.
And more junk.
- Thread starter MFDAC
- Start date
Here you go Doug!
 www.facebook.com
Log into Facebook
Log into Facebook to start sharing and connecting with your friends, family, and people you know.
 www.facebook.com
If it ain’t one thing, it’s two things. A saying around here. Hehe.
Noel
Let's go with 3 things now Noel!Yep, one step forward and two steps back.
And now it's 3 steps back Chris!
Those Viper PVC tracks are some of the best custom tracks made, Chris! Never seen a 3 lane though. A guy down the street has a Viper.Here you go Doug!
Log into Facebook
Log into Facebook to start sharing and connecting with your friends, family, and people you know.www.facebook.com
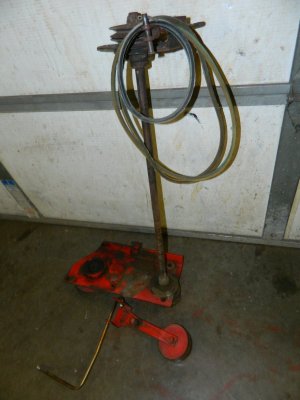
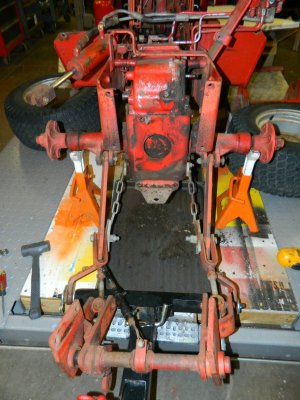
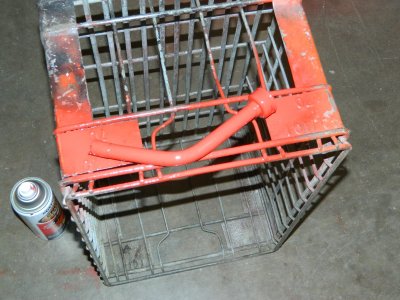
The brake pucks Rick sent got here today. Managed to remove the rear PTO stuff without having to disconnect the hydraulic lines. Had to drop the 3 point chassis mounts so all that work did clear enough out of the way to install the transaxle dipstick tube. Went ahead and cleaned it up and painted it. I had bead blasted it when I was still working so it needed some paint.
I made an attempt at test fitting everything before I JB Weld a brake puck into the transaxle. Nope! Not gonna come close to fiting in there with the puck thickness. I pulled the left side transaxle bolts to spread the chassis with a pickle fork.
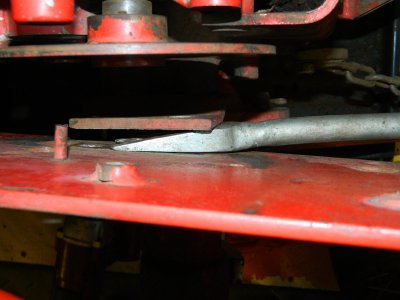
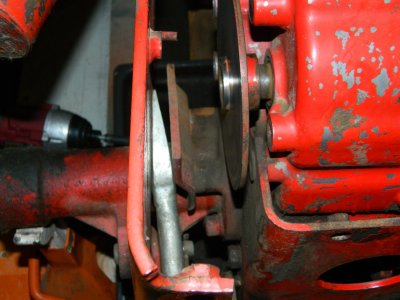
Nope, no way it's gonna fit yet. Looks like I need to sand the pucks down quite a ways even if the transaxle was completely out of the frame, that's all the further the frame rail can spread as the 3 point hydraulic cylinder has a welded in crossmember connecting both sides.
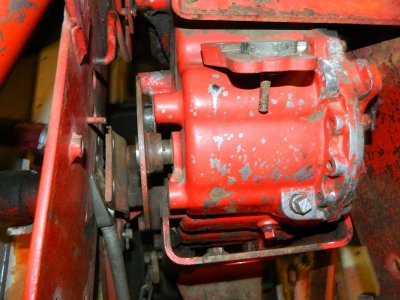
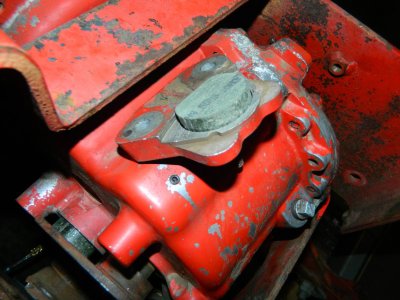
That's enough for today. Gonna have a beer!
DAC
And all this work just to make it stop...Let's go with 3 things now Noel!
And now it's 3 steps back Chris!
Those Viper PVC tracks are some of the best custom tracks made, Chris! Never seen a 3 lane though. A guy down the street has a Viper.
The brake pucks Rick sent got here today. Managed to remove the rear PTO stuff without having to disconnect the hydraulic lines. Had to drop the 3 point chassis mounts so all that work did clear enough out of the way to install the transaxle dipstick tube. Went ahead and cleaned it up and painted it. I had bead blasted it when I was still working so it needed some paint.
View attachment 74897 View attachment 74898
View attachment 74899 View attachment 74900
View attachment 74901
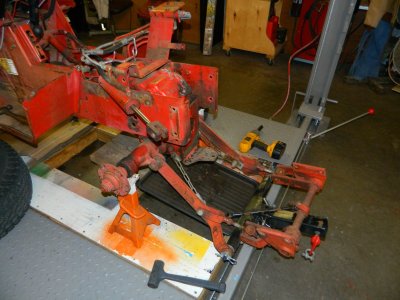
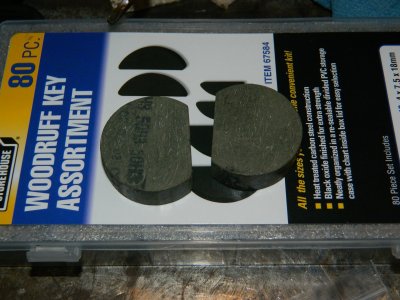
I made an attempt at test fitting everything before I JB Weld a brake puck into the transaxle. Nope! Not gonna come close to fiting in there with the puck thickness. I pulled the left side transaxle bolts to spread the chassis with a pickle fork.
View attachment 74903 View attachment 74904
Nope, no way it's gonna fit yet. Looks like I need to sand the pucks down quite a ways even if the transaxle was completely out of the frame, that's all the further the frame rail can spread as the 3 point hydraulic cylinder has a welded in crossmember connecting both sides.
View attachment 74905 View attachment 74906
That's enough for today. Gonna have a beer!
DAC
Go figure...!
That's when brake shoes were really " brake shoes"..Fred Flintstone brakes would work. Hehe.
Noel
Well come to think of it they used their bare feet...
God we're pussies today..
Tractor Data says it's a Sunstrand Series 15-HT90, Noel. I will probably have a couple more beverages tonight too---LOL! Keep reading.She’s tight quarters there Doug. What model is the rear end. Sorta looks like what’s in my LGT 165 Ford. But it has a brake band.
I’d say have more than one refreshment Doug.
Noel
Yup we are pussies today, Bill---LOL! Then becoming a geezer on top of that---That's when brake shoes were really " brake shoes"..
Well come to think of it they used their bare feet...
God we're pussies today..
This will probably take 2 posts so be patient and keep reading!
First, the bead breaker I ordered got here today! This went right as I had hoped. Seems like a great quality tool!
It got put to work right away. This is a 16" wheel with a light truck tire. Just a 2 ply sidewall.
First I threw it on the lift and raised it to a good working height. Back is sore so I could sit in a chair to do this job.
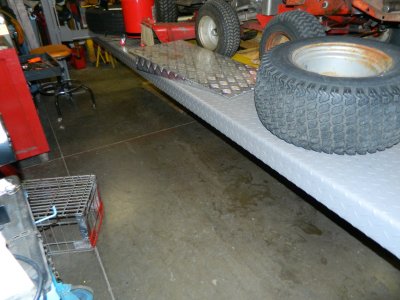
Made a nice workbench and this thing required very little effort to break that bead!
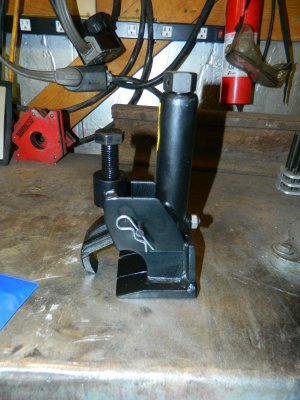
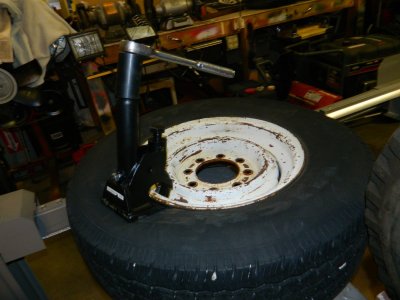
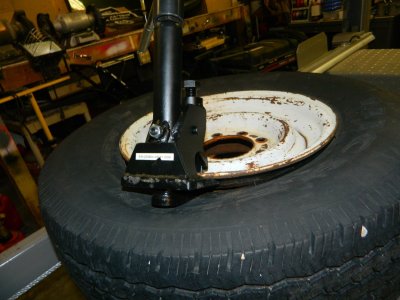
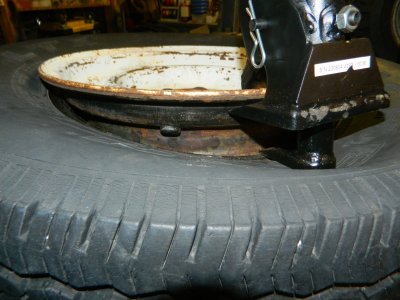
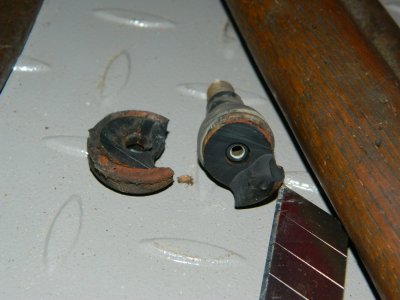
Cut the old valve stem out with a pair of dykes. Somehow a miracle happened and I even had a new stem on hand!
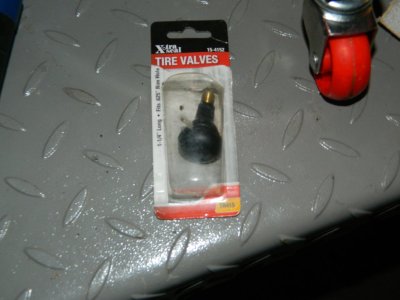
I sanded on the backside of the hole a bit in case it was crusty, then pulled the new one into the hole. I used a little of moly grease on it to slide in nice.
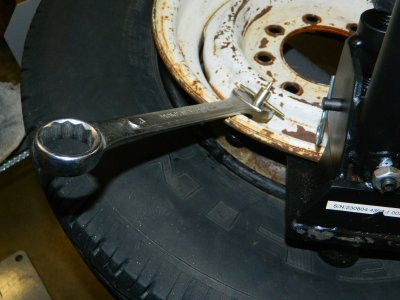
Removed the bead breaker and aired it up to 70#. Sprayed some soapy water around the bead first.
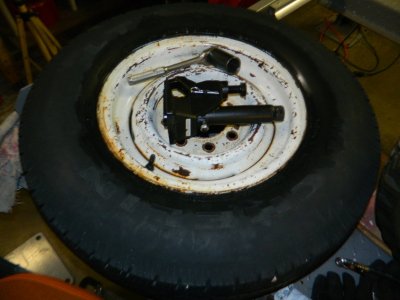
I'll check it tomorrow to see if it's holding. It's so damm cold it will loose some overnight.
I think 12" rims will be ok with this tool also but have my doubts about smaller.
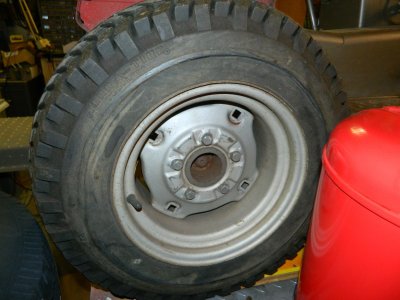
On to the brake ordeal in a new post.
DAC
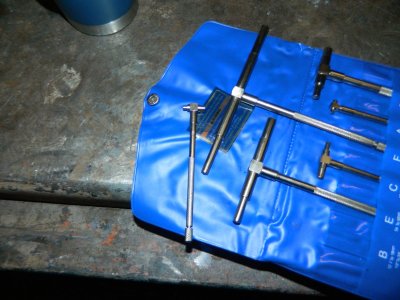
First the caliper and rotor got bolted in to see how much room there is for brake pads and the backing plate. Had to use a snap gauge. 3/4 inch.
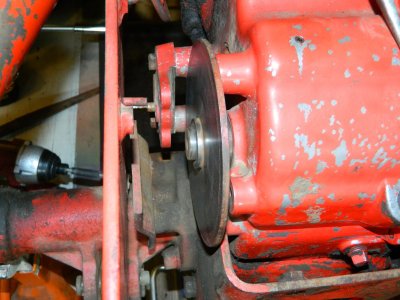
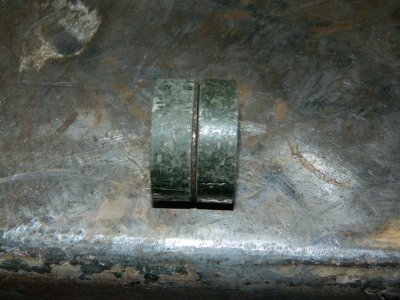
The pucks and the backing plate measure a fat 1".
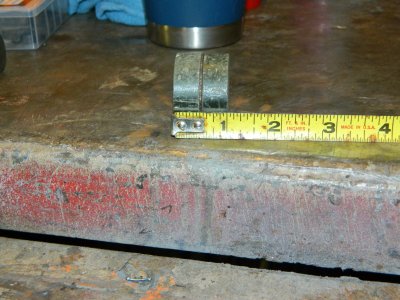
That figures out to a fat 5/16" thickness for the pads. Then I had brilliant idea about cutting them---LOL!
I haven't used this old Demel scroll saw for 25 years probably but was hoping it would work to slice these things. Set it on the lift.
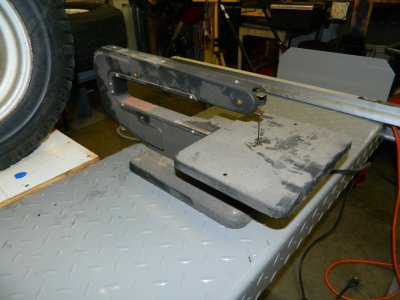
Cleaned it up and plugged it in. Still ran fine! Added some better light and set up a guide.
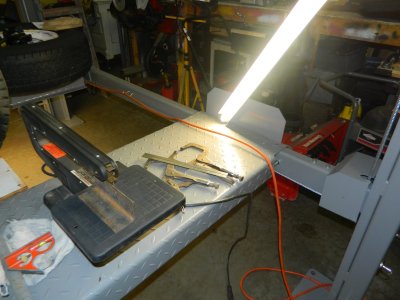
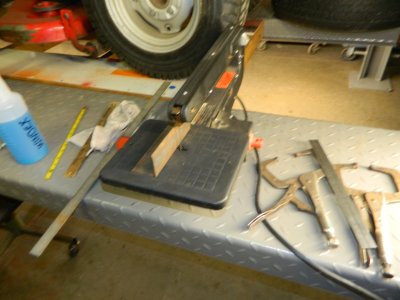
Made an attempt to cut. No go. After a couple minutes it made a small slice.
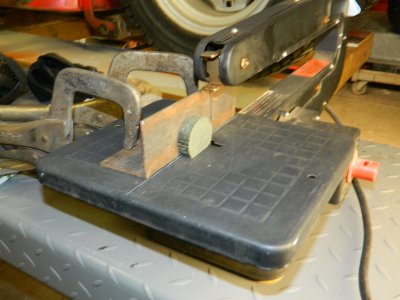
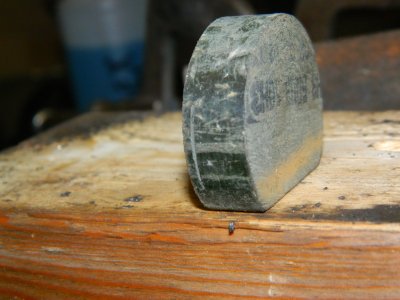
The blade seems ok as it cut into a 2x4 quite easily after trying to cut a puck. Big difference between brake material and a 2x4---LOL!
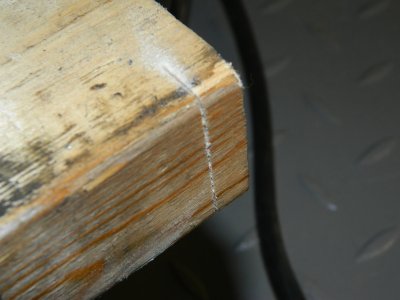
All I could think of was something that rhymes with "puck"---LOL! I think that scoring around the whole puck may give me an accurate line to use the HF bench top belt sander. Might "rough" it in on the side of a chop saw blade, then finish with the belt sander.
Won't be able to work on it tomorrow. Got other stuff going on all day and evening tomorrow so won't be back on until Sunday.
DAC


The pucks and the backing plate measure a fat 1".


That figures out to a fat 5/16" thickness for the pads. Then I had brilliant idea about cutting them---LOL!
I haven't used this old Demel scroll saw for 25 years probably but was hoping it would work to slice these things. Set it on the lift.

Cleaned it up and plugged it in. Still ran fine! Added some better light and set up a guide.


Made an attempt to cut. No go. After a couple minutes it made a small slice.


The blade seems ok as it cut into a 2x4 quite easily after trying to cut a puck. Big difference between brake material and a 2x4---LOL!

All I could think of was something that rhymes with "puck"---LOL! I think that scoring around the whole puck may give me an accurate line to use the HF bench top belt sander. Might "rough" it in on the side of a chop saw blade, then finish with the belt sander.
Won't be able to work on it tomorrow. Got other stuff going on all day and evening tomorrow so won't be back on until Sunday.
DAC
Hope you get that pucker..First the caliper and rotor got bolted in to see how much room there is for brake pads and the backing plate. Had to use a snap gauge. 3/4 inch.
View attachment 74953 View attachment 74954
The pucks and the backing plate measure a fat 1".
View attachment 74944 View attachment 74945
That figures out to a fat 5/16" thickness for the pads. Then I had brilliant idea about cutting them---LOL!
I haven't used this old Demel scroll saw for 25 years probably but was hoping it would work to slice these things. Set it on the lift.
View attachment 74946
Cleaned it up and plugged it in. Still ran fine! Added some better light and set up a guide.
View attachment 74947 View attachment 74948
Made an attempt to cut. No go. After a couple minutes it made a small slice.
View attachment 74949 View attachment 74951
The blade seems ok as it cut into a 2x4 quite easily after trying to cut a puck. Big difference between brake material and a 2x4---LOL!
View attachment 74952
All I could think of was something that rhymes with "puck"---LOL! I think that scoring around the whole puck may give me an accurate line to use the HF bench top belt sander. Might "rough" it in on the side of a chop saw blade, then finish with the belt sander.
Won't be able to work on it tomorrow. Got other stuff going on all day and evening tomorrow so won't be back on until Sunday.
DAC
Thanks to Doug I believe "Puck" will be a universally used word here from now on.Well, what pucker that is.
Noel
You could try cutting the brake puck material with an ordinary hack saw as you may have better luck if you can hold the puck. The scroll saw blade would probably be moving too fast and as a result generate a lot of heat rather than cut into the material and the brake puck material is designed to dissipate heat. You may be able to place the puck upright on a block of wood and then use a strip of sheet metal to form a U around the puck with a small screw hole and sheet metal screw at each end to snug the sheet metal against the brake puck material so the puck is held firmly. The material will probably be pretty hard and brittle and trying to clamp it in vise jaws or by some other method may cause the material to crack. Just a suggestion.The pucks and the backing plate measure a fat 1".
View attachment 74944 View attachment 74945
That figures out to a fat 5/16" thickness for the pads. Then I had brilliant idea about cutting them---LOL!
I haven't used this old Demel scroll saw for 25 years probably but was hoping it would work to slice these things. Set it on the lift.
View attachment 74946
Cleaned it up and plugged it in. Still ran fine! Added some better light and set up a guide.
View attachment 74947 View attachment 74948
Made an attempt to cut. No go. After a couple minutes it made a small slice.
DAC
You need a mill.First the caliper and rotor got bolted in to see how much room there is for brake pads and the backing plate. Had to use a snap gauge. 3/4 inch.
View attachment 74953 View attachment 74954
The pucks and the backing plate measure a fat 1".
View attachment 74944 View attachment 74945
That figures out to a fat 5/16" thickness for the pads. Then I had brilliant idea about cutting them---LOL!
I haven't used this old Demel scroll saw for 25 years probably but was hoping it would work to slice these things. Set it on the lift.
View attachment 74946
Cleaned it up and plugged it in. Still ran fine! Added some better light and set up a guide.
View attachment 74947 View attachment 74948
Made an attempt to cut. No go. After a couple minutes it made a small slice.
View attachment 74949 View attachment 74951
The blade seems ok as it cut into a 2x4 quite easily after trying to cut a puck. Big difference between brake material and a 2x4---LOL!
View attachment 74952
All I could think of was something that rhymes with "puck"---LOL! I think that scoring around the whole puck may give me an accurate line to use the HF bench top belt sander. Might "rough" it in on the side of a chop saw blade, then finish with the belt sander.
Won't be able to work on it tomorrow. Got other stuff going on all day and evening tomorrow so won't be back on until Sunday.
DAC
Doug it’s probably going to take a metal cutting blade to cut that puck because of the ceramic or graphite contents. Lol I responded to this two days ago and never posted it. I think 29 Chevy has a good idea. I would cut it close to what you need then sand or grind to fit.
And something to protect your lungs.Doug it’s probably going to take a metal cutting blade to cut that puck because of the ceramic or graphite contents. Lol I responded to this two days ago and never posted it. I think 29 Chevy has a good idea. I would cut it close to what you need then sand or grind to fit.
Hope you get that pucker..
Well, what pucker that is.
Noel
Well, I better just leave this the puck right here---LOL! I don't want to get thrown off the site!Thanks to Doug I believe "Puck" will be a universally used word here from now on.
If the slice I was cutting off was thicker I think that would work great, Stew. It's thin enough that I think the slice would have broke off and then getting the blade to stay true would be tough to do.You could try cutting the brake puck material with an ordinary hack saw as you may have better luck if you can hold the puck. The scroll saw blade would probably be moving too fast and as a result generate a lot of heat rather than cut into the material and the brake puck material is designed to dissipate heat. You may be able to place the puck upright on a block of wood and then use a strip of sheet metal to form a U around the puck with a small screw hole and sheet metal screw at each end to snug the sheet metal against the brake puck material so the puck is held firmly. The material will probably be pretty hard and brittle and trying to clamp it in vise jaws or by some other method may cause the material to crack. Just a suggestion.
I will run right out and buy one Rick---LOL---$$$! Seriously, it would be a great tool, but no budget, experience and knowledge or room for that matter for one. I have seen smaller benchtop ones though but they looks like small hobby stuff is about all they can do.You need a mill.
It probably would have but I got them roughed in this afternoon, Jim.Doug it’s probably going to take a metal cutting blade to cut that puck because of the ceramic or graphite contents. Lol I responded to this two days ago and never posted it. I think 29 Chevy has a good idea. I would cut it close to what you need then sand or grind to fit.
I wore a respirator, Chris.And something to protect your lungs.
It was kind of busy this morning and afternoon. Son had a flat tire on the way to work and he walked in leaving his car in a parking lot. Was pretty close, so he was only a few minutes late. Loree and I went and put his spare on in a snowstorm and drove it to my shop. Nothing sticking on the roads at least. Was blowing horizontal.
Took the flat in the shop and it took air fine even though the beads were broken. Found a finish nail stuck in a marginal spot. A tire shop probably would not have repaired it but I stuck a plug in it anyway.
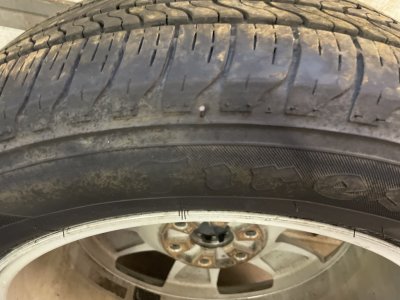
Let it sit while I had a late lunch during the last segment of the race then came out and checked it. Same psi as I left it so we will try it.
The hardest part was putting the dang spare back in! I didn't pay attention which way was up when lowering it out in the mini blizzard so I had a 50/50 chance of getting it right. I picked the wrong 50---LOL! Then there's a little latch on the cable that caught in the mechanism since I did it wrong and that was fun to unhook too---LOL! Had to raise the lift to do this stuff obviously. Finally got the spare and it's cover raised back up and ran his Traverse back outside. Loree went and picked him up after he got off work and brought him to the car.
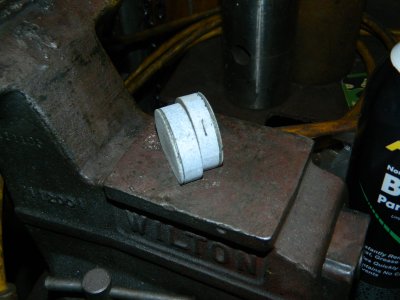
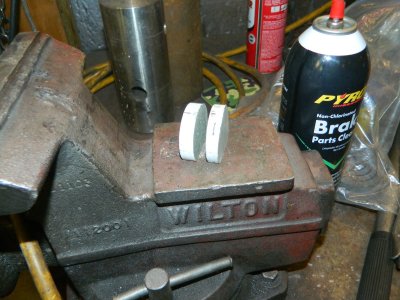
Lowered the lift to bench position again. I had painted those "pucks" earlier with white primer and used the little scroll saw with the guide to scribe a line around them for roughing them in. Used vice grips to hold them and used the side of the chop saw bade to narrow them a bit. Went way easier than I expected. Getting tired so that was enough for today. Will true them up with the belt sander and a pair of calipers tomorrow hopefully. Got some running around to do first.
DAC
Your supposed to be retired. You are forever on the go. If I get to Watertown once a month that's too much.Got some running around to do first.
Don't think I could have kept up with you if I was 15 years younger.
