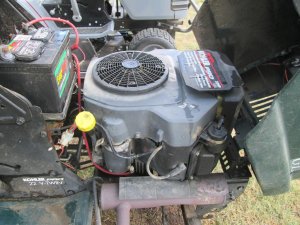
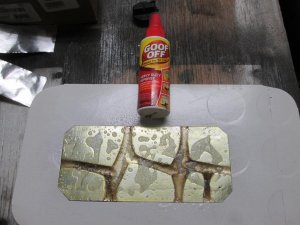
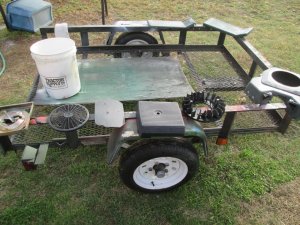
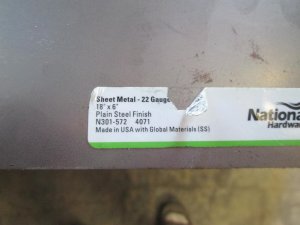
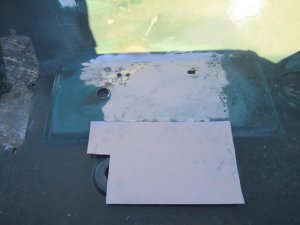
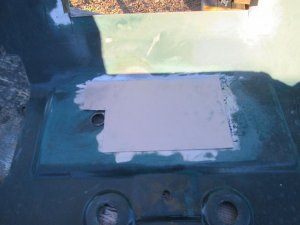
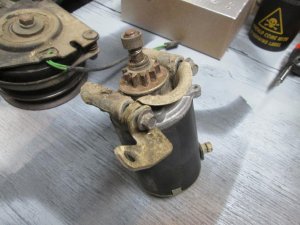
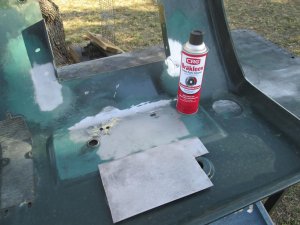
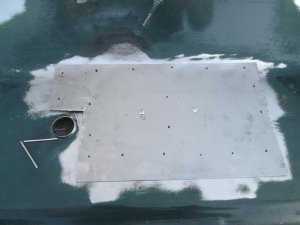
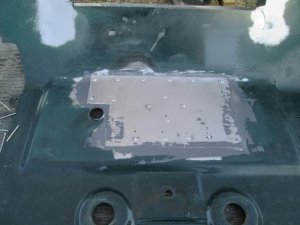
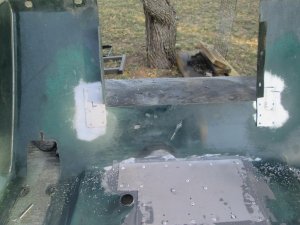
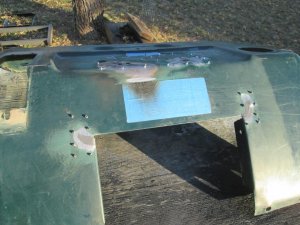
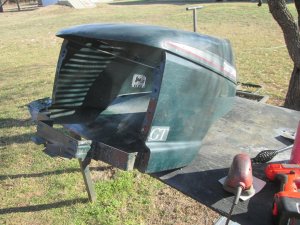
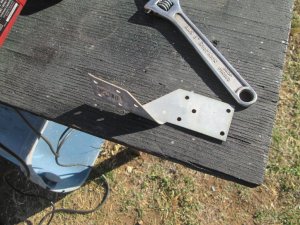
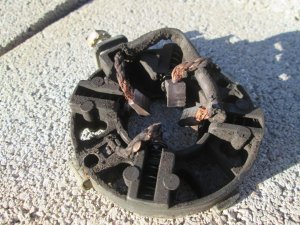
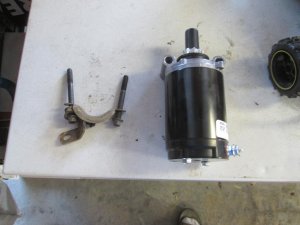
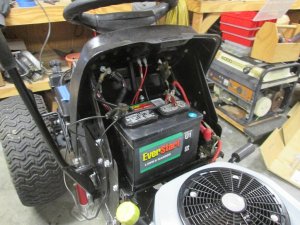
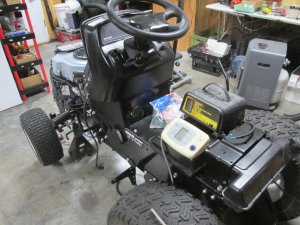
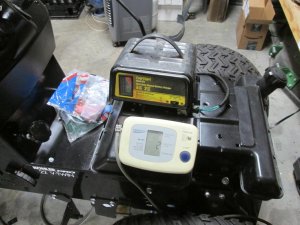
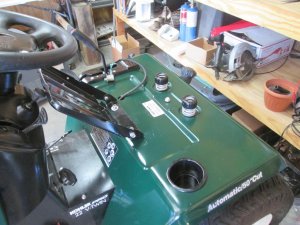
Got run out of the kitchen, so I decided to put some new parts on. front wheel bushings came off with little struggle. I cleaned the old grease out, Installed one side and packed with new grease and installed the other side. There is no slop at all in the steering now. Installed the seat spring rubber covers. Cleaned up the old lug bolts and painted them and the new to match. Should look good against the white rims.
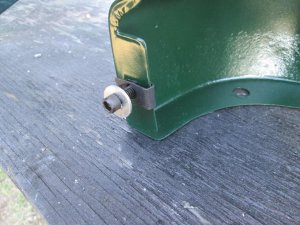
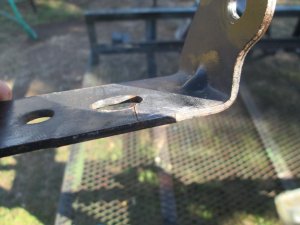
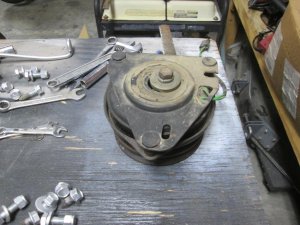
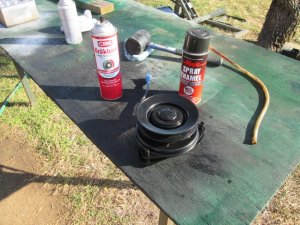
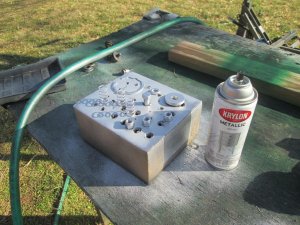
I'm sure you are aware of the 1/2" wide ball bearing conversion (JD Bearings) which is good, but I wanted to alert to roller bearings that are 1", the heaviest I could find without significant modifications for our wheels. I have all the specs here;
HD Bearing Conversion for 3/4” Axles
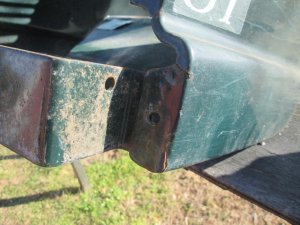
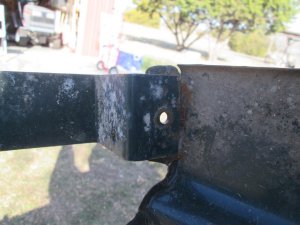
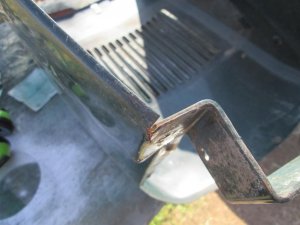
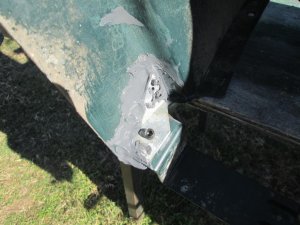
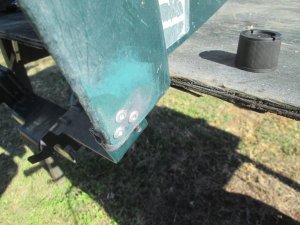
I have been busy again making things and breaking things, life. I'll share what I can so far. If you have 3/4” front axles/spindles with sleeves/bushings for bearings, or the upgraded 1/2” wide ball bearings (as common with JD) and wanted to upgrade to the next level of wheel support, before...
tractorfanatics.com

The stock bushing is very strong and did hold up well. This conversion is only if, in my opinion, like me, you are putting a lot of weight on the front end, then it will significantly reduce friction and retain more grease, or of course if someone just wants to, because they can.
With all this said, The age of your tractor, replacing those bushings I think will go a long way in making your tractor feel new. The importance for someone wondering, I think is that they will roll straight and leak the least amount of grease. It seems that over time the bushings will oval out of round as normal wear, but that leaves greater gaps and uneven contact with the axles. I wonder if anyone has had experience letting these go? Just curious.
I like the on going pictures.
")