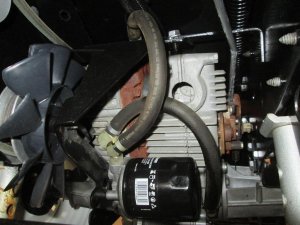
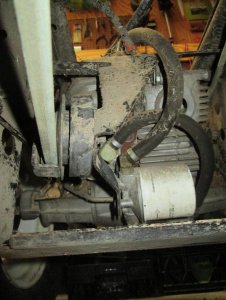
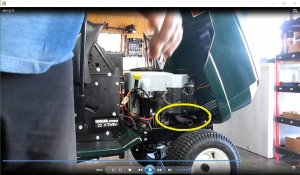
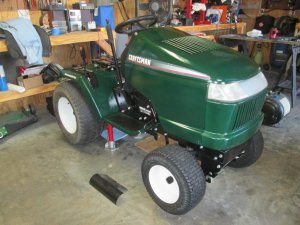
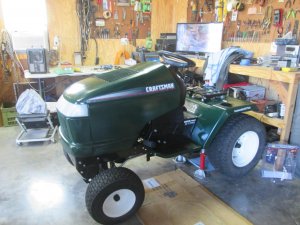
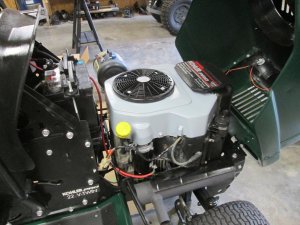
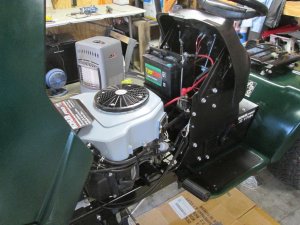
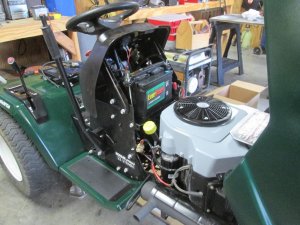
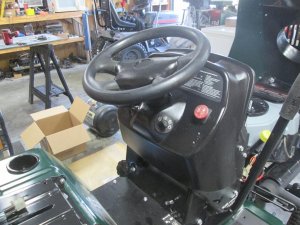
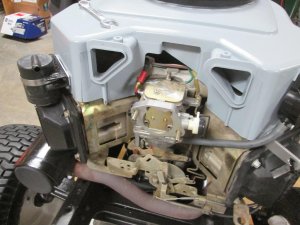
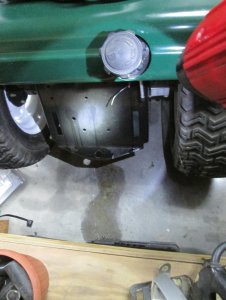
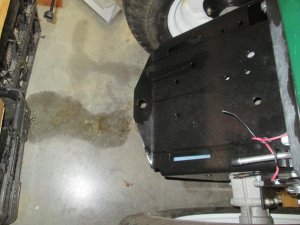
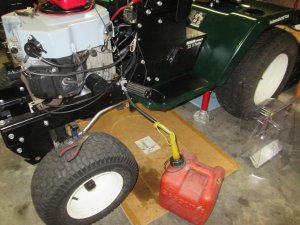
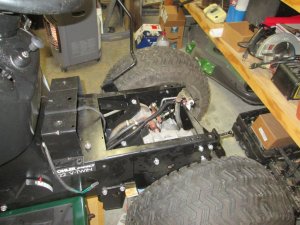
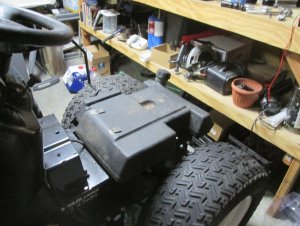
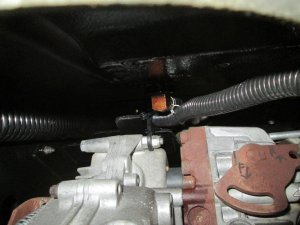
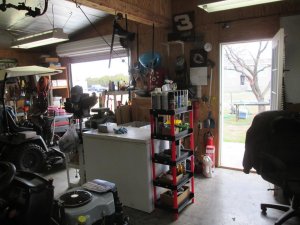
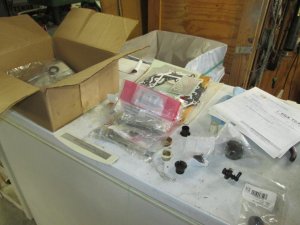
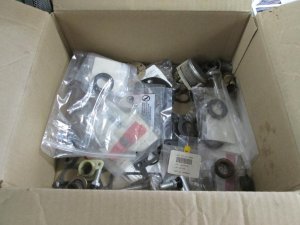
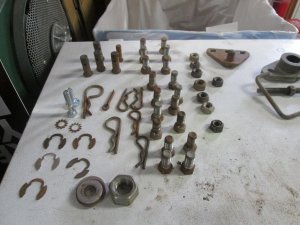
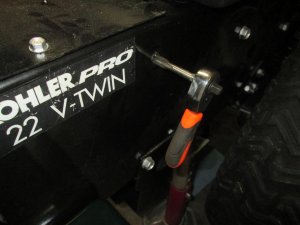
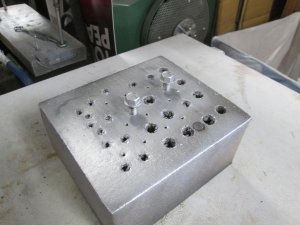
Well I hit the PTO bolt a couple times with the impact set to 90psi. Feels like it snugged up fine. While routing the drive belt I noticed a big hole in the trans axle, had to go back to see if there was a plug that needed to be there, I didn't see one. Just about to fire him up, camera running and I noticed I had forgot something. I was wondering why I had one bolt left over. Stopping point for tonight. Will be sore tomorrow with all the getting up off the floor today.
You are using an out of date browser. It may not display this or other websites correctly.
You should upgrade or use an alternative browser.
You should upgrade or use an alternative browser.
Craftsman 917.273100 2000 Estate find
- Thread starter larrybl
- Start date
I always out those pto bolts on with a long handle ratchet. Snug. Then give the ratchet a couple moderate tugs.
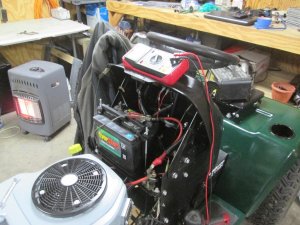
I finished installing the muffler and battery tie down, couldn't resist. AMP meter works, shows a discharge with the lights, but not a charge when it fires up. Won't stay running. I'll check the charging circuit and fuel cut off solenoid this week.
Good things, the new starter is strong.
It runs, no smoke.
Good things, the new starter is strong.
It runs, no smoke.
Attachments
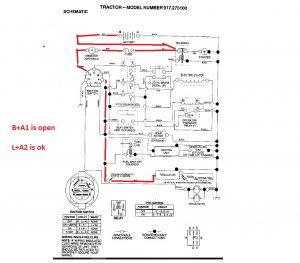
I noticed the AMP meter was not showing a charge during the short runs, the fuel solenoid is directly driven from the regulator output. I plan to check if I am getting an output from there, and if it is good, tracing the circuit out. Too cold to test fire it in the shop tonight.
Attachments
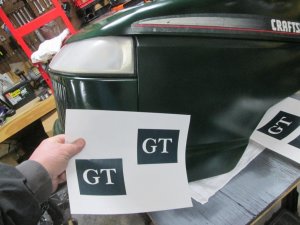
I checked the wire circuit and it is fine. I plan to jump the fuel solonid to the + side of the battery and see if I can keep it running long enouf to test the stator and regulator. I think the Regulator died. The test will confirm this. Need to wait for the Weekend warm weather so I can open the shop doors for this test. Made a replacement GT badge at work today.
Attachments
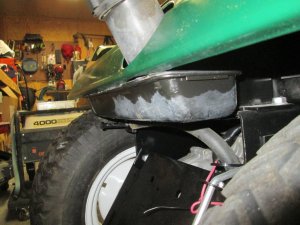
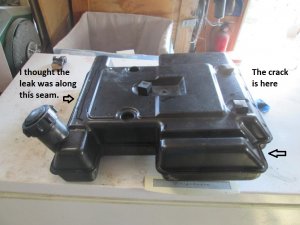
Major set back tonight! As soon as I opened the shop door I smelled gas. I thought the seal in the bottom of the tank failed, nope, dumb a$$ me installed the fender pan wrong and split the tank seam. Never had this happen before. I am draining the gas now. I think I have a spare tank somewhere.
Attachments
I'll see if I can find the spare tank tomorrow and see if it fits. I'll need to add soapy water to this one and pressure it to see where the seam is leaking and see if I can repair it. Wasn't planning on pulling the fender pan tonight, but I need to see if the spare tank will fit.
Attachments
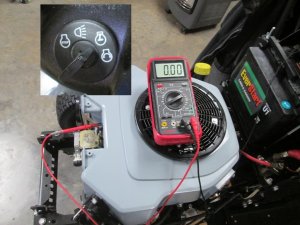
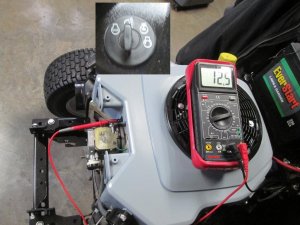
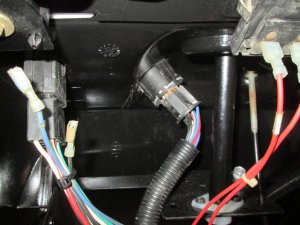
Ever feel like you started on the wrong end of a problem, and the last and easiest thing to get to fixed the problem? After banging my head over the electrical issue I found the key has two run positions. I was testing everything in the run/lights position. When actually trying to start the machine I would go to the start, and return to the run/only position. I tested this and sure enough I had no voltage in the run/only position. I sprayed contact cleaner into the switch connector and everything works now. I should have the gas tank installed this weekend and do a live start on it then.
Attachments
Well I was hoping to see if I got the electrical fixed, but the gas tank had other thoughts. This may take a couple of post to cover.
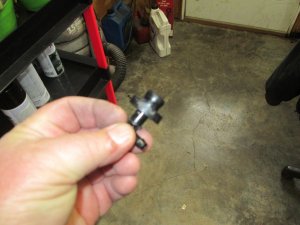
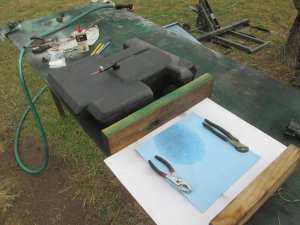
Not too bad today so I moved the gas tank operation out side and opened up the shop to get aired out. I vaguely remembered ordering a gas tank seal but wasn’t sure if I had used it, so I dug through the Craftsman parts box and YES! I have one. Things like this I usually order two when I need one.
I did pull the one from the cracked tank and will try it first.
To remove the old seal had to be cut it off, so now the 2 gallons of gas I am using to test will be contaminated, if it isn’t already.
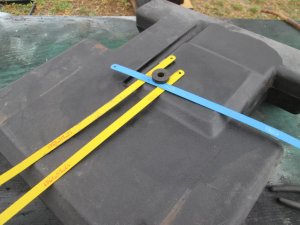
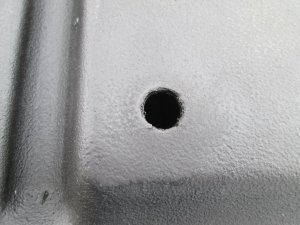
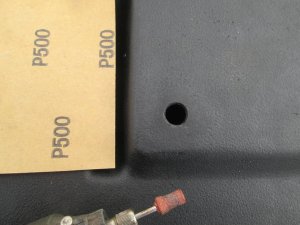
The old seal didn’t work, so I pulled it back off. The hole looked rough so I de burred it with 500 grit and a fine grinding wheel.
Attachments
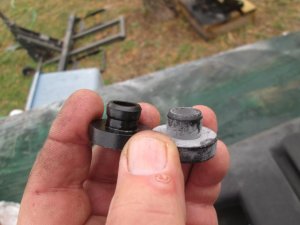
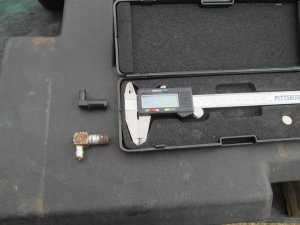
Apparently, these seals cannot be re-used. Glad I had a new one! I measured the two elbows and they were the same size. I didn’t want to trust the plastic one so I cleaned up the metal one and used it.
I eliminated the short fuel line and went with the long one so I didn’t need to plug the end, and this will allow easier draining. So far this isn’t leaking. I need to run to town and get some fresh gas and finish getting this back on the tractor.
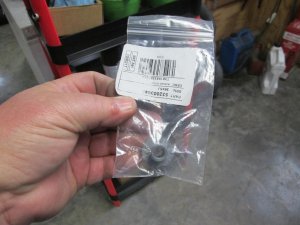
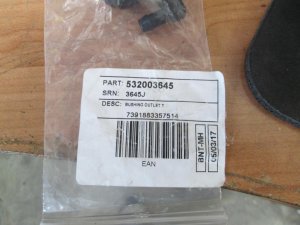
I’ll order a new seal or two when I place the order for the deck parts. Here is the part number if interested.
Attachments
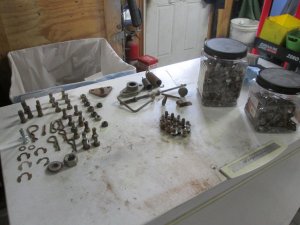
I will be picking up some more. I have had the fender pan off so many times I messed up a couple bolts, these were the tip type so I opened up a box of parts I had and found several sets of lug bolts (I bought 5 that were missing earlier). Taped the holes and got two better bolts. I guess I need to sort this stuff out and inventory it so I am not buying things I already have.
Attachments
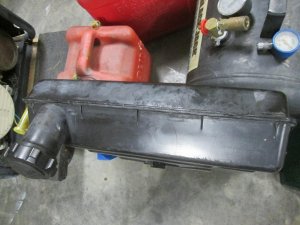
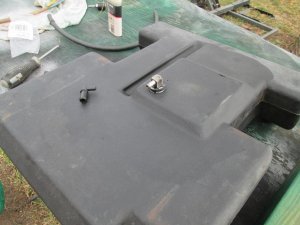
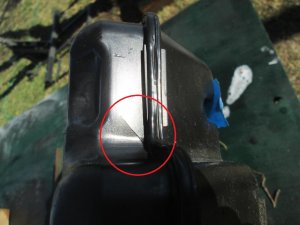
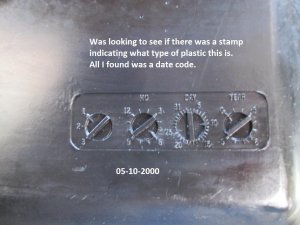
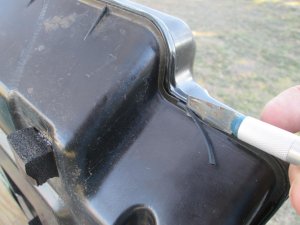
Checked the busted tank out, filled with soapy water and pressurized. The back seam is OK, the tank is cracked on the opposite end. Not sure how that happened. Looked for a material code to determine what type of plastic this is, this would help deciding on the method to repair. All I found is a date code.
Attachments
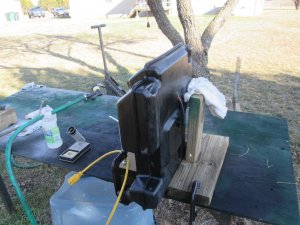
I watched a couple three videos on how to fix a cracked plastic gas tank, all three used the melting procedure. I found this to be rather easy.
- Make sure the tank is empty and no fumes (I had soapy water in mine, drained).
- Loosen / remove the gas cap, you don’t want any +/- pressure build up.
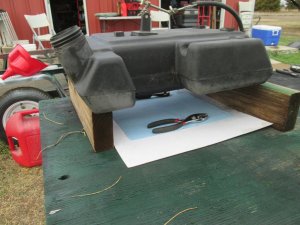
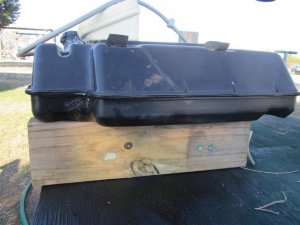
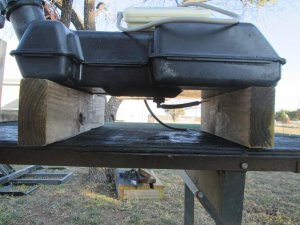
- I braced the tank into a position that allows easy access to the crack.
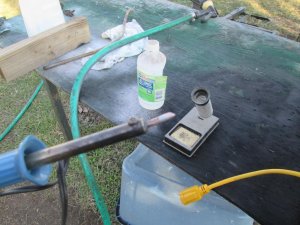
- Cleaned the solder iron tip, and used rubbing alcohol on the crack area. Use a 30W iron if possible.
- I trimmed some excess material to use as filler.
- Followed instructions,
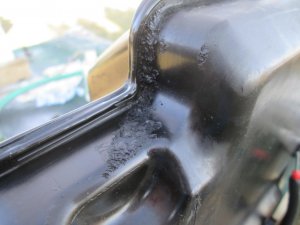
- Make a trench the full length of the crack with solder iron. (outside if possible)
- Push material from sides of the crack made by the trenching back into the crack.
- Melt till it is almost a liquid (not too hot) and add filler as needed.
- Use a circular motion to smooth out.
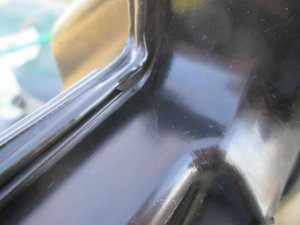
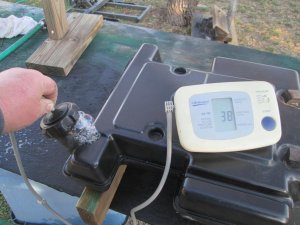
- I filled with water again and pressured it to 38. Weld is holding, and no leaks at all the seams and the re-installed fuel line seal.

