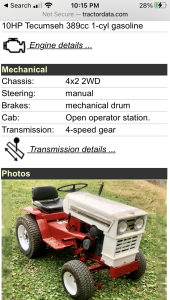
Snapper made the smaller Massey as well? MF7?
You are using an out of date browser. It may not display this or other websites correctly.
You should upgrade or use an alternative browser.
You should upgrade or use an alternative browser.
MF 1450
- Thread starter MFDAC
- Start date
No they did the later 70's into 80' 1000 series ie 1100-1855'sSnapper made the smaller Massey as well? MF7?
Spent an hour visiting with Doug on the phone. Think we both understand his situation better now. We'll get this MF going again and working as it should (even though I am no guru on this brand of tractor). Any help you folks out there can give will be appreciated!
Yes, Kenny I really enjoyed talking with you about this thing! For now I'm going to gasket the engine mount plates but will try to fix it better later.Doug. do you have the engine #'s handy (type included)?
The engine I.D. stickers were almost all scratched off on the blower housing. It is obviously the wrong block configuration for this tractor though. Much earlier in this thread, I think it was JDJake that said he was suspicious that this engine came from a different brand tractor.
The float position does work too. I knew up and down worked ok, When I put the lever in float today it dawned on me to reach down and move the lift levers and they did. Won't move much in any other position of the lever. Like I said earlier, the lever stays anywhere I move it to. I will order a new cap, and need to get a seal kit to get the valve to work smoothly again. 3 point valve works great.Float is down on the Massey's. I have a spare set of valves, let me know if you need any measurements or info Doug.
You have been a helpful contributor to this long soap opera of a thread, and I appreciate every comment from you and everyone else! That info about the history is very interesting! So this and my MF12G are both Snapper built tractors!
Yes sir Noel, great members, great forum! I am glad to have you making comments here too even though this tractor isn't like any of yours. Your common knowledge about tractors in general is very valuable! Plus boosting my confidence a little bit when I'm ready to part this thing out is priceless!Like I said before,
Noel
Doug go ahead and whine here. Your wife doesn't want to hear it and wouldn't know what you were talking about anyway.
Makes for good reading and seems like your getting plenty of good help.
Thanks you too for the comments, Chris! nice to hear from the "closest" member and these guys here are second to none with advice and ideas on how to get and keep GT's running!
DAC
Oh I didn't get to the next page when I replied, Jason! Guess I jumped to conclusions when I said my 12G is a Snapper built tractor! Obviously it is not a 1000 series! Who built them?No they did the later 70's into 80' 1000 series ie 1100-1855's
DAC
The lever came from Kenny today so I did some test fitting of the cover I got from Daniel and installed the knobs on the levers. Nice to see something on this cobbled up tractor that looks kind of like it is supposed to!
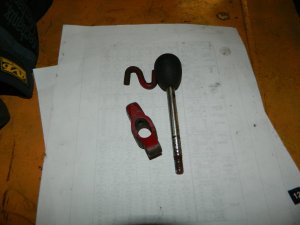
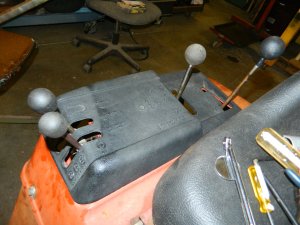
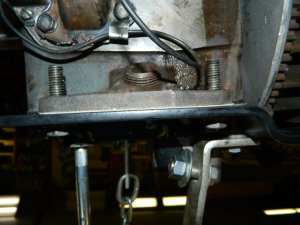
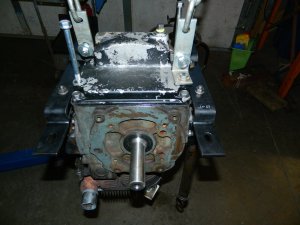
Speaking of cobbling, I built gaskets to sandwich between the engine mount plates and the incorrect block where oil was seeping. Hope it will get it by for awhile until a more correct fix can be accomplished. I need to get the tractor out of the shop for a while, and I want it to be under it's own power.
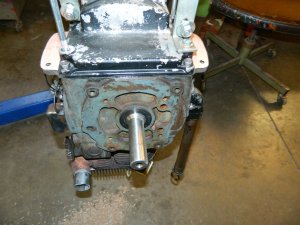
DAC


Speaking of cobbling, I built gaskets to sandwich between the engine mount plates and the incorrect block where oil was seeping. Hope it will get it by for awhile until a more correct fix can be accomplished. I need to get the tractor out of the shop for a while, and I want it to be under it's own power.


DAC
Oh I didn't get to the next page when I replied, Jason! Guess I jumped to conclusions when I said my 12G is a Snapper built tractor! Obviously it is not a 1000 series! Who built them?
DAC
I think AMF built them Doug. Look at the sheet metal around the fender area.
Noel
Attachments
After seeing your engine pics, I see the pan I have won't work with your engine mounts. It would rise the engine about 1.5", creating a driveline mis-alignment. Here's a pic of the oil pans available for the K321.The lever came from Kenny today so I did some test fitting of the cover I got from Daniel and installed the knobs on the levers. Nice to see something on this cobbled up tractor that looks kind of like it is supposed to!
View attachment 49541 View attachment 49542
Speaking of cobbling, I built gaskets to sandwich between the engine mount plates and the incorrect block where oil was seeping. Hope it will get it by for awhile until a more correct fix can be accomplished. I need to get the tractor out of the shop for a while, and I want it to be under it's own power.
View attachment 49546 View attachment 49544 View attachment 49545
DAC
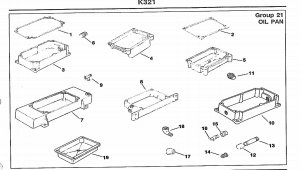
The one I was thinking about is either #3 or #10. What you have on there is #4 (usually found on JD tractors). My next thought is getting both the #1 and #2 gaskets and make a plate (1/8" thick) that fits between your block and pan, effectively sealing the cutouts for you. I'd use the gaskets to layout where all the bolt holes need to be. Hope you understand what I'm trying to get across.
The one on my K321 is #5 base and #2 gasket.
I wonder if Doug’s engine have the alignment ring on it, for the power king bell housing. Gary was mentioning that before. Another k321 engine I have has the alignment ring and has the block base like Doug’s.
This rambling doesn’t help Doug in any way. I’m just rambling.
Noel
I wonder if Doug’s engine have the alignment ring on it, for the power king bell housing. Gary was mentioning that before. Another k321 engine I have has the alignment ring and has the block base like Doug’s.
This rambling doesn’t help Doug in any way. I’m just rambling.
Noel
I don't see the ring in the pics above.The one on my K321 is #5 base and #2 gasket.
I wonder if Doug’s engine have the alignment ring on it, for the power king bell housing. Gary was mentioning that before. Another k321 engine I have has the alignment ring and has the block base like Doug’s.
This rambling doesn’t help Doug in any way. I’m just rambling.
Noel
I don't see the ring in the pics above.
Your right Kenny. I never thought to look at pictures. I guess kohler made quite a variety of engines to suit what ever tractor.
Noel
Oh yeah! I remember now that you reminded me! Thanks, Noel! Probably back in 2015, when I repowered the 12G, I had asked about "Canada" being casted into a iron pulley. Someone told me about AMF being the manufacturer. After owning these machines for so long, I forget what I learned about them in the past! Only thing different is the hood and grille.I think AMF built them Doug. Look at the sheet metal around the fender area.
Noel
That sure shows the varieties, Kenny! My tractor requires gasket 2 and pan 4 obviously. Have the engine for pretty much all the other bases pictured!After seeing your engine pics, I see the pan I have won't work with your engine mounts. It would rise the engine about 1.5", creating a driveline mis-alignment. Here's a pic of the oil pans available for the K321.
View attachment 49553
The one I was thinking about is either #3 or #10. What you have on there is #4 (usually found on JD tractors). My next thought is getting both the #1 and #2 gaskets and make a plate (1/8" thick) that fits between your block and pan, effectively sealing the cutouts for you. I'd use the gaskets to layout where all the bolt holes need to be. Hope you understand what I'm trying to get across.
Pulled the engine mount plates back off after pinching the gaskets onto the rtv and the block overnight.
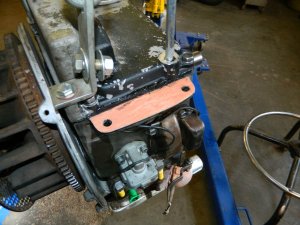
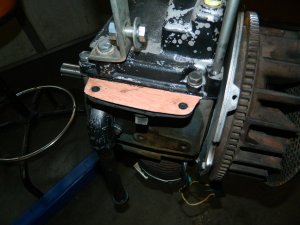
Tipped the engine back upright and put oil in it again. Is the original color of that block a indication of what kind of tractor it might have come from?
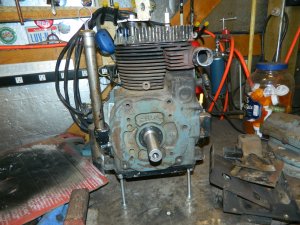
Painted the tins also. Didn't get pics of the side tins.
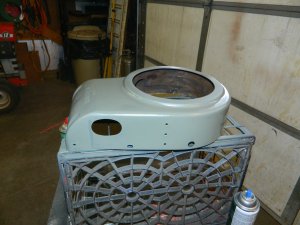
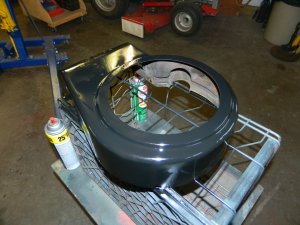
Forgot to order the spool valve cap yesterday but got that done today too.
DAC
The place I ordered the spool valve cap from sent an email today that they had to order it from the manufacturer. They assured me it is only going to be delayed by a day or two. Heard that before---LOL! I can give them a chance. It ain't like I have any attachments for the center lift anyway!
Cleaned and quickly painted exposed areas of the block this afternoon. No oil seeping around the gaskets I made---for now! Definitely going to keep an eye out for a piece of 1/8" plate like Kenny suggested. I have 1/8" aluminum plate that would be the correct size, but I like the idea of steel better.
Hope to stuff the engine back into the chassis this coming weekend.
DAC
Got some tins on and made a decision! That's not easy for me----LOL!
It was such a nice day I got to air the shop out for a while when I got home from work at 5pm.
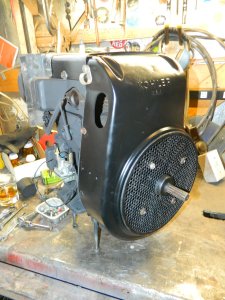
I thought about putting this aluminum or pot metal piece back on to give the muffler side of the engine tins a little support. Even thought about making a muffler support to that bolt hole in it.
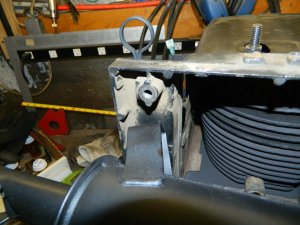
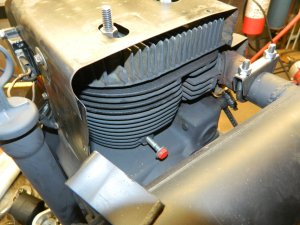
That piece has two bad cracks in it so I scrapped that idea. The tins will ride as is, and that gives room to have a two leg support for the muffler. I'll take some flat strap and go from the bolt hole with the orange head bolt sticking out of it and from the stud off the head bolt to the bracket on the muffler.
Muffler bolted in position.
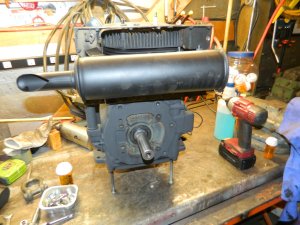
No oil leaks so far.
That's it for today. Now I'm not sure it will go back in the tractor this weekend, as I took overtime at work Sunday.
DAC
It was such a nice day I got to air the shop out for a while when I got home from work at 5pm.

I thought about putting this aluminum or pot metal piece back on to give the muffler side of the engine tins a little support. Even thought about making a muffler support to that bolt hole in it.


That piece has two bad cracks in it so I scrapped that idea. The tins will ride as is, and that gives room to have a two leg support for the muffler. I'll take some flat strap and go from the bolt hole with the orange head bolt sticking out of it and from the stud off the head bolt to the bracket on the muffler.

Muffler bolted in position.

No oil leaks so far.
That's it for today. Now I'm not sure it will go back in the tractor this weekend, as I took overtime at work Sunday.
DAC
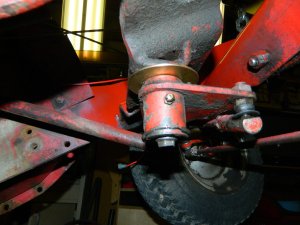
Tired after work but did take care of a couple things I wanted to do before the engine went back in. The steering pivot under the engine crossmember had a lot of up and down play. Hooked the engine hoist to the tractor and raised it to where I could be worked on without laying on the floor. Looked like maybe a thrust washer would help. The shaft and bushings seem ok.
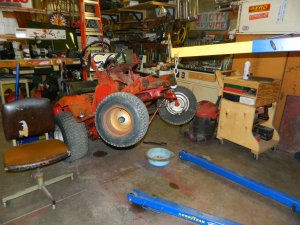
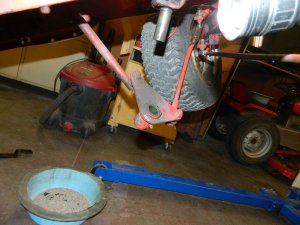
Found a washer, but still had to drill it out to 15/16". That seemed to help a lot. Pumped it up with grease and let it back down.
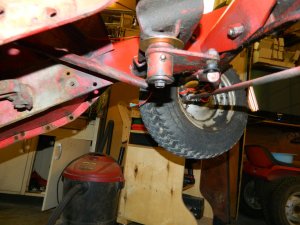
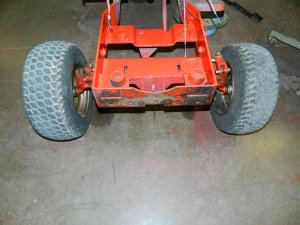
Then the lack of being able to get the tires toed in right was annoying me. The steering arms on the spindles were still bent up some so the tie rod got removed and the arms got twisted where they are flat with each other. Made a big difference. I didn't want to lengthen the tie rod ends any more. they are out as far as I felt comfortable with.
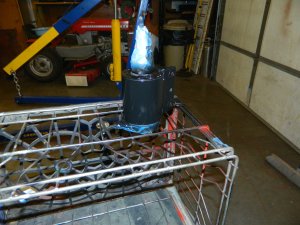
Then I cleaned up and painted the starter.
Just have to keep hammering away at it!
DAC


Found a washer, but still had to drill it out to 15/16". That seemed to help a lot. Pumped it up with grease and let it back down.


Then the lack of being able to get the tires toed in right was annoying me. The steering arms on the spindles were still bent up some so the tie rod got removed and the arms got twisted where they are flat with each other. Made a big difference. I didn't want to lengthen the tie rod ends any more. they are out as far as I felt comfortable with.

Then I cleaned up and painted the starter.

Just have to keep hammering away at it!
DAC
Not quite, Noel, but thank-you!She’ll be just like new Doug. !!!
Noel
DAC
Mounted the starter. Decided to squirt a little oil thru the spark plug hole and crank it over briefly to sling some oil around inside the crankcase and listen for weird noises. Did 4 or 5 rotations with no spark plug and 4 or 5 rotations with a plug in the hole. Everything sounded normal.
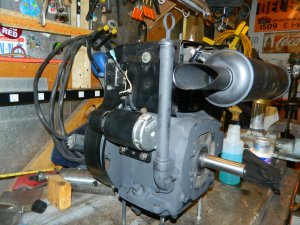
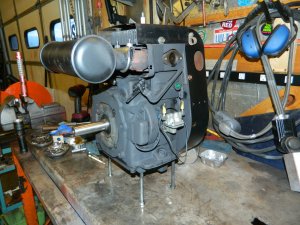
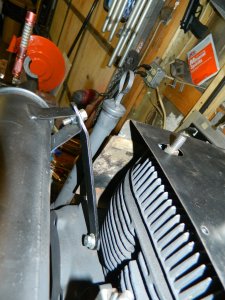
Then built a brace for the right end of the muffler. Just did a single one. If vibration seems too much for it I'll add another.
DAC


Then built a brace for the right end of the muffler. Just did a single one. If vibration seems too much for it I'll add another.

DAC
Today sucked at work but weather was so nice I didn't let it get me down! Got home, opened the doors to the shop and tinkered a bit. Was able to leave the doors open for about an hour before it started cooling off to much for this geezer.
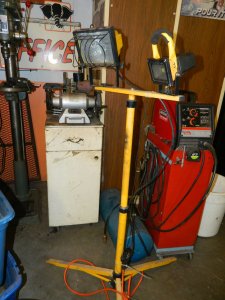
Put a couple of old lights on that light stand that came from the scrap trailer at work first. Definitely want to get some much better ones soon.
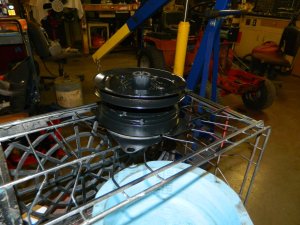
Swept the dead pill bugs up and then cleaned some parts for the engine and got the electric clutch painted after cleaning.
Still an outside chance the engine will at least get installed this weekend before I go "On Call" again for a week.
DAC
Put a couple of old lights on that light stand that came from the scrap trailer at work first. Definitely want to get some much better ones soon.

Swept the dead pill bugs up and then cleaned some parts for the engine and got the electric clutch painted after cleaning.

Still an outside chance the engine will at least get installed this weekend before I go "On Call" again for a week.
DAC

