You are using an out of date browser. It may not display this or other websites correctly.
You should upgrade or use an alternative browser.
You should upgrade or use an alternative browser.
Winter project
- Thread starter jdcrawler
- Start date
How did you first learn the lathe? Your way more than a hobby machinist.
I bought this old South Bend lathe way back in the early 70's and mounted it to the workbench in my garage.
I started using it and that's how I learned to run a lathe ... simply by going out in the garage and working with it.
That is the same way I learned to run all of my machining and metal forming tools and also how to weld ... just by doing it and either correcting my mistakes or throwing them away and starting over.
I just realized today that " Winter project " was probably not the best title for this posting.
The temperature is only suppose to be in the mid 40's today and it's a little chilly working out in the garage.
The only heat source that I have out in my garage is a salamander heater and that works alright for warming up the tool room a little because it is only 10 by 20 and is enclosed ( except for the open doorway going into the main garage ).
However, the main garage is open to the roof and the loft with open eves to let the heat out in the supper so it would be a waste of fuel to even try to heat that area.
Soooo .... as the days get colder, I will be inside working in my train room instead of out in the garage.
That said .. I did get some work done on the tractor today.
With the transmission finished, it's time to start working on the frame.
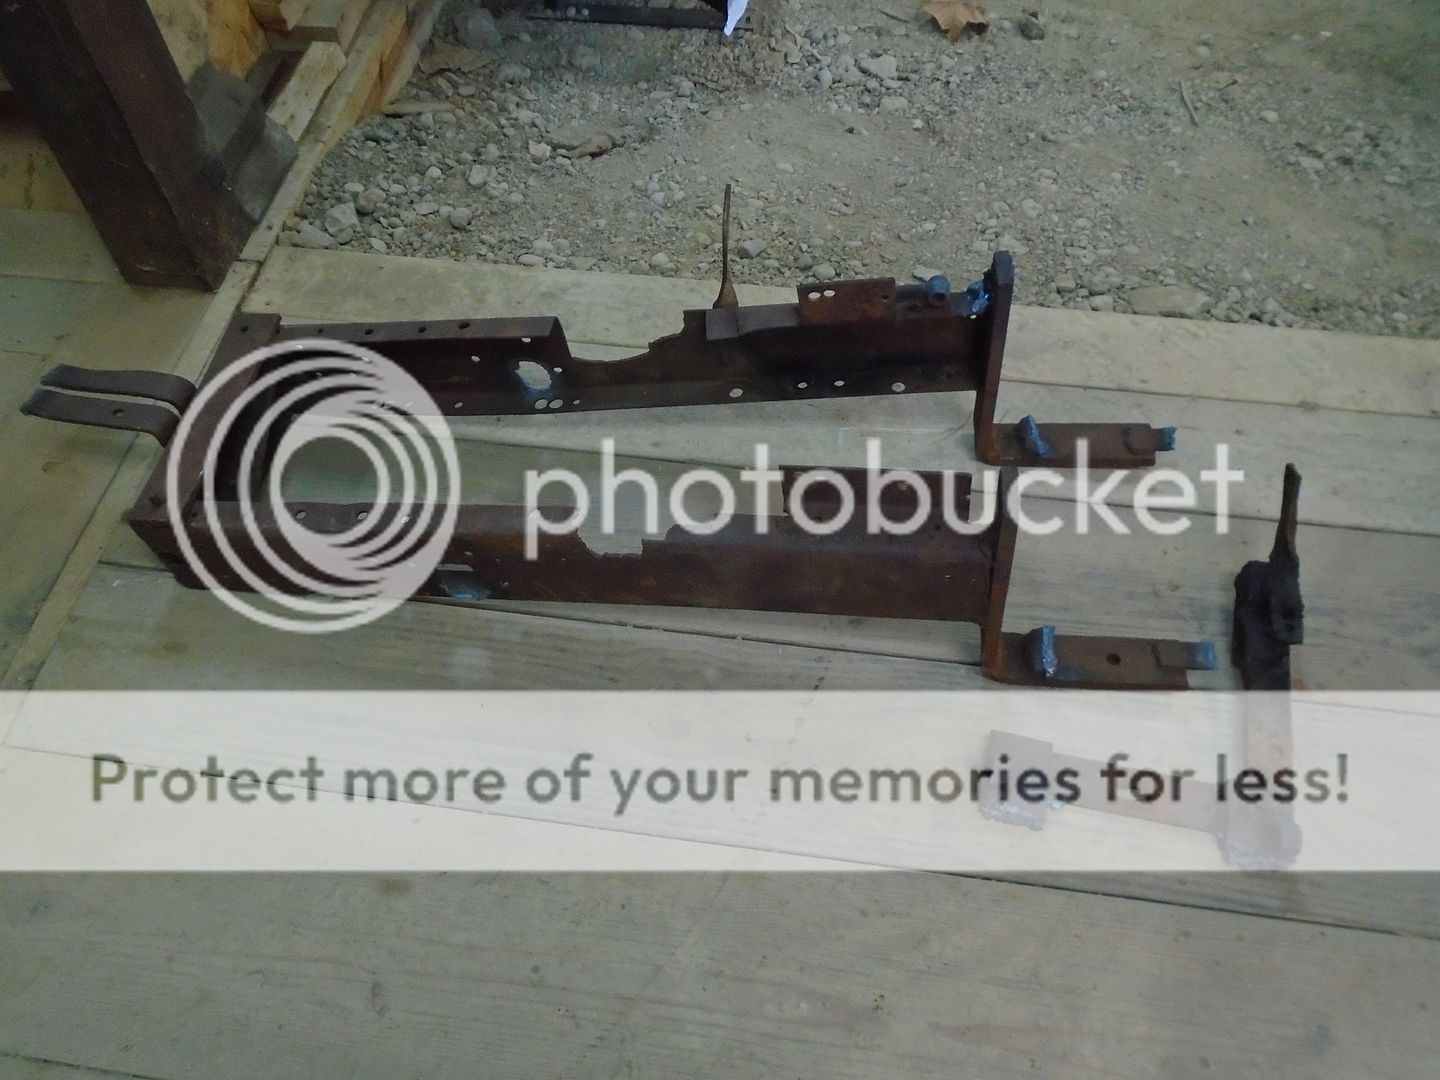
This is what's left of the old frame and it is going to the scrap yard.
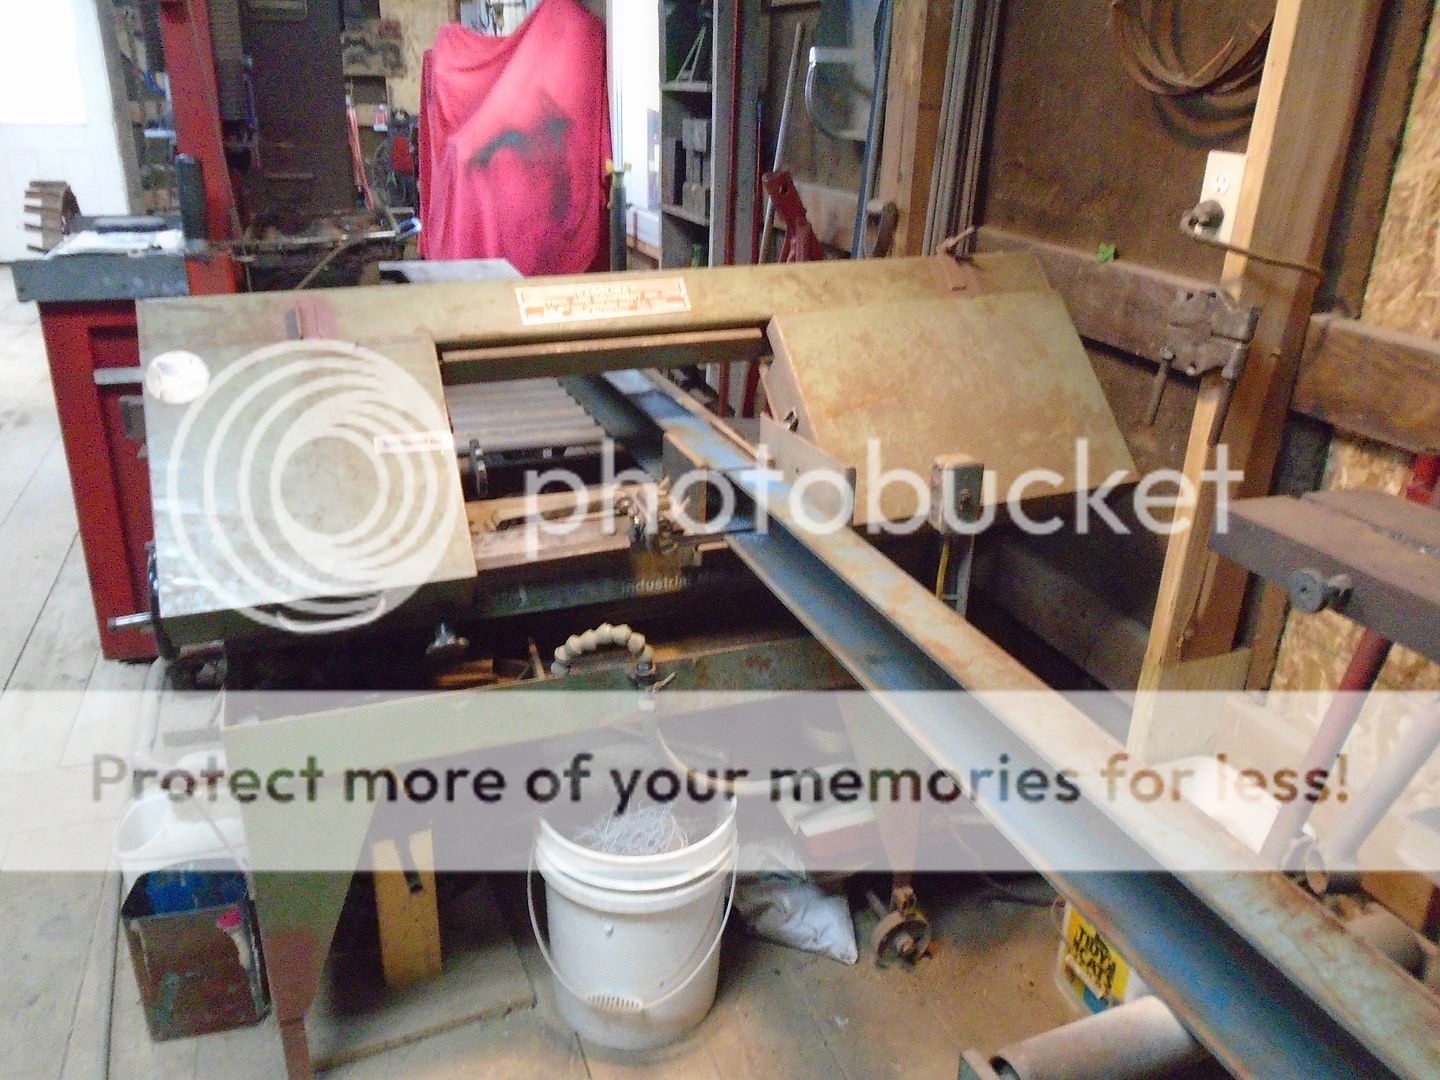
The new frame is going to be made out of 1/4 inch thick square channel steel.
With the axle upside down, the two frame rails are blocked up so the wheels are off the ground and the axle is resting on the frame rails.
They are adjusted so they are square and parallel and then they are clamped on both ends so they will stay in that position.
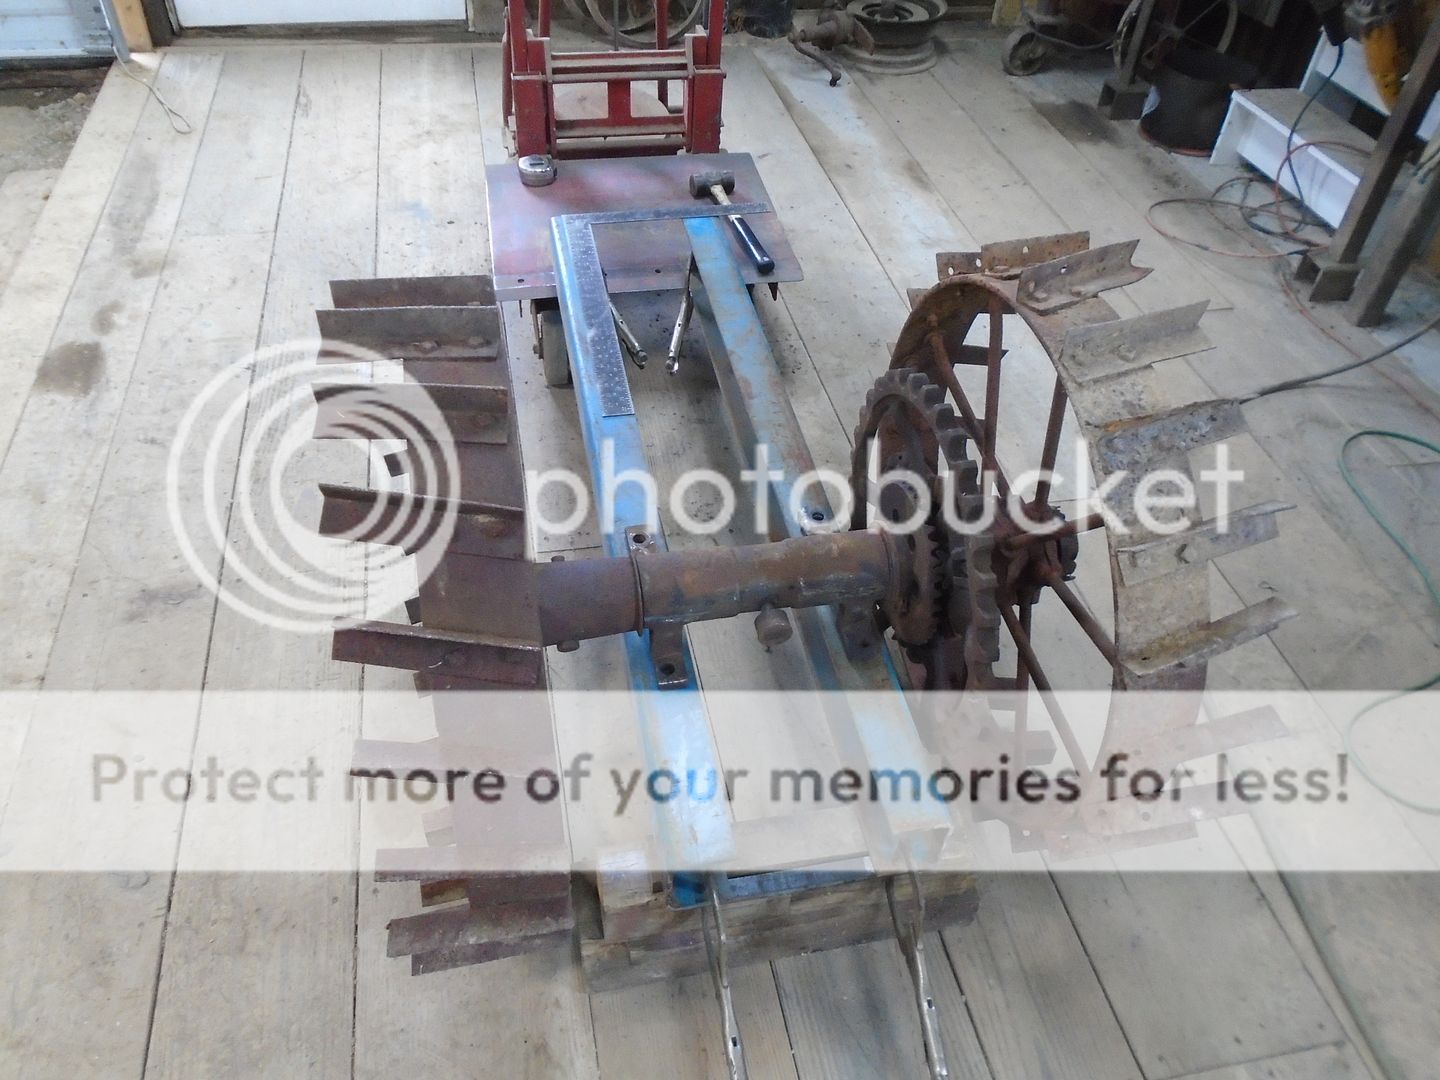
The axle is then moved into position on the frame.
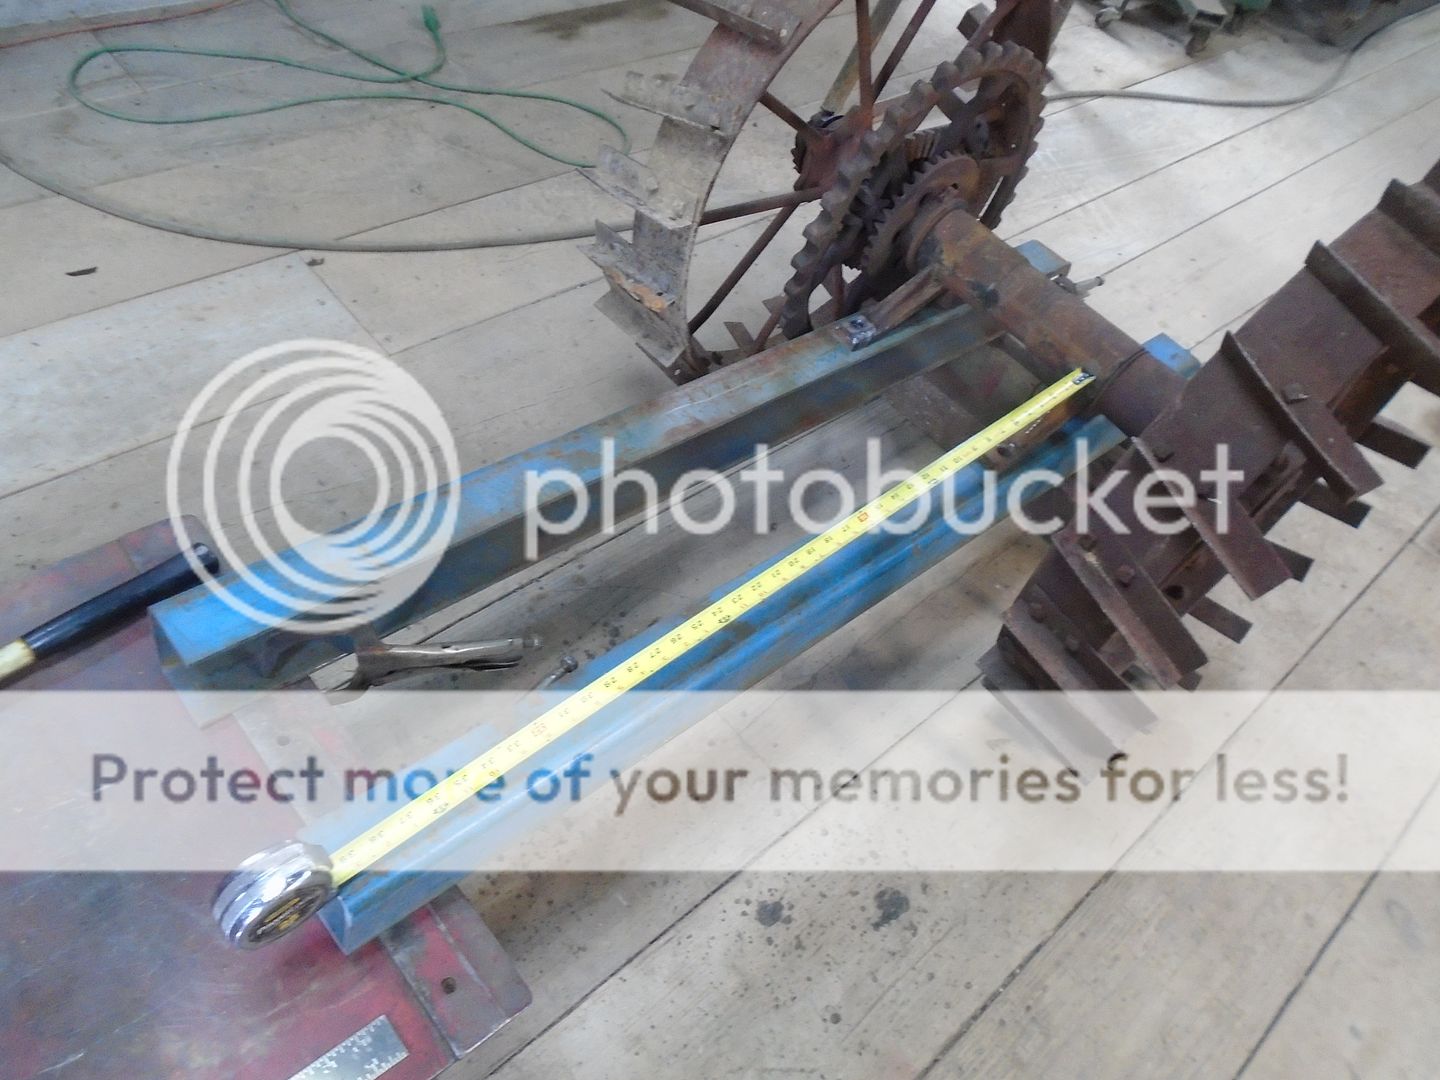
Just to double check the squareness of the axle, I measured from the inside of the frame out to the edge of the front of the wheel and also to the back of the wheel and the distance was different by about 3/8 inch.
I rotated the wheel and it moves in and out by 1/2 inch and the other wheel varies by about 3/4 inch.
Considering how old this tractor is and how much abuse it has obviously had, I don't think that is all that bad.

The axle is clamped in place and the mounting holes marked with a center punch.
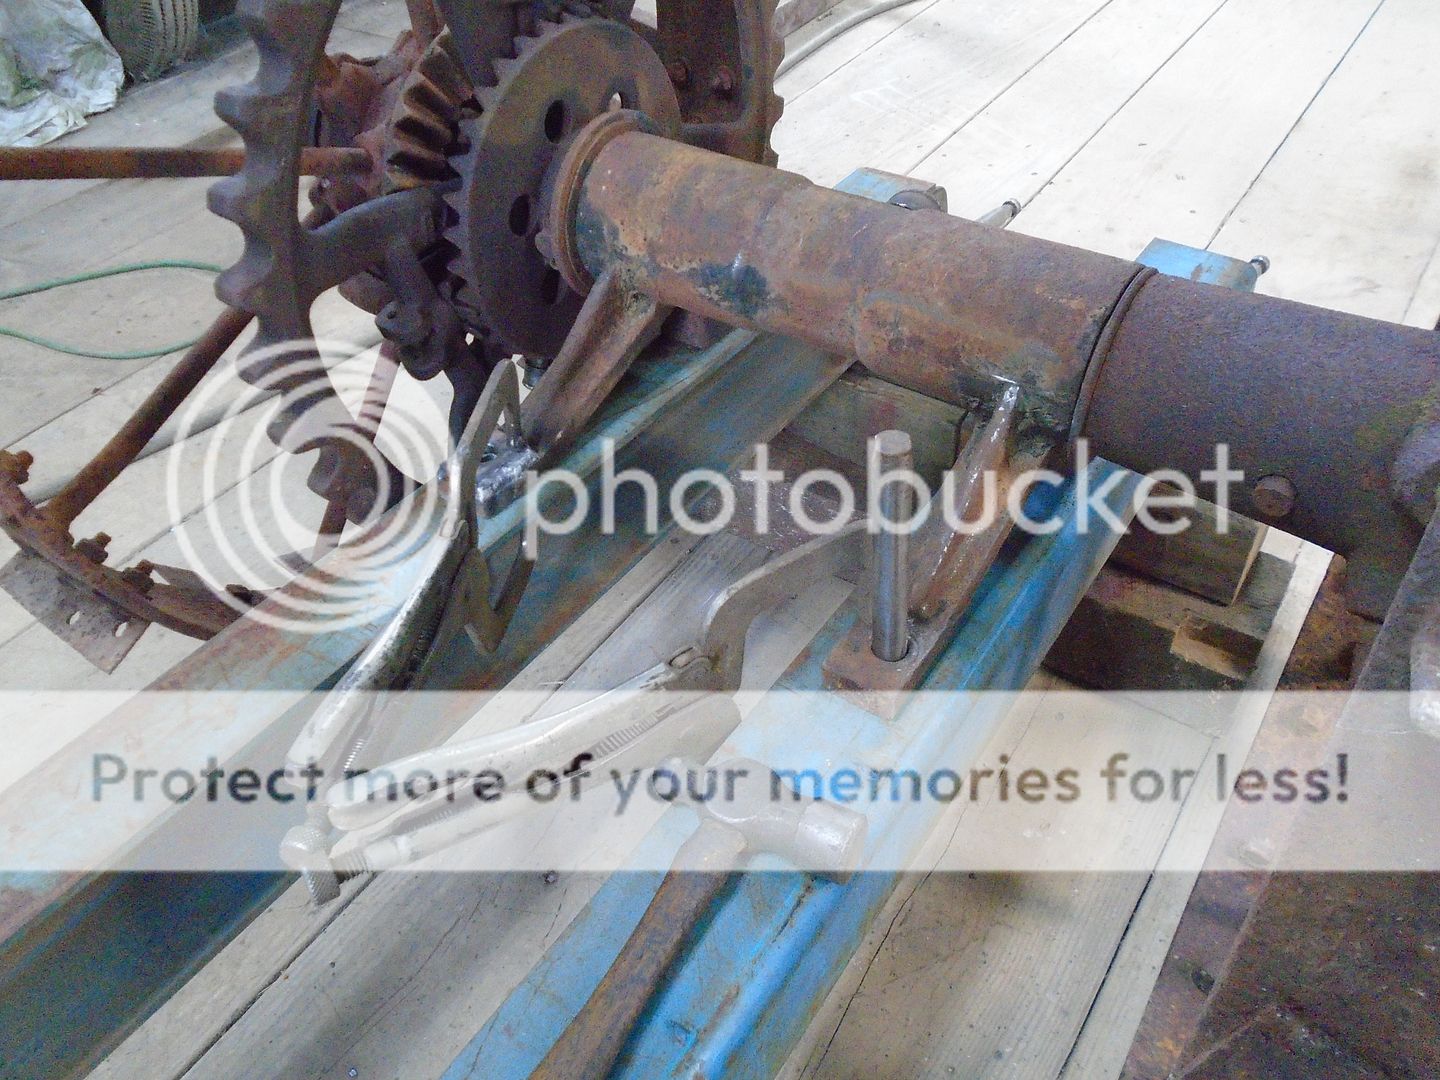
Originally, the axle and the transmission were bolted solid to the frame.
Because the wheels are chain driven, I want to have a little adjustment between the axle and the transmission.
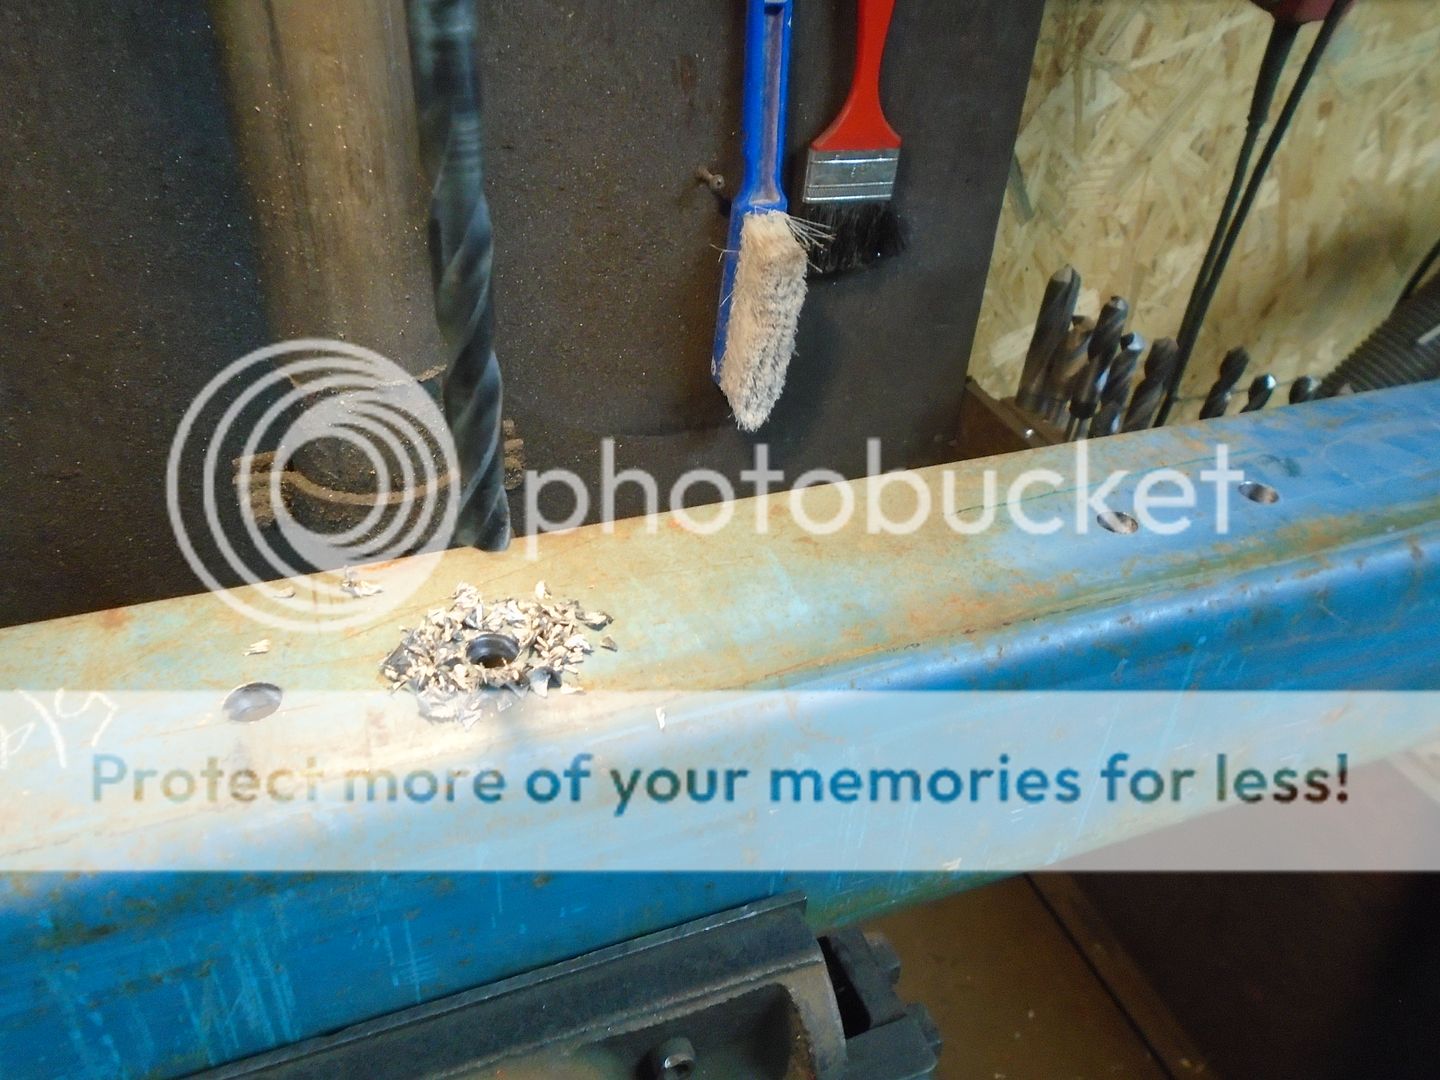
The frame rail is put up on the drill press and the first hole is drilled on the center punch mark.
Then another hole is drilled two inches from the first hole.
These are clearance holes so when I mill the slot, the center of the end mill doesn't have to cut any metal when I crank it down into the metal.
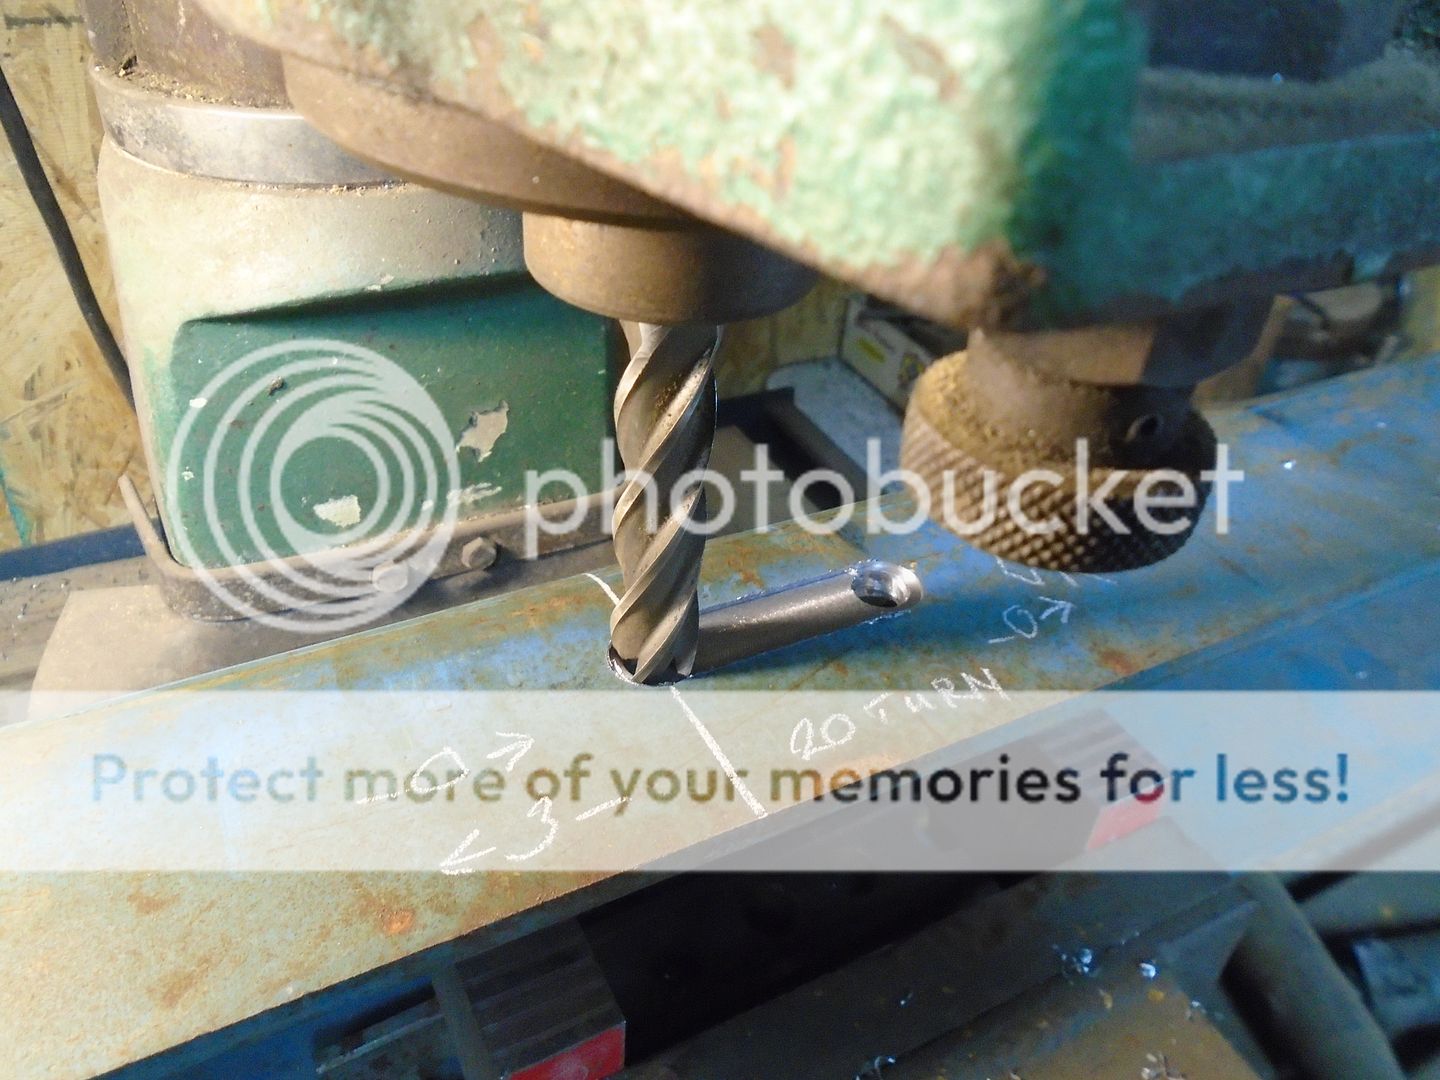
The frame rail is then put on the mill and the first cuts are made and the dial readings are marked down.
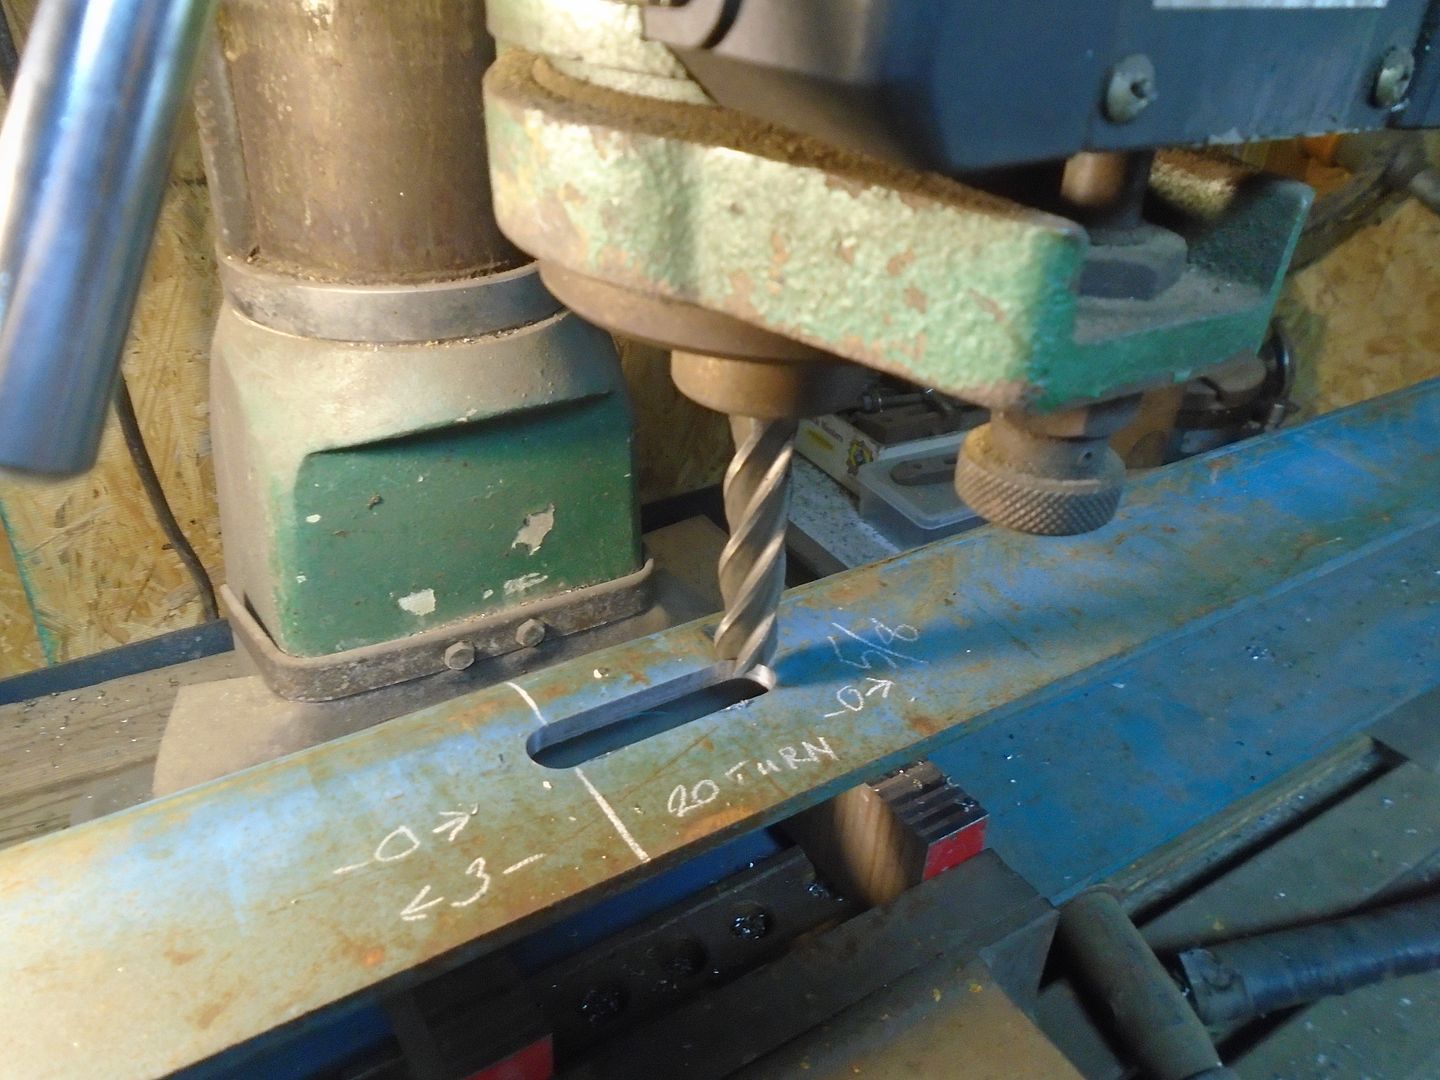
Starting with ' 0 ' on the dial at the left hole, 20 turns of the crank handle on the table to ' 0 ' reading is two inches of travel.
Because of the slack in the thread, I have to turn the dial past ' 0 ' to ' 3 ' on the dial when coming back to be in the same place where I started.
The first notch is finished.
The temperature is only suppose to be in the mid 40's today and it's a little chilly working out in the garage.
The only heat source that I have out in my garage is a salamander heater and that works alright for warming up the tool room a little because it is only 10 by 20 and is enclosed ( except for the open doorway going into the main garage ).
However, the main garage is open to the roof and the loft with open eves to let the heat out in the supper so it would be a waste of fuel to even try to heat that area.
Soooo .... as the days get colder, I will be inside working in my train room instead of out in the garage.
That said .. I did get some work done on the tractor today.
With the transmission finished, it's time to start working on the frame.
This is what's left of the old frame and it is going to the scrap yard.

The new frame is going to be made out of 1/4 inch thick square channel steel.

With the axle upside down, the two frame rails are blocked up so the wheels are off the ground and the axle is resting on the frame rails.
They are adjusted so they are square and parallel and then they are clamped on both ends so they will stay in that position.

The axle is then moved into position on the frame.

Just to double check the squareness of the axle, I measured from the inside of the frame out to the edge of the front of the wheel and also to the back of the wheel and the distance was different by about 3/8 inch.
I rotated the wheel and it moves in and out by 1/2 inch and the other wheel varies by about 3/4 inch.
Considering how old this tractor is and how much abuse it has obviously had, I don't think that is all that bad.

The axle is clamped in place and the mounting holes marked with a center punch.

Originally, the axle and the transmission were bolted solid to the frame.
Because the wheels are chain driven, I want to have a little adjustment between the axle and the transmission.
The frame rail is put up on the drill press and the first hole is drilled on the center punch mark.
Then another hole is drilled two inches from the first hole.
These are clearance holes so when I mill the slot, the center of the end mill doesn't have to cut any metal when I crank it down into the metal.

The frame rail is then put on the mill and the first cuts are made and the dial readings are marked down.
Starting with ' 0 ' on the dial at the left hole, 20 turns of the crank handle on the table to ' 0 ' reading is two inches of travel.
Because of the slack in the thread, I have to turn the dial past ' 0 ' to ' 3 ' on the dial when coming back to be in the same place where I started.

The first notch is finished.

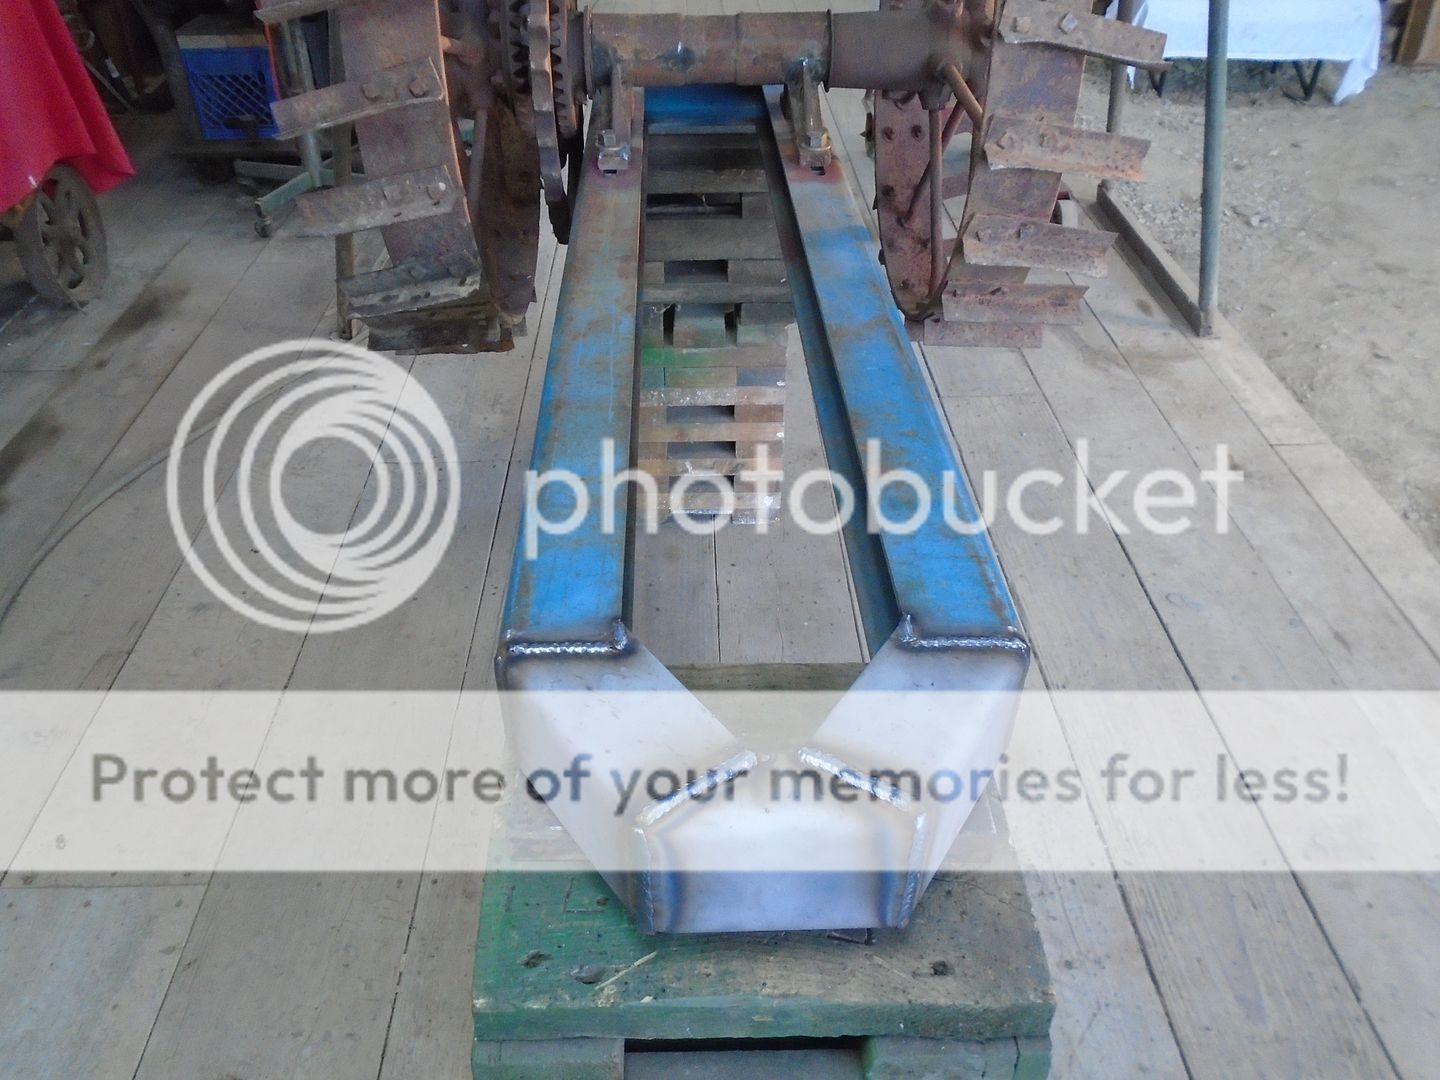
The axle is bolted to the frame rails and the whole thing it lifted up onto higher blocks so I can work on it without having to bend over all the time.
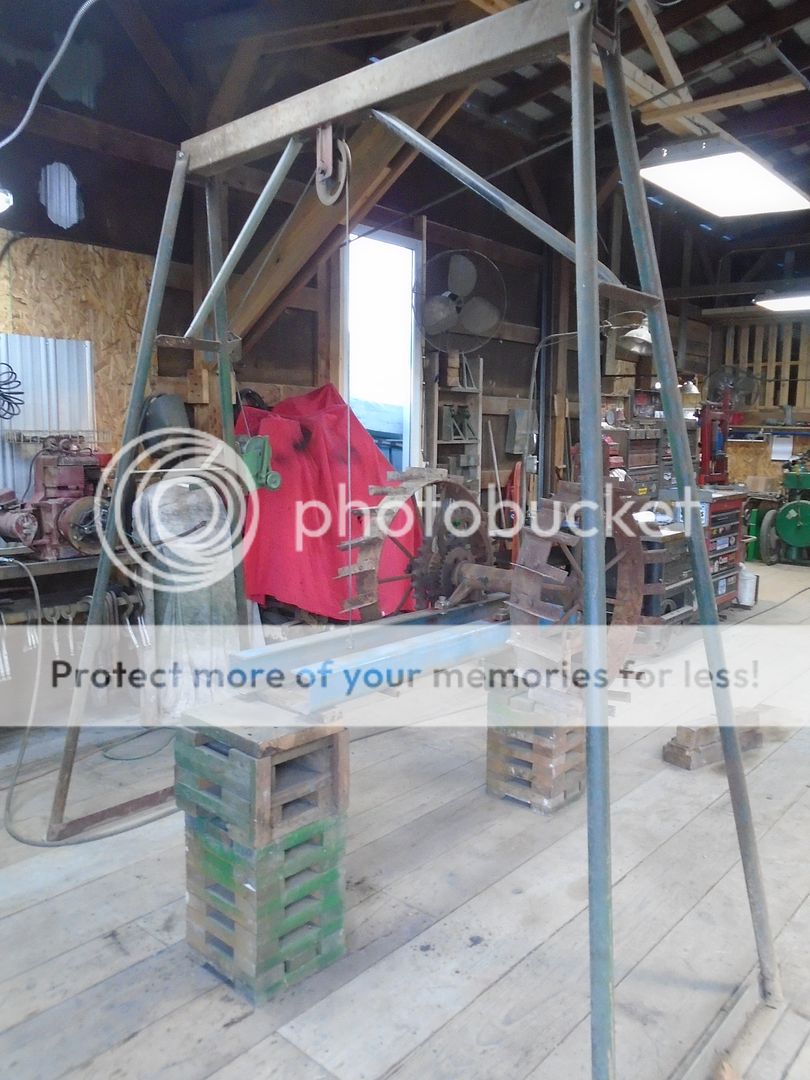
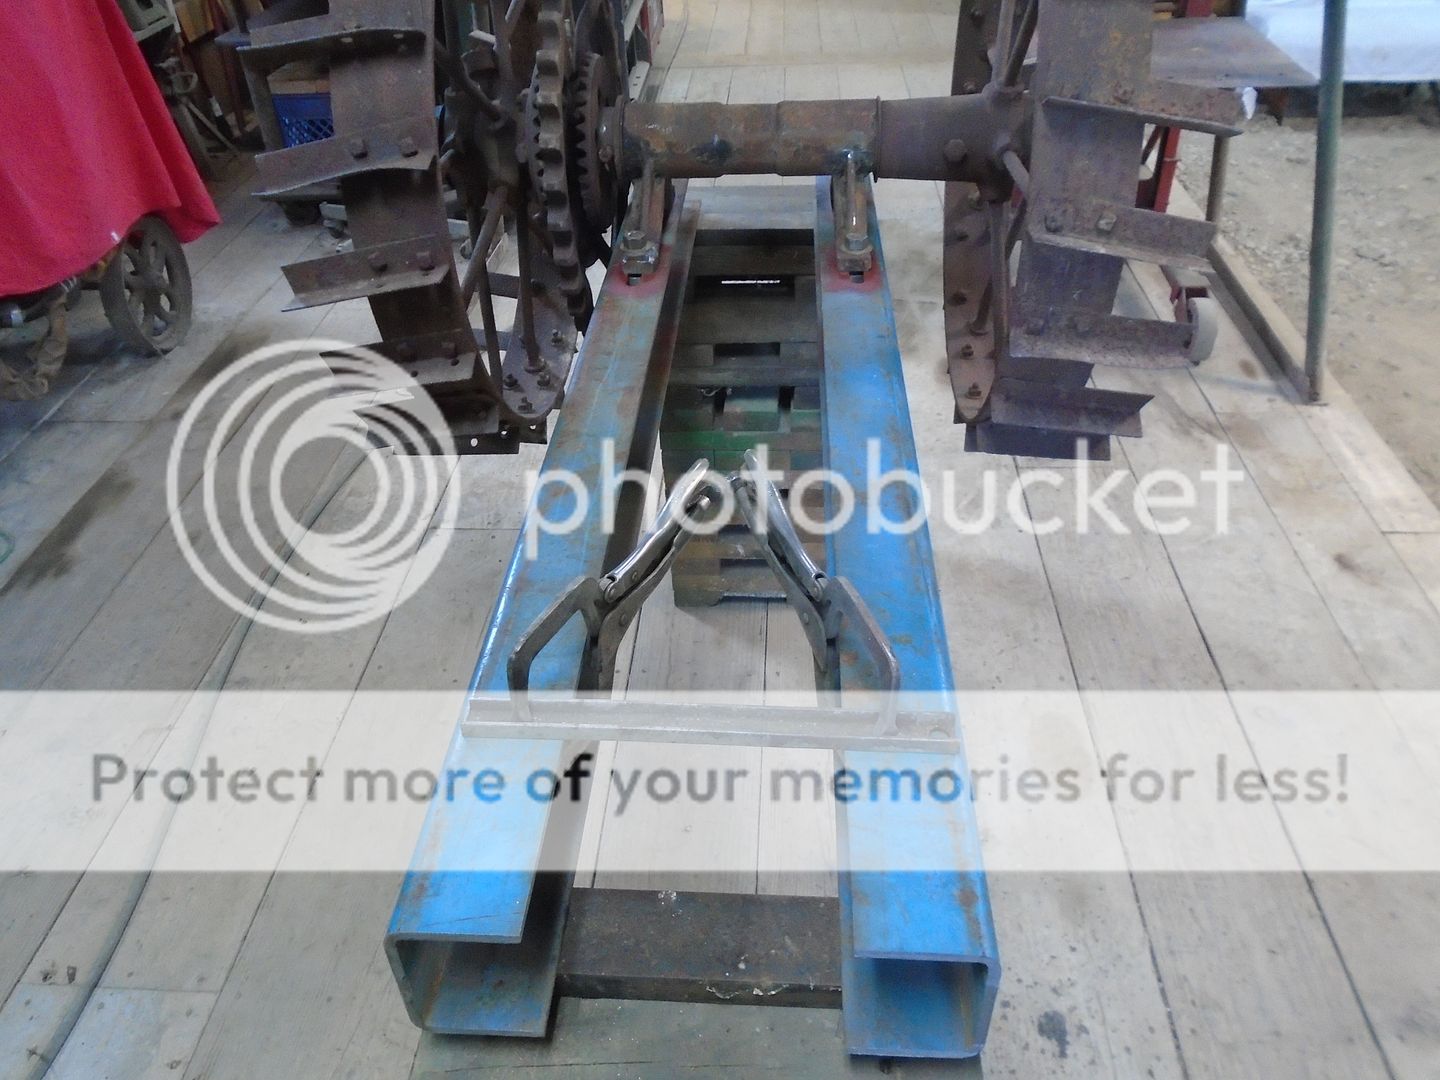
The two rails are squared up and the axle mounting bolts are tightened down while a piece of metal is clamped across the front to keep the rails in place.
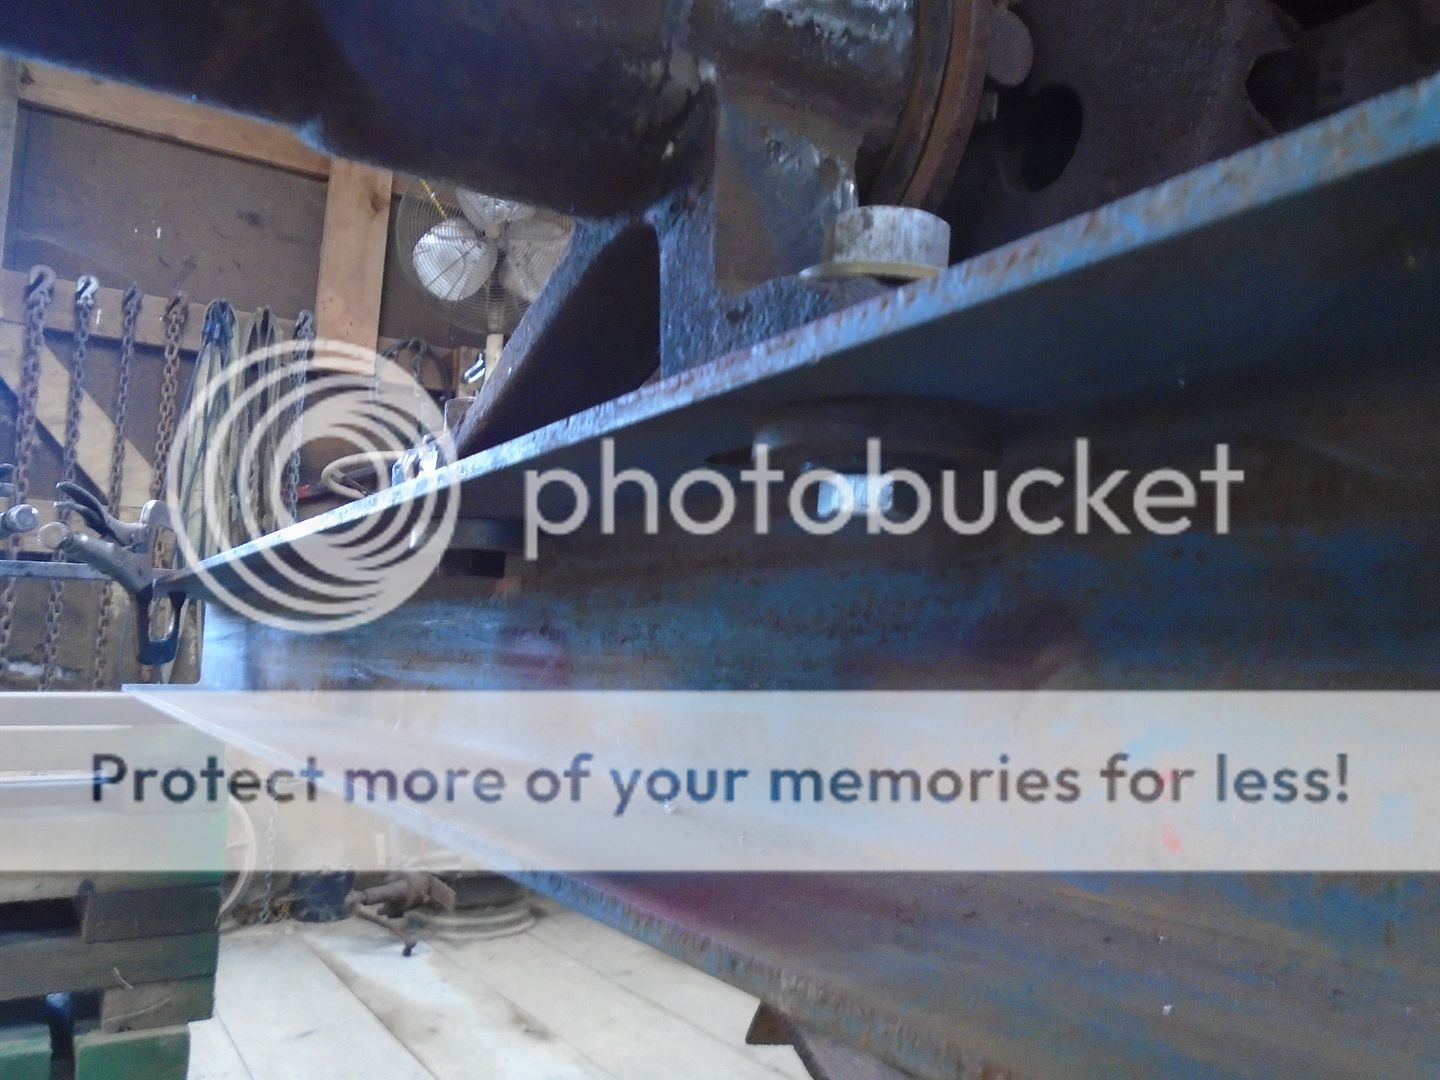
The axle mounting bolts have a thick piece of metal over the slots that won't suck down into the slot over time like a regular washer would.
Two pieces of 3/4 steel are clamped to the frame rails for locating the piece that will go across the the back end of the rails.
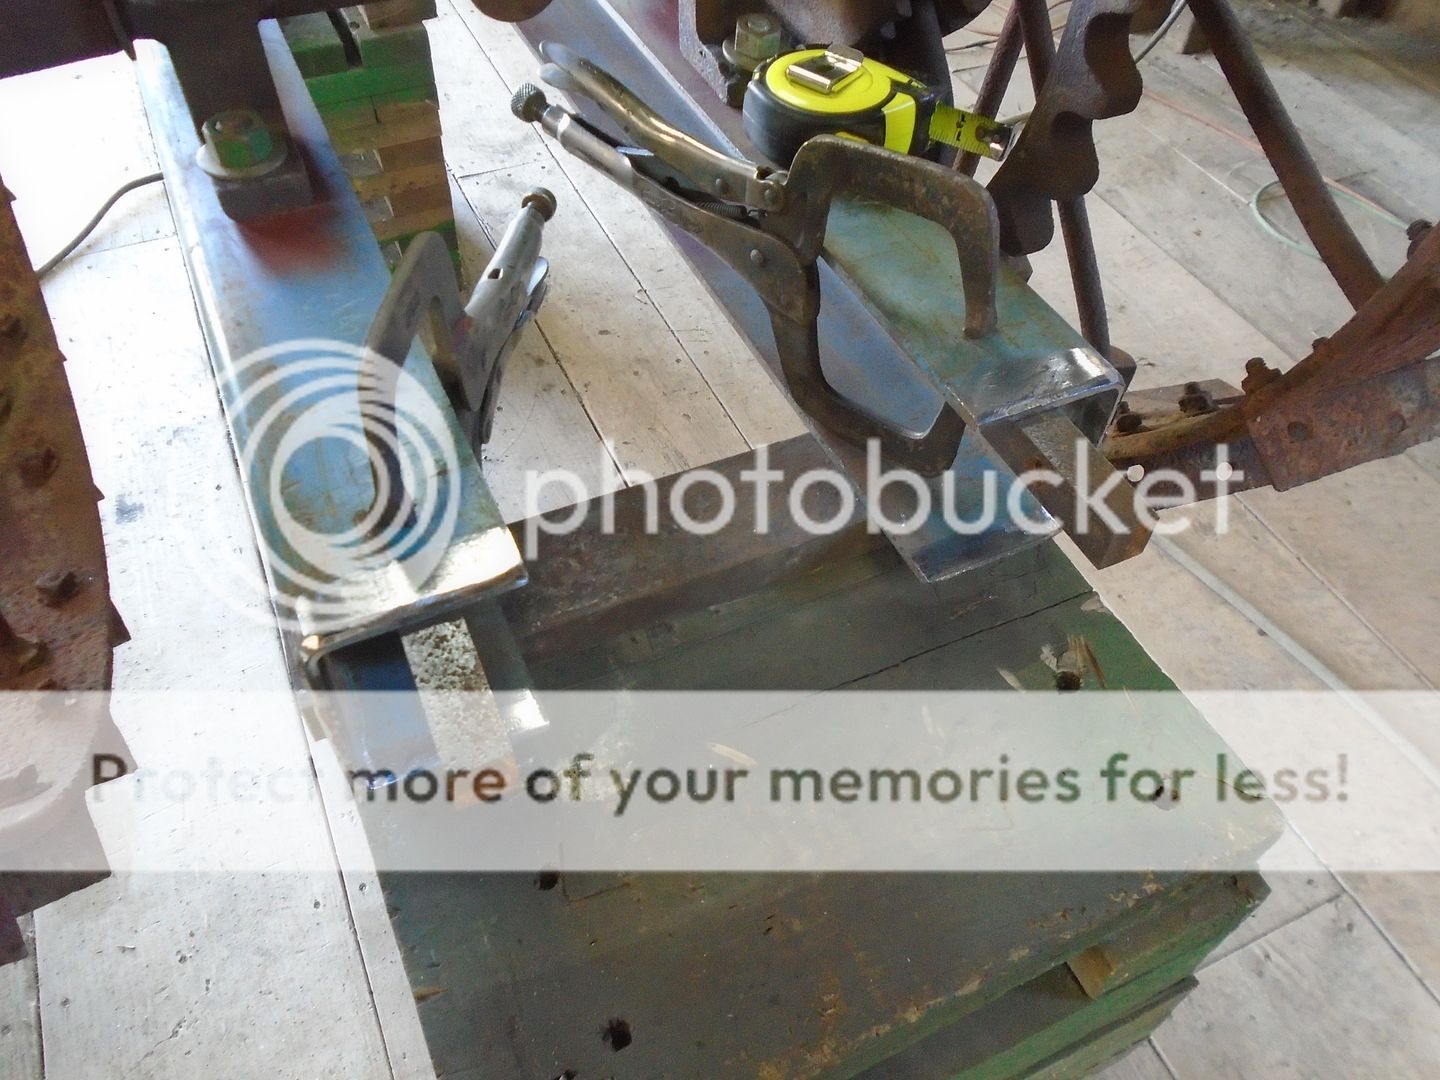
With the square steel channel having rounded outside edges, I want to be able to keep that rounded edge blended in on the back piece.
The back piece of frame rail is cut 1/2 inch short on each end and it is clamped in place.
All the matching edges that will be welded have been ground off at roughly a 45 degree angle so when the two pieces are put together they form a ' V ' at the seam.
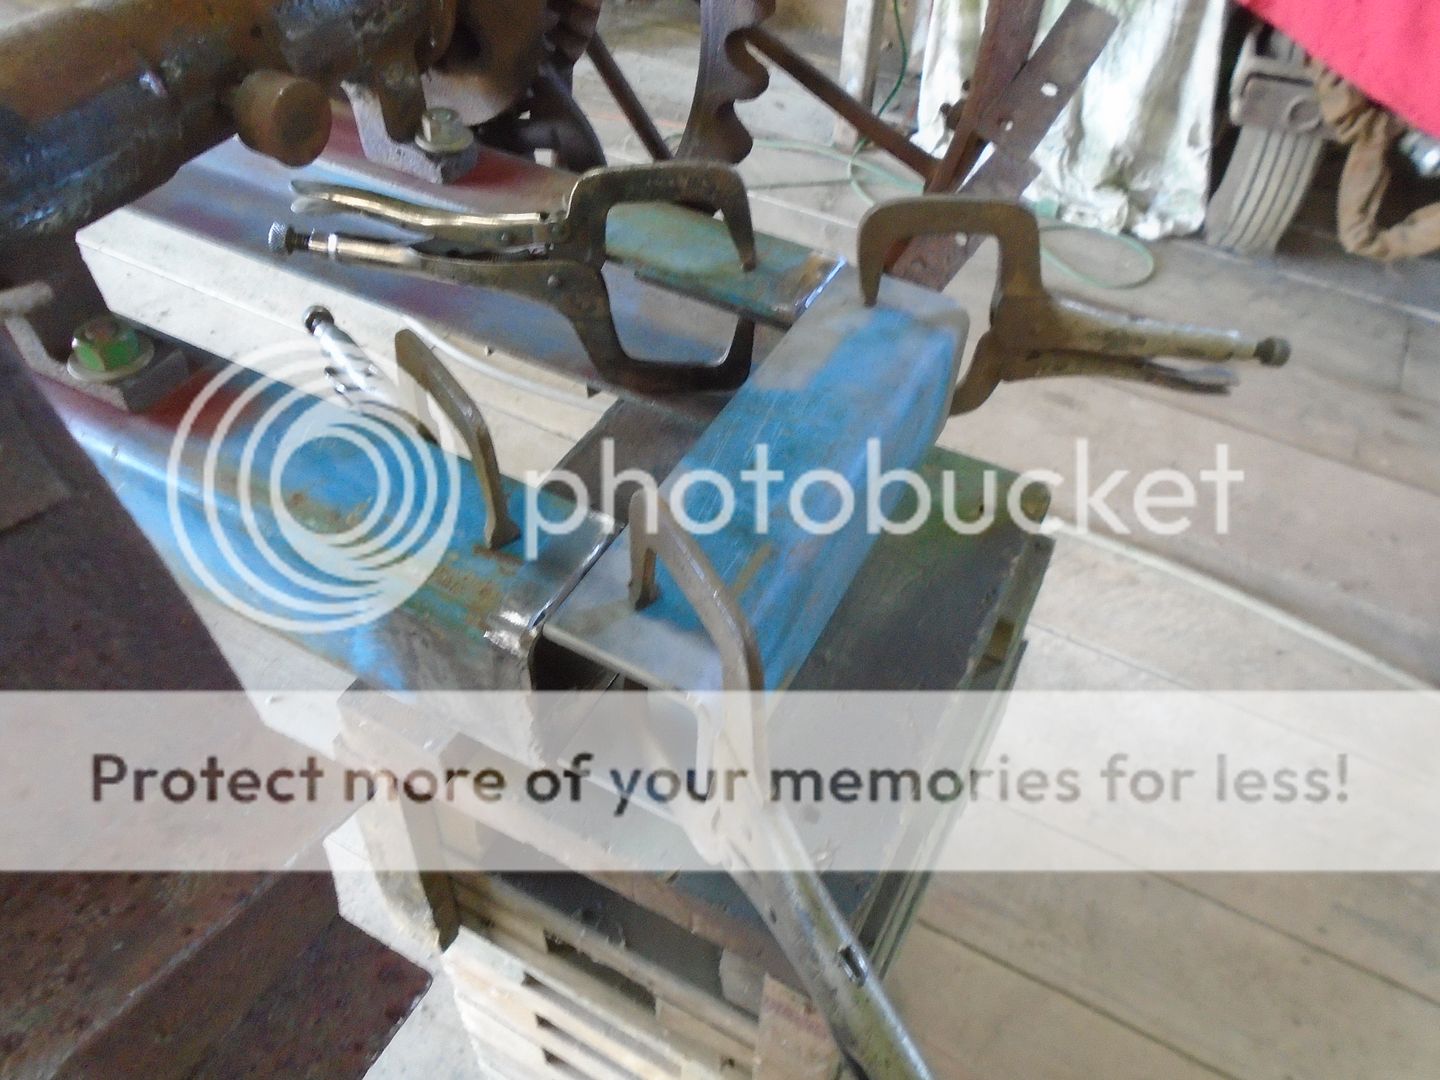
The pieces are welded on the inside of the frame and along the ' V ' on the outside of the frame.
The weld on the outside is then ground down flat so once the frame is finished it will look like one solid piece from the outside.
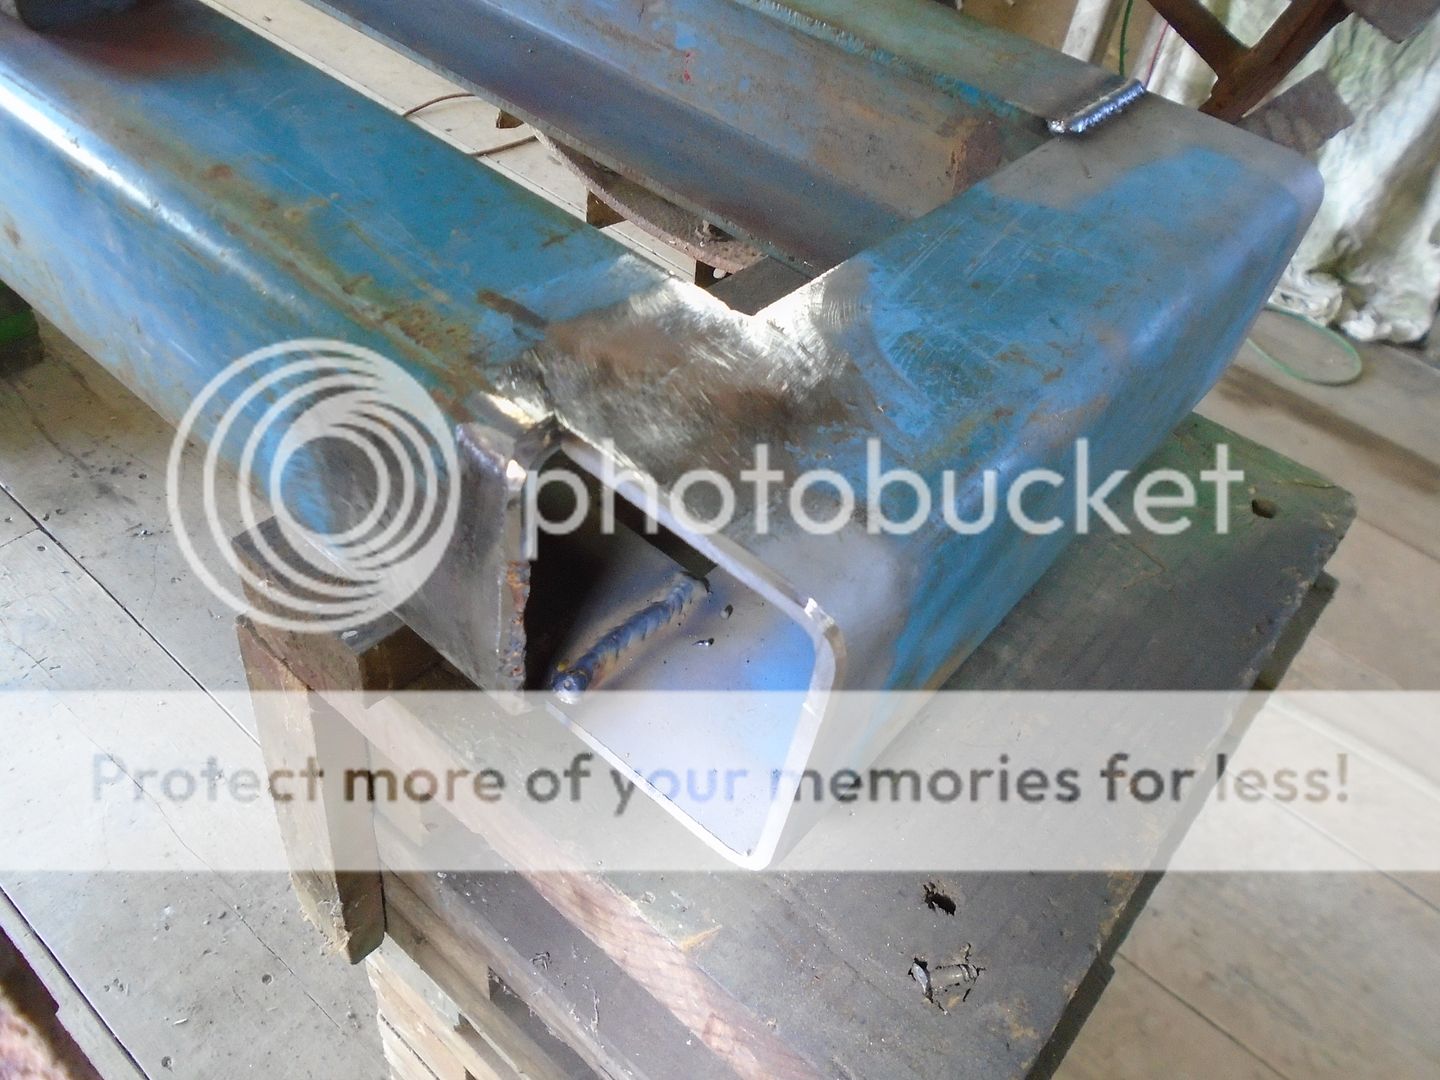
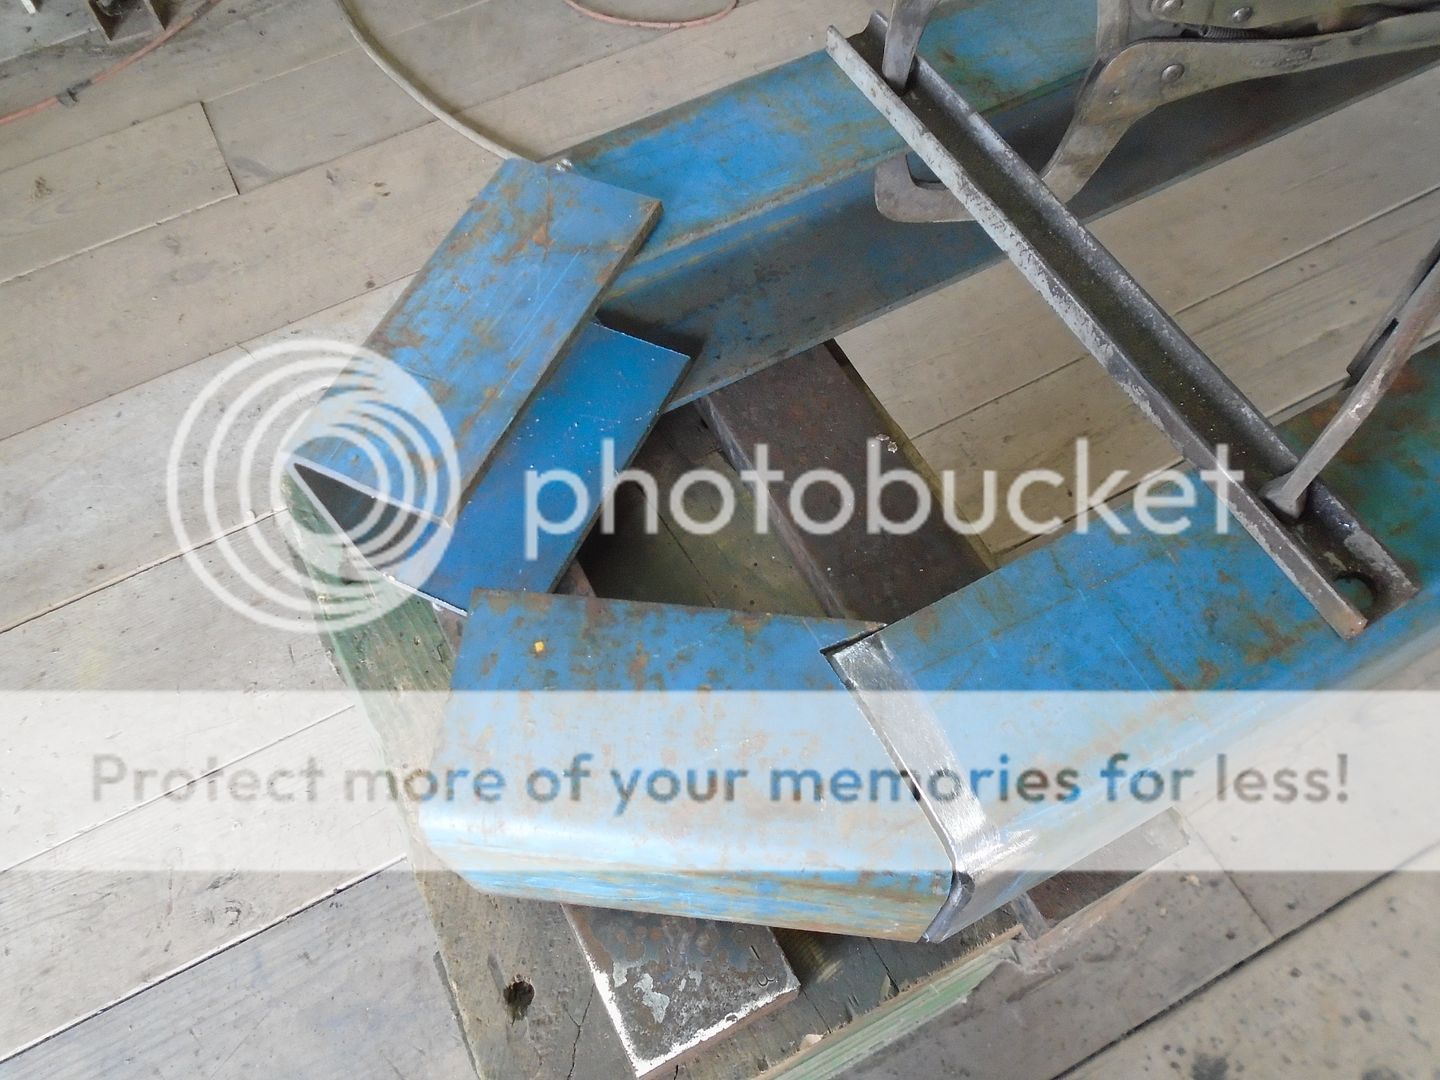
A piece of the bottom of the channel is cut to fit on the end of the back piece.
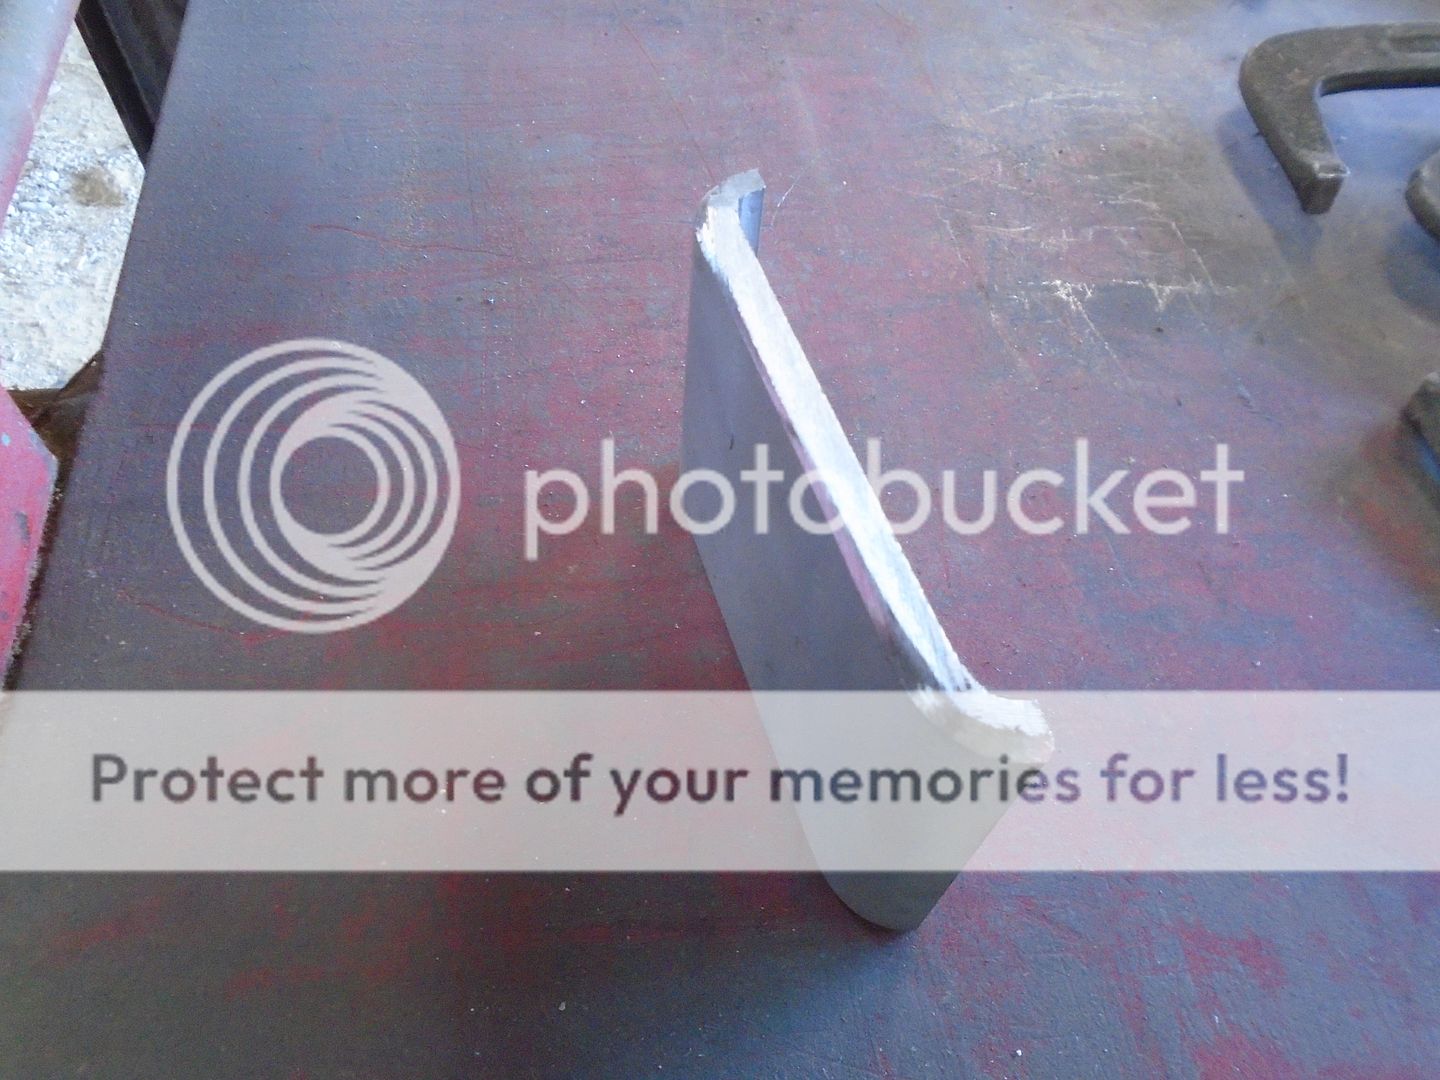
Two pieces of metal are clamped to the side of the frame rail for locating this end piece.
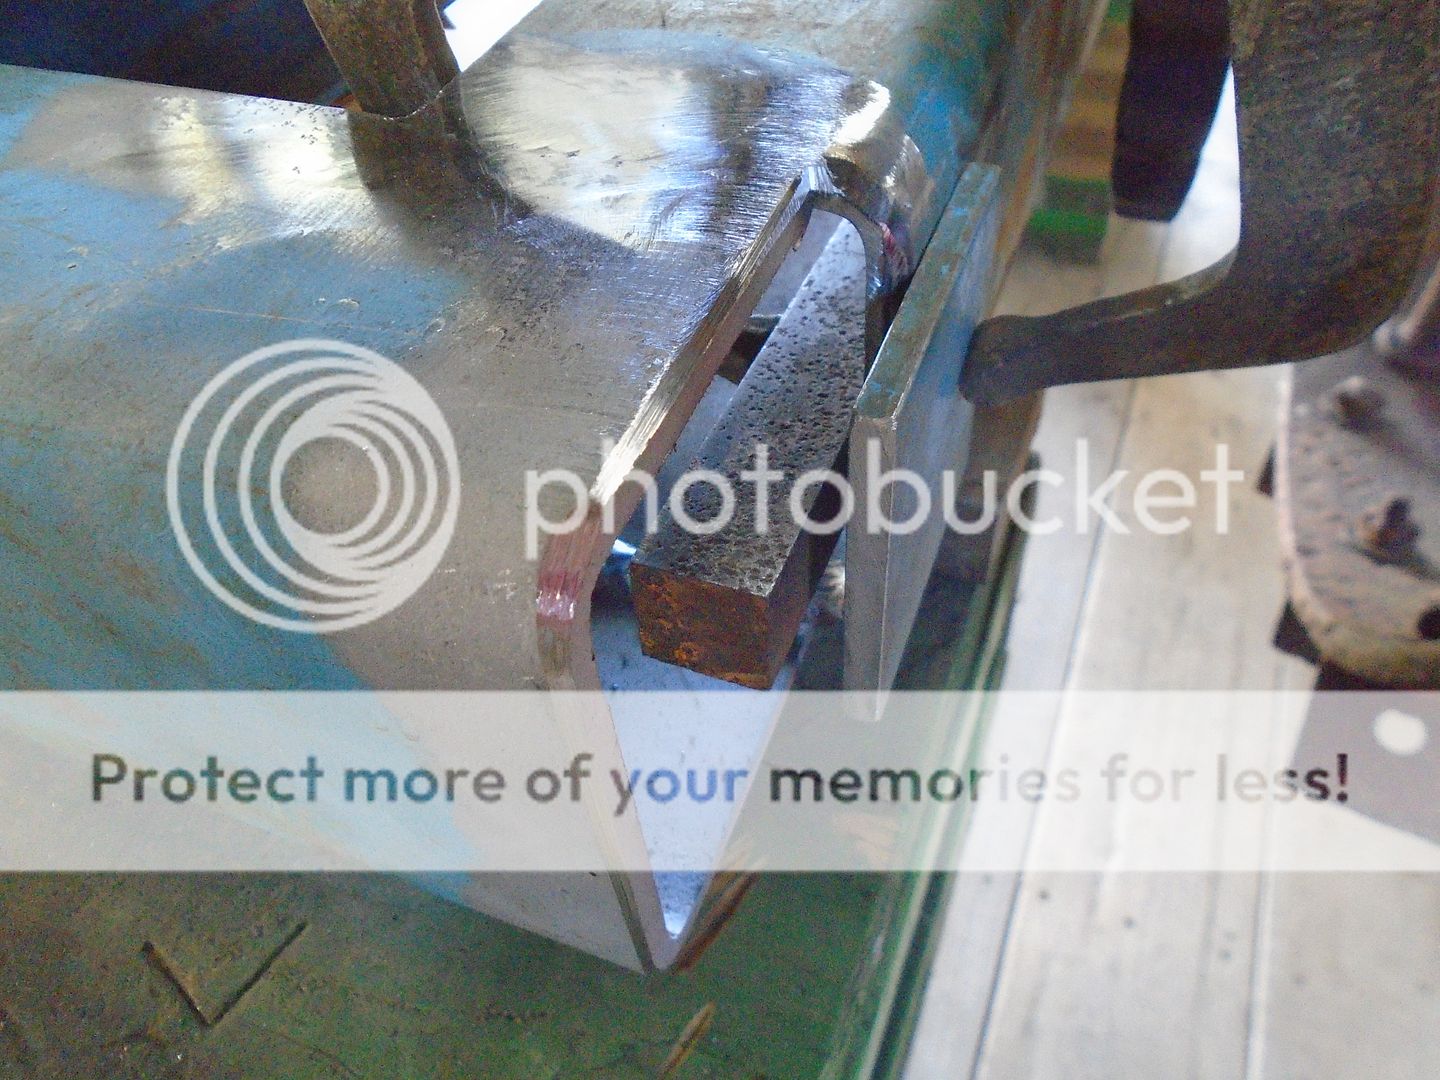
Then the end piece is slid into place.
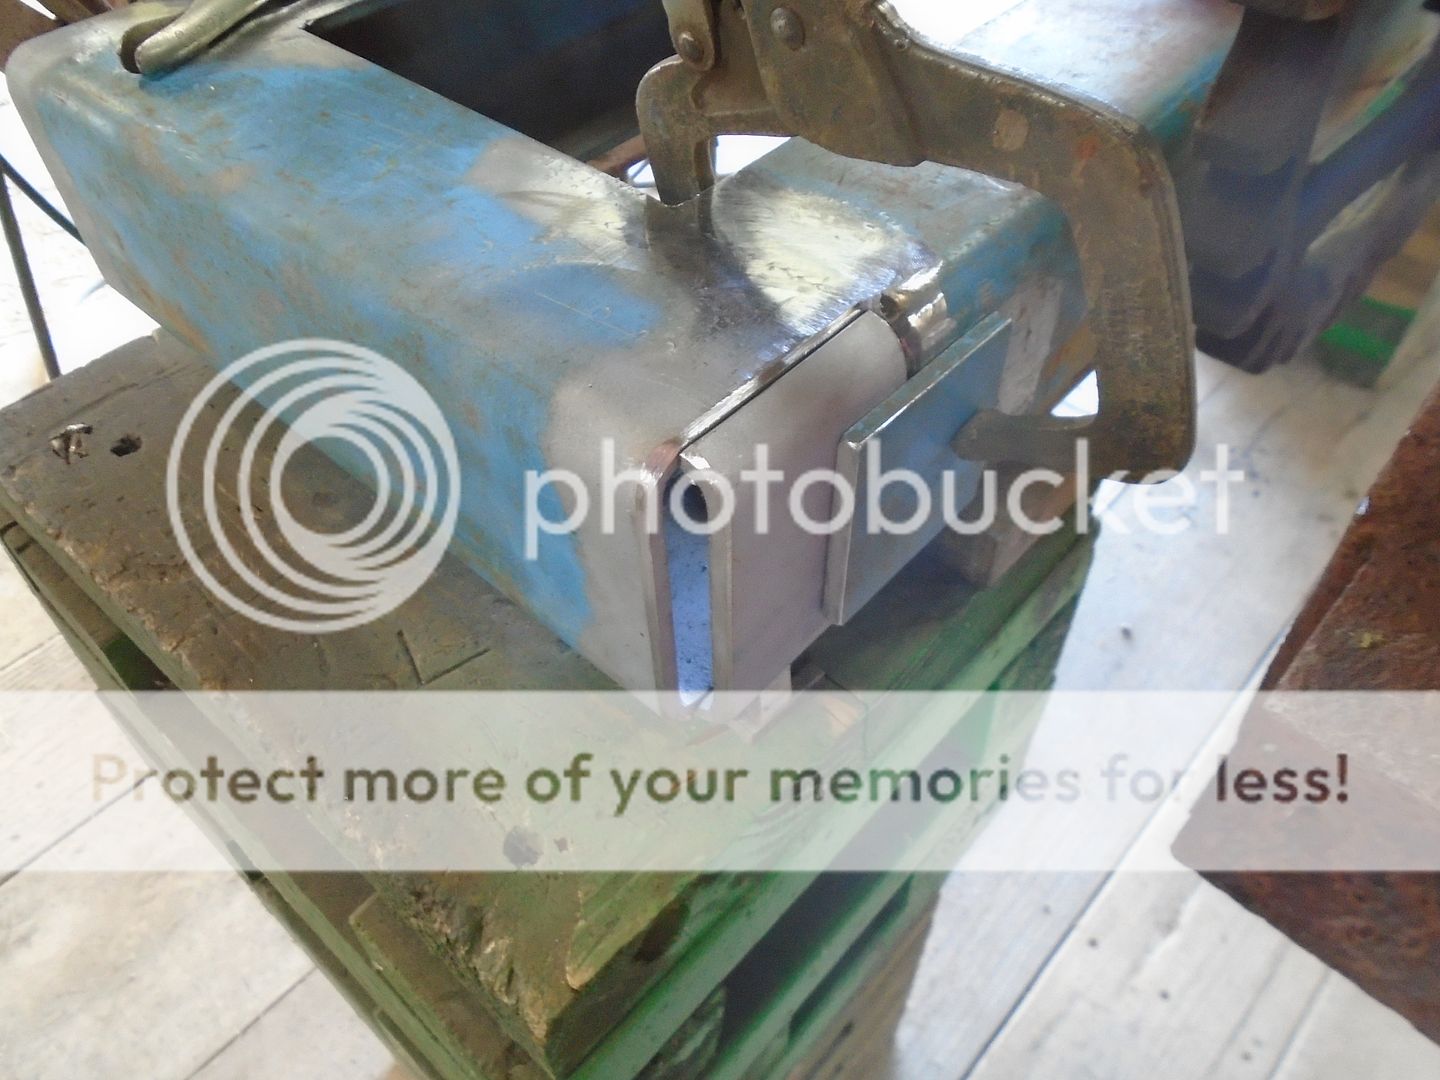
And the end piece is welded on.
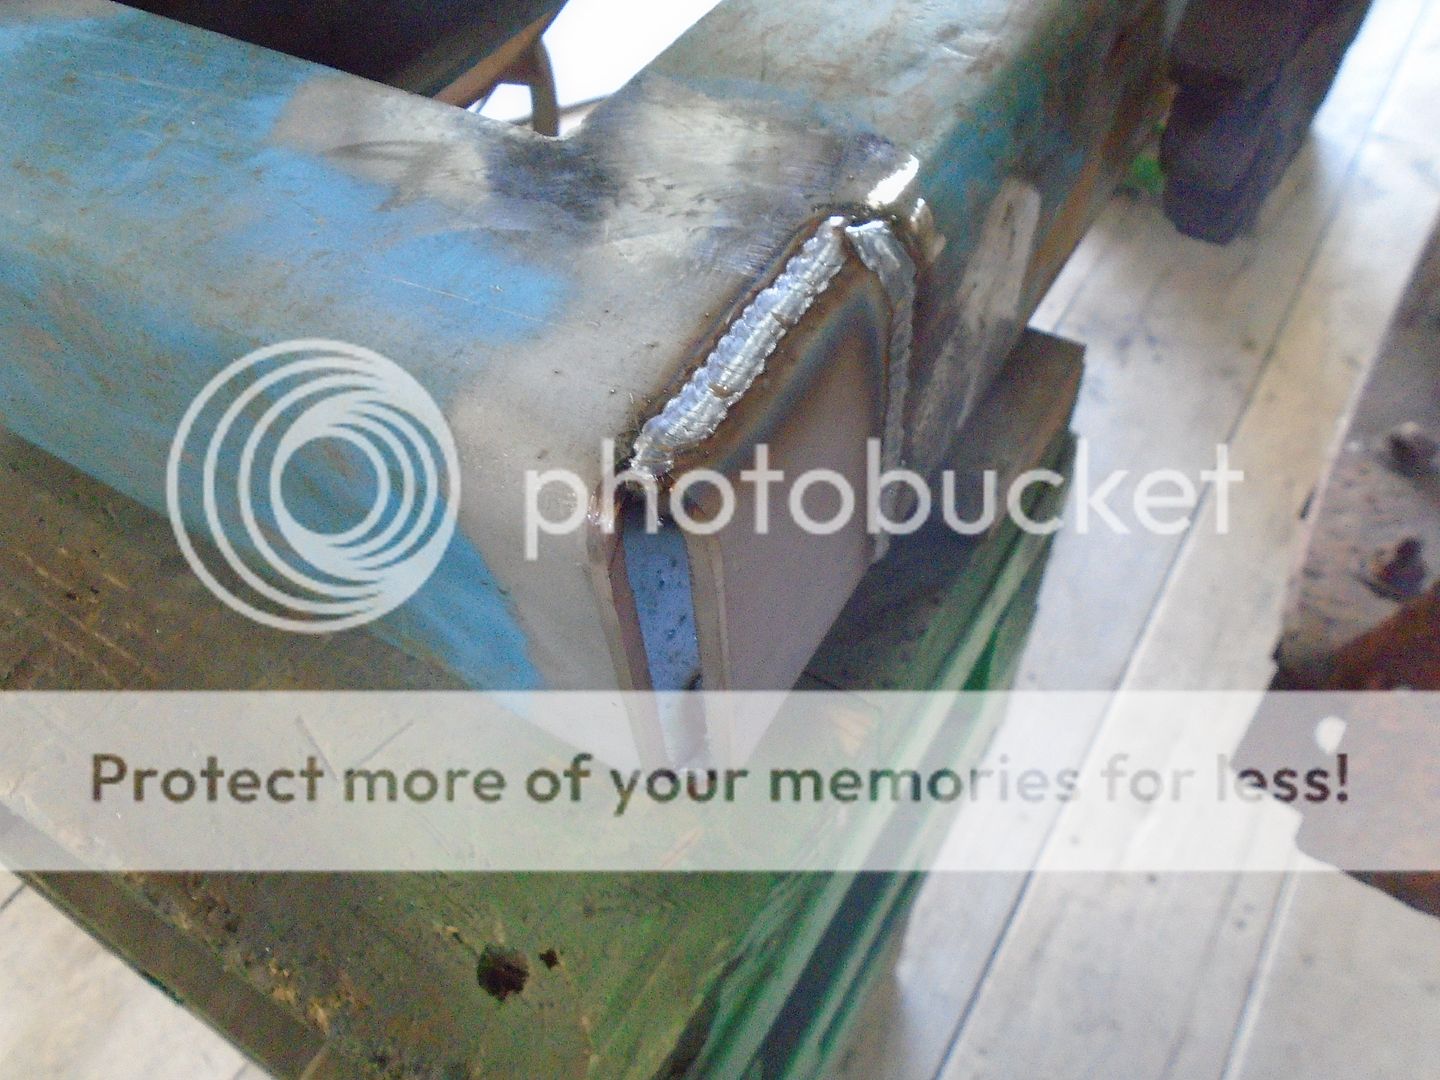
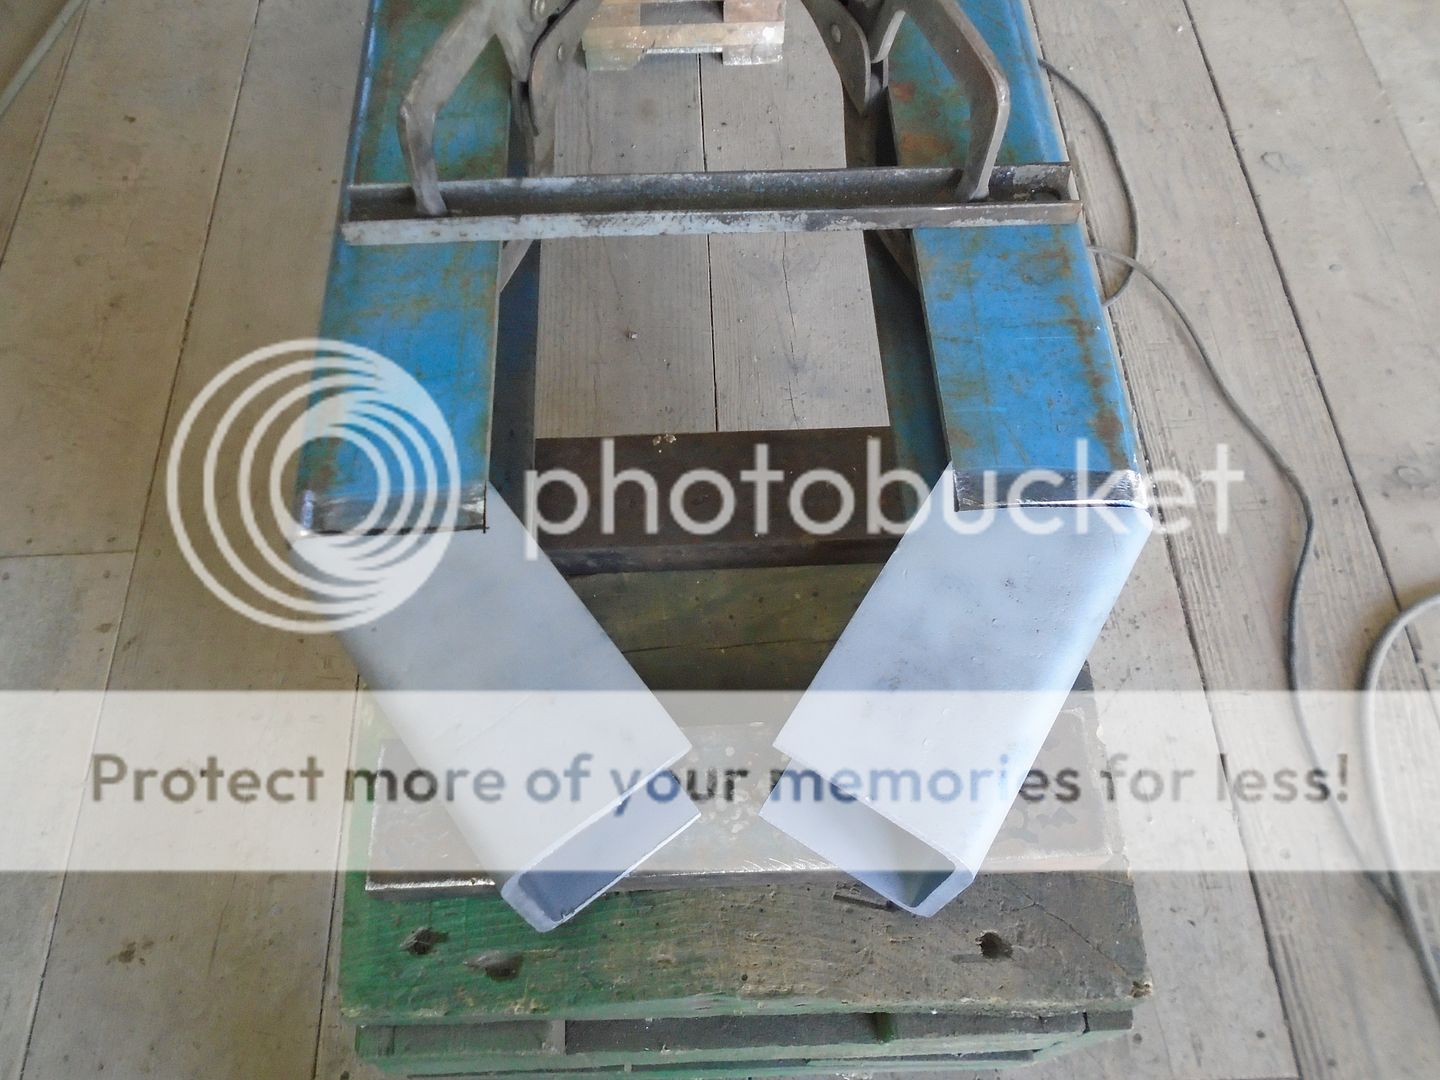
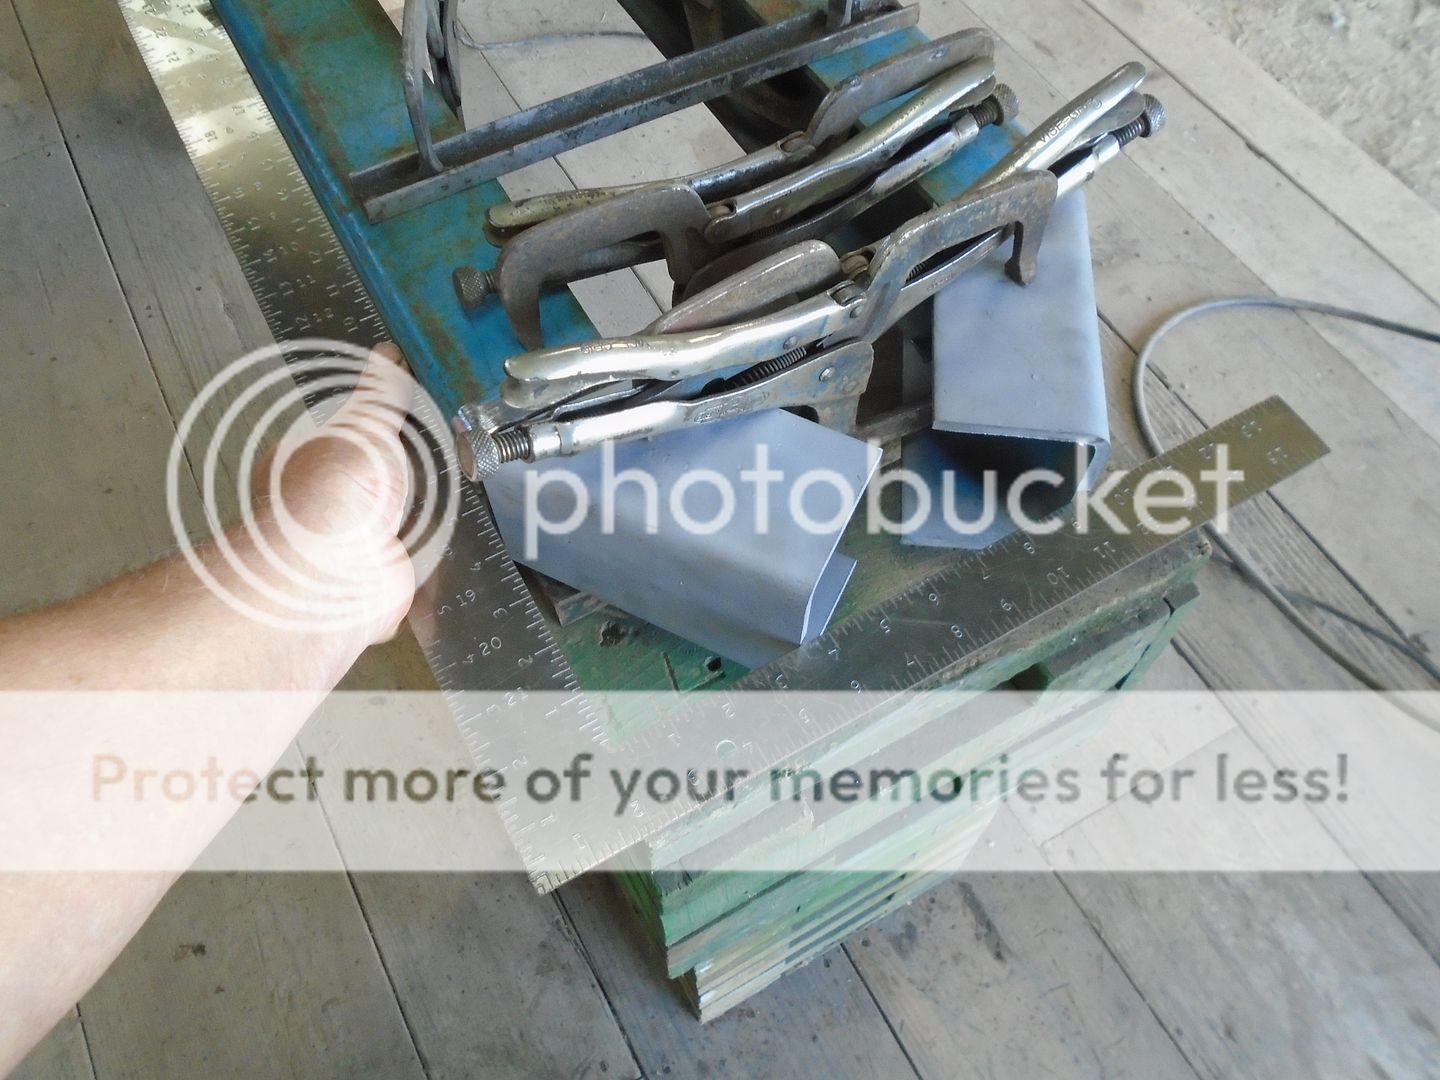
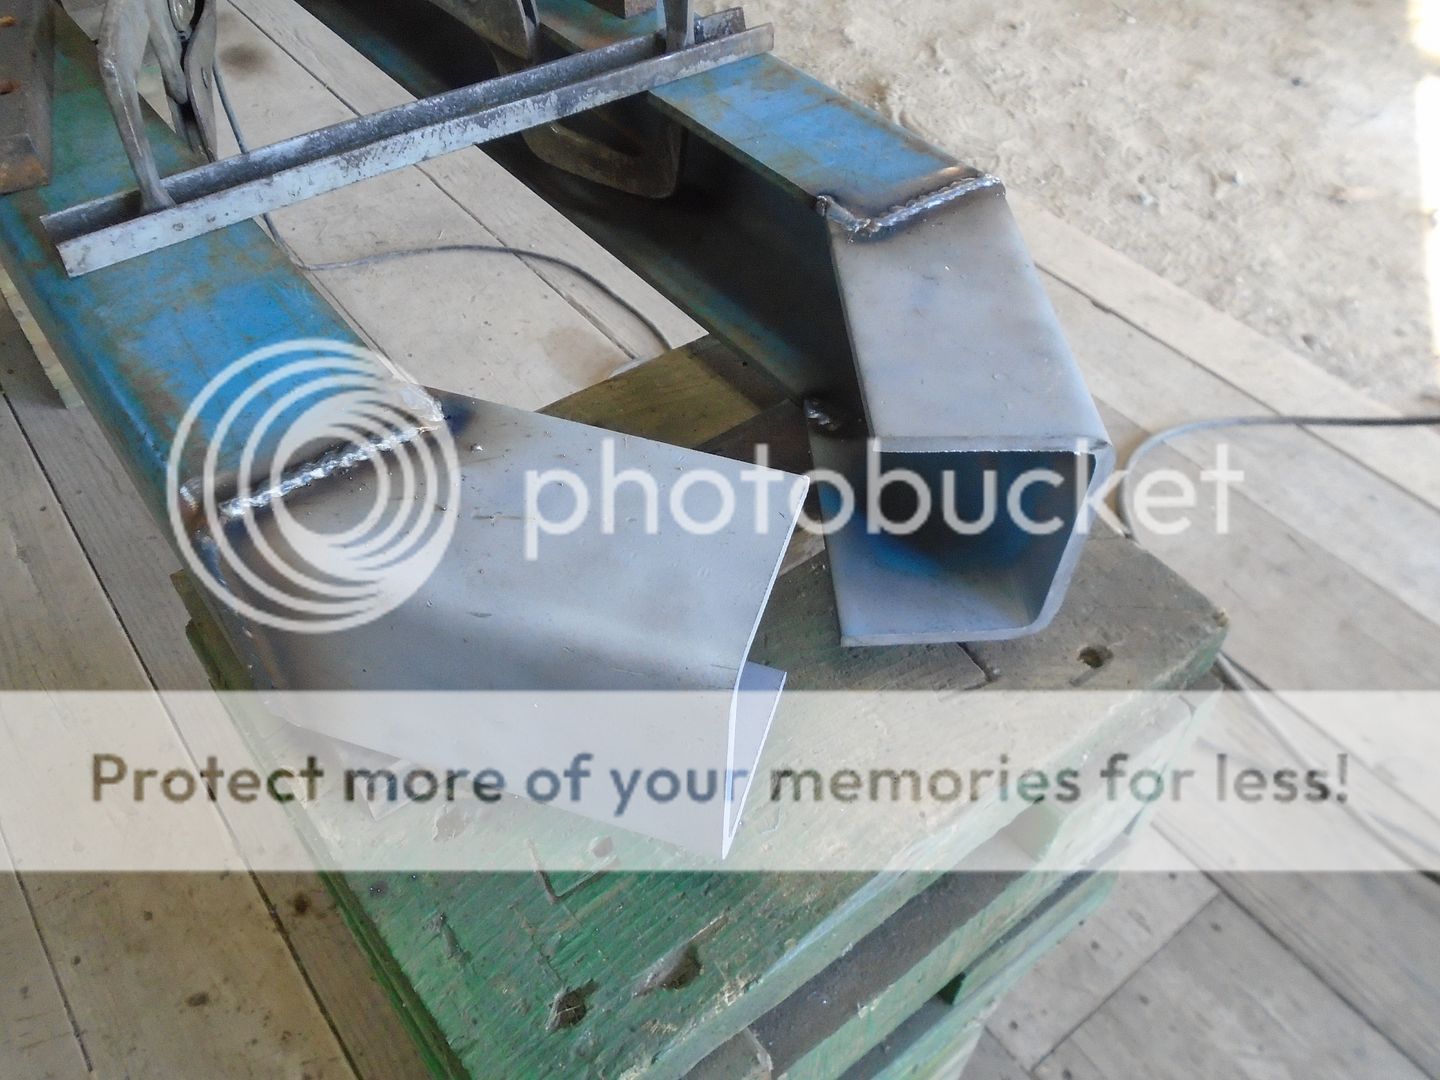
A narrow strip is cut from the steel channel and put on my small mill to cut the sides down at a 45 degree angle.
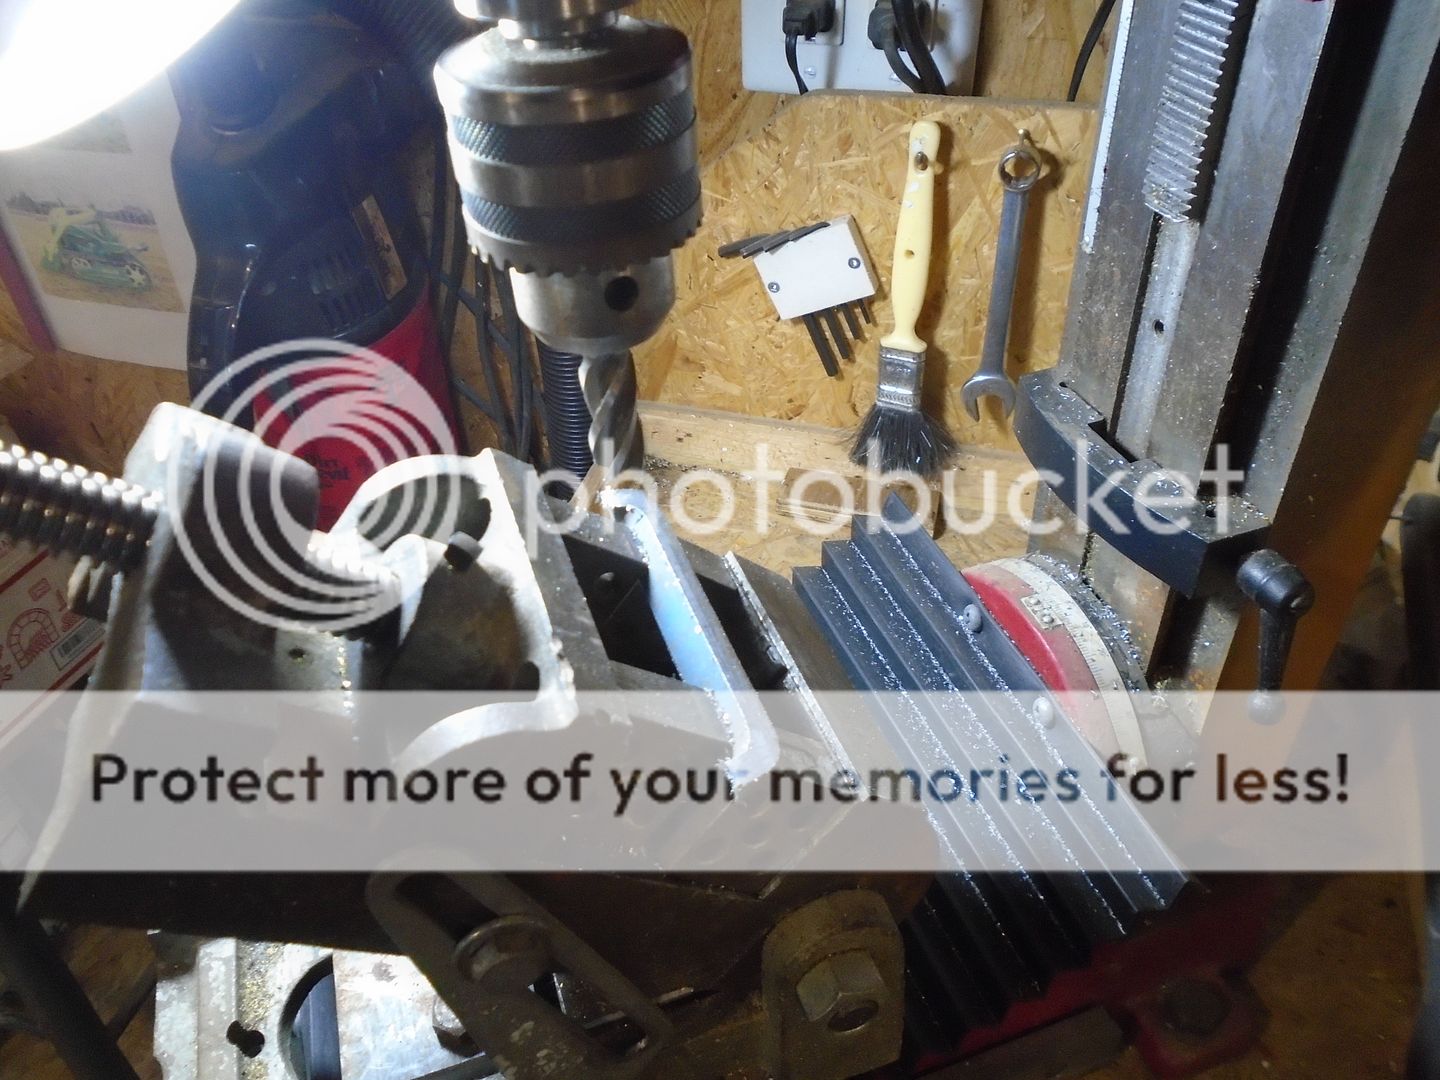
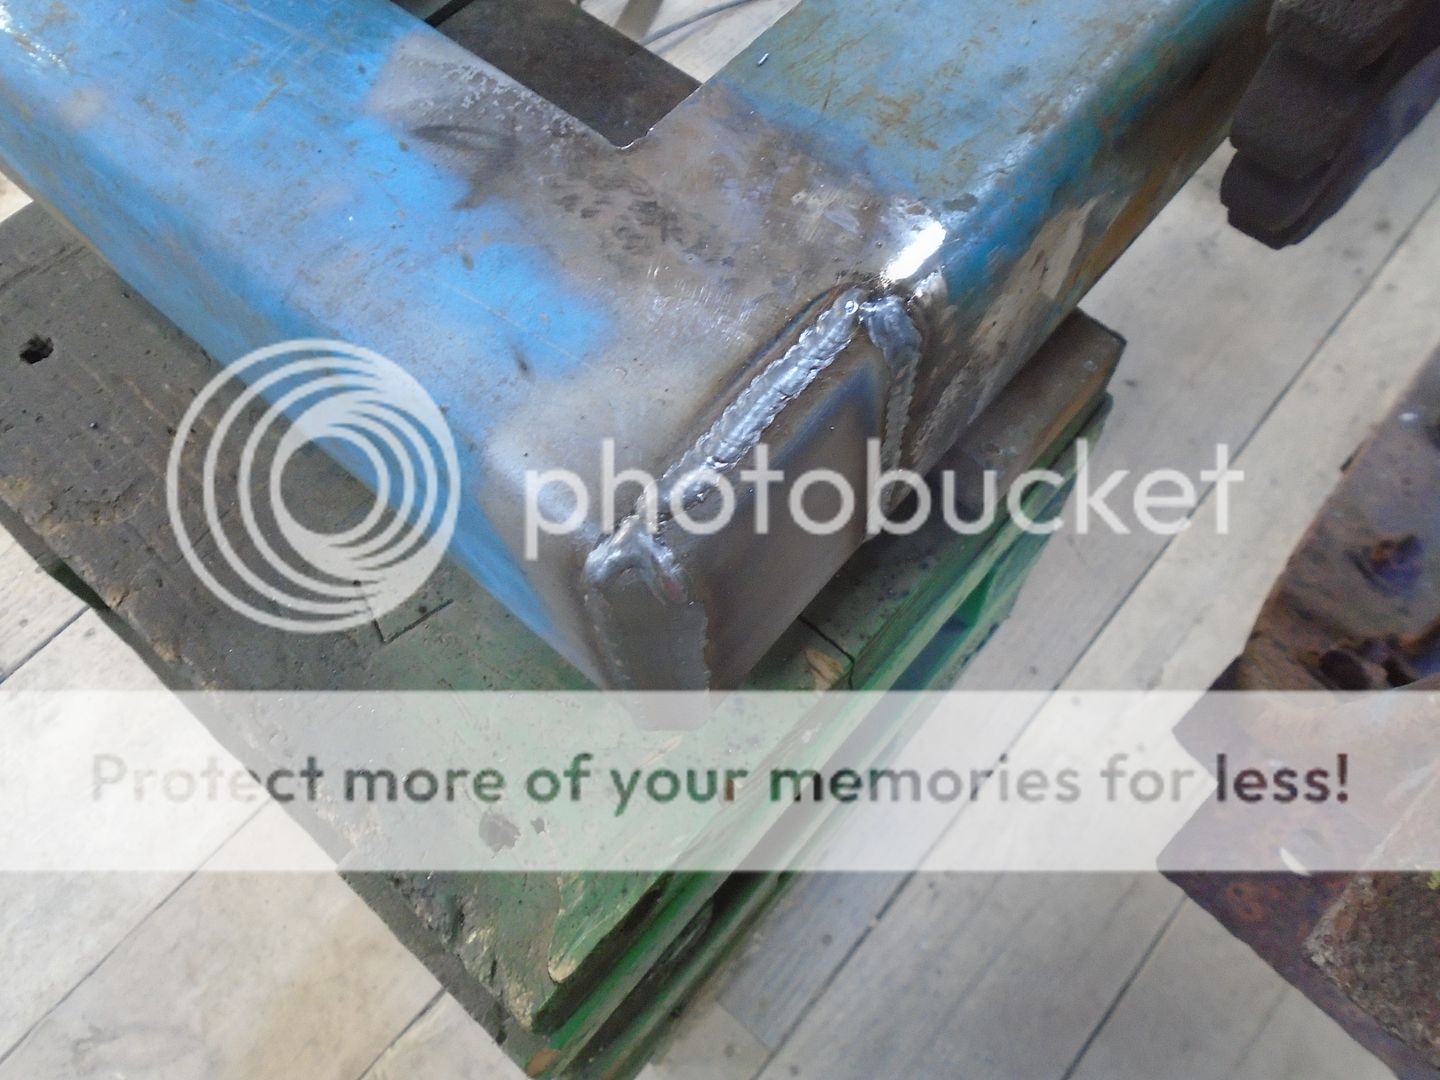
It is set in place on the corner and welded.
This will allow me to have nicely rounded edges and corners on the outside of the frame.
At this point it is getting difficult to see for welding the frame on the inside so just the outside welds will be done.
Once the frame is all welded up, I'll remove the axle so I can flop the frame around to do all the inside welding.
Once the inside welding is completed, I will grind down the outside welds to finish the frame off.

The two rails are squared up and the axle mounting bolts are tightened down while a piece of metal is clamped across the front to keep the rails in place.

The axle mounting bolts have a thick piece of metal over the slots that won't suck down into the slot over time like a regular washer would.

Two pieces of 3/4 steel are clamped to the frame rails for locating the piece that will go across the the back end of the rails.

With the square steel channel having rounded outside edges, I want to be able to keep that rounded edge blended in on the back piece.
The back piece of frame rail is cut 1/2 inch short on each end and it is clamped in place.
All the matching edges that will be welded have been ground off at roughly a 45 degree angle so when the two pieces are put together they form a ' V ' at the seam.

The pieces are welded on the inside of the frame and along the ' V ' on the outside of the frame.
The weld on the outside is then ground down flat so once the frame is finished it will look like one solid piece from the outside.

A piece of the bottom of the channel is cut to fit on the end of the back piece.

Two pieces of metal are clamped to the side of the frame rail for locating this end piece.

Then the end piece is slid into place.

And the end piece is welded on.

A narrow strip is cut from the steel channel and put on my small mill to cut the sides down at a 45 degree angle.

It is set in place on the corner and welded.
This will allow me to have nicely rounded edges and corners on the outside of the frame.
At this point it is getting difficult to see for welding the frame on the inside so just the outside welds will be done.
Once the frame is all welded up, I'll remove the axle so I can flop the frame around to do all the inside welding.
Once the inside welding is completed, I will grind down the outside welds to finish the frame off.

Not bad entertainment either. Keep up the good work.Ray, you put a little inspiration in all of us with your builds! We may not have your ability & tools, but we do our best to follow in your footsteps!

The frame joints are welded on the inside of the frame and then I started grinding the welds down on the outside.
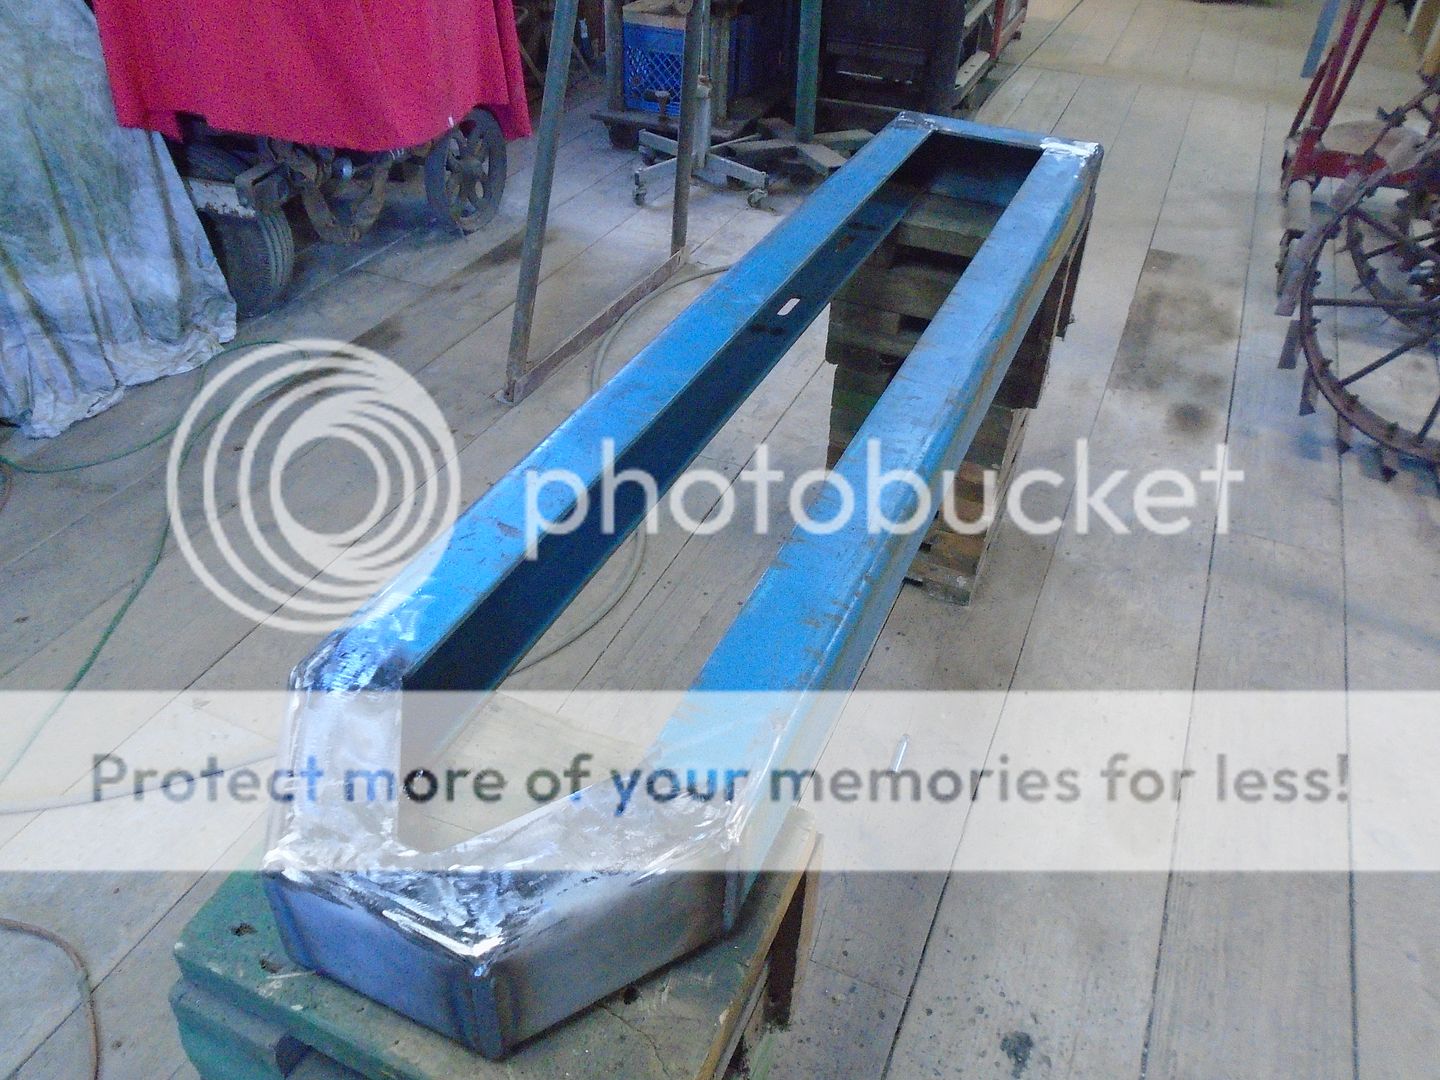
All of the welds on the outside of the frame are ground down.
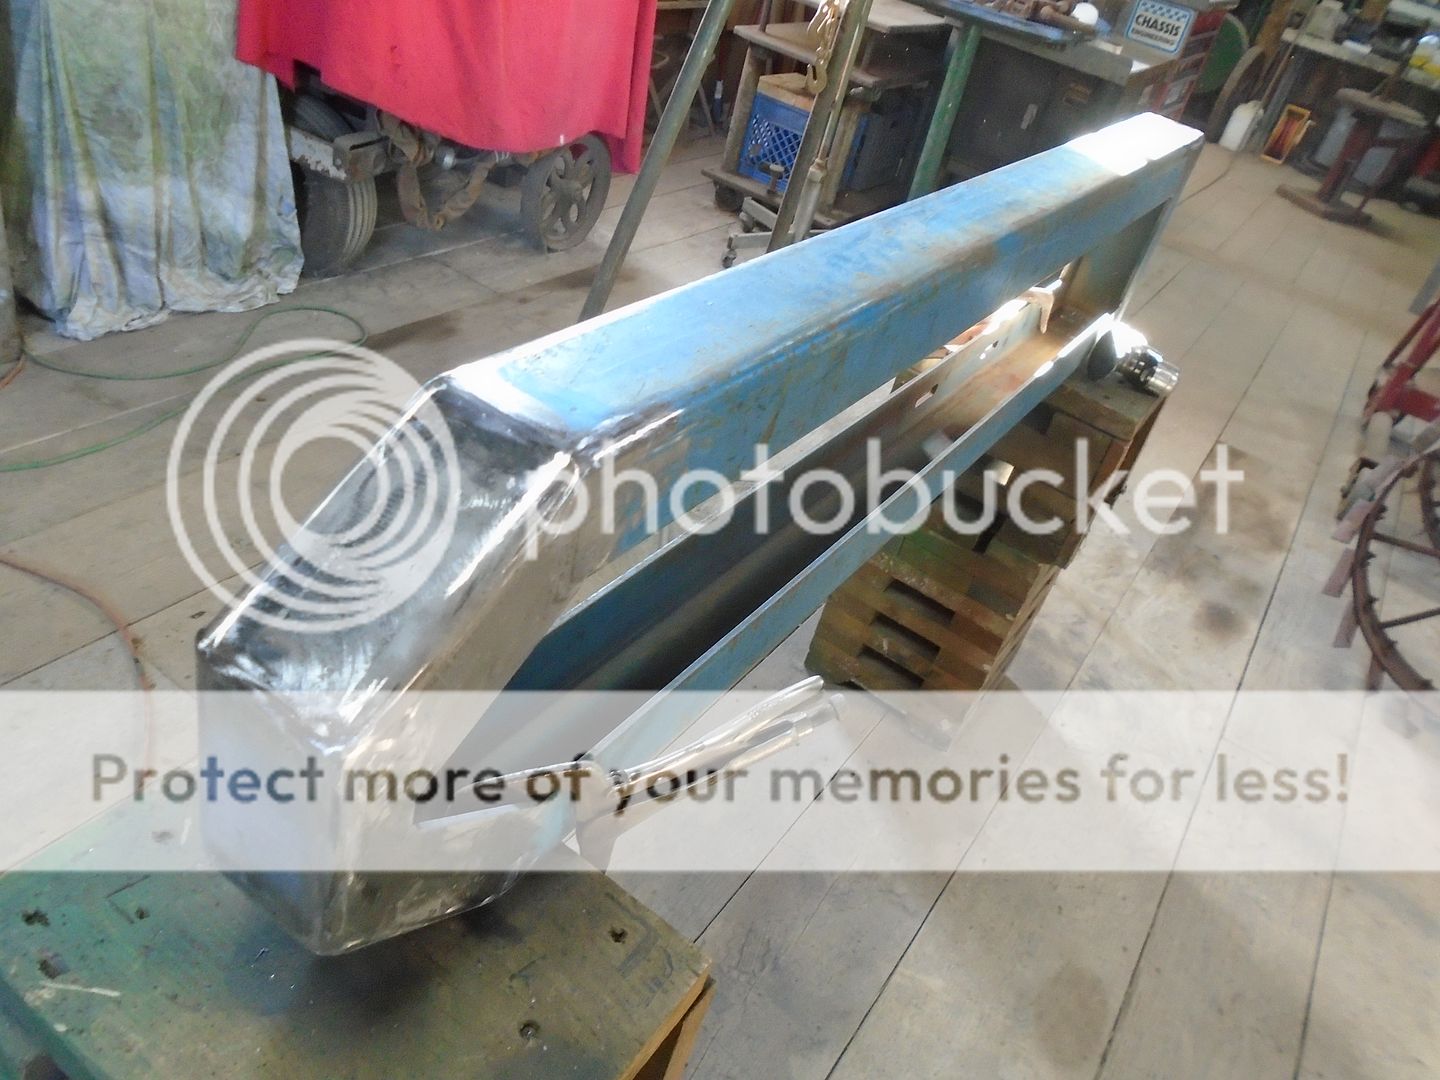
The bare metal areas are primed.
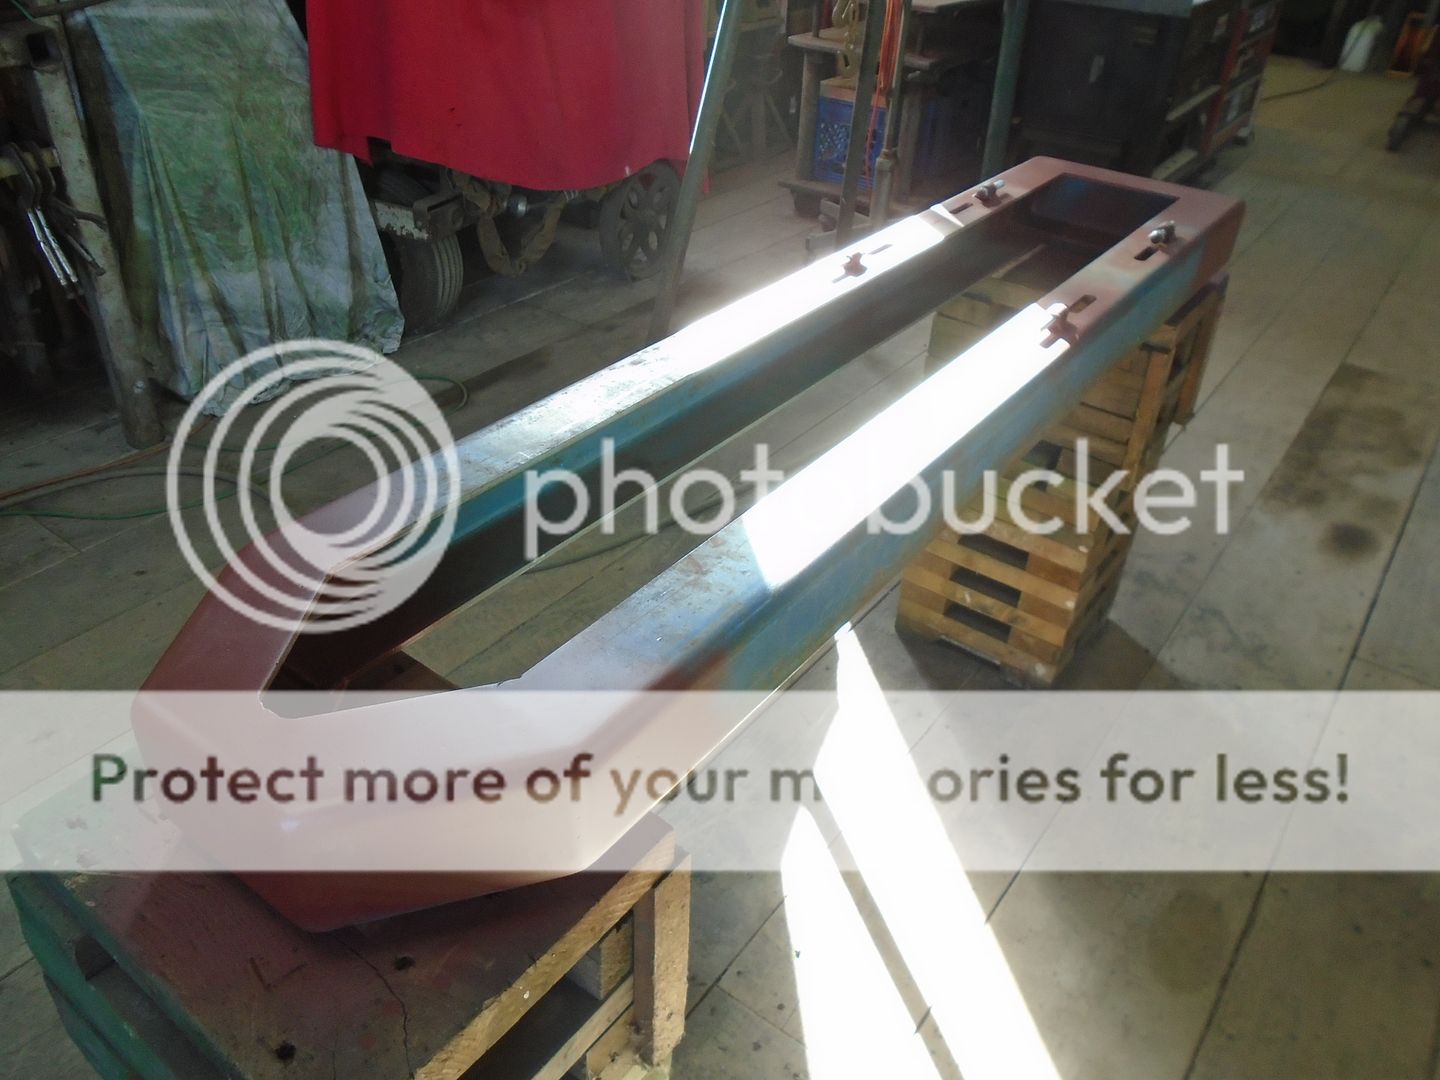
I made up screw adjusters so I can move the axle under the frame without having to try and push or pull it by hand.
These adjusting screws are made from 3/8 carriage bolts and I cut the heads down to form a cone on the end of them.
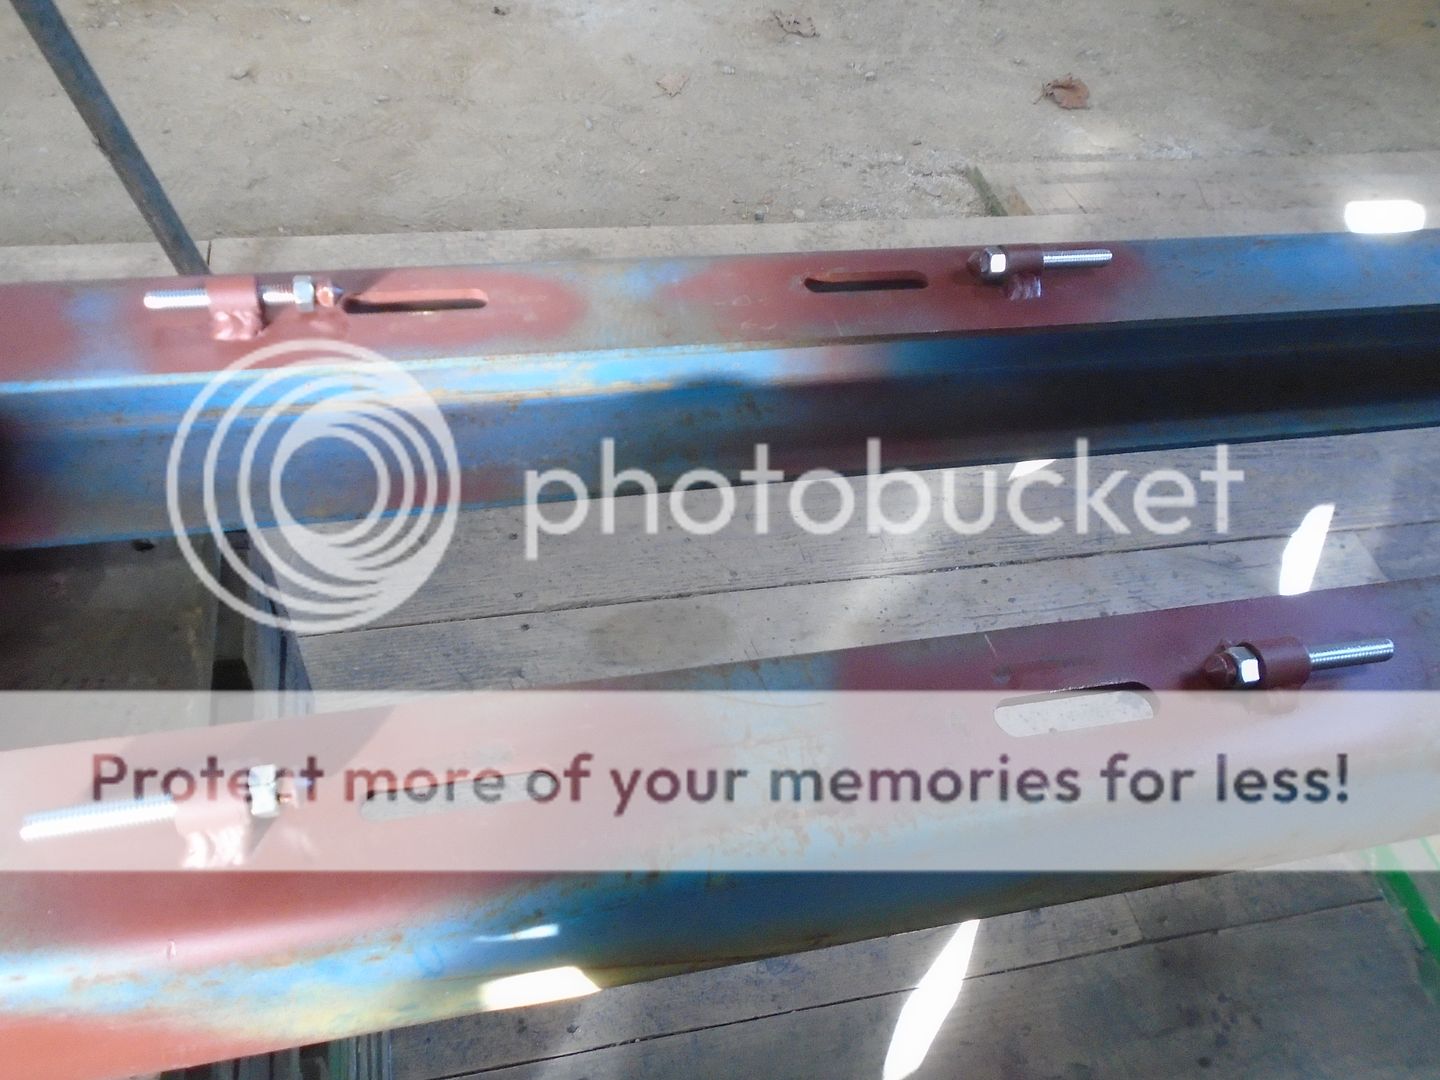
The head of the adjusting screws fit into the counter bore holes that I drilled into the ends of the mounting brackets on the axle.
This will keep the head of the adjusters from slipping off of the ends of the mounting brackets.
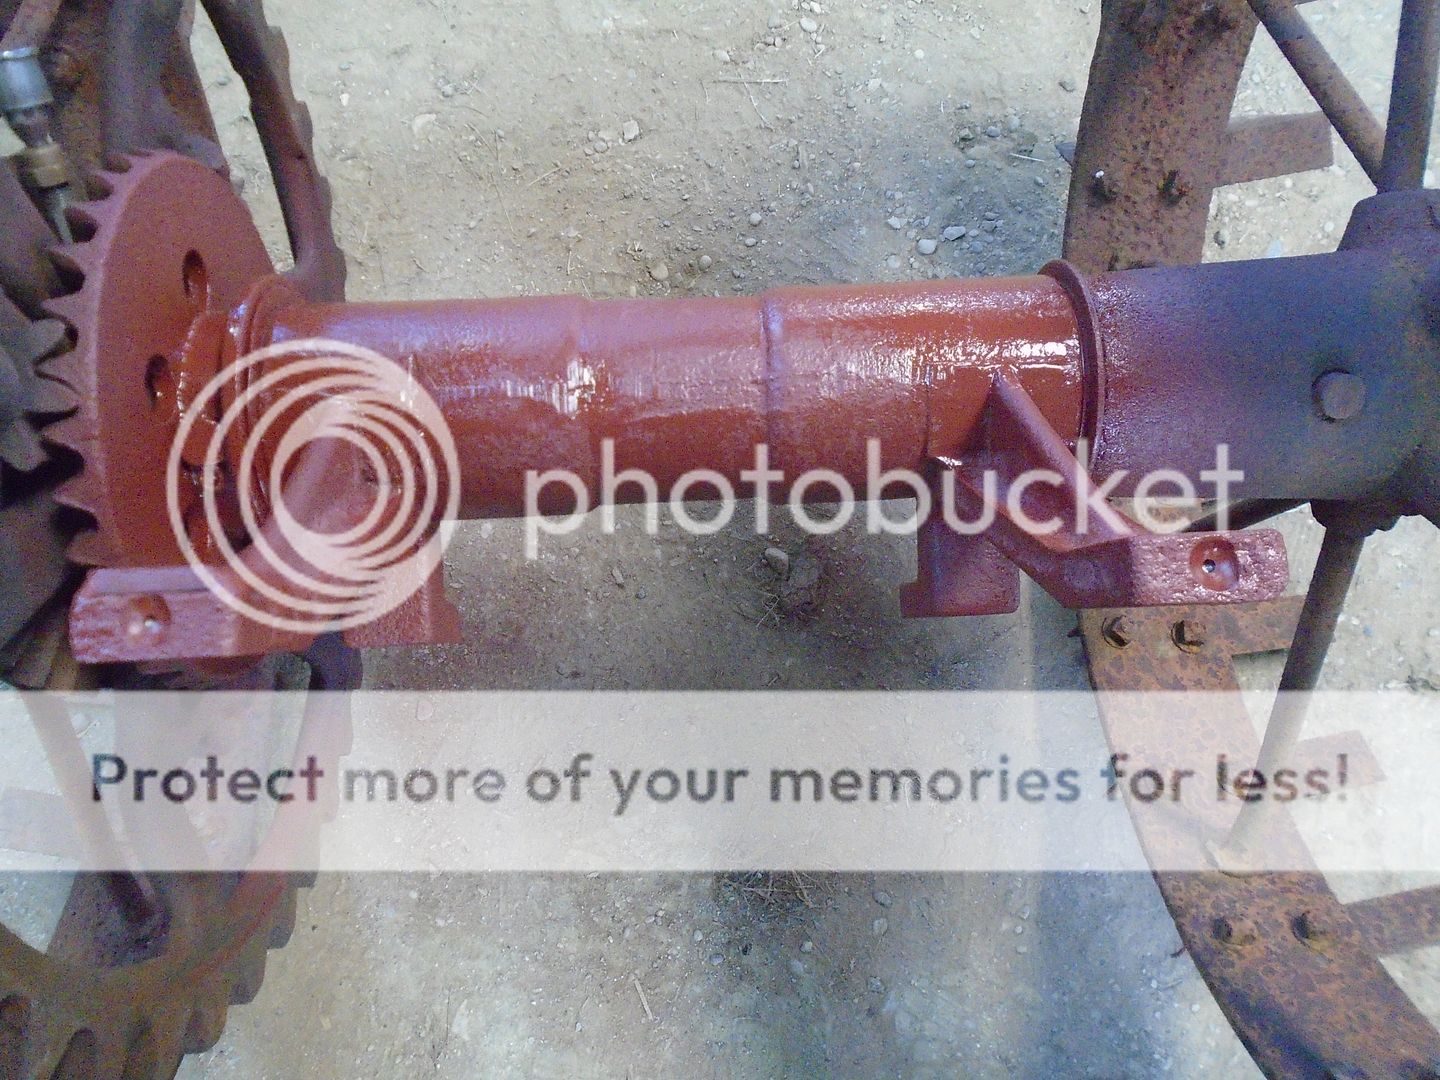
The axle is picked back up with the A-frame.
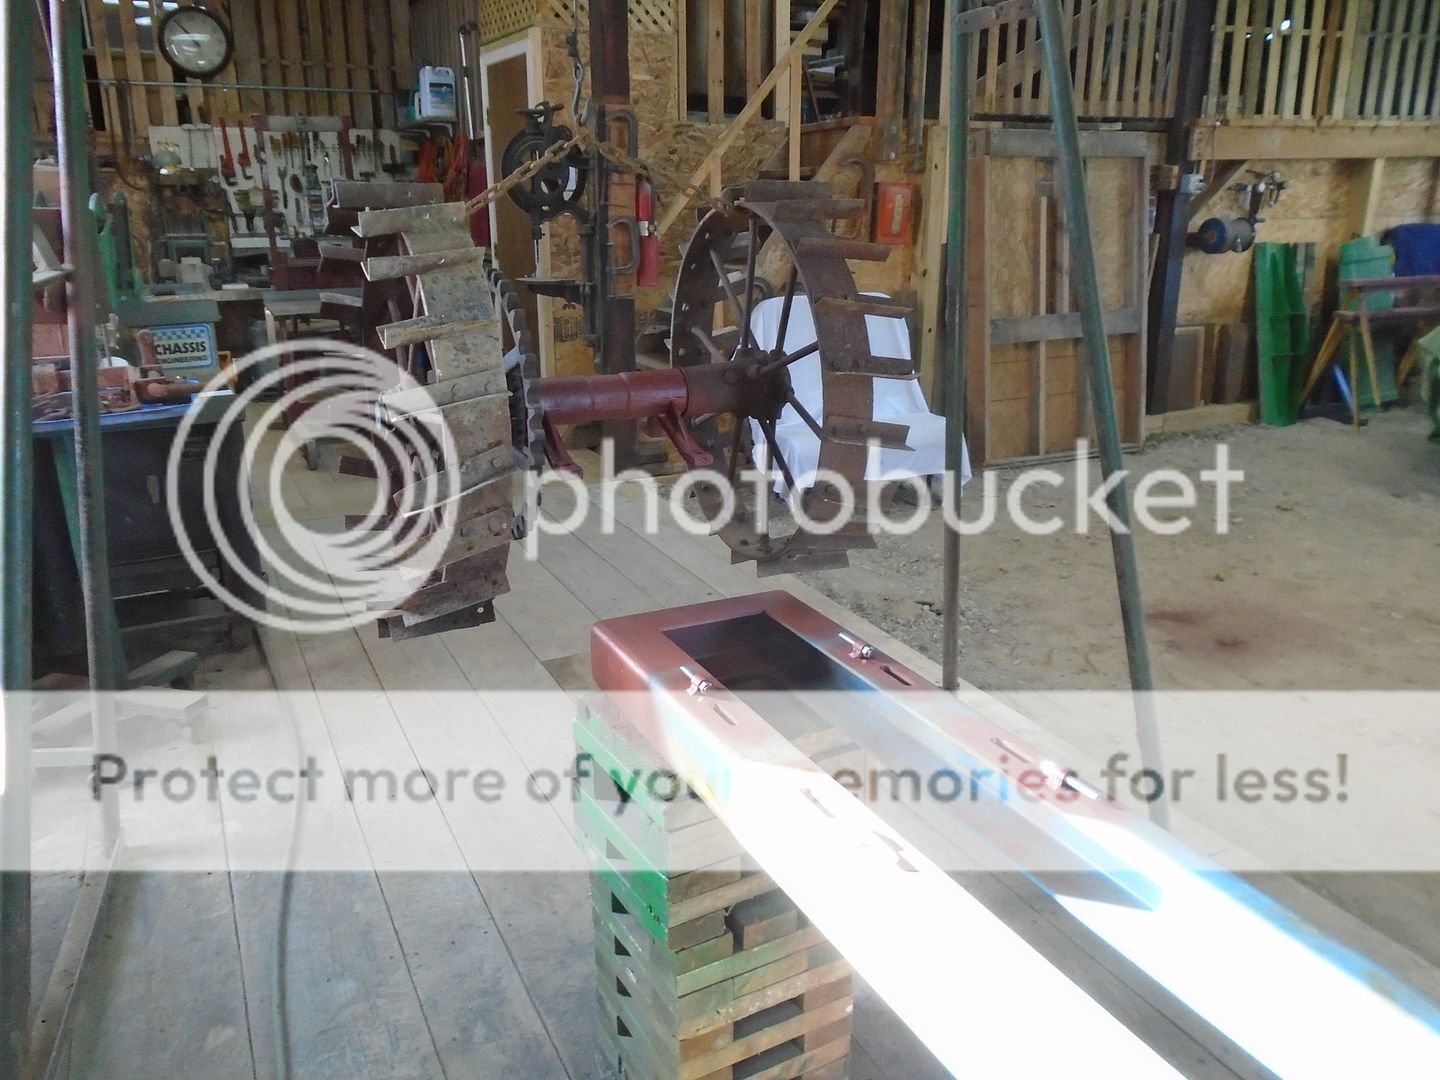
Then the A-frame is slid forward and the axle is lowered down onto the frame.
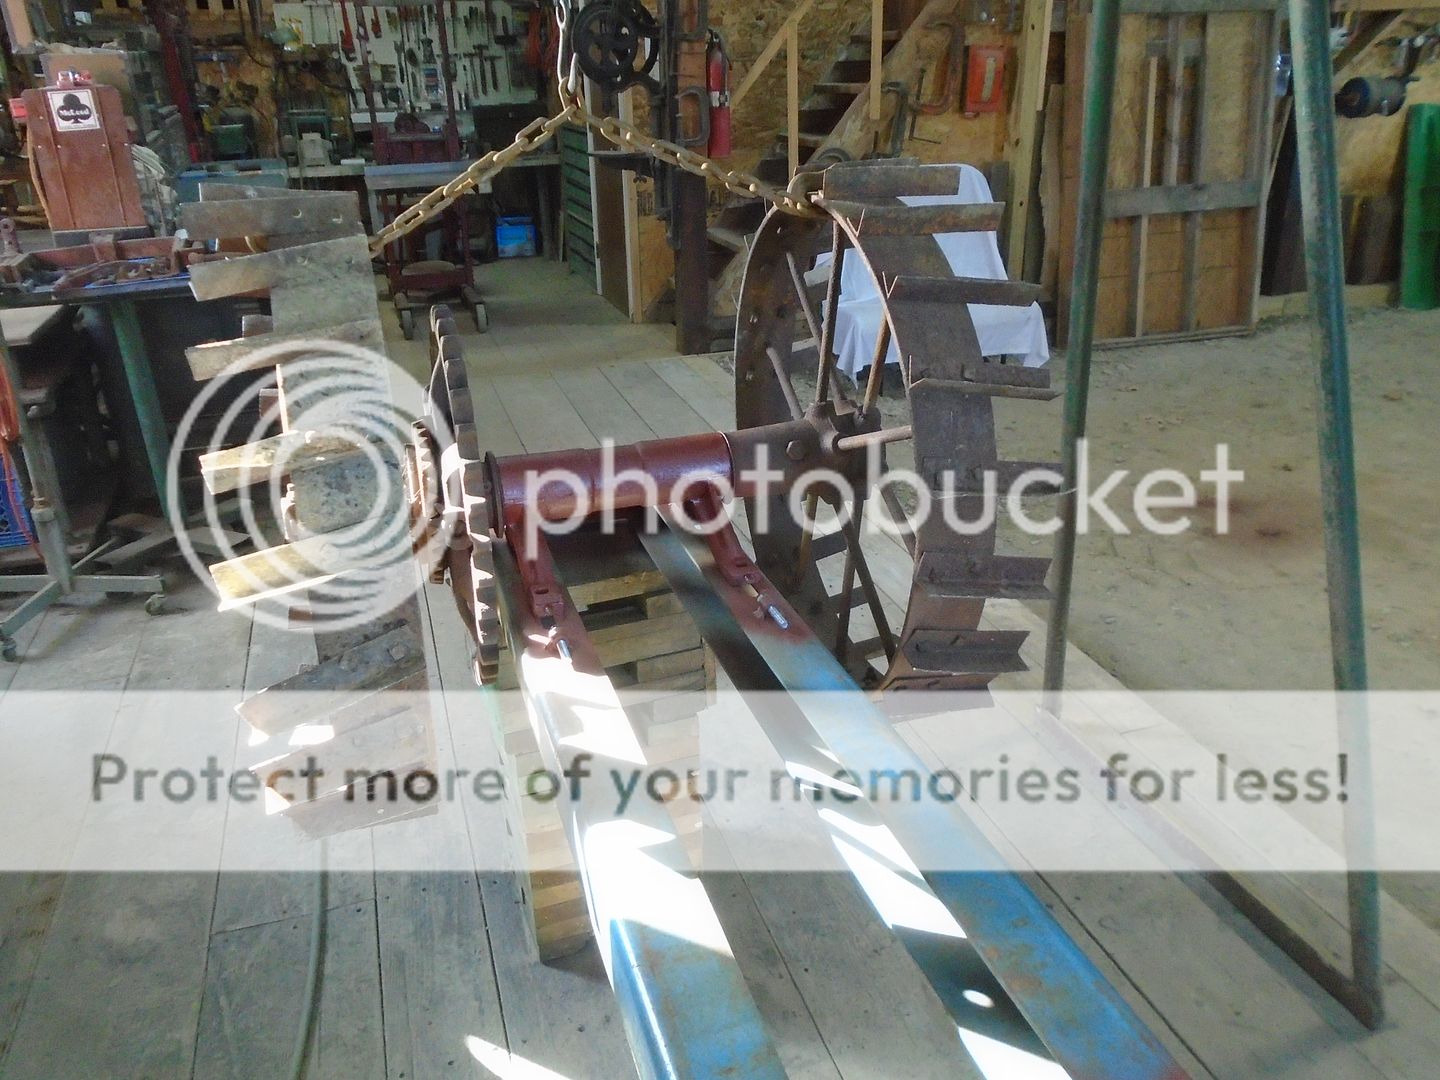
The axle is bolted in place and the adjusting screws are tighten down.
These adjusting screws will also help keep the axle from moving out of position later on.
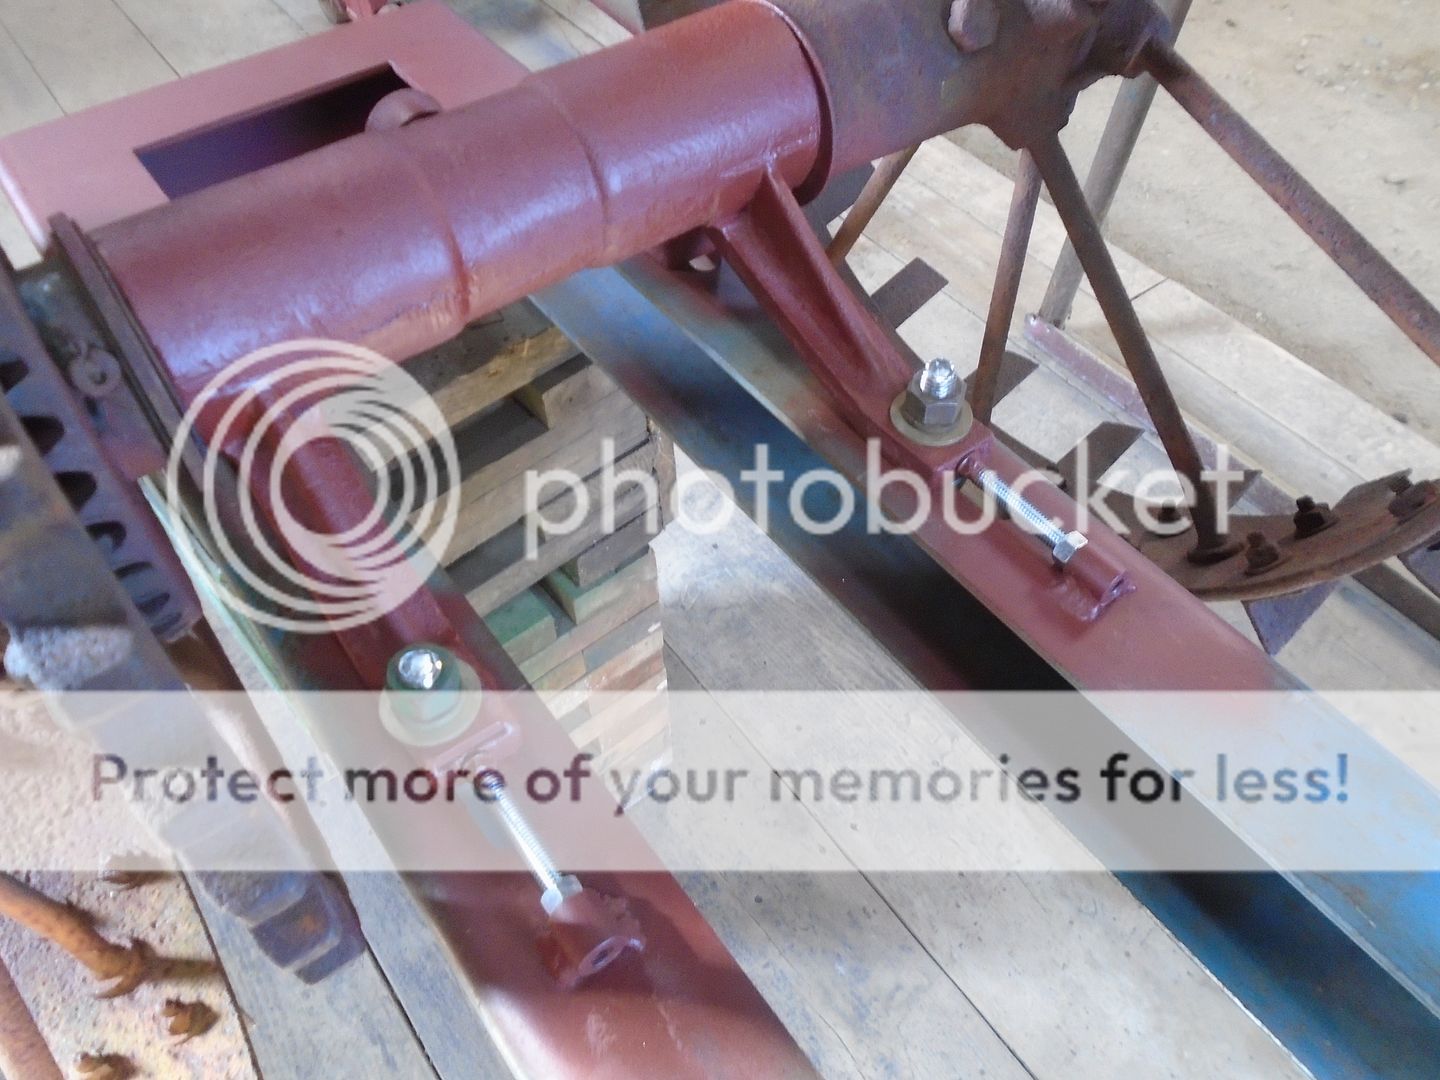
Time to pick the whole thing up and remove the block stands.
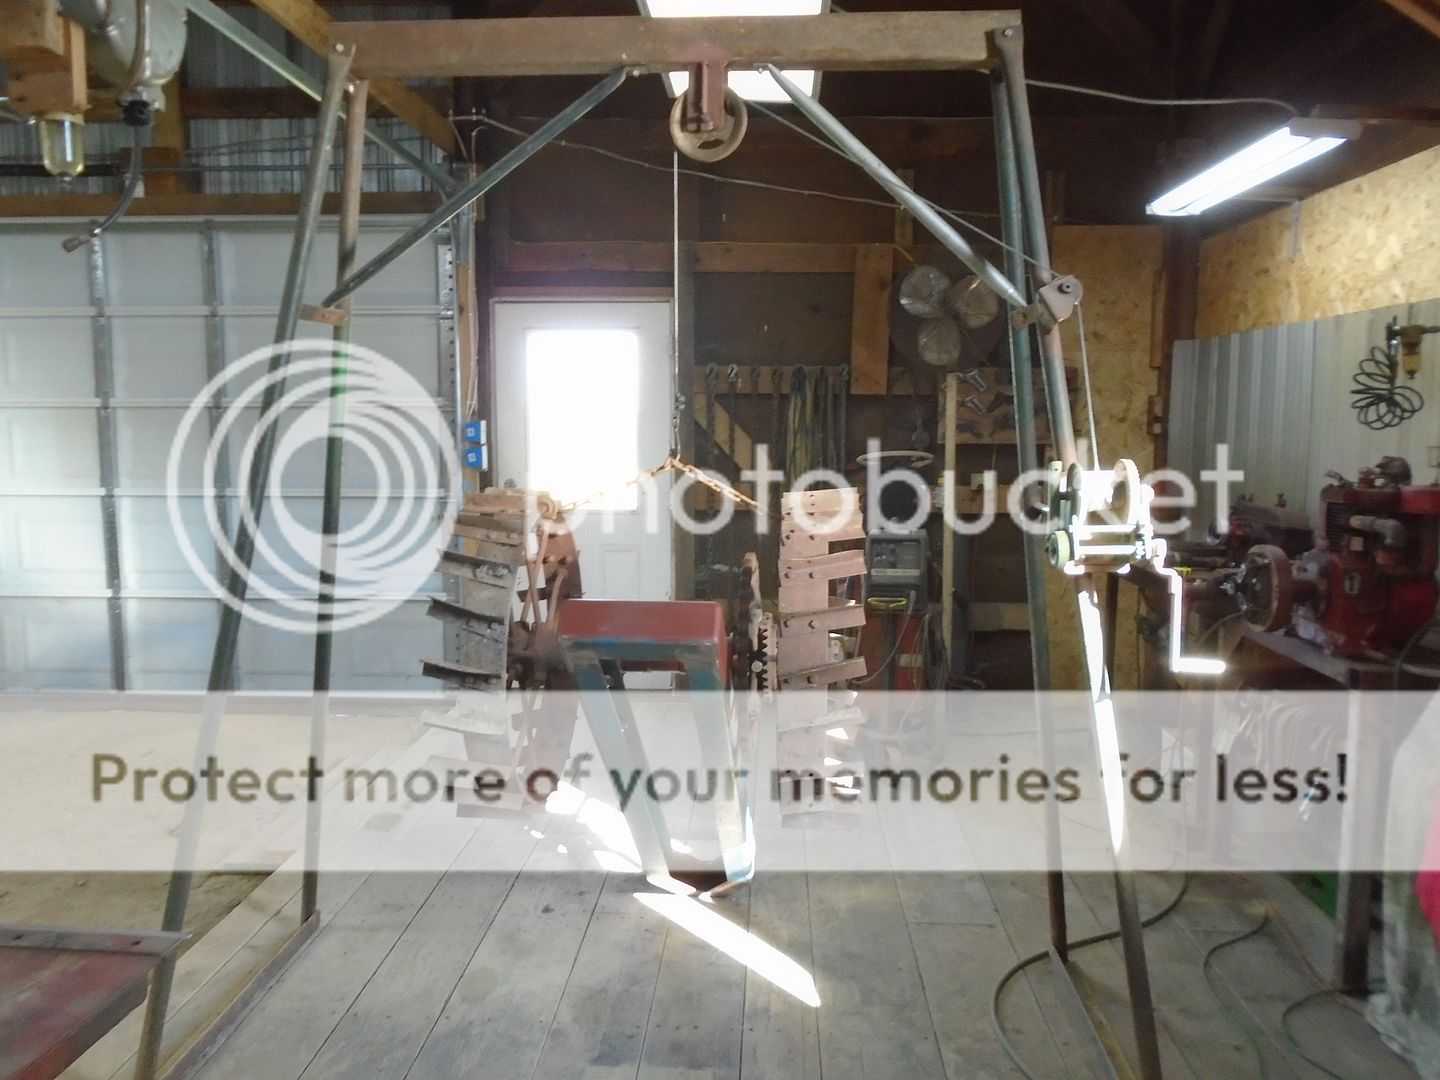
The frame is flipped over so it is now on top of the axle.
It is time to start working on the front axle.
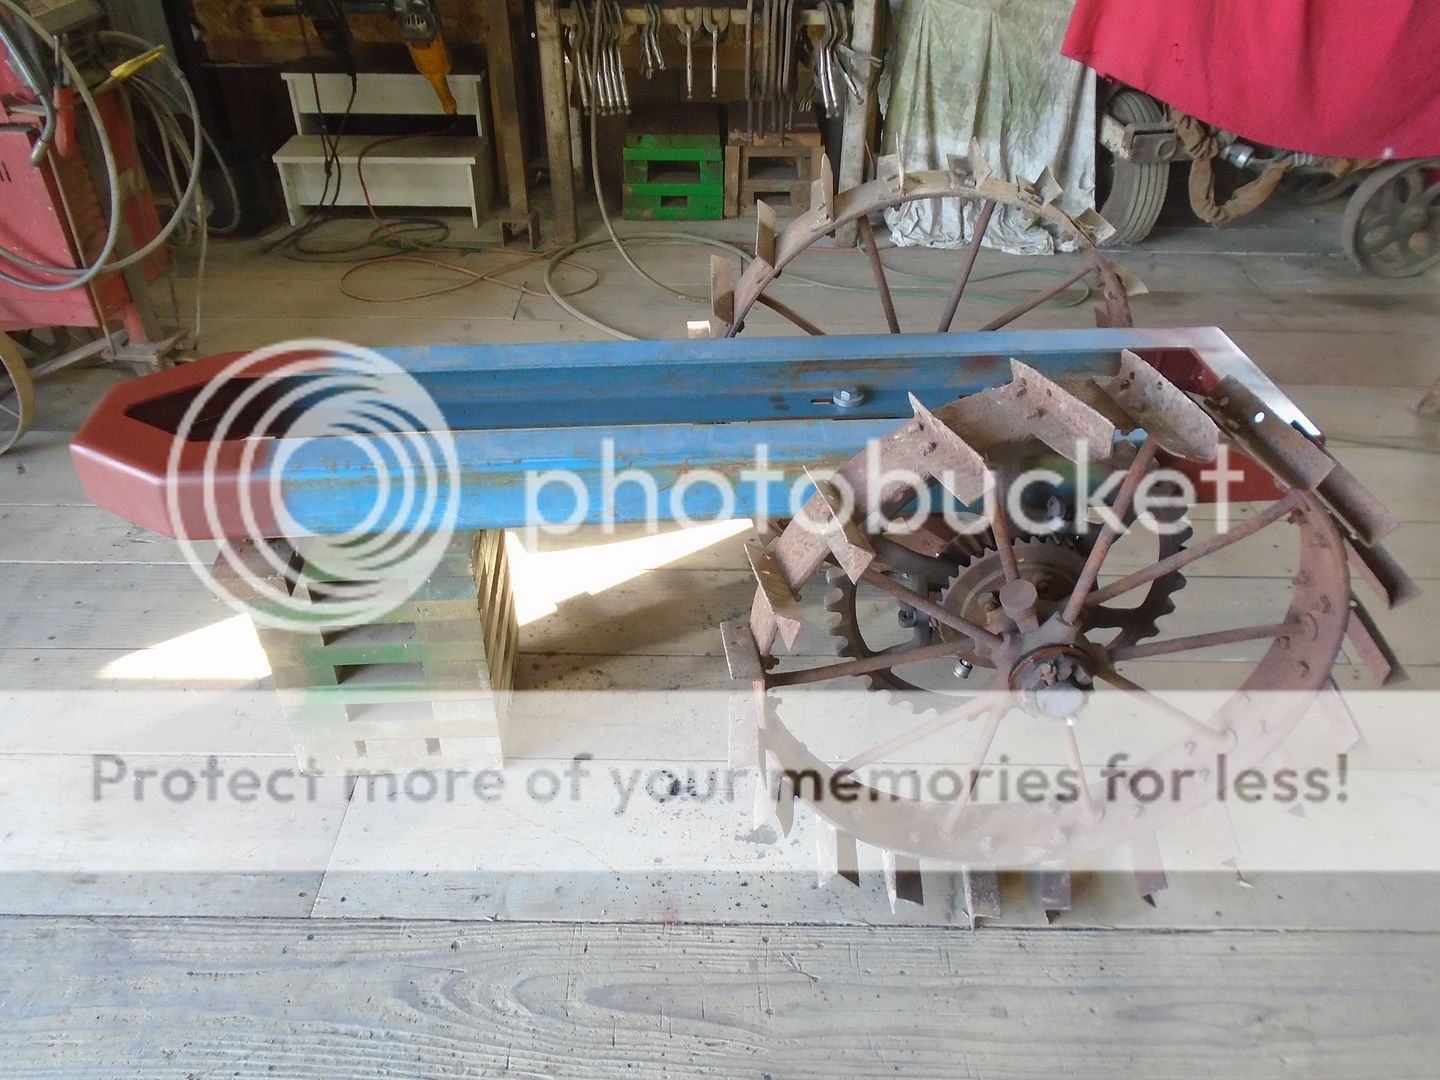

All of the welds on the outside of the frame are ground down.

The bare metal areas are primed.

I made up screw adjusters so I can move the axle under the frame without having to try and push or pull it by hand.
These adjusting screws are made from 3/8 carriage bolts and I cut the heads down to form a cone on the end of them.

The head of the adjusting screws fit into the counter bore holes that I drilled into the ends of the mounting brackets on the axle.
This will keep the head of the adjusters from slipping off of the ends of the mounting brackets.

The axle is picked back up with the A-frame.

Then the A-frame is slid forward and the axle is lowered down onto the frame.

The axle is bolted in place and the adjusting screws are tighten down.
These adjusting screws will also help keep the axle from moving out of position later on.

Time to pick the whole thing up and remove the block stands.

The frame is flipped over so it is now on top of the axle.
It is time to start working on the front axle.

Most of lath work that I need to do can be taken care of on my small South Bend lathe.
Sometimes though, I run into something that I just can't put up on my small lathe.
The front wheels have a boss with a hole thru it, cast into one of the spokes.
There is also a flange with a matching boss in between the wheel and the hubcap.
On the right wheel, these two bosses match up so the holes are aligned.
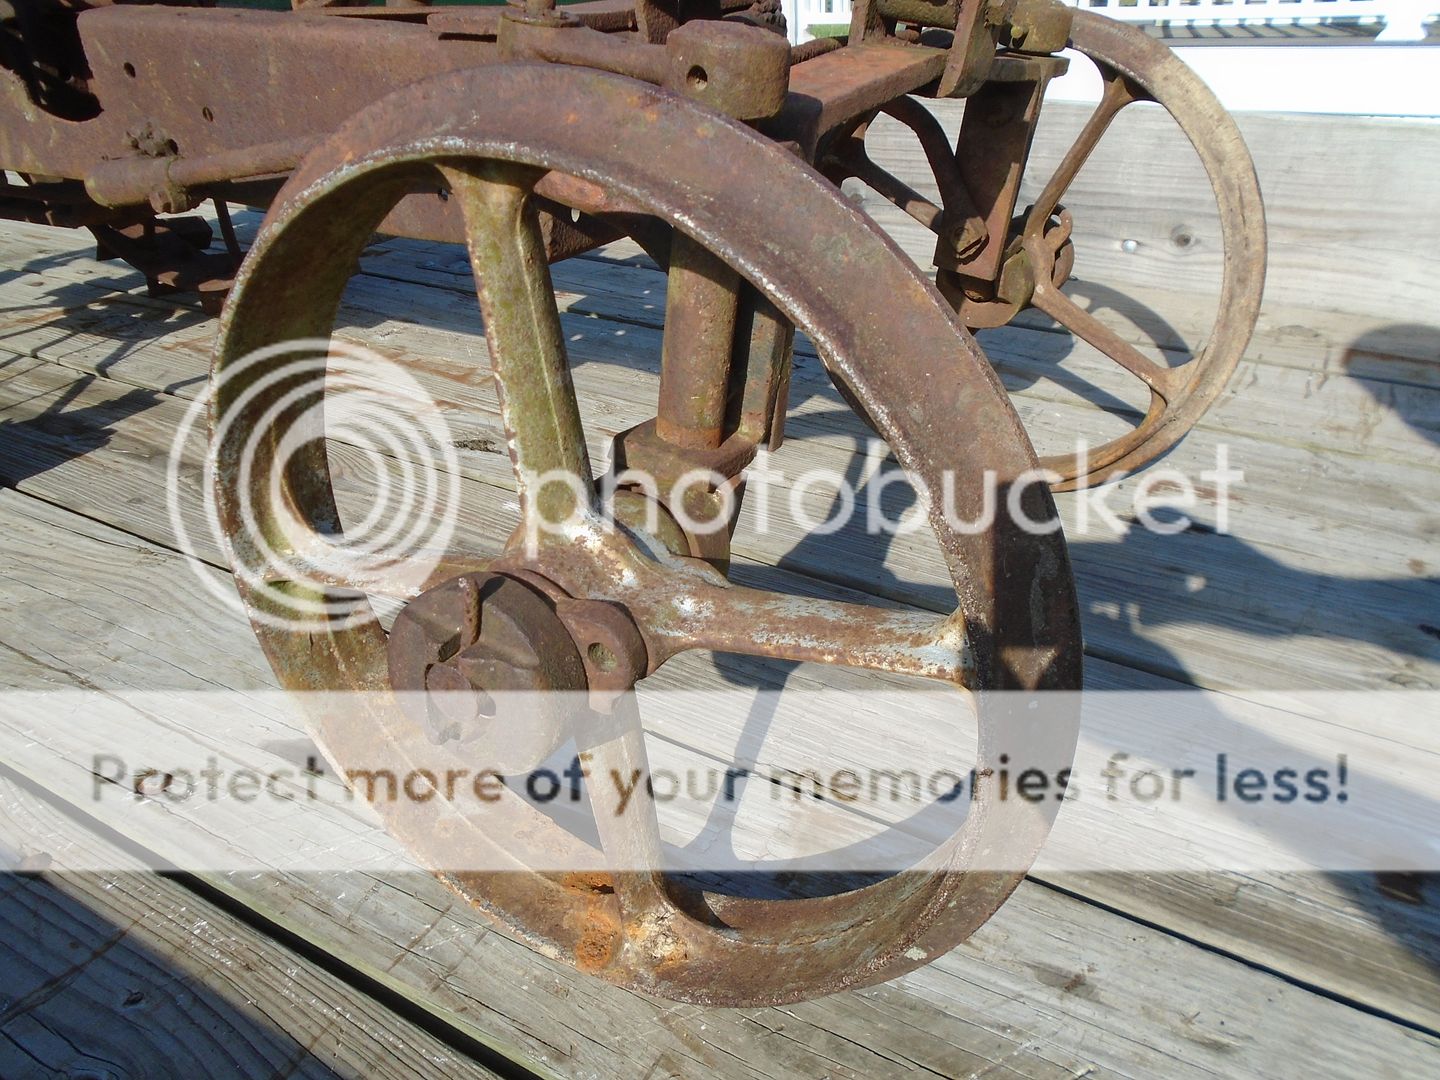
On the left wheel, these two bosses are not aligned with each other ( as you can see in this photo of me removing the wheel from the axle shaft ).
I tried heating up the hub to try and loosen this flange boss and turn it to align with boss in the spoke but it will not budge.
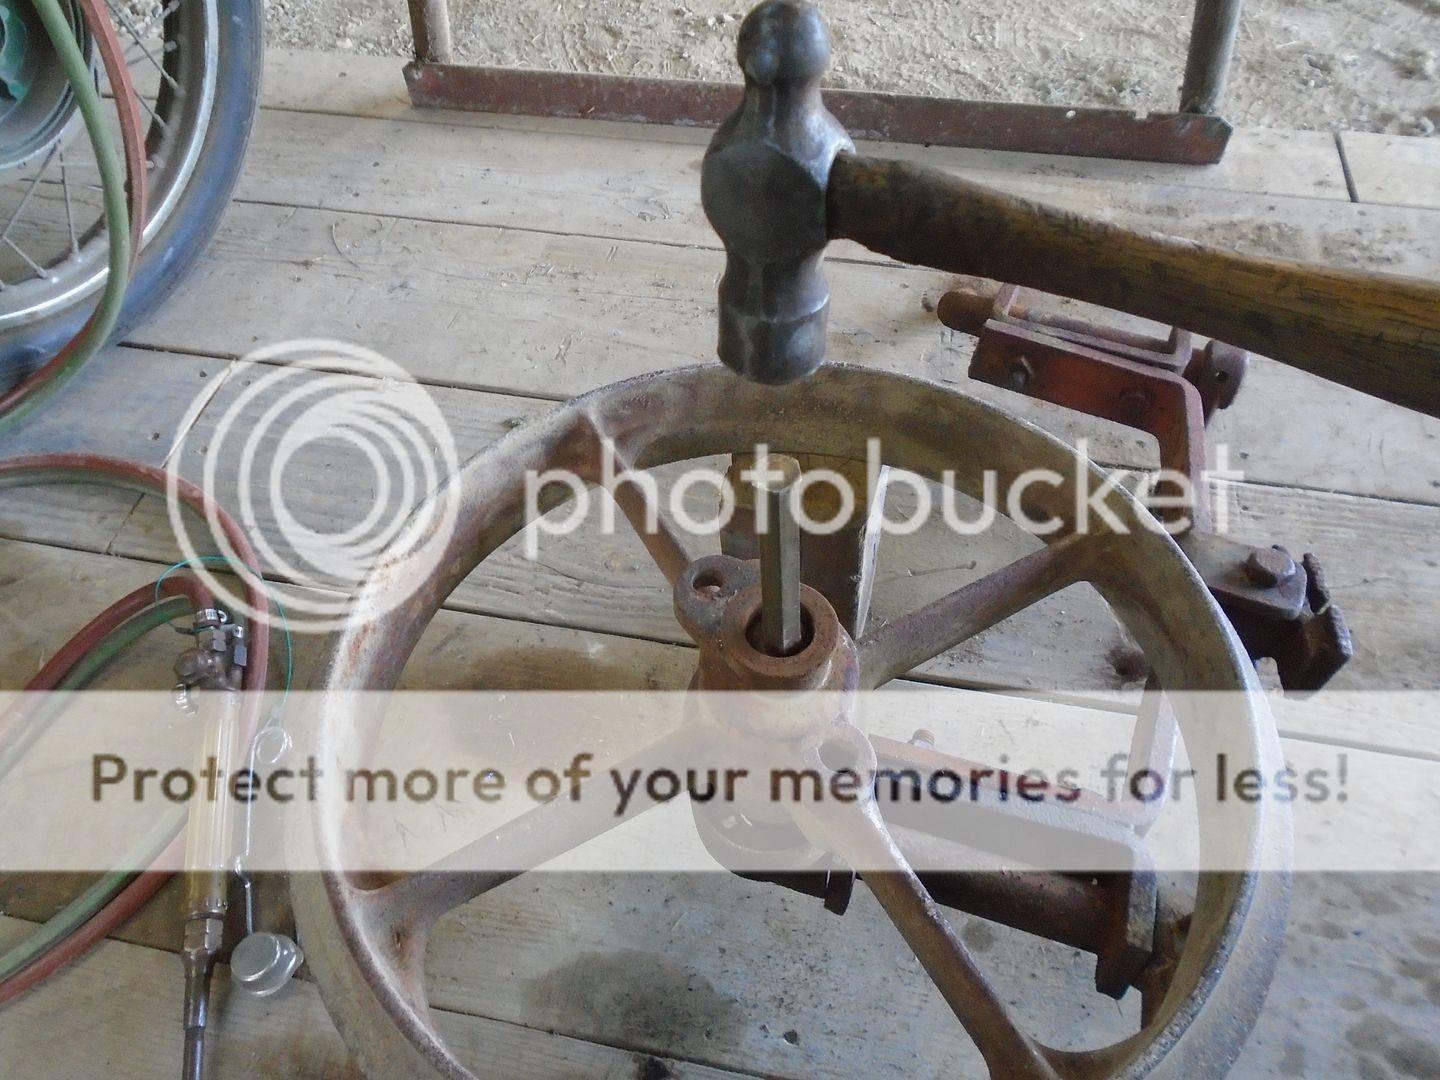
There is no way that I'm going to put this tractor together with the front wheels being so mismatched, so the only thing to do is to put them up on a lathe and turn the flange down so the hubcap can fit over the flange.
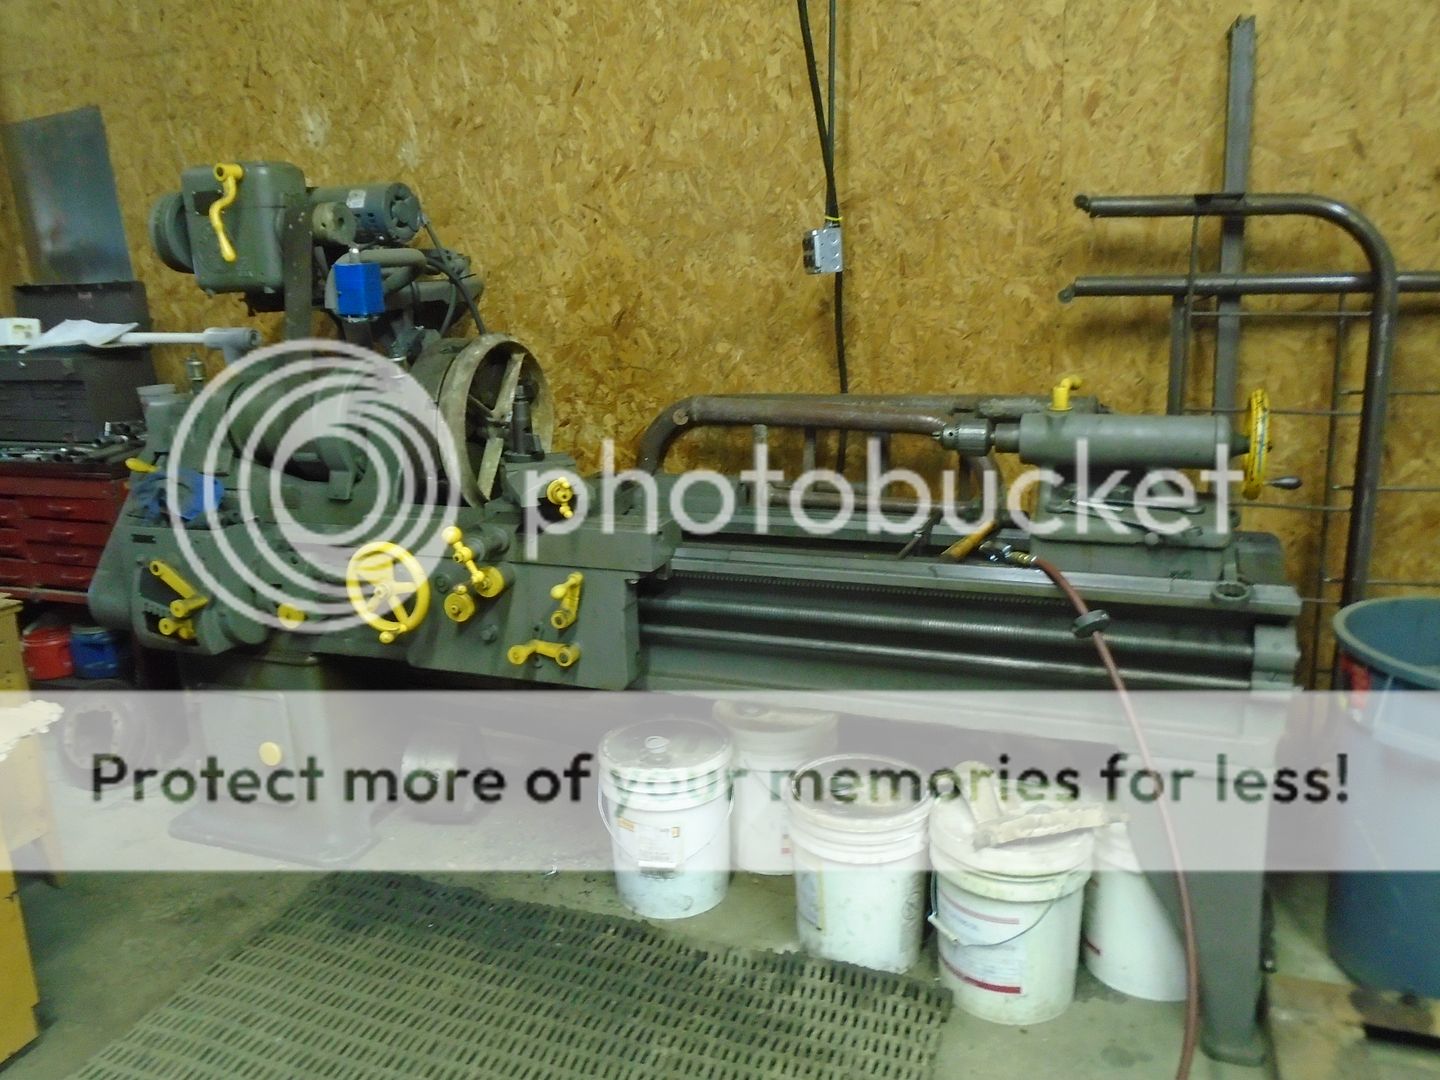
Fortunately, my son has this big lathe in the back of his garage.
These wheels measure 17 inches to the outside and they fit on the lathe with about 3/4 inch clearance.
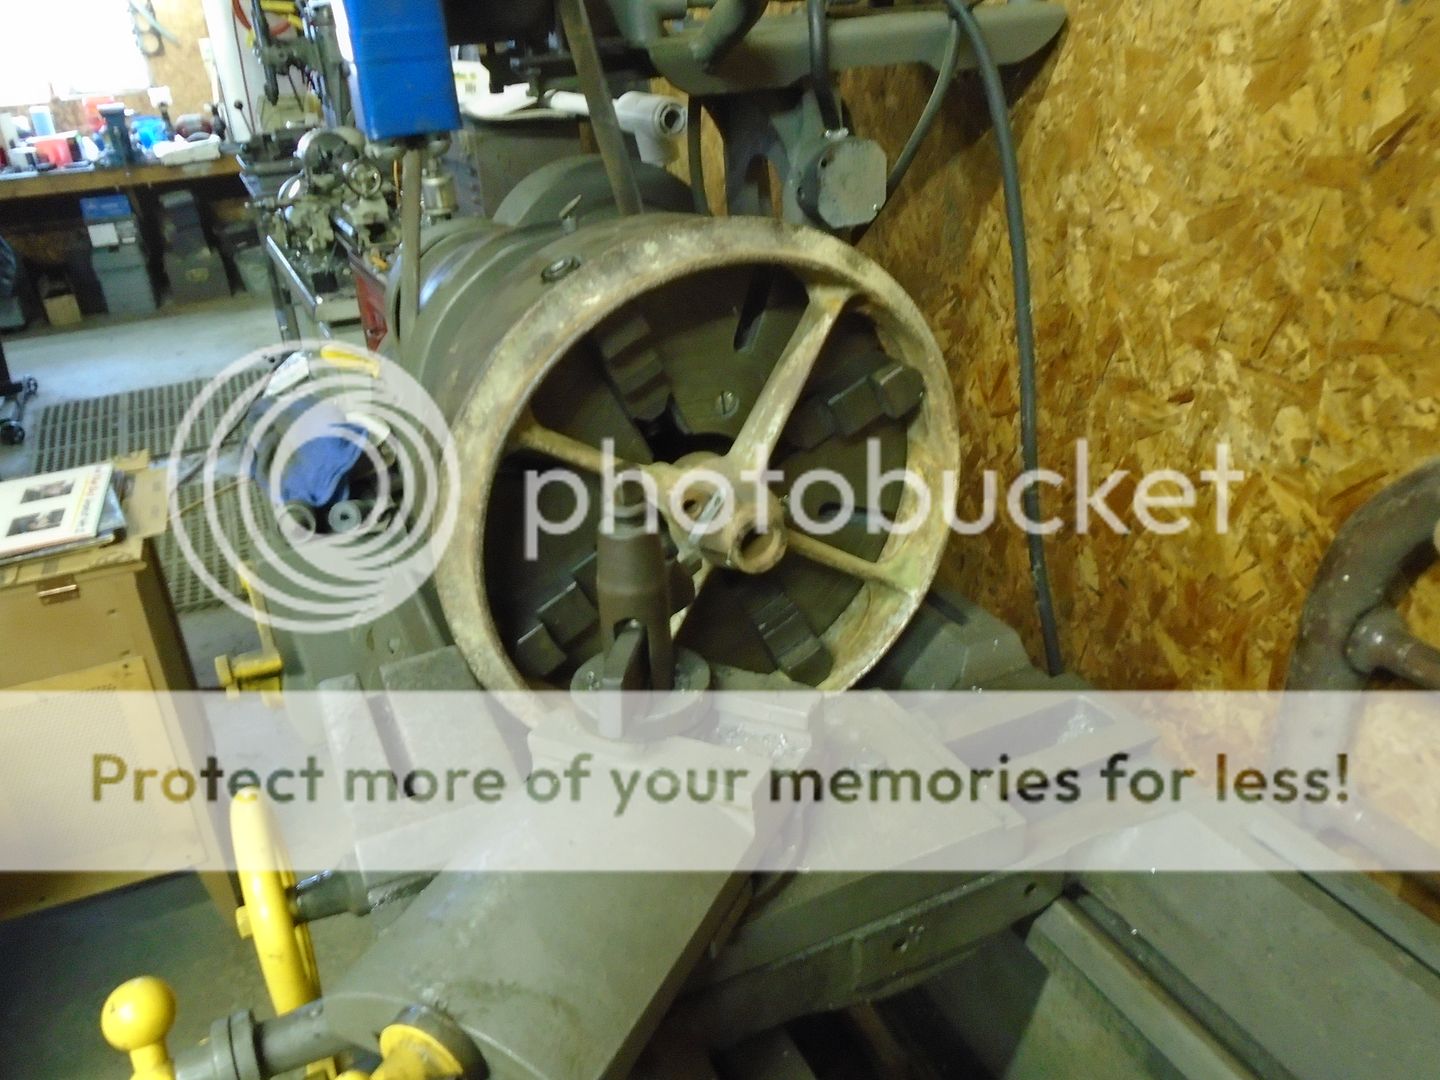
I'm turning down the outside diameter of the flange and also taking about 5/8 inch off the face of the hub.
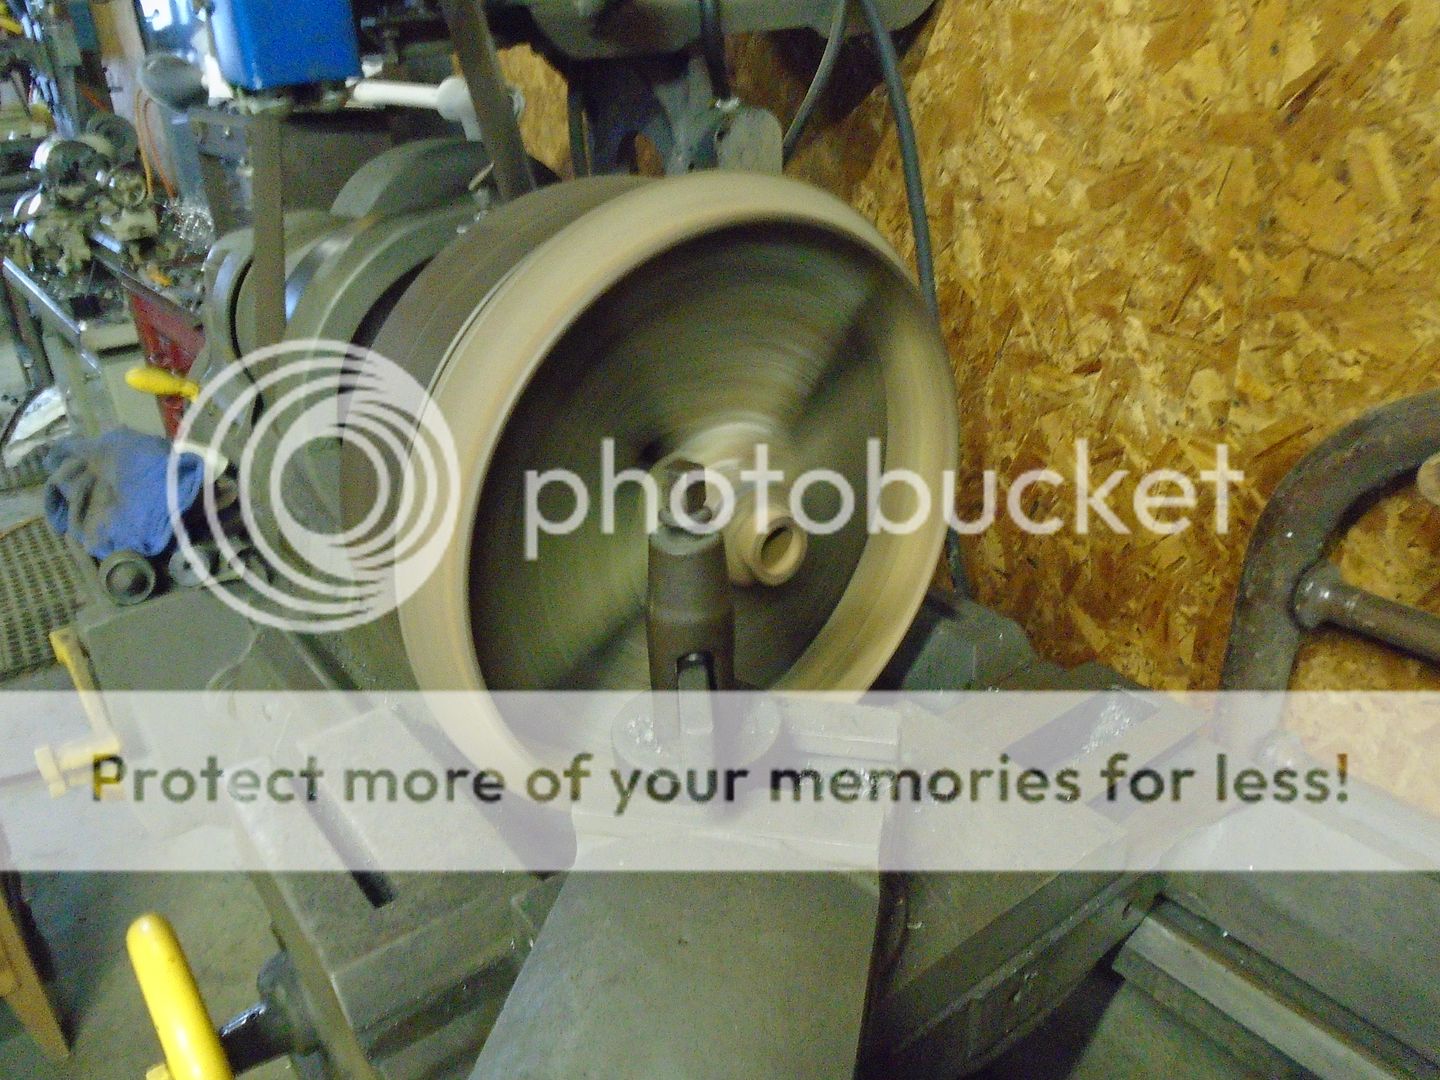
Here is how one of the wheels look when I have finished machining it.

Now the hubcap fits nicely over the end and hides the flange area.

Sometimes though, I run into something that I just can't put up on my small lathe.
The front wheels have a boss with a hole thru it, cast into one of the spokes.
There is also a flange with a matching boss in between the wheel and the hubcap.
On the right wheel, these two bosses match up so the holes are aligned.

On the left wheel, these two bosses are not aligned with each other ( as you can see in this photo of me removing the wheel from the axle shaft ).
I tried heating up the hub to try and loosen this flange boss and turn it to align with boss in the spoke but it will not budge.

There is no way that I'm going to put this tractor together with the front wheels being so mismatched, so the only thing to do is to put them up on a lathe and turn the flange down so the hubcap can fit over the flange.
Fortunately, my son has this big lathe in the back of his garage.

These wheels measure 17 inches to the outside and they fit on the lathe with about 3/4 inch clearance.

I'm turning down the outside diameter of the flange and also taking about 5/8 inch off the face of the hub.

Here is how one of the wheels look when I have finished machining it.

Now the hubcap fits nicely over the end and hides the flange area.

Fortunately, my son has this big lathe in the back of his garage.
Looks like you taught him well. His lathe looks well kept and clean.


