And more junk.

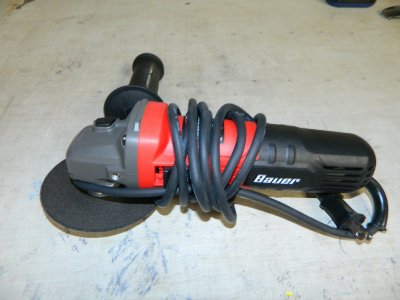
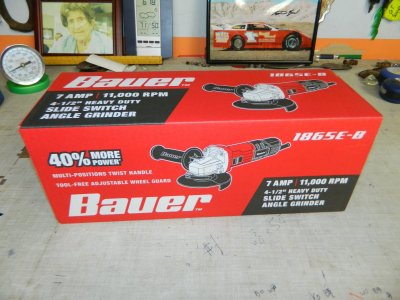
Was a good Father's Day, hope it was for all of you! We went to HF to replace the 4-1/2" grinder I broke a few days ago and ended up spending a lot more. This grinder was on sale for 20 bucks, normally 30 I think.
DSCN5365.JPG DSCN5366.JPG

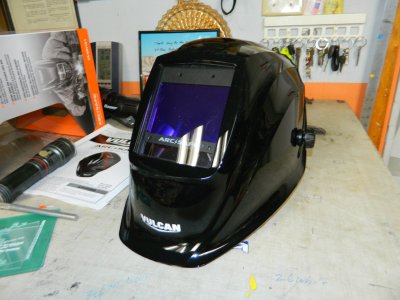
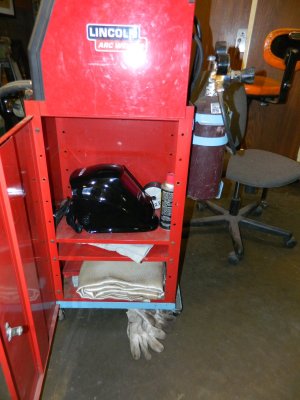
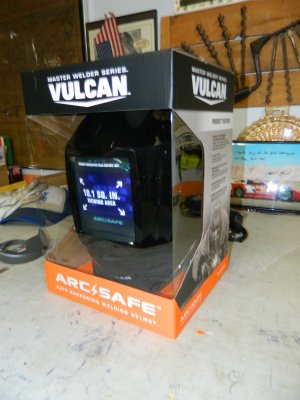
Then I walked by the welding department. Expensive mistake! Since my old helmet acted up a while back this one fell into the cart---LOL! I remembered many of you folks here said these Vulcan helmets were very good. Didn't get to try it out but got the battery in it and read the instructions for adjusting the shades and delay time. Fits my head real well! Used a 20% off so I think it ended up about 130 bucks.
DSCN5367.JPG DSCN5368.JPG

Then we got a gift for the Father in law at Menards and headed to Hot Springs SD. Got there and it just so happens that Loree's little sister was visiting there too from Colorado. Headed home before a PBS TV show started that the inlaws require silence for---LOL!

No shop time besides sitting here at the computer typing now!

DAC
 
You'll like the helmet. The head band is one of the best I've ever used.
I do like this helmet, Chris! You are right, that headband gets a grip on the noggin, but doesn't feel like it's so tight that the skull is going to get crushed---LOL! The only thing I had to adjust from looking it over last night was the "delay". Saw some spots after doing a few tacks. Reduced the delay all the way and no more problem! I like that big screen too!

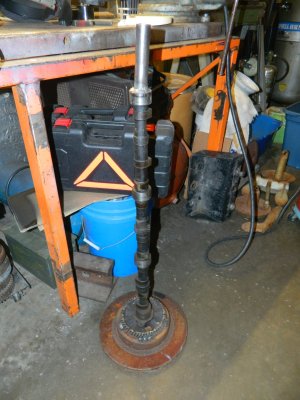
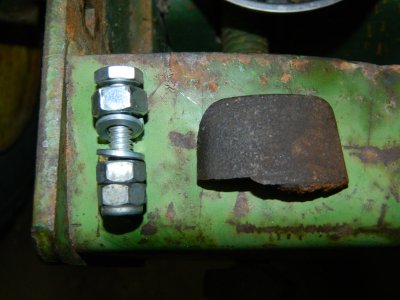
It will be hard to get used to no off-on switch, like the old helmet had. I threw together a different stand for the rain gauge using an old brake rotor and a camshaft from a late 1950's GMC 270 c.i. six cylinder.
DSCN5370.JPG

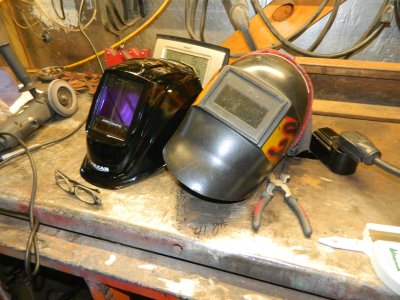
The old one was good to me but this new one is far superior!
DSCN5369.JPG

It's new resting place when not in use.
DSCN5371.JPG

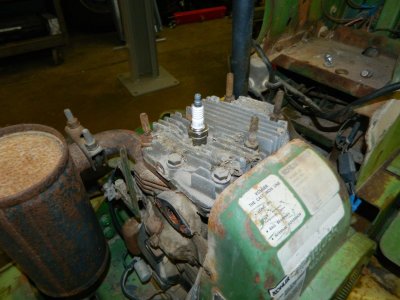
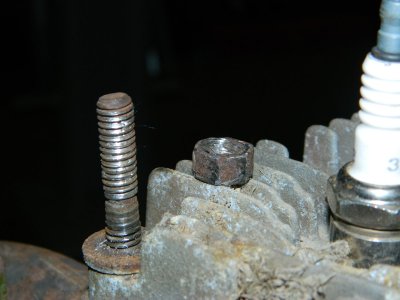
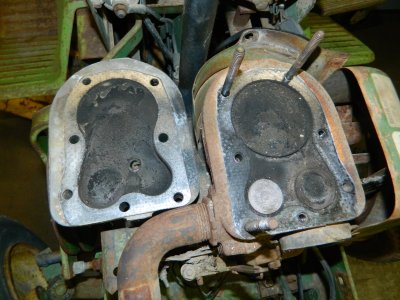
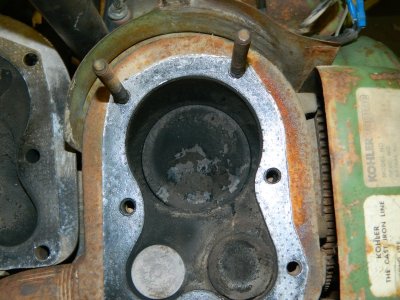
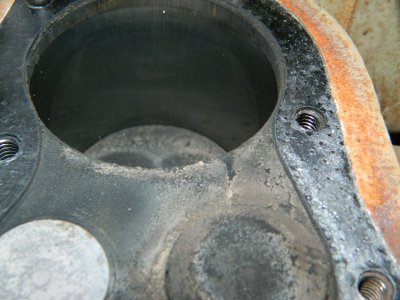
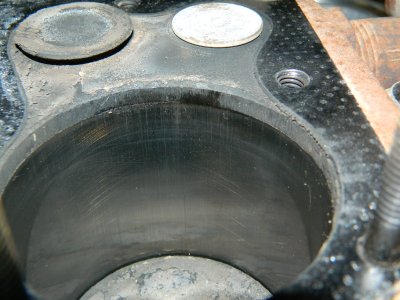
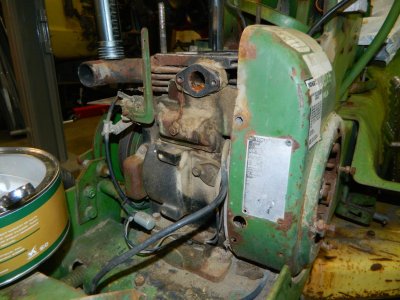
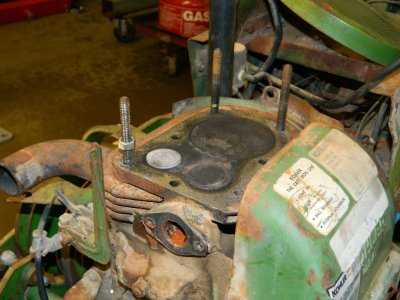
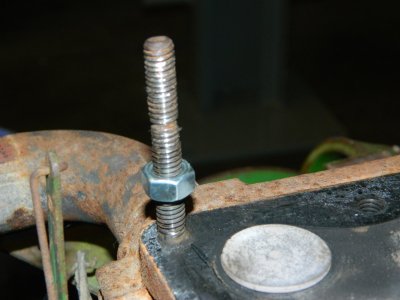
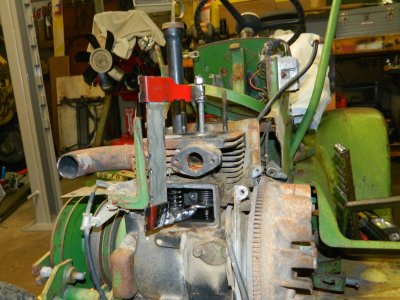
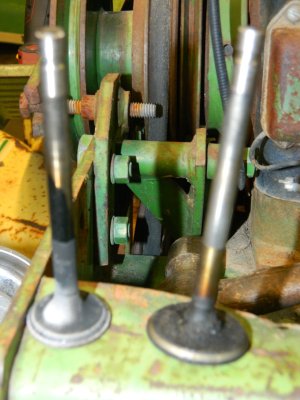
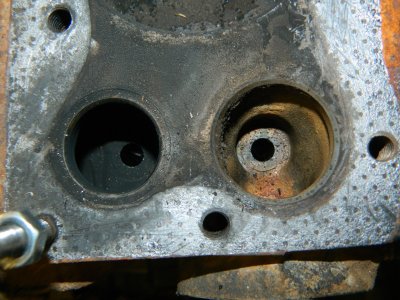
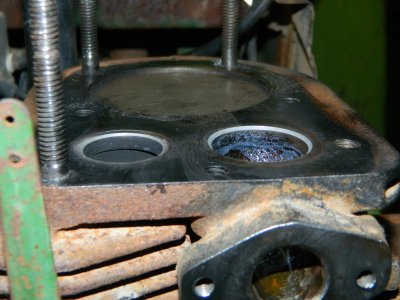
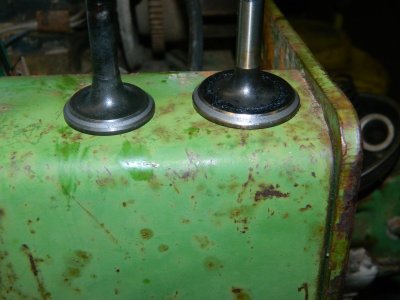
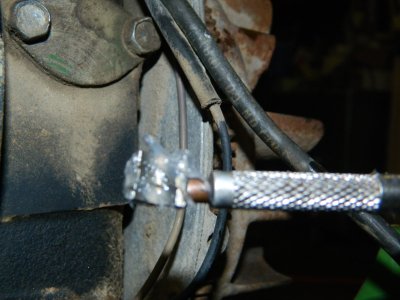
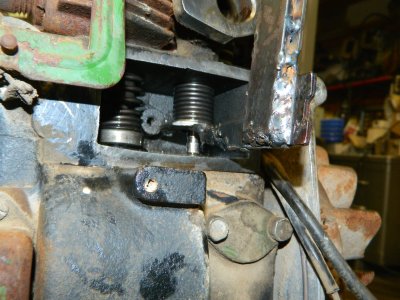
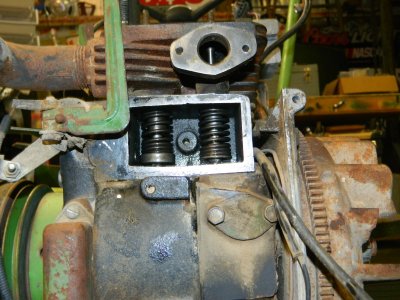
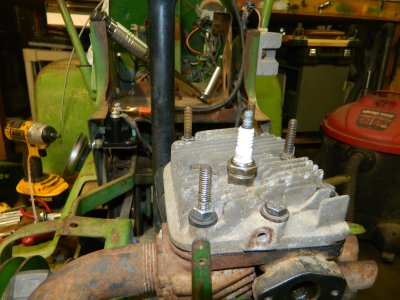
Then I tinkered with the JD110 for a couple hours. Following Rick's lead, I decided to pull the head to inspect and check valve movement. Valves seem to be operating smoothly. Cylinder looks decent too. One big problem occurred. The head stud by the exhaust port galled up. I'm betting there is little to no chance on pulling that stud out of the block to replace it without it breaking off. Going to run a die down it to see if it could possibly hold, but it doesn't look like it will. All the upper portion does is hold the head tin on. If the stud will still take the torque to tighten the head it may just stay that way.
DSCN5372.JPG DSCN5373.JPG

DSCN5377.JPG DSCN5379.JPG

DSCN5380.JPG DSCN5381.JPG

DSCN5382.JPG

Took the muffler off to check the points and there is a rust hole in the bottom of it. Might try to weld it back up.

This thing is already starting to look like a money pit!

DAC
 
Last edited:
I do like this helmet, Chris! You are right, that headband gets a grip on the noggin, but doesn't feel like it's so tight that the skull is going to get crushed---LOL! The only thing I had to adjust from looking it over last night was the "delay". Saw some spots after doing a few tacks. Reduced the delay all the way and no more problem! I like that big screen too!

It will be hard to get used to no off-on switch, like the old helmet had. I threw together a different stand for the rain gauge using an old brake rotor and a camshaft from a late 1950's GMC 270 c.i. six cylinder.
View attachment 70159

The old one was good to me but this new one is far superior!
View attachment 70158

It's new resting place when not in use.
View attachment 70160

Then I tinkered with the JD110 for a couple hours. Following Rick's lead, I decided to pull the head to inspect and check valve movement. Valves seem to be operating smoothly. Cylinder looks decent too. One big problem occurred. The head stud by the exhaust port galled up. I'm betting there is little to no chance on pulling that stud out of the block to replace it without it breaking off. Going to run a die down it to see if it could possibly hold, but it doesn't look like it will. All the upper portion does is hold the head tin on. If the stud will still take the torque to tighten the head it may just stay that way.
View attachment 70167 View attachment 70168

View attachment 70169 View attachment 70170

View attachment 70171 View attachment 70172

View attachment 70173

Took the muffler off to check the points and there is a rust hole in the bottom of it. Might try to weld it back up.

This thing is already starting to look like a money pit!

DAC
A few washers on that stud would keep your nut higher up on the good threads.
 
The old girl is just showing her age Doug. You should have seen some of the JD's I've drugged home and worked on, some good, some I've thrown some money into.
Showing her age and abuse she went through, Jake---LOL Think someone tried the kill her and may have succeeded! I bet you have had some murdered basket cases before!

A few washers on that stud would keep your nut higher up on the good threads.
Few washers like sawdust said or double nut if there is room.
Pretty good news on the stud! The threads seemed to clean up pretty well! The nut must have been softer steel and got most of the damage. Looks like about one wrap of threads are missing. Won't be a problem in that location. Went ahead and chased the threads on all 3 studs. I need to build a deep socket of some sort to hold a round die when the handle can't be used!
DSCN5383.JPG DSCN5384.JPG

I better order at least a head gasket too. More coming in another post not related to this.

DAC
 
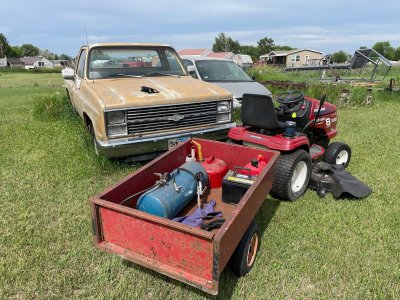
I decided to get the 2 drivable vehicles sitting in the back yard started and off the grass so I can mow there tomorrow. Both have been back there since late last summer.

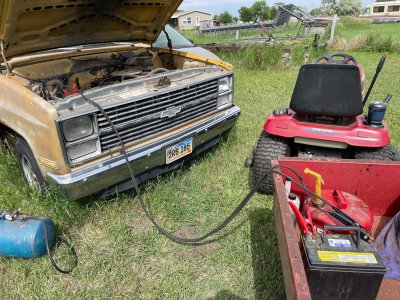
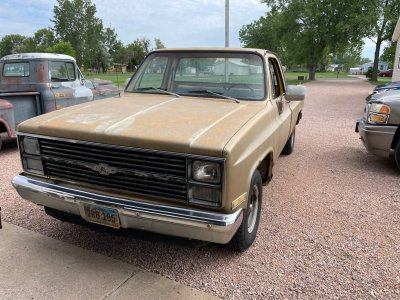
First was the son's '83 C-10. He doesn't drive it any more, but doesn't want to sell it either. Only worth $500 bucks maybe. Runs and drives great but the body is rough. Everything that can leak does, except the fuel, brakes and coolant. I might start using it for a dump runner.

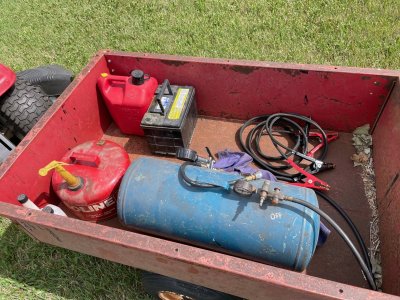
Loaded some stuff in the yard trailer and pulled it out back with the GT5000. I expected the battery to be dead but with jumpers from another battery, it fired up like it was started yesterday. Filled a RF flat enough to drive it forward.
c-10 start-1.jpg c-10 start-2.jpg

IMG_0950.jpg

Pulled it forward and added a couple gallons of gas as the gas gauge was showing empty. Took the tractor and cart back to the shop and came out to drive the truck back. Brought it to the shop and checked all 4 tires and let the battery charge about a half hour.
IMG_0953.jpg

After the truck got moved the gas gauge shows 1/4 tank! Parked it up front on the gravel.

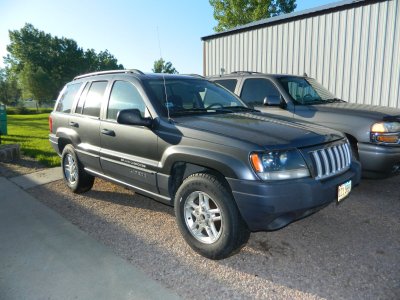
Then it was time to start the '04 "Heep". I had the battery for it in the shop on a maintainer. Should have done that with the C-10 too but forgot.
Threw the battery in the yard trailer and went out to it. Took a post cleaner and a wrench too. It didn't want to start real bad, would try and die. Finally it ran good enough to put it in drive and get to where I need it. The air hose from the shop would reach where it's parked to fill the tires. Right sides were both low. Going to put the darn thing on marketplace to sell. I don't want to work on it anymore. I much prefer working on old stuff---pre-computer and smog.
DSCN5385.JPG

Will be a mowing Wednesday this week!

DAC
 
Once things dry up here, it's gonna be mowing time here too, but not sure when. Gotta go pick up a dead hydro Grasshopper tomorrow. Taking my 20' tilt trailer with Kubota BX with forks on loader to scoop under the deck, cinched down and drive it as one unit onto the trailer.
 
The rain is welcome Daniel, out of control grass growing not so much. You probably have the equipment to handle it well though. No problem loading a dead ZTR with the Kubota!

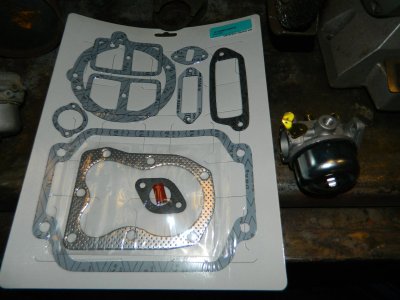
Got the gaskets ordered for the K181. Just ordered a complete set rather than just a head gasket. Will have a new gasket for the points cover and lifter cover. Probably will pull the valves and lap them.

DAC
 
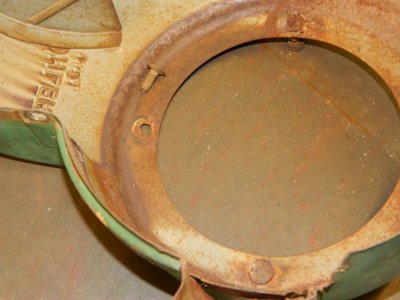
Took the K181 apart a bit more, pulling the valves and the blower housing. Found a couple of surprises under the housing.

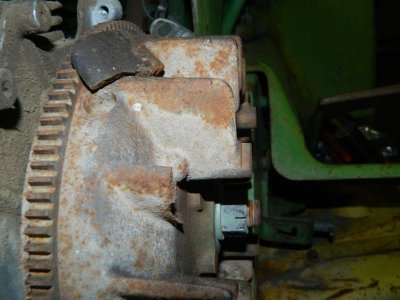
There is a fin broken off the flywheel. It was laying in there, but I can tell it had been broken off for a very long time. Hope it doesn't cause a lot of vibration.
DSCN5395.JPG

Then one of the studs was missing that held on the screen. It was also laying in there on the engine. Should be no problem to weld that back in place.
DSCN5396.JPG

Valves didn't put up a real bad fight to get out. Had to use the "One use only" homemade valve spring compressor a second time---LOL! Good thing I didn't throw it away after I rebuilt the K321---LOL!
DSCN5388.JPG

Crappy pic but the valves and seats look good and the guides were not loose.
DSCN5390.JPG DSCN5392.JPG

Cleaned up gasket surfaces and did a light lap on the valves and seats. Cleaned the compound up and re-assembled.
DSCN5398.JPG DSCN5399.JPG

DSCN5400.JPG DSCN5404.JPG

Installed and clearance checked. Intake is .008" and Exhaust is .17.
DSCN5405.JPG

Have a question on the next post but no more picture room on this one.

DAC
 
Last edited:
Haven't you guys that know Kohlers said that a black engine was probably a factory replacement? This one is black but the base is JD green along with the tins. I'm guessing the tins would get swapped as well as the oil pan/base mount when new engine was installed? The cylinder has very little ridge, more like carbon rather than wear, and with light right some crosshatch can be seen. Maybe that explains the 130# compression.

DSCN5394.JPG

No parts came in yet so next week I guess. Didn't get to check the points or troubleshoot why the ignition is always energized no matter what position the key is in. Hoping solenoid there.

DAC
 
Doug if you have room I would drill a small hole and add a little bolt to match the weight loss of the broken fin. It wouldn’t take much. Make sure what you add doesn’t come off. I think your project is showing a lot of potential. It doesn’t look like you have anything serious or anything you can’t fix.
 
Thanks for info and ideas, guys! There may be enough of the broken fin sticking out of the flywheel to drill and bolt on some weight. I will try that first before breaking off the opposite fin.

Didn't get much time on it today, I decided to take Loree to Longhorn this afternoon to use a gift card from back when I retired. Too full now to get serious about working! I did get the points cover off, cleaned them with a point file and checked the gap. .019" which sounds good to me. Looked around for some cable to do the throttle and choke but only found enough to do 1.

DAC
 
A complete replacement engine would be painted grey, I have one in my 314.
Ok, so since this one appears black, it must be a rebuilt from another source.

Thanks for that info, Jake!

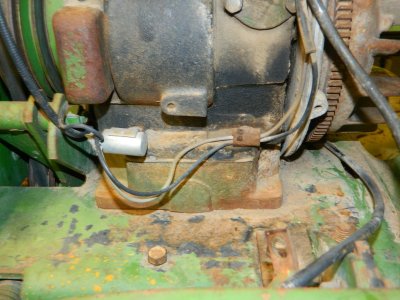
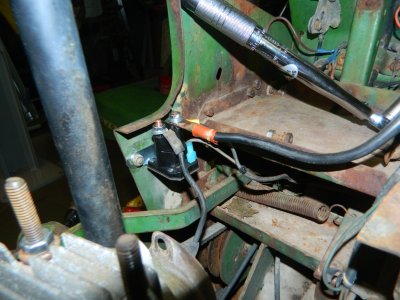
Did a lot of small piddling in the shop today, but not much production. Back was giving me fits. Got the old solenoid off the JD110, and cleaned up the ends of the battery cables. Going to try one of those modern solenoids. I have several.

DAC
 
I felt a little better today so got a couple hours in on the JD110. The gaskets and carb both came in today.
DSCN5411.JPG

First I decided to try to figure out the broken fin on the flywheel. The broken off piece weighs 0.8 oz. The 1/4" bolt with a nylock, a 5/16" nut a standard 1/4" nut and two 1/4" split washers weighs 0.8 oz! That is a lot of shrapnel to fly around in the blower housing if the remaining piece of the fin was to break or the bolt fail. I'm on the fence now what to do. Thinking Chris' idea of breaking off the opposite fin may be less risky.
DSCN5415.JPG

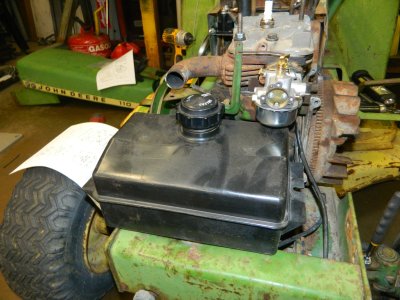
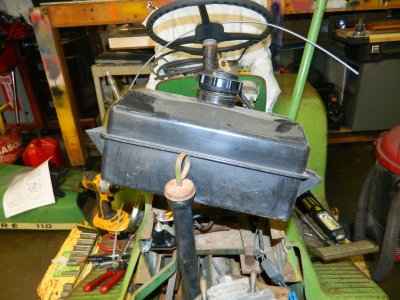
Then I got bummed when the fuel tank I wanted to use isn't going to fit! The dipstick tube is in the way.
DSCN5421.JPG DSCN5417.JPG

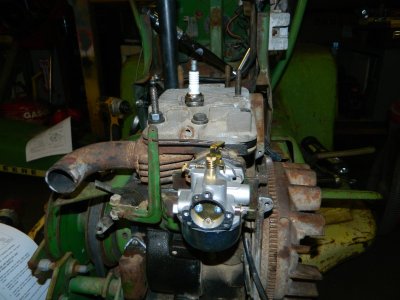
I did get the engine closed back up and the new solenoid installed in the original location of the old one. The governor to throttle link wouldn't fit in the holes on the new carb. Had to drill them out to 3/32". Head is torqued and carb is ready to get some fuel to.
DSCN5418.JPG DSCN5419.JPG

DSCN5420.JPG

Repairing the muffler and blower housing will be next besides figuring out a fuel tank and flywheel. Hoping maybe the tank from a Murray LT out back may be a little narrower. Raining too hard to go check.

DAC
 
Back
Top