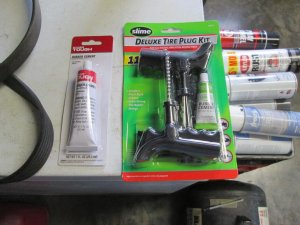
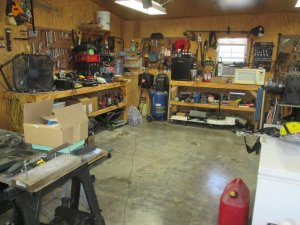
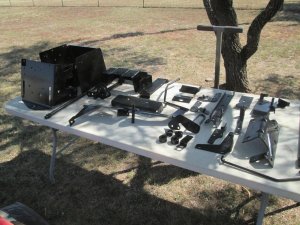
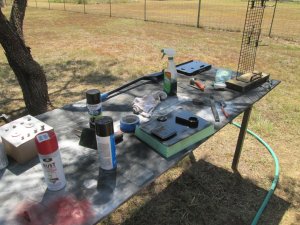
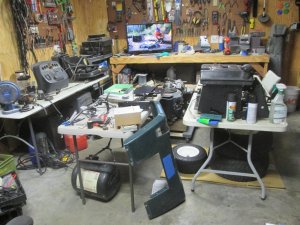
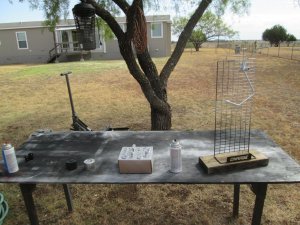
Figures, after purchasing a deluxe tire plug kit the tires are all holding air after 48 hours. Getting ready for a big BBQ tomorrow and needed to clear the shop so I have a cool space to chill and watch the race tomorrow. Working on some small parts for now. New parts are pending to ship on the 19th now, and the deck is still at the fabricators. I put the engine on a dolly so it can be easily moved around and I pressure washed it again and it is looking good.

You are using an out of date browser. It may not display this or other websites correctly.
You should upgrade or use an alternative browser.
You should upgrade or use an alternative browser.
Craftsman 917.273100 2000 Estate find
- Thread starter larrybl
- Start date


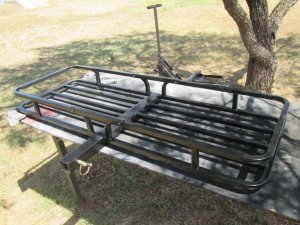
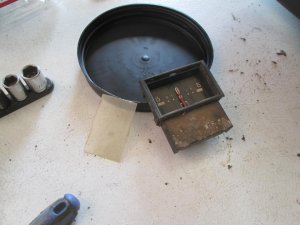
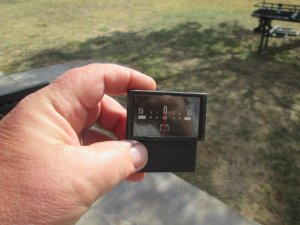
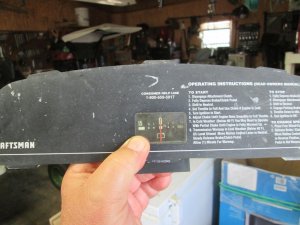
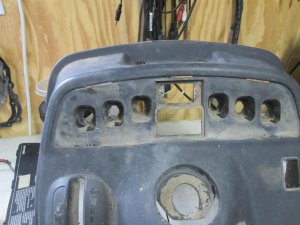
My little bit for yesterday and today. Had company over and used the HF carry all to tote the cooler’s around for the bbq. It was looking really faded, and I plan to use it at the tractor show next month, so I used the cheap black paint on it. Looks a lot better. I took the dash apart and was checking it out. I didn’t know it had an Amp meter, couldn’t see it under the dirt. It cleaned up nicely. Looks like the dash has provisions for (6) indicator lamps of some sorts that were hidden behind the thin plastic cover. No lamps or wiring installed, curious as to if this was used on other models?
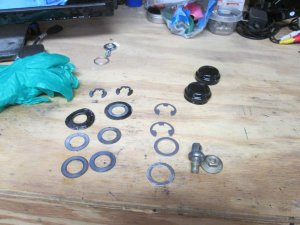
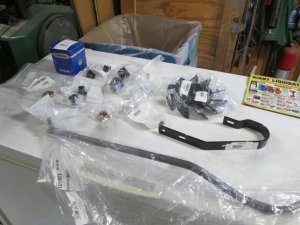
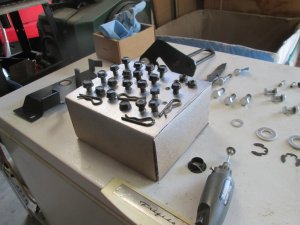
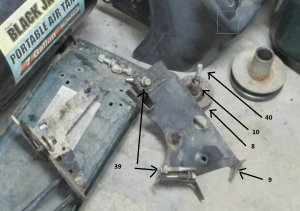
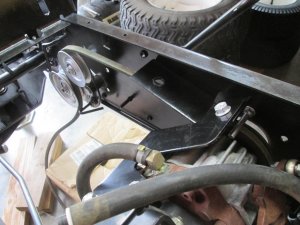
Put the clutch assembly together, and used a fine thread nut on the course pulley bolt and ruining both. Quick search in the nut and bolt buckets and correct replacements were found.
Put the clutch assembly together, and used a fine thread nut on the course pulley bolt and ruining both. Quick search in the nut and bolt buckets and correct replacements were found.
Attachments
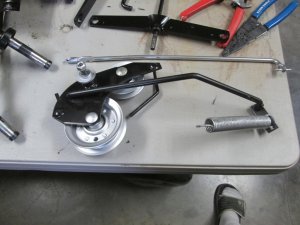
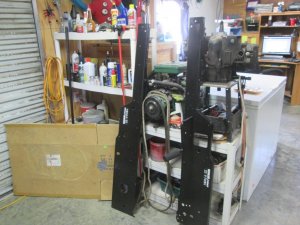
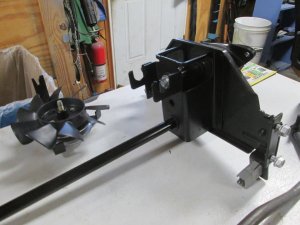
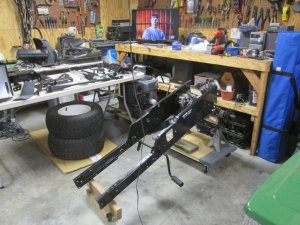
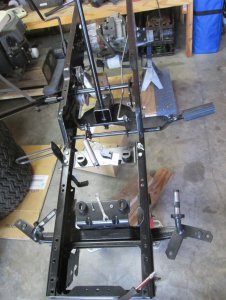
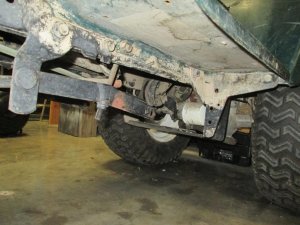
Got a little bit done, mostly replaced all the steering bushings and re-assembled the steering housing. Put the new fan on the drive pulley. New drag link. Having trouble removing the tie rod ends, I am afraid of damaging the threads . I re-evaluated them and there is very little slop, so I may try adding grease to the ball joints and use double "O" rings to replace the seals. I'll store the new tie rod ends for later. Also got a new deck skid that I'll put on BOH as his was removed to send with the deck for the welder to use for measurement.
Attachments
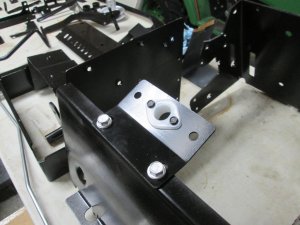


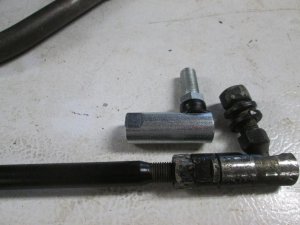
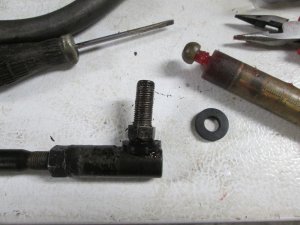
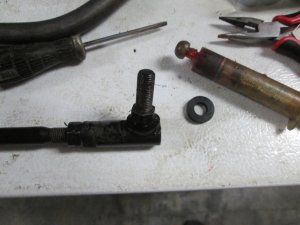
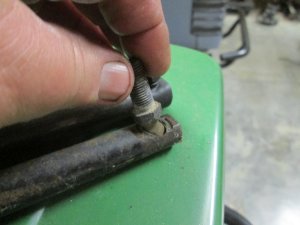
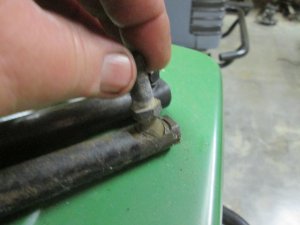
The steering housing was in good shape, no egged out holes. The new brass bushing fit real snug, and I had to sand and re-paint the steering shaft as it was a snug fit. Note to self, sand steering shaft and install then paint. The Tie rod ends were in good shape, just dry and missing the rubber covers. I greased them up and installed rubber washers. These are about 1/8" thick and the center hole fits tight on the thread area. Using a small flat tip I streached them over the bolt, almost like putting a tire on a rim. They are tight with no slop. New tie rod ends are stored for later use if needed. Drag link is beyond repair (switch between the last two pictures) New one is on hand.
Attachments
Now that the TEDTEA Tractor show is over I can get back to this. Still need to order more parts, but I can get the chassis assembles and the steering assembly installed. (I may try the poor mans power steering that Kenny linked the McMaster parts in another link).
If you missed the Tractor Show, Links are below.
If you missed the Tractor Show, Links are below.
Attachments
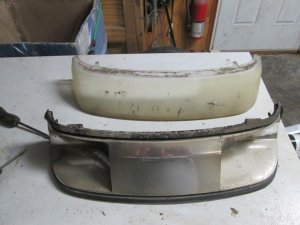
Finally able to spend some time on this project. Trying to decide on how to clean up the headlight lens, it is in good shape, just dirty. I have some Mothers polish I'll try on it. The Manual I have is really bad, so I am referring heavily on the tear-down pictures. Waiting on paint to dry right now.
Oh, it is 69* in the shop with the doors open, light jacket and shorts.
Oh, it is 69* in the shop with the doors open, light jacket and shorts.
Attachments

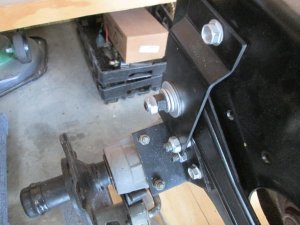

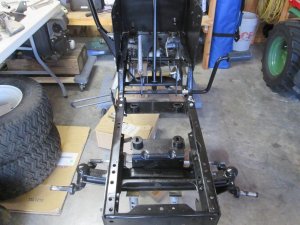
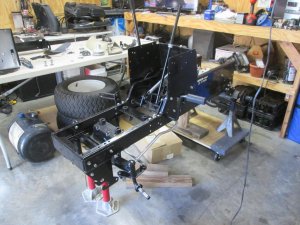
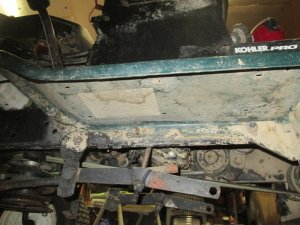
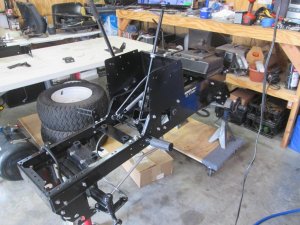
I was waiting for someone to see it!  I put them there so they were on the correct sides. Done for the day, Steering installed (W/new bushings), Clutch / brake installed, and the cross plate on the trans axle really gave me a fit, should have installed it before the frame went on, but got it done without removing any hoses. I'll see what I can get done tomorrow.
I put them there so they were on the correct sides. Done for the day, Steering installed (W/new bushings), Clutch / brake installed, and the cross plate on the trans axle really gave me a fit, should have installed it before the frame went on, but got it done without removing any hoses. I'll see what I can get done tomorrow.Attachments

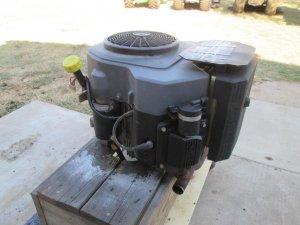
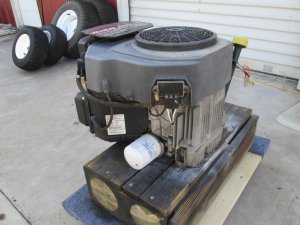
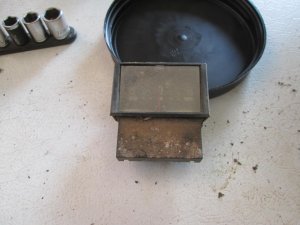
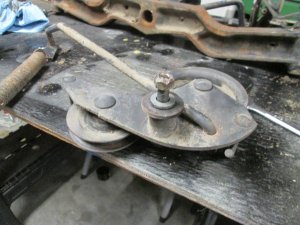
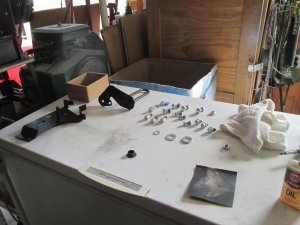
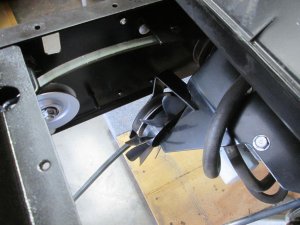
I have the gasket and ring kit for RED's winter re-fresh, and planed to fix his clutch issue as he is my main mower. Now I think I need to complete the Craftsman Pro over the winter and make it my new main mower. Still plan to re-do RED but probably over the summer now. I have one part that I am trying to fins where it goes. Doesn't show up on any of the tear down pictures. It's late so I'll look at this again tomorrow.
Attachments
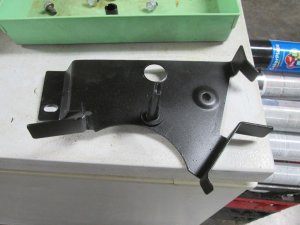
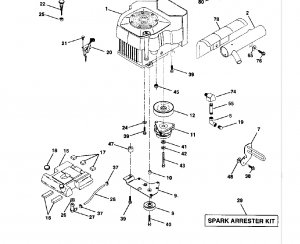
That part looks similar to part #9 on page 44 of the manual. Part of the belt drive system, I believe.I have the gasket and ring kit for RED's winter re-fresh, and planed to fix his clutch issue as he is my main mower. Now I think I need to complete the Craftsman Pro over the winter and make it my new main mower. Still plan to re-do RED but probably over the summer now. I have one part that I am trying to fins where it goes. Doesn't show up on any of the tear down pictures. It's late so I'll look at this again tomorrow.
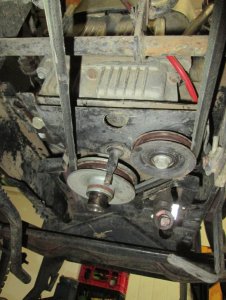
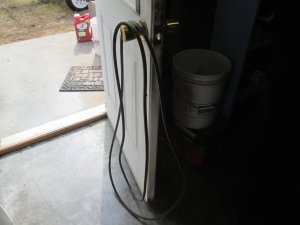
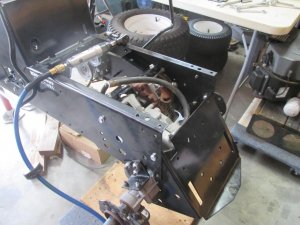
Now would be a good time to route the drive belt around the trans axle pulley, but I have a dilemma. I seem to have grown an additional belt, and not sure which is which.
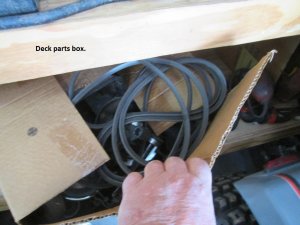
Both are different sizes. I did confirm both deck belts are in the deck parts box.
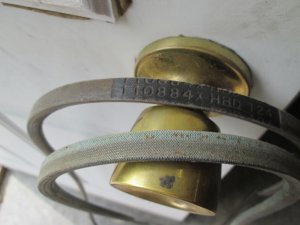
One belt has a P/N of 110884X HBD 124, This comes up as 532110884 at Jacks, and the inter web says it’s a 93 ¾ X ½”
Manual calls for a 140218, this come’s up as 532140218 at Jacks, and the inter web says it/s an 84 ½ X ½”.
The other belt (the green one) I have is not marked. And is ½ in width. I measured it with a cloth tape measure and came up with 84 ½ so I am almost convinced this is the correct belt. I looked at some before pictures, and the green belt was installed.
Not sure where the 110884X HBD 124 came from.
Both are different sizes. I did confirm both deck belts are in the deck parts box.
One belt has a P/N of 110884X HBD 124, This comes up as 532110884 at Jacks, and the inter web says it’s a 93 ¾ X ½”
Manual calls for a 140218, this come’s up as 532140218 at Jacks, and the inter web says it/s an 84 ½ X ½”.
The other belt (the green one) I have is not marked. And is ½ in width. I measured it with a cloth tape measure and came up with 84 ½ so I am almost convinced this is the correct belt. I looked at some before pictures, and the green belt was installed.
Not sure where the 110884X HBD 124 came from.
Attachments
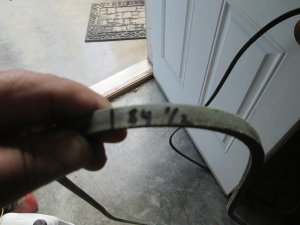
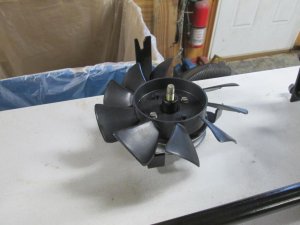
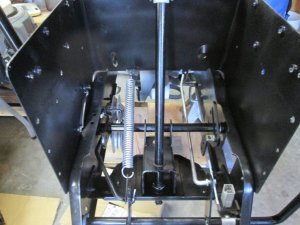
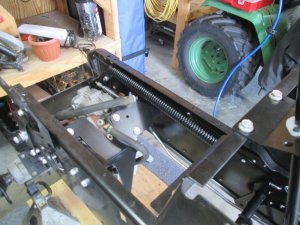
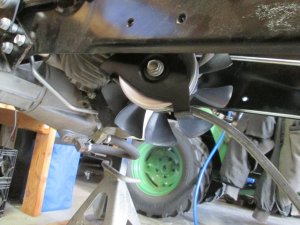
This morning’s progress. Installed the rear plate (real pain). Figured out the 84 – ½” belt was needed and installed. Lift assist spring installed (required removal of the dash tower to install it). Hydro By-pass lever installed. Just about have the table cleaned off. Getting there, Fan installed.
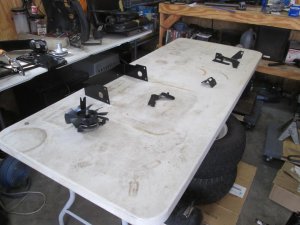
Table removal and some clean up, Afternoon posts will be up shortly.
Table removal and some clean up, Afternoon posts will be up shortly.
Attachments
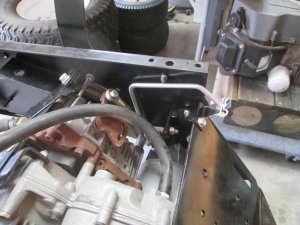
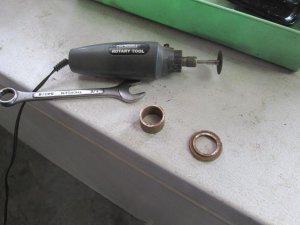
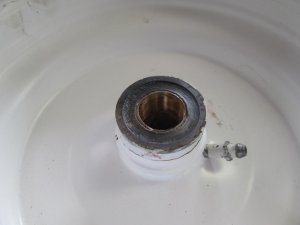
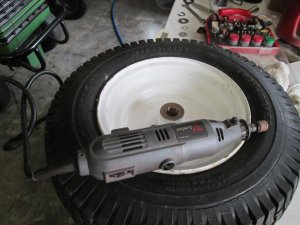
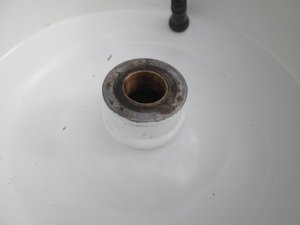
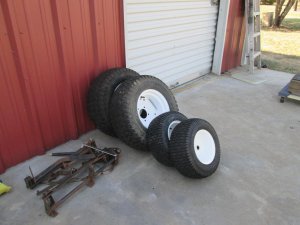
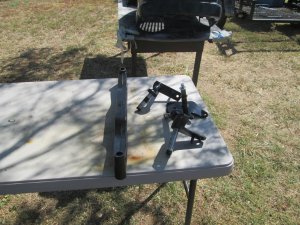
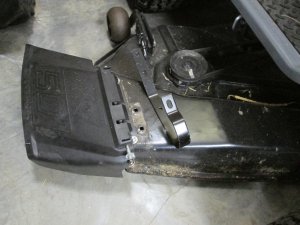
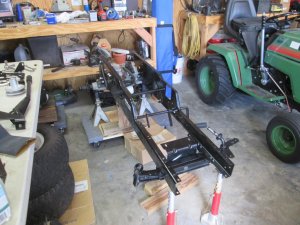
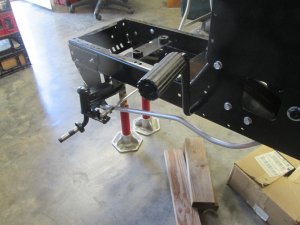
Done for the day, Ran into an issue with one of the front tires, the rim bushings are gone. P/N 9040H and available at Jacks. I found some brass bushings and re-worked them. Fit like new (after two hours of grinding). I’ll be ordering 4 new ones for both wheels, but for now I have a rolling chassis!