You are using an out of date browser. It may not display this or other websites correctly.
You should upgrade or use an alternative browser.
You should upgrade or use an alternative browser.
Craftsman 917.273100 2000 Estate find
- Thread starter larrybl
- Start date
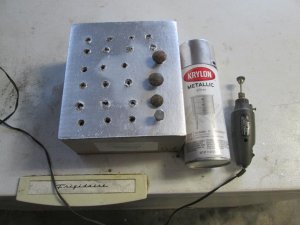
Thanks! The only new hardware so far is the cotter pins, bushings, and drag link. I wire brush the nuts, bolts, springs, rods etc. and paint them. holds up well as Hulk II and his brother were done several (4-5) years ago. I will replace damaged hardware, but it gets painted also. I this helps keeps the rust at bay.
Attachments
Thanks! The only new hardware so far is the cotter pins, bushings, and drag link. I wire brush the nuts, bolts, springs, rods etc. and paint them. holds up well as Hulk II and his brother were done several (4-5) years ago. I will replace damaged hardware, but it gets painted also. I this helps keeps the rust at bay.
Wire brushing all hardware, is not for those afraid of hard work....but then neither is a full restoration, I respect that. From the pictures the hardware looks new.
The box you use as a type of jig is brilliant, sometimes it's the simplest things right? This is one I'm going to try myself, and keep some of the skin on the sides of my fingers.
The little cheep 12V dremel works well for this. I think they $10.00 at HF, will need to buy the wire wheels separately.
 www.harborfreight.com
Wire brushes (Just an example)
Amazon.com: 20pcs Dia 25mm Rotary Steel Wheel Wire Brush Set - Fits Dremel ,1/8" Shank ,Clean, Polish, Prep: Home Improvement{creative}&hvpos={adposition}&hvnetw=o&hvrand={random}&hvpone=&hvptwo=&hvqmt=e&hvdev=c&hvdvcmdl={devicemodel}&hvlocint=&hvlocphy=&hvtargid=pla-4583520384551948&psc=1
Harbor Freight Tools – Quality Tools at Discount Prices Since 1977
Harbor Freight buys their top quality tools from the same factories that supply our competitors. We cut out the middleman and pass the savings to you!
Wire brushes (Just an example)
Amazon.com: 20pcs Dia 25mm Rotary Steel Wheel Wire Brush Set - Fits Dremel ,1/8" Shank ,Clean, Polish, Prep: Home Improvement{creative}&hvpos={adposition}&hvnetw=o&hvrand={random}&hvpone=&hvptwo=&hvqmt=e&hvdev=c&hvdvcmdl={devicemodel}&hvlocint=&hvlocphy=&hvtargid=pla-4583520384551948&psc=1
The little cheep 12V dremel works well for this. I think they $10.00 at HF, will need to buy the wire wheels separately.
Harbor Freight Tools – Quality Tools at Discount Prices Since 1977
Harbor Freight buys their top quality tools from the same factories that supply our competitors. We cut out the middleman and pass the savings to you!www.harborfreight.com
Wire brushes (Just an example)
Amazon.com: 20pcs Dia 25mm Rotary Steel Wheel Wire Brush Set - Fits Dremel ,1/8" Shank ,Clean, Polish, Prep: Home Improvement{creative}&hvpos={adposition}&hvnetw=o&hvrand={random}&hvpone=&hvptwo=&hvqmt=e&hvdev=c&hvdvcmdl={devicemodel}&hvlocint=&hvlocphy=&hvtargid=pla-4583520384551948&psc=1
I agree.
A couple years ago I went back to corded with my Dremel (much more durable for sustained work) and I like the RPM adjustability. What I've been doing when hitting the wire wheels (unless it's minor or very detailed) is an 8" shop wheel and holding the hardware with pliers, needle nose, or vice grips (trying not to loose too much skin) and a drill, HF can be a real bargain with these wire wheels.
I used to use my blast cabinet, but the results were so dull, and I would have to wash bolts that were too greasy prior to the blast media. If too much grease built up in the cabinet, it was counter productive due to having to unclog lines and filter too often.
If I had a dedicated dish washer that I could rig up in my garage, maybe, but the finished product would still be dull and the time/ expense for poor results, makes it impractical. Maybe starbrite? or plastic?, but that becomes very expensive quick.
I've also tried the vibrator bowls with ceramic, and plastic with ok results. What I didn't like about the vibrator bowl.... the plastic bowl itself would vibrate itself apart in short order. I tried many different ways of securing and reinforcing the bowl and system, but it's unreliable for now.
What I have had great success in is a Kendal sonic cleaner, it has 2 transducers, works well. Unfortunately, the cost of one that can handle a large project worth of hardware will cost a small fortune. I'm not that guy. But on a small scale, or wait a long time, they are thorough, and very safe for the parts. Best use... carburetors!
I've rebuilt, or done partial restores on several cars, a boat, and 2 stand up PWC's (It's what I learned on when I was a kid).
I only recently got into these small tractors (GT's) a couple of years ago, I enjoy the simplicity of their design (lack of computers, modules). I prefer mechanical.
I think anyone working these larger projects for any length of time will have created their own magic for some things, horror stories for other things, and like me, having an eye open for good ideas, trying to simplify the cleaning task.
Building is the fun part, cleaning is the chore.
When I saw your jig, it was a duh moment for me... too easy. The bolts can be loaded up, wire wheel multiples in short order, flip the box lid over and do the same thing at least on the outer edge.
I like how your project is coming together and look forward to more pictures.
Down at Dads garage we have one of the stand alone dish washers we picked up at a garage sale for next to nothing. Put the parts in, spray with a liberal amount of purple power, simple green, orange clean, whatever. Run for a cycle (pot scrubber) with the hot water heater cranked up to max temps.
Does a great job. It hasn't burnt up the pump yet, and the inside of the dish washer is super clean from all the degreasers.
Does a great job. It hasn't burnt up the pump yet, and the inside of the dish washer is super clean from all the degreasers.
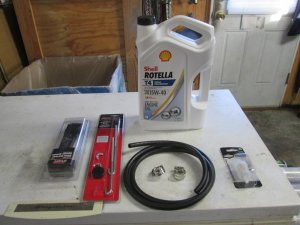
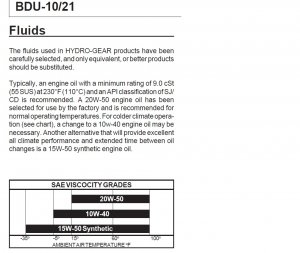
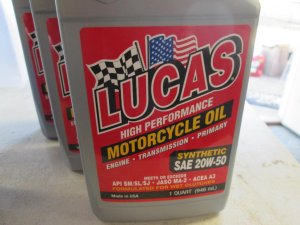
Lets talk Trans-axle oil tonight. Hydro-Gear recommends a 15W-50 synthetic, and 20W - 50 what is used at the factory. I went to three separate places and the heaviest I could find is 15W - 40.
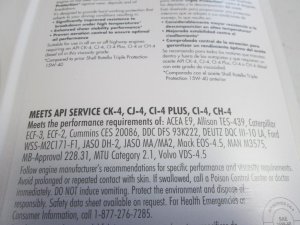
I looked at the API classifications and the Oil I bought will go into the Camry when the time comes.
Word of mouth says I'll need around 2 qts. So, the online search begins...
Closest parts store is O'Reillys so I began there, and came up with these.
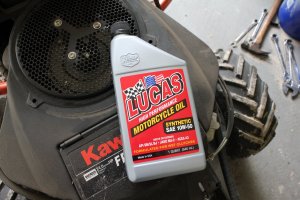
I think the Castrol Synthetic $10.69 is what I am looking for. The Lucas has the correct API though.
Castrol Conventional $6.69
Lucas $7.49
Castrol Synthetic $10.69
Attachments
Down at Dads garage we have one of the stand alone dish washers we picked up at a garage sale for next to nothing. Put the parts in, spray with a liberal amount of purple power, simple green, orange clean, whatever. Run for a cycle (pot scrubber) with the hot water heater cranked up to max temps.
Does a great job. It hasn't burnt up the pump yet, and the inside of the dish washer is super clean from all the degreasers.
I'm envious!
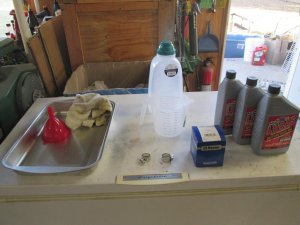
Took some searching, but I have everything I need for the oil change. Will be interested to see what comes out this weekend.
That's the stuff I use for my Tuff Torq K66, though unfamiliar with your specific transaxle, it was the "wet" brake on mine that Tuff Torq said needed Jaso MA-2 as a minimum (motorcycle "wet" clutch), There are many good brands of course and those heavy grades hold up well under high load and heat.
This is dead on.... From JP Savage,
" Oil Volume: models 163198, 150073, 140343 67 fl . oz. / 2.09375 qt. (1981 ml)
Oil capacity 2.09 quarts. 67 fl ozs. Retains half a quart when drained. Once drained add 45oz (Or a little more) to fill, then purge.
Wait for a thin stream of oil to drain out the level port. I made the mistake the first time I changed oil of seeing 2 or 3 drips come out and thought it was full. Wrong. Had to add about 8 oz more to fill it when I checked it after 1st purge."
So the text states... Oil capacity 2.09 quarts. 67 fl ozs. Retains half a quart (16 oz) when drained.
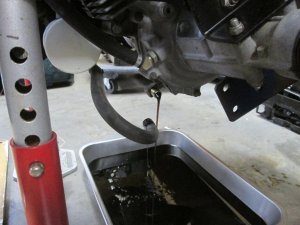
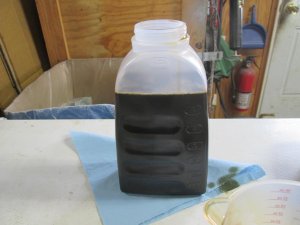
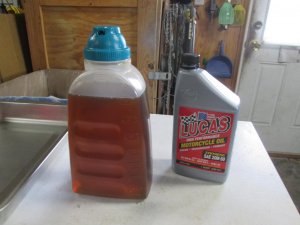
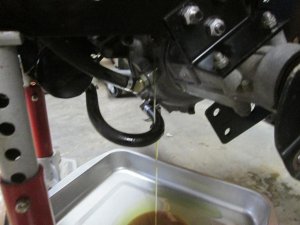
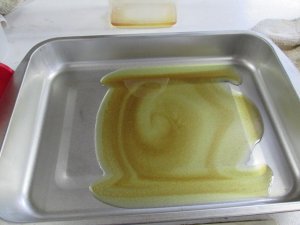
When I drained mine I ended up with just shy of 56 oz. I did spin the drive till the axles quit moving, I think this allowed more to drain, and left 11 oz in mine.
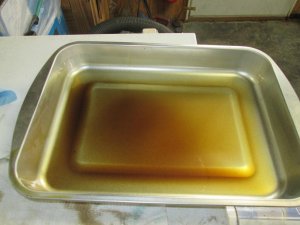
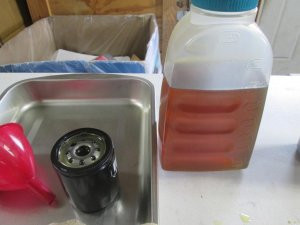
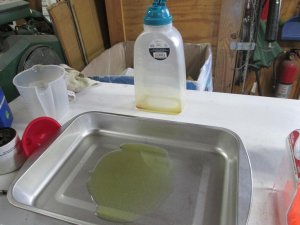
I carefully measured what came out, and checked the pan for junk, it really looks clean.
I then filled back up with just above 56 oz with the Lucas oil, this stuff is somewhat tacky.
I then filled the filter, removed the bracket and installed the new filter.
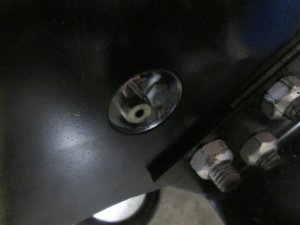
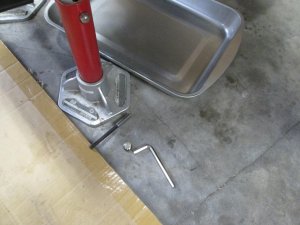
Locate the fill plug and remove with a 1/4 allen wrench, put the drain pan below it.
Fill through the vent tube. When I poured the last of the 56 oz I had a small dribble from the fill plug. I capped it then purged.
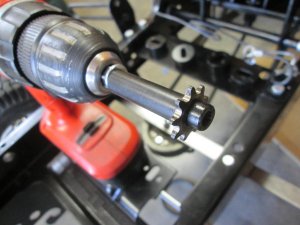
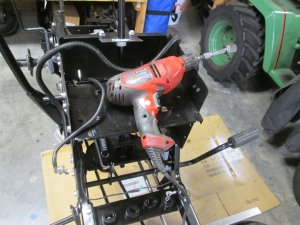
The battery drill wasn't spinning the hydro fast enough, so I got the electric out, it did the job.
Opened the fill cap again and added 2-3 more oz till I had a good stream coming out and capped it off again.
Attachments
This is dead on.... From JP Savage,
" Oil Volume: models 163198, 150073, 140343 67 fl . oz. / 2.09375 qt. (1981 ml)
Oil capacity 2.09 quarts. 67 fl ozs. Retains half a quart when drained. Once drained add 45oz (Or a little more) to fill, then purge.
Wait for a thin stream of oil to drain out the level port. I made the mistake the first time I changed oil of seeing 2 or 3 drips come out and thought it was full. Wrong. Had to add about 8 oz more to fill it when I checked it after 1st purge."
So the text states... Oil capacity 2.09 quarts. 67 fl ozs. Retains half a quart (16 oz) when drained.
When I drained mine I ended up with just shy of 56 oz. I did spin the drive till the axles quit moving, I think this allowed more to drain, and left 11 oz in mine.
I carefully measured what came out, and checked the pan for junk, it really looks clean.
I then filled back up with just above 56 oz with the Lucas oil, this stuff is somewhat tacky.
I then filled the filter, removed the bracket and installed the new filter.
Locate the fill plug and remove with a 1/4 allen wrench, put the drain pan below it.
Fill through the vent tube. When I poured the last of the 56 oz I had a small dribble from the fill plug. I capped it then purged.
The battery drill wasn't spinning the hydro fast enough, so I got the electric out, it did the job.
Opened the fill cap again and added 2-3 more oz till I had a good stream coming out and capped it off again.
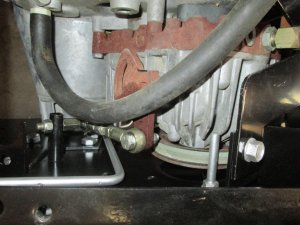
This is good detail, I'm glad your re-posting this detail (JP), this is the kind of care when servicing a transaxle that in my opinion will give it proper long life.
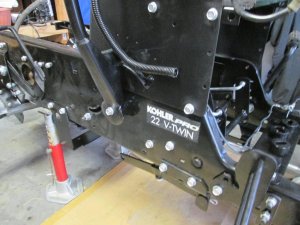
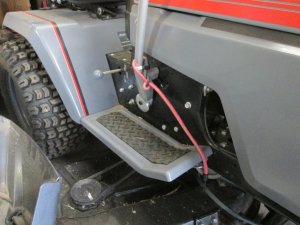
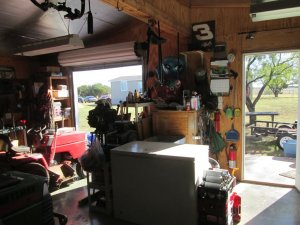
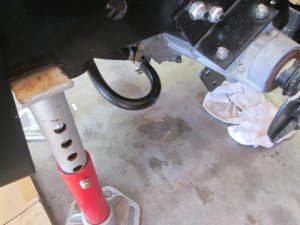
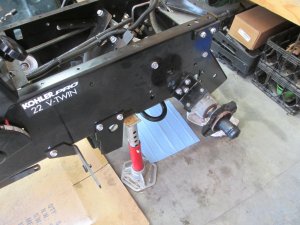
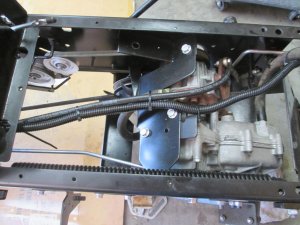
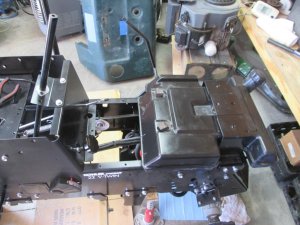
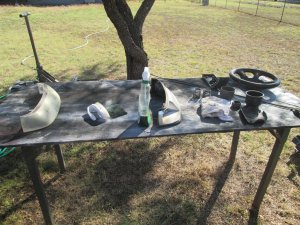
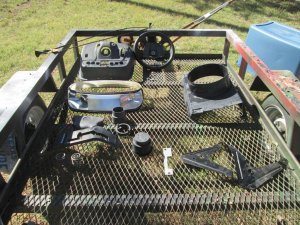
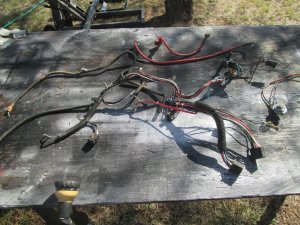
Beautiful morning, shop doors open and 76* in here. Saw some fluid and I think it was from the fill as the oil is thick and tacky. I wiped everything down and put a shop tower down to see. I ran the fuel line and added a wire harness as I plan to put tail LED’s on instead of the original reflectors. Such a nice day I decided to clean up some more parts for painting and restore, waiting on those to dry. (Water from the hose was warm and pleasant to work with. It is usually scalding). Going to clean up the wire harness next.

