Craftsman 917.273100 2000 Estate find

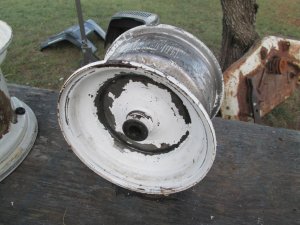
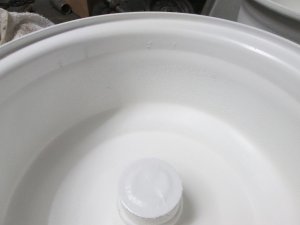
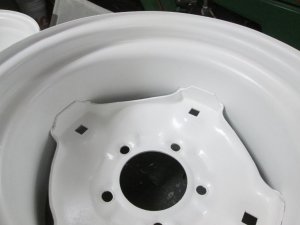
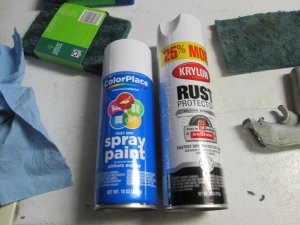
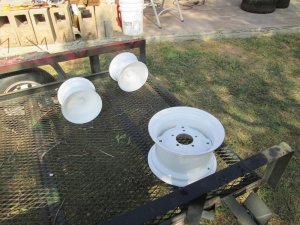
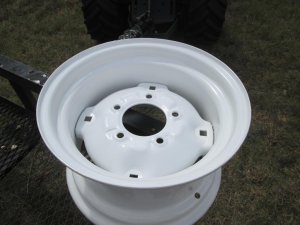
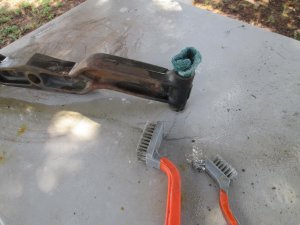
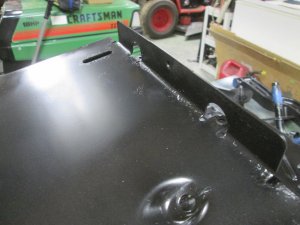
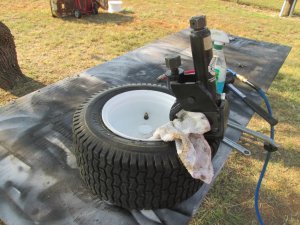
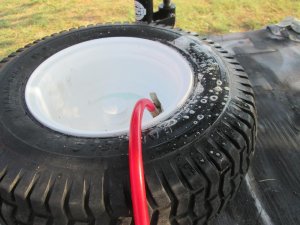
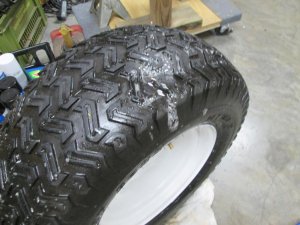
OK, this is going to take some practice or a different method. Followed instructions, shake well, use a metal boul, brush on thick, wait 15 minuets.
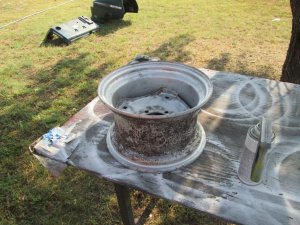
It made the paint gooey, and I could scrape some off. Almost 1 cup used for the center and one side. NOT at all impressed with the gloves.

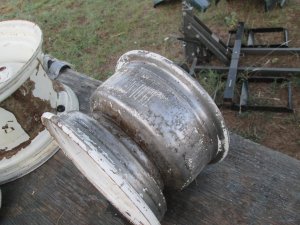
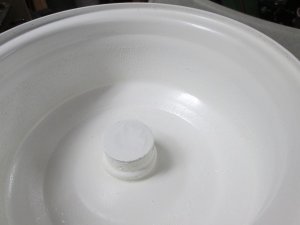
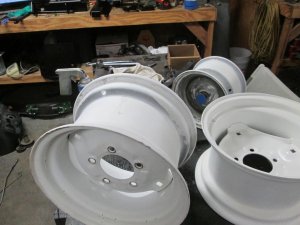
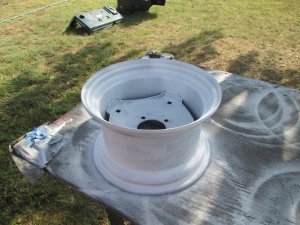
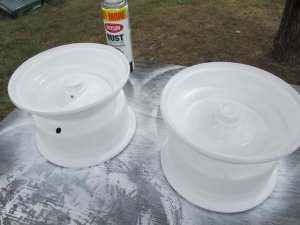
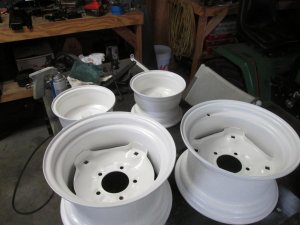
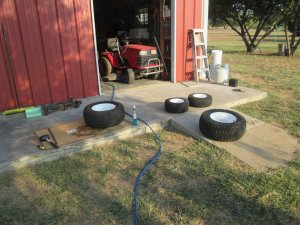
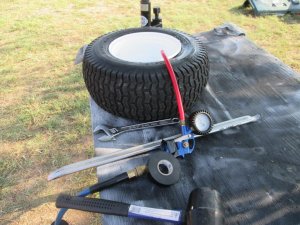
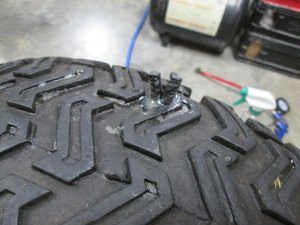
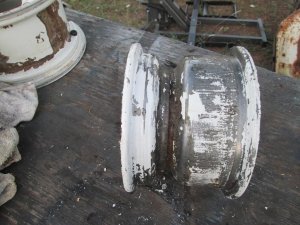
Only bought a Qt. I think for this to work I need 5 gallons so to immerse the rims in it and leave for an hour or two.

I'll see how far I get with a Qt. Let this one dry 24 hours and see what the wire wheel says.
 

Attachments

  • 10.jpg
    10.jpg
    107.2 KB · Views: 4
  • 11.jpg
    11.jpg
    122.9 KB · Views: 4
  • 12.jpg
    12.jpg
    118.4 KB · Views: 6
  • 13.jpg
    13.jpg
    89.6 KB · Views: 6
I have hear of people using stripper and then using a pressure washer instead of a scraper

This is what I've always heard done. But I'd want googles, face shield, and a tyvek suit before attempting that one!

Sandblasting is the way to go, but getting a good setup for home is can be pretty costly! I have one of those small units, has a 1lb hopper on the gun. It wasn't very expensive but my air supply is too low for it to be really effective. Sand blasts like crazy for 30 seconds, then you have to stop and wait a minute for the air to catch up, then 30 more seconds of sand blasting. I don't even bother with it unless its a small part.

We have 1 big sandblasting cabinet (the top flips completely open and you can use the over head crane to sit items in) that you could fit a normal sized GT frame in and a smaller cabinet that would fit an item as big as a GT hood at my work. I stay after hours and sandblast when I need to get something big done.
 
Those strippers are made for furnature and the like wood products, not metal. Big difference in the paint/stain/varnish. Like tomanytoys siad. Sandblasting is the way to go. I have a hopper with hose & gun set up. Hopper holds about 15 lbs. of material. I put tarps up in the garage if I want to keep the material or outside conditions are such that a ground tarp won't contain the majority of the material. A sandblasting hood from HF works well but not in cold weather.
 
After checking that rim this morning I think sand blasting or alot of wire brush time is needed. All the paint will need to be removed now as it is peeling off in strips in some areas, still stuck fast in others. I emailed two local ~40 miles shops to get a quote.
 
Not knowing a thing about sand blasting, and depending if I get a response or quote from the two companies I emailed, what do you think of "plan B"? Looks like I can get this setup for around $75.00 and use outside.
 

Attachments

  • HF.jpg
    HF.jpg
    87.9 KB · Views: 6
That's pretty much the same gun as I have. But mine is called speed blaster. The 110V 30 gallon sears upright won't keep up with it at all.

I'd save the cash on the hood and buy a cheapo faceshield. That hood without an air supply would kill a man in the sun. Even with fresh air those masks are horrible. I won't use them at work when we have the big blaster setup. Face shield blocks enough, but usually afterwards I can shake enough sand out of my hair to build a good sized sand castle.

Also I'd forgo the walnut shells and get black beauty at tractor supply. Its around a dollar a pound and works fantastic. It will rough up the surface some but not enough to be noticeable in paint from my experience with it.

Edit:

This is the one I have
 
Last edited:
I am going back to the tried and true method of wire wheels and sand paper. Takes awhile but I already have these. I guess I was looking for a easier / faster method, but the price is too high.
 
"Zip Strip" works very well, but 15 minutes isn't long enough. Don't leave them in the sun while the stripper is working so it won't tend to dry.
 
Sandblast company quoted $80.00. I took a sick day and wire wheeled and sanded most of the day. This is about 5 cans of the cheep $1.00 paint. Not looking too bad, but I think I can get them better. The plan is to let this harden up, sand the bubbled areas with 400 grit, get some more $1.00 paint, and some good paint. Finish the back sides and let dry (sand if necessary). then hit them with good Enamel paint.
 

Attachments

  • 1.jpg
    1.jpg
    139.2 KB · Views: 5
  • 2.jpg
    2.jpg
    69.4 KB · Views: 5
  • 3.jpg
    3.jpg
    37.2 KB · Views: 5
  • 4.jpg
    4.jpg
    40.6 KB · Views: 5
  • 5.jpg
    5.jpg
    42 KB · Views: 4
  • 6.jpg
    6.jpg
    78.6 KB · Views: 4
Well... I stopped off and bought the paint, Low quality and (I hope) the good stuff. I used a new scotch brite pad to sand the small rims, it seemed to do well. I'm a little apprehensive on mixing paints so I painted a test strip to see if there will be any reaction between the two. Now the bad news, I noticed the 12" rim that the PO had used regular bolts in had some of the holes oblonged. I feel continued use of this rim even with proper lug boltd will just end up in issues down the road. I have a spare rim in pretty good shape that I think I'll use and not mess with the damaged rim.
 

Attachments

  • 1.jpg
    1.jpg
    91.6 KB · Views: 5
  • 2.jpg
    2.jpg
    93.7 KB · Views: 5
  • 3.jpg
    3.jpg
    106 KB · Views: 9
  • 4.jpg
    4.jpg
    92.9 KB · Views: 9
  • 5.jpg
    5.jpg
    88 KB · Views: 9
Working on the rims again before it gets too hot. This is still the cheep paint. I painted the other side of the rims and let dry. Then I hit them with water, simple green and a new scotch brite pad. The paint smoothed out and is looking good. But after finishing them up in prep for the good paint I realized I had prepped the bad rim (DOH). I moved it so as not to mix it up again and am now working on the spare rim. I blame this on the Jalapeno poppers.
 

Attachments

  • 1.jpg
    1.jpg
    189.1 KB · Views: 2
  • 2.jpg
    2.jpg
    144 KB · Views: 2
  • 3.jpg
    3.jpg
    159 KB · Views: 2
  • 4.jpg
    4.jpg
    129.2 KB · Views: 2
Finally getting the results I wanted. took alot of prep and sanding but the good paint is going on smooth. now to let dry a couple hours and hope no flying things land on these.
 

Attachments

  • 1.jpg
    1.jpg
    152.6 KB · Views: 3
  • 2.jpg
    2.jpg
    74.7 KB · Views: 3
  • 3.jpg
    3.jpg
    78.9 KB · Views: 3
Rims are done "finally"! I won't mount the tires till tomorrow. I had to set up a different wash table in the shade to clean more parts. Removing the caked on axle grease was the worst but the simple green and 400* water coming out of the water hose helped. Almost looks good enough to fire a 12GA shell in. Should have these painted up this evening.
 

Attachments

  • 1.jpg
    1.jpg
    69.3 KB · Views: 4
  • 2.jpg
    2.jpg
    157.1 KB · Views: 4
  • 3.jpg
    3.jpg
    89.1 KB · Views: 5
  • 4.jpg
    4.jpg
    61.2 KB · Views: 5
  • 5.jpg
    5.jpg
    134 KB · Views: 5
Working on another bunch of black parts, first coat of paint applied. Will need to hit a few with 220 grit before the second and third coats. Plan for tomorrow is to mount the tires. First batch of parts from Jacks Small Engines is due to arrive on the 9th. Hopefully will have a rolling frame in a couple weeks. Running out of room in the Man Cave for parts storage.
 

Attachments

  • 1.jpg
    1.jpg
    120.2 KB · Views: 4
  • 2.jpg
    2.jpg
    74.3 KB · Views: 5
  • 3.jpg
    3.jpg
    122 KB · Views: 5
Tires….. Most went well, had to plug a couple of the 12” tires after pulling thorns out. And then there was the 8” that the bead just wouldn’t seat. I brought it to almost 50 psi. I felt really uncomfortable. I broke the bead again and soaked it really well with soapy water, still no luck. I was thinking it would be nice to have a long (say 10') air chuck that clips to the valve stem, the one I have is only around 12". Then I thought, hay the aircompressor has a regulator. So, I went into the shop and set the regulator to below 40 psi and taped the air chuck open. Went back into the shop and felt I was a safe distance and cranked the regulator up slowly. Right around 75 psi it sounded like a 22 cal. Rifle shot and soap water shot a bought 8’ into the air. Not sure why it was so hard.

Next is to fill a tub with water and look for any more leaks and clean the rims and tires off.
 

Attachments

  • 3.jpg
    3.jpg
    144.7 KB · Views: 7
  • 4.jpg
    4.jpg
    89.8 KB · Views: 7
  • 5.jpg
    5.jpg
    136.5 KB · Views: 7
  • 6.jpg
    6.jpg
    145.2 KB · Views: 7
  • 7.jpg
    7.jpg
    92.9 KB · Views: 7
  • 8.jpg
    8.jpg
    111.9 KB · Views: 7
  • 9.jpg
    9.jpg
    97.7 KB · Views: 6
  • 10.jpg
    10.jpg
    94.8 KB · Views: 6
Tires are done. I leaked tested them and found one old plug leaking and replaced it. I filled them to 18psi and will check them in a couple days. More parts painted. Waiting on the new parts to arrive so I can start assembly.... Now if I can remember how it goes back together. Oh, any guess as to a good paint match for the tins?
 

Attachments

  • 1.jpg
    1.jpg
    70.2 KB · Views: 6
  • 2.jpg
    2.jpg
    120.4 KB · Views: 6
  • 3.jpg
    3.jpg
    199.9 KB · Views: 6
Checked the tires tonight, three passed the bounce test, One failed. My one thing for tonight is to find the leak and plug it. Laid some old shop tows down, aired to 20psi and used soapy spray bottle. Found a small pin hole. Was hard locateing it with the rasp but I think I got it. Plugged and trimmed off. Aired it back to 18psi and back outside so I can check it tomorrow.
 

Attachments

  • 0.jpg
    0.jpg
    100.5 KB · Views: 5
  • 1.jpg
    1.jpg
    91.2 KB · Views: 5
  • 2.jpg
    2.jpg
    80.2 KB · Views: 5
  • 3.jpg
    3.jpg
    103.6 KB · Views: 5
Back
Top