
You are using an out of date browser. It may not display this or other websites correctly.
You should upgrade or use an alternative browser.
You should upgrade or use an alternative browser.
Craftsman 917.273100 2000 Estate find
- Thread starter larrybl
- Start date
I had a Uncle Willie type of day. After badgering the Metal shop and telling them that after 6 Months I was worried that they had thrown the deck out as scrap. Are we getting close with this? The grass will need mowed soon. Got the following reply back from them.
Yes and that is a normal time frame for individual walk-ins when we are running a large production.
We have started on the deck and should be done early next week.
I will let you know.
Right at 3:00 this afternoon they said it was ready. About 15 miles to pick it up, almost there (Rain and drizzle) I hit the brakes, felt a pop, and the pedal went to the floor. I grabbed 2nd and pulled the E-brake and slid to a stop sideways at the intersection. I limped it to the shop and picked up the deck. Limped back to my office and signed out, then carefully timed the lights through town and finally hit the highway home. Only one more hiccup at a traffic light in a small town I go through. Put the brake to the floor and it only locked up one back tire. On a wet road it didn't do squat, so I blew through the light at 20mph. Not too worried, no traffic and I program the local PD Radios.
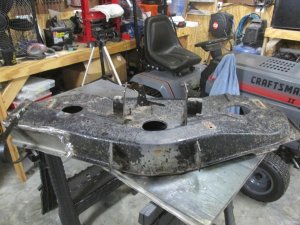
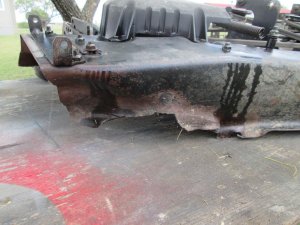
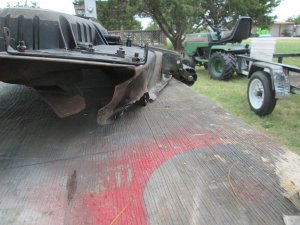
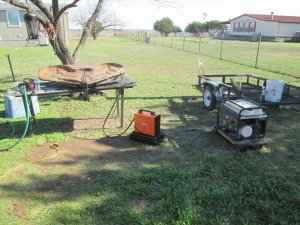
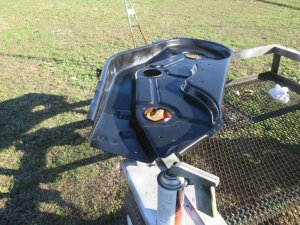
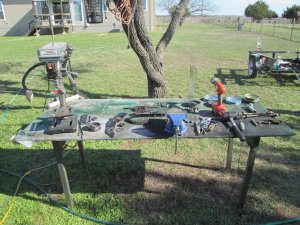
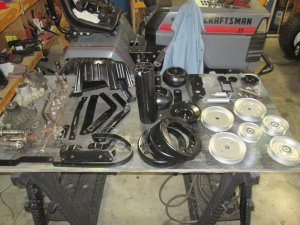
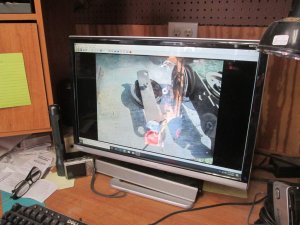
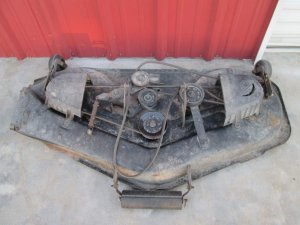
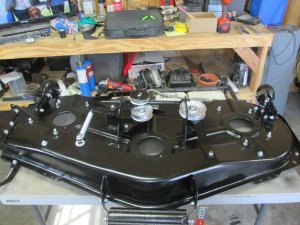
Finally home! phew. OH here is the deck repaired, and the before pictures. I'll be placing the parts order tonight.
Yes and that is a normal time frame for individual walk-ins when we are running a large production.
We have started on the deck and should be done early next week.
I will let you know.
Right at 3:00 this afternoon they said it was ready. About 15 miles to pick it up, almost there (Rain and drizzle) I hit the brakes, felt a pop, and the pedal went to the floor. I grabbed 2nd and pulled the E-brake and slid to a stop sideways at the intersection. I limped it to the shop and picked up the deck. Limped back to my office and signed out, then carefully timed the lights through town and finally hit the highway home. Only one more hiccup at a traffic light in a small town I go through. Put the brake to the floor and it only locked up one back tire. On a wet road it didn't do squat, so I blew through the light at 20mph. Not too worried, no traffic and I program the local PD Radios.
Finally home! phew. OH here is the deck repaired, and the before pictures. I'll be placing the parts order tonight.
Attachments
Car is in the shop, busted front rubber brake line, they recommend replacing both for $230.00. I agreed as it is raining here. They called back and recommend rear shoes, drums, lines, and cylinders $585.00, I told them I would do those, (I'll only do the shoes) as I don't expect to have this car much longer.
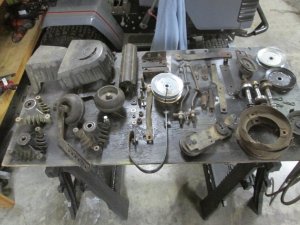
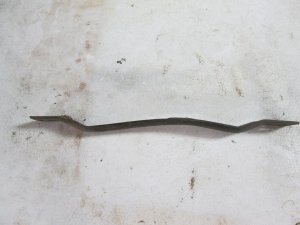
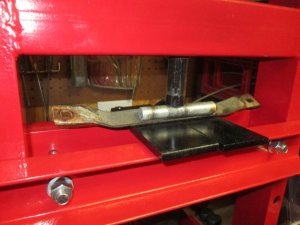
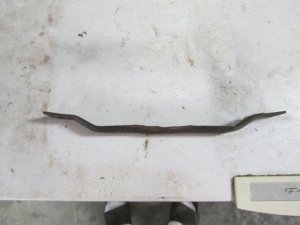
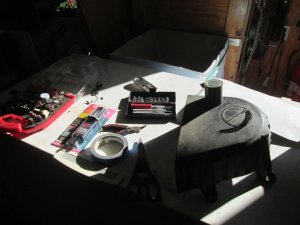
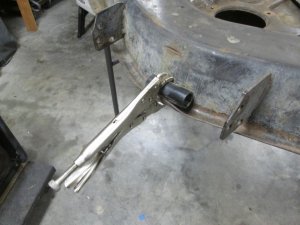
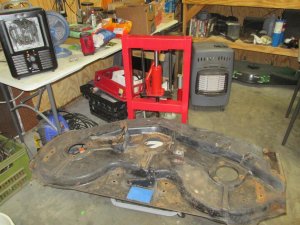
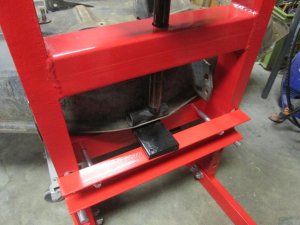
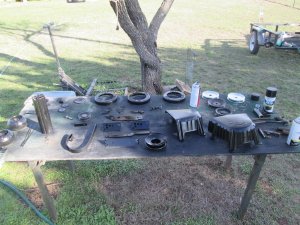
Dug out the deck parts box. Although I ordered new mandrills and blades there are a few other items needing work. The R-hand runner was bent. The new shop press took care of that. Vice would have worked too, but I wanted to try the press out. One of the plastic guard has a gash. I plan to dremel this smooth, wash well, mask the top and fill the gap with plastic weld then paint.
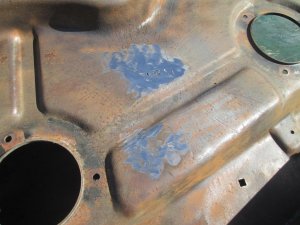
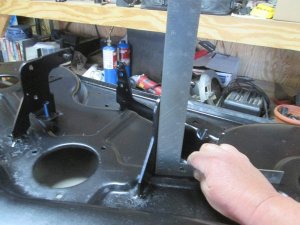
The deck shell may have one more issue. I'll clean it up tomorrow and take some pictures and see what ya'all think.
The deck shell may have one more issue. I'll clean it up tomorrow and take some pictures and see what ya'all think.
Attachments
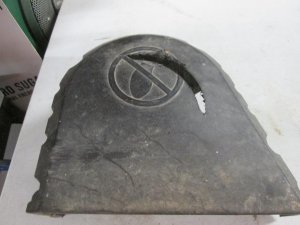
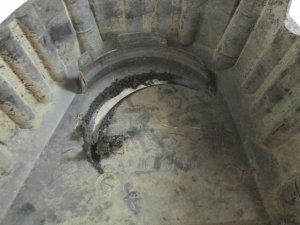
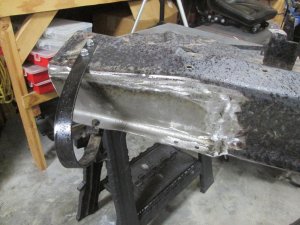
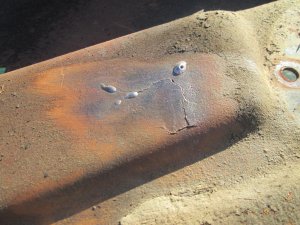
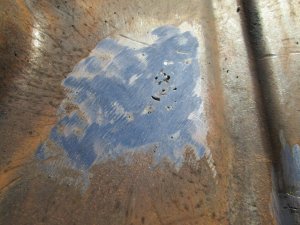
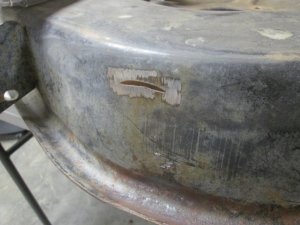
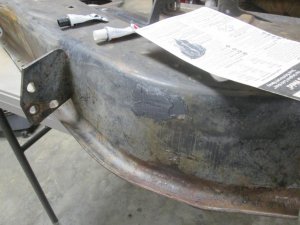
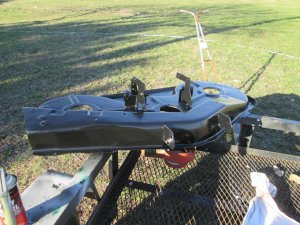
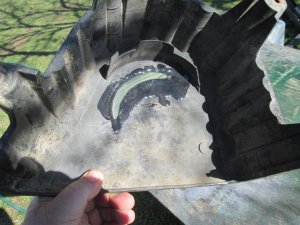
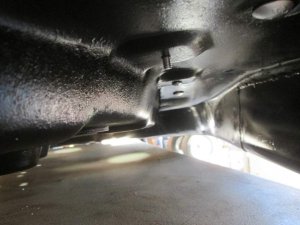
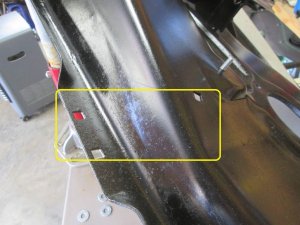
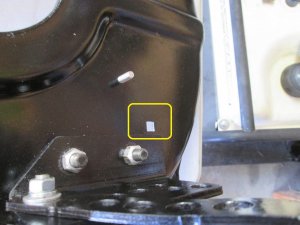
More abuse found. Looks like the right bracket was ripped of at one time and welded back on. Top side has been welded twice, and I can see where the weld was on the under side. I think I can use my welder to fill this in and fix the remaining cracks. You can also see the witness marks where all three blades have contacted the deck underside at some point.
Attachments


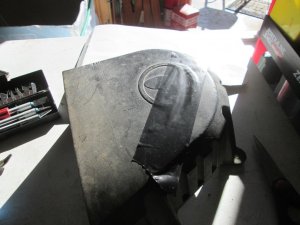
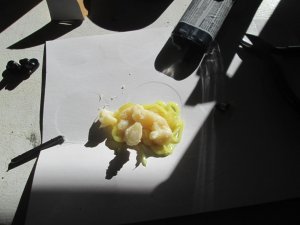
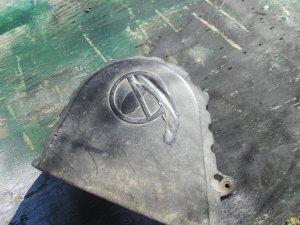
Well.... I planned on fixing the cover, I prepped the area by trimming the melted plastic with an exacto, then sanded with wire wheel. Taped the top side, then went to mix the epoxy..... Looks like this stuff doesn't store well. Oh well, there is plenty of sanding that needs done. I'll pick up more epoxy the next trip to town.
Attachments
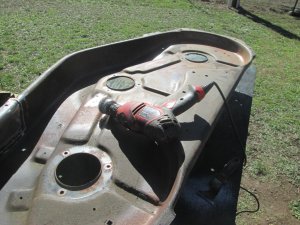
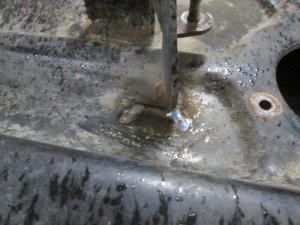
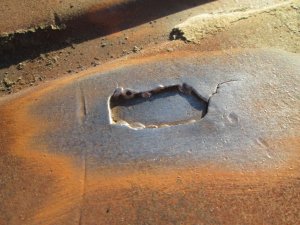
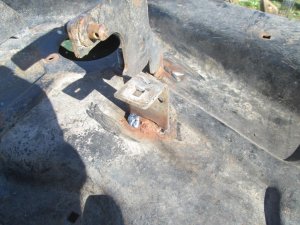
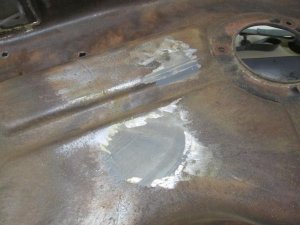
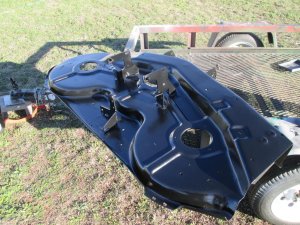
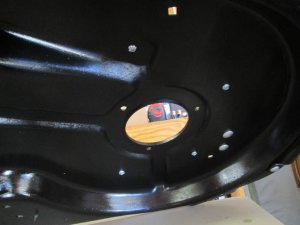
After wire wheeling the whole underside I decided to try my hand at repairing (cleaning up) the rest of the abuse. I consider this my first welding repair. Got the welding set-up and after filling in the hole, I am leaving it here. I could JB the small pockets but this is good enough in my opinion. I actually think I was getting a method with the MIG. I had the feed set to 5, and it felt like it was pushing out too fast, I lowered it to 2, and It felt much smoother. The little Gen set handled it just fine. Makes me think I may want to clean up the top with the angle grinder now.
Attachments

I decided to take care of some cosmetic issues on the deck tonight in the shop. Dented lip and a gash. Tried heat and vice grips, it moved a little. Hey, I now have a press. Hardest part was getting things to line up. A large impact socket and dent is gone. Grinded the gash and applied JB. I’ll probably us the rest of the JB tomorrow on the welding underneath.
Attachments


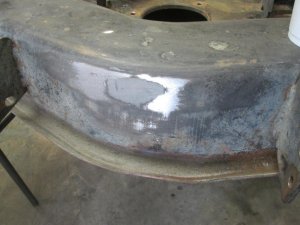
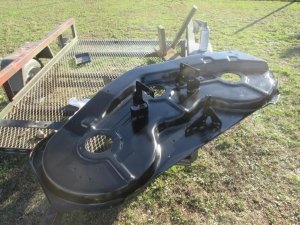
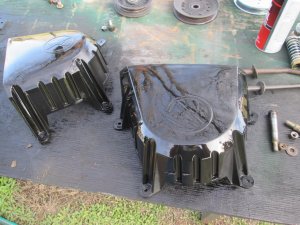
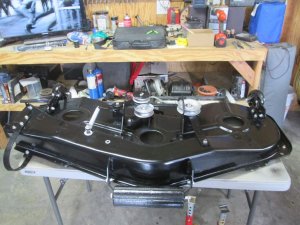
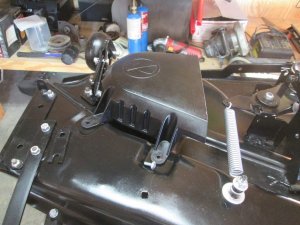
Final prep and sanding. 220 grit and wet sanded. Washed with simple green, and rinsed well. only in the 60's today so I let it sit in the sun to dry and warm up. Two cans of black Magic paint, one on each side. A can gives 3 - 4 coats. I think the deck shell has been saved!
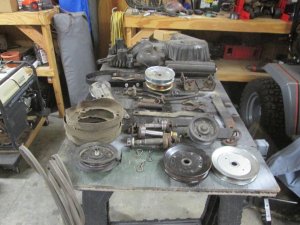
Waiting on more parts, I'll clean up the small parts this week.
Waiting on more parts, I'll clean up the small parts this week.
Attachments

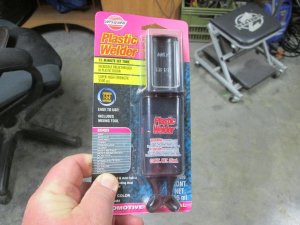
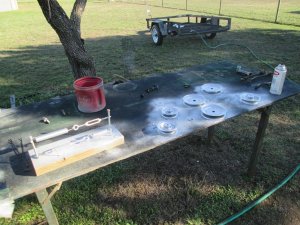
Getting off my feet for a while. Picked up some plastic weld, a different brand. Only needed one tube to fill in the gash. After cleaning and painting it looks pretty good. Nice day so I moved out wire wheel and clean parts. Changed over to black paint, then silver. Waiting on the mandrels, blades, and deflector to come in. Won't take long to assemble.
Attachments
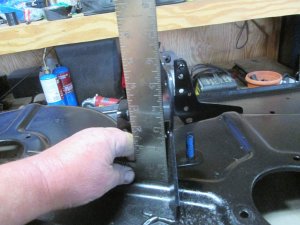
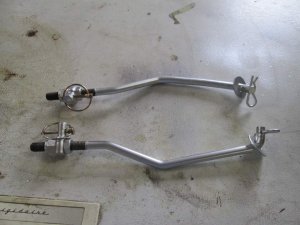
Mandrills and blades are suppo0sed to be here next Tuesday. Still finding bent things, the R deck hanger id about 1/2" bent to the right. This is the one where the bracket was welded twice. Just ran out of silver paint, and needed to source correct hardware as the PO used what ever fit. One of the front attachment links is slightly bent, yep the R one. I'll hold off on trying to straighten these as the attachment points on the tractor may be tweeked also. I should be able to adjust this into level.
Attachments
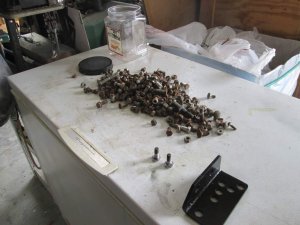
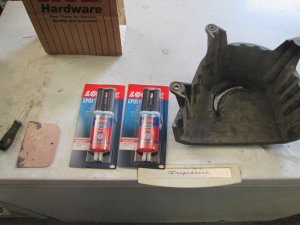
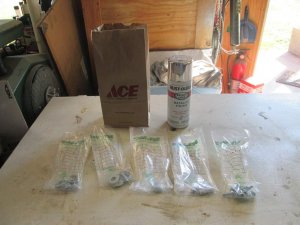
Finally figured out what the mystery part went to. I looked for the screws that hold the covers on and they are MIA. I found some that will work, but only have three. I don't like how they will stick out and catch grass, so I plan to go bottom up and fasten with a nut and washer on top. Off to ACE hardware I go.
Oh, 65 degrees and sunny this morning.
Oh, 65 degrees and sunny this morning.
Attachments

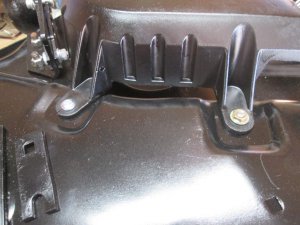
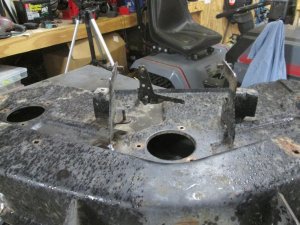
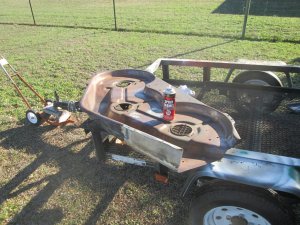
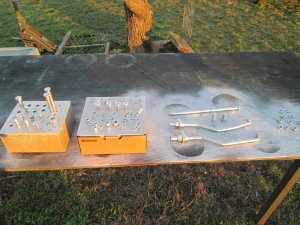
Back from the hardware store, anyone know what would attach to the front of the mower deck? It has these holes on both sides front and back. I plugged them up with spare bolts, and placed the guard hardware on so as not to lose it.
Attachments

Gauge wheel brackets?
Mike
Mike