You are using an out of date browser. It may not display this or other websites correctly.
You should upgrade or use an alternative browser.
You should upgrade or use an alternative browser.
Just had to do it.
- Thread starter cjet69
- Start date
If I keep this up, I will be forced to paint it.Your really dressing the old girl up cjet, that all looks good with new brakes and CS seal, and temp gauge it'll be the nicest one aroumd

I told ya....!If I keep this up, I will be forced to paint it.
I remember.I told ya....!

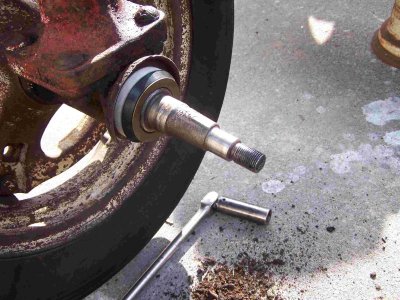
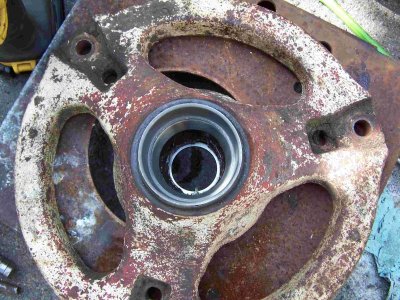
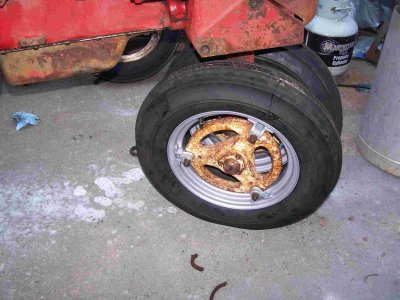
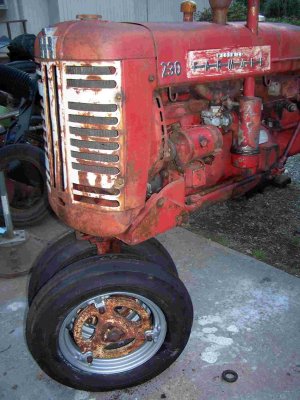
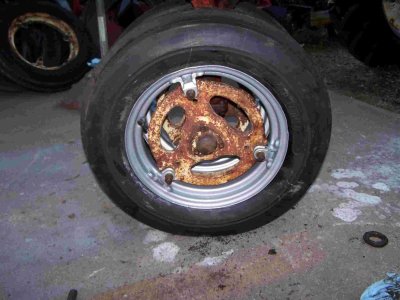
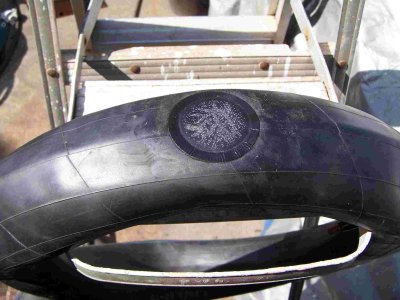
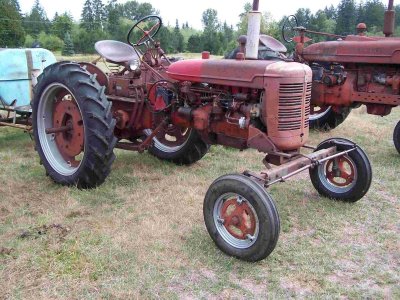
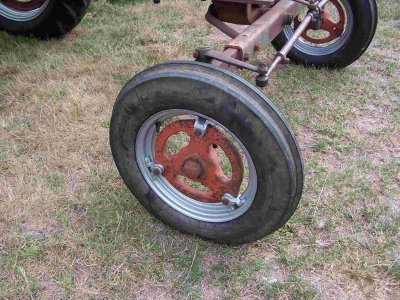
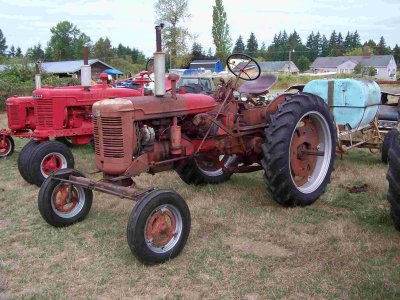
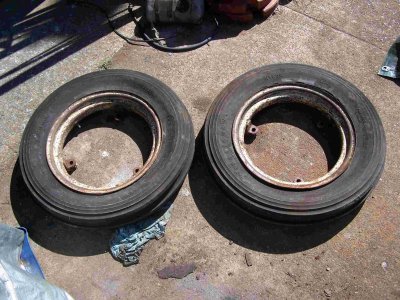
Mounted up the new front tires and put in the new bearings and seals while I had the wheels off. Bolted on the new rubber and its ready to go. Not many more things to do on the 230 now.
Attachments

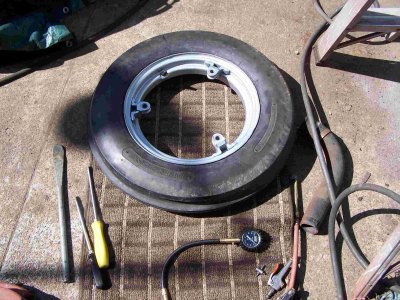
No good deed goes unpunished. Had the brand new tires and tubes on the Super C for about a day moving hay equipment around for cleaning. The next morning one tire was flat. Broke it down and it had a small hole like from a small nail. Put a patch on it and its still holding air this morning.
Attachments
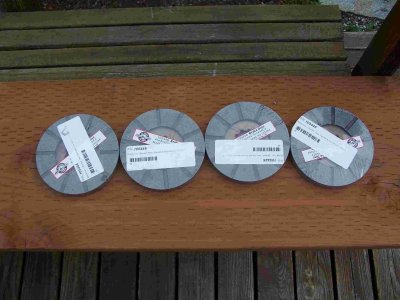
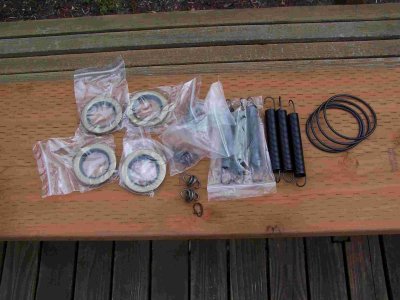
Real fortunate you can still get all those parts..The parts are all here for the brake job. These are for both the 230 and Super C. We already had new brake discs for the Super C so I got another set for the 230 and then seals, springs, and O-rings for both.
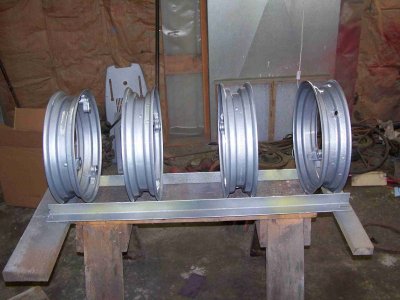
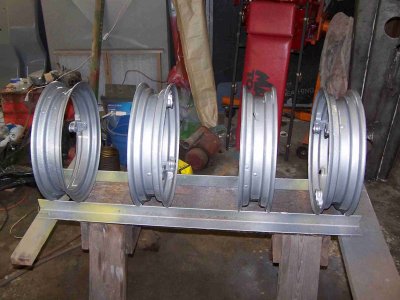
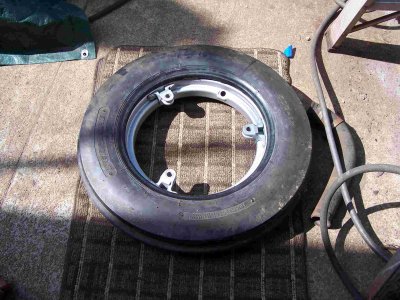
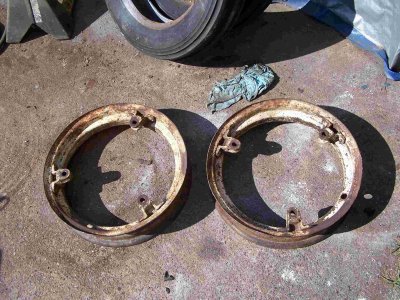
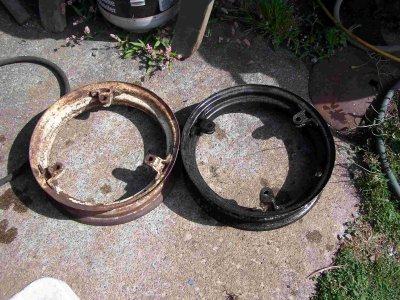
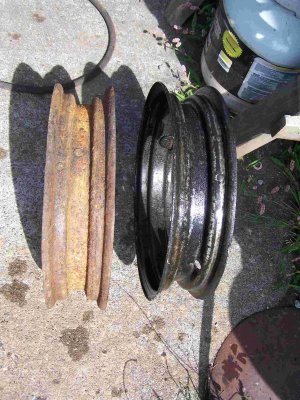
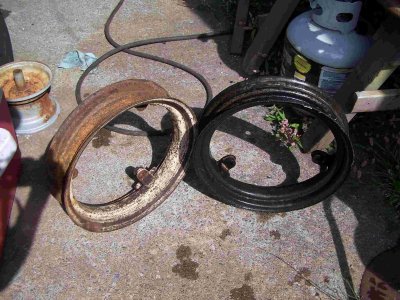
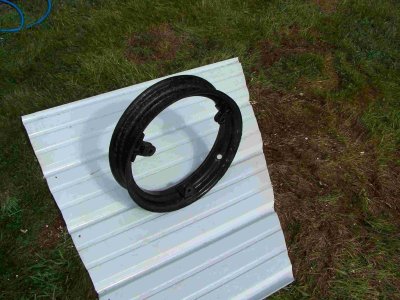
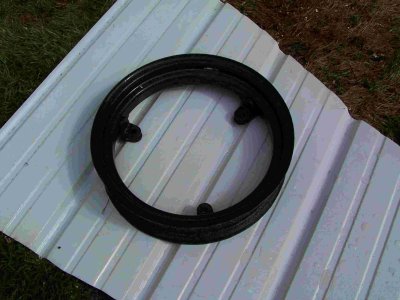
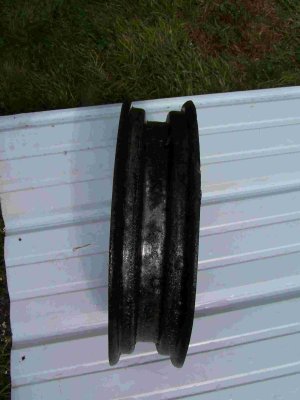
Demounted the tires on the original 230 front wheels and started the cleanup process. Ran them through the Electrolysis tank and will sandblast them after a little straightening.
Attachments
Got going on the brakes for the Super C and 230 and forgot to take pics. Anyway, the brake jobs are done complete with new seals, and they work great on both tractors. We are going to change the gear lube in the Super C and then its done for now. The 230 needs the front crank seal changed, new temp gauge installed, and then filled up with antifreeze.
Now they wear the treads out running on the highway getting from one field/farm to the next.Yeah, back in the "plowing every year" days, we would actually wear tires out, but when we went no-till it really saved a lot of tread life.
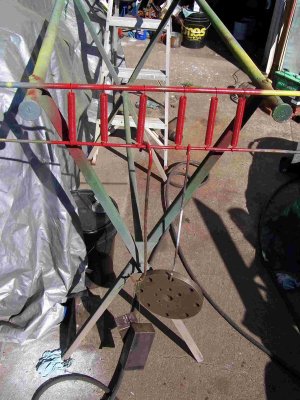
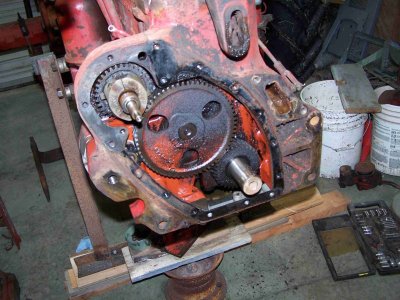
Pulled the 230 into the shop earlier this week and started going after the front main seal. Had to remove the sheet metal, rad, and front bolster to get access to the front crank pulley. These are pressed on and can be a little tough to pull. The IT manual shows a bearing splitter and a big puller for removal and I watched several video's where guy's make a U-shaped pull plate to slide behind the pulley and use a bottle jack or threaded rod to push on the end of the crank. I went with drilling and tapping the pulley for some 3/8 bolts along with a Snap-On puller. I put as much pressure on the puller as I dared and then hit it with the Acetylene torch. About 15/20 seconds of heat and I heard it pop loose. Next up is to remove the governor so I can pull the front cover and get the seal changed. Rather than loading a bunch of pics I put a slideshow together that shows from the start to where is sits now.
Noce work, CJet! Interesting slideshow!Pulled the 230 into the shop earlier this week and started going after the front main seal. Had to remove the sheet metal, rad, and front bolster to get access to the front crank pulley. These are pressed on and can be a little tough to pull. The IT manual shows a bearing splitter and a big puller for removal and I watched several video's where guy's make a U-shaped pull plate to slide behind the pulley and use a bottle jack or threaded rod to push on the end of the crank. I went with drilling and tapping the pulley for some 3/8 bolts along with a Snap-On puller. I put as much pressure on the puller as I dared and then hit it with the Acetylene torch. About 15/20 seconds of heat and I heard it pop loose. Next up is to remove the governor so I can pull the front cover and get the seal changed. Rather than loading a bunch of pics I put a slideshow together that shows from the start to where is sits now.
DAC
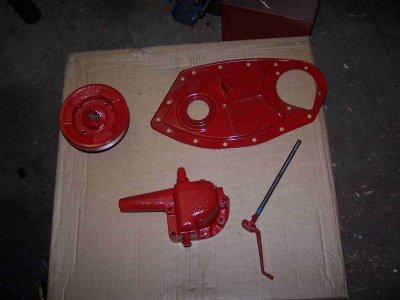
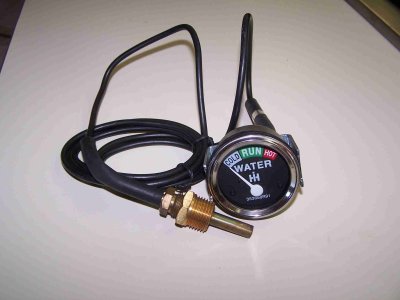
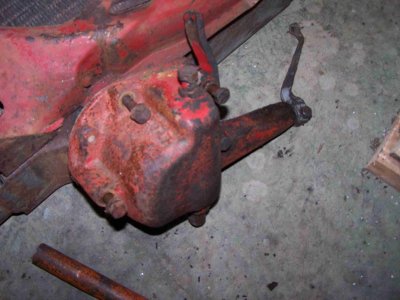
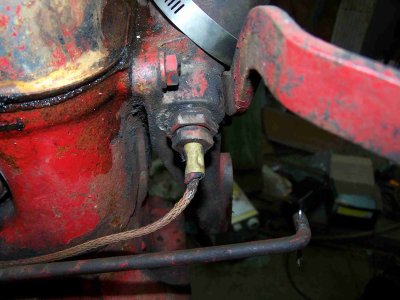
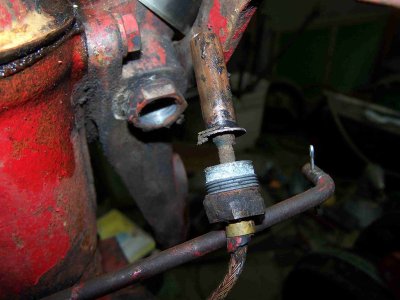
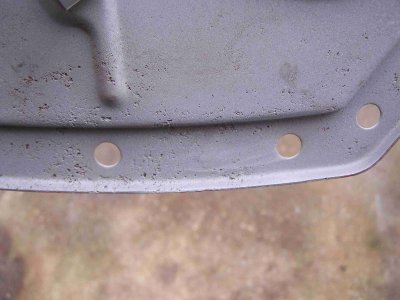
Finally got back out to the shop and removed the governor housing and timing cover. Need to clean the parts up and install the new seal. I removed the water temp sensor that someone had cut the line about halfway back to the gauge. I already have the new gauge for it waiting to be installed.
Attachments
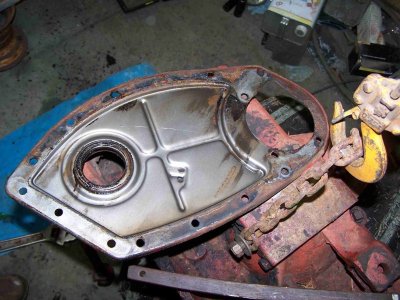
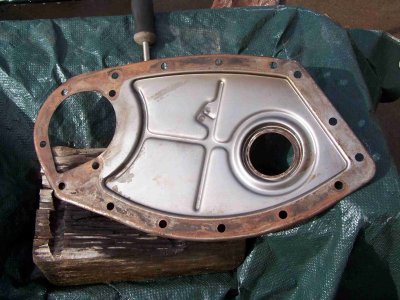
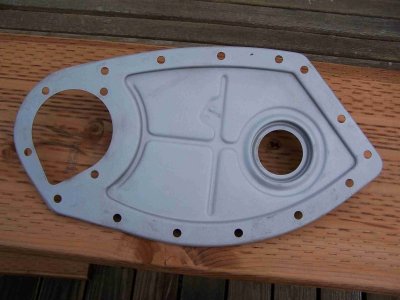
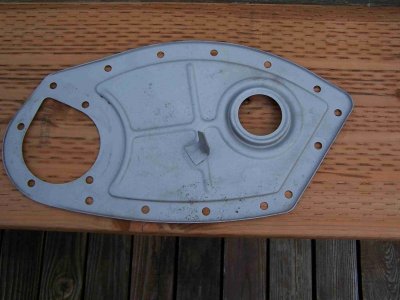
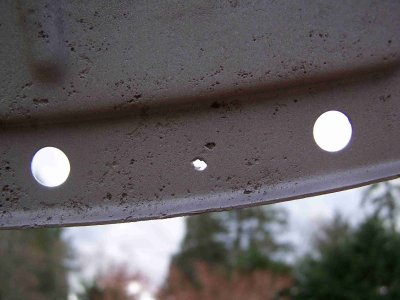
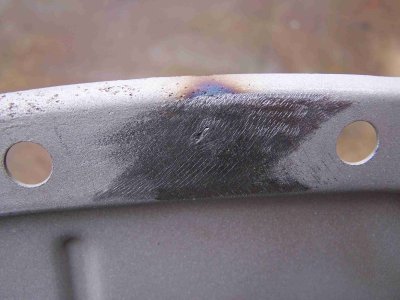
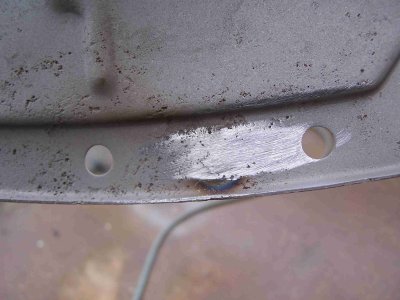
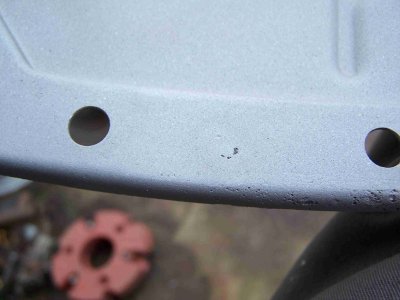
Cleaned up the timing cover and removed the old crank seal. Welded up a small rust hole, sandblasted it, and shot some primer on the inside. Its ready for the new seal to be installed. While the governor is off, I think I will check the bearings, seals, springs, and check for wear in the spring mounting holes.
Attachments
-
 100_5931-m.jpg223.6 KB · Views: 4
 -
 100_5932-m.jpg264.1 KB · Views: 4
 -
 100_5933-m.jpg148.2 KB · Views: 3
 -
 100_5934-m.jpg154.6 KB · Views: 4
 -
 100_5935-m.jpg175.3 KB · Views: 4
 -
 100_5936-m.jpg183.4 KB · Views: 4
 -
 100_5937-m.jpg180.9 KB · Views: 4
 -
 100_5938-m.jpg175.1 KB · Views: 4
 -
 100_5939-m.jpg142.7 KB · Views: 4
 -
 100_5940-m.jpg136.1 KB · Views: 4
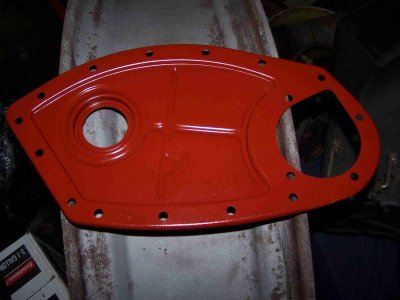
After some inspection on the governor, it doesn't have much wear in the spring holes and the needle bearings feel smooth, so I will just clean it up and put it back on the way it is. I suppose I should clean up the front of the engine and put some paint on what is exposed with the front end removed.